How Do You Use An Orange Peeler: Easy Guide
Use an orange peeler by scoring the rind, lifting one section, and sliding the tool around the fruit.
Learning how do you use an orange peeler can make snack time faster, cleaner, and easier on your hands. The right technique protects the juicy fruit, reduces mess, and helps you remove only the peel instead of the bitter white pith. This guide explains the tool, the safest method, common mistakes, cleaning tips, and useful ways to use the peel.
What Is an Orange Peeler?
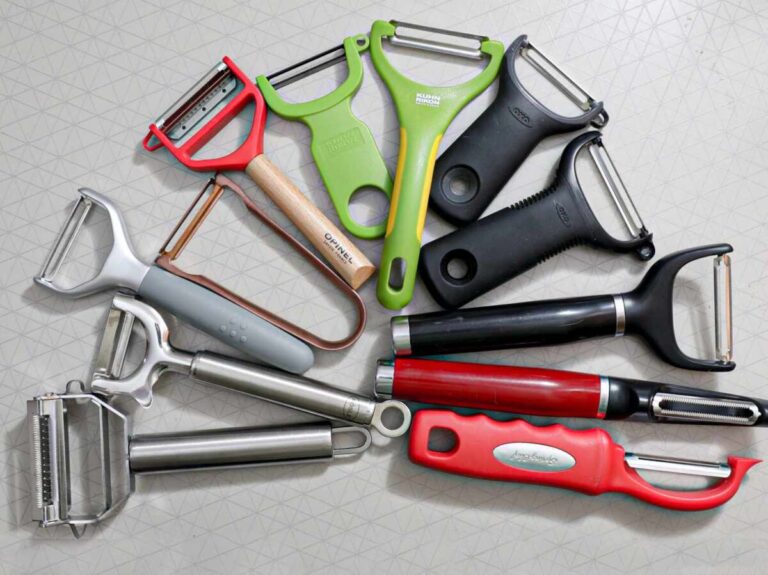
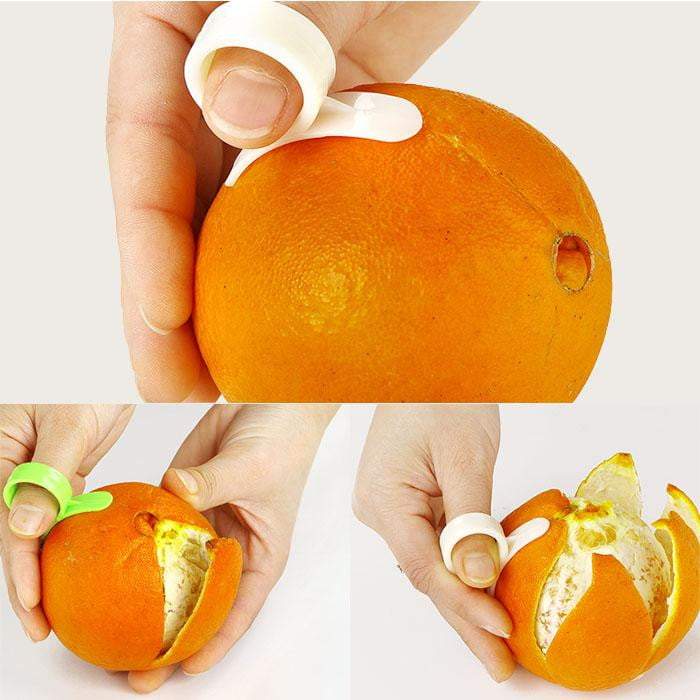
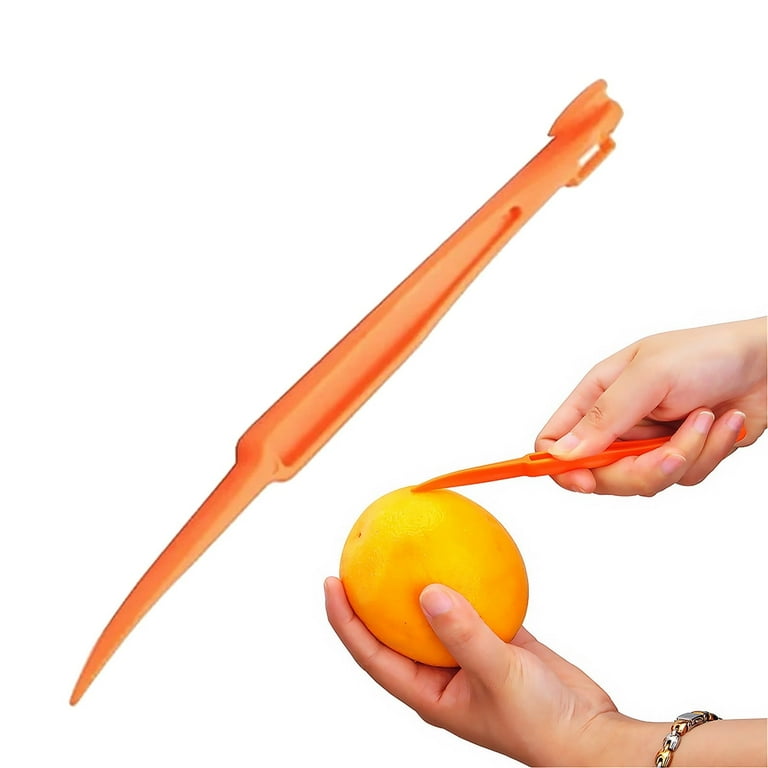
An orange peeler is a small kitchen tool made to remove the rind from oranges and other citrus fruits. Many models have a sharp hook, a curved blade, or a pointed edge that cuts through the peel without slicing deeply into the fruit.
Some orange peelers also have a blunt ridge. This ridge helps split the peel into sections. Other models look like small knives, while some are shaped like a ring that fits over your finger.
The main purpose is simple: separate the tough outer skin from the soft fruit inside. It is more controlled than using your fingernails and often creates less juice and mess.
Common orange peeler designs include:
- A handheld citrus peeler with a hook and curved edge
- A ring-style peeler that fits on one finger
- A citrus knife with a small, pointed blade
- A zester and peeler combination tool
- A serrated citrus tool for thick-skinned fruit
An orange peeler does not replace a sharp kitchen knife for every task. It is best for removing the rind while keeping the orange whole.
How Do You Use an Orange Peeler?
The basic process is easy, but a few small details make a big difference. Work slowly at first. Once you learn how much pressure the tool needs, the motion becomes quick and natural.
Step 1: Wash and dry the orange
Rinse the orange under cool running water. Rub the skin with your hands to remove dirt and surface residue.
Dry the fruit with a clean towel. A dry orange is easier to hold, and the tool is less likely to slip.
Step 2: Hold the orange firmly
Place the orange in your non-dominant hand. Keep your fingers away from the path of the hook or blade.
Hold the fruit over a plate, bowl, or cutting board. This catches loose pieces of peel and any juice that escapes.
Step 3: Make a shallow cut
Place the tip of the orange peeler against the rind near the top or bottom of the orange. Press gently and make a short cut through the colored outer skin.
Do not push deeply. You only need to break the rind. Cutting too far can pierce the fruit and release juice.
Step 4: Create sections in the peel
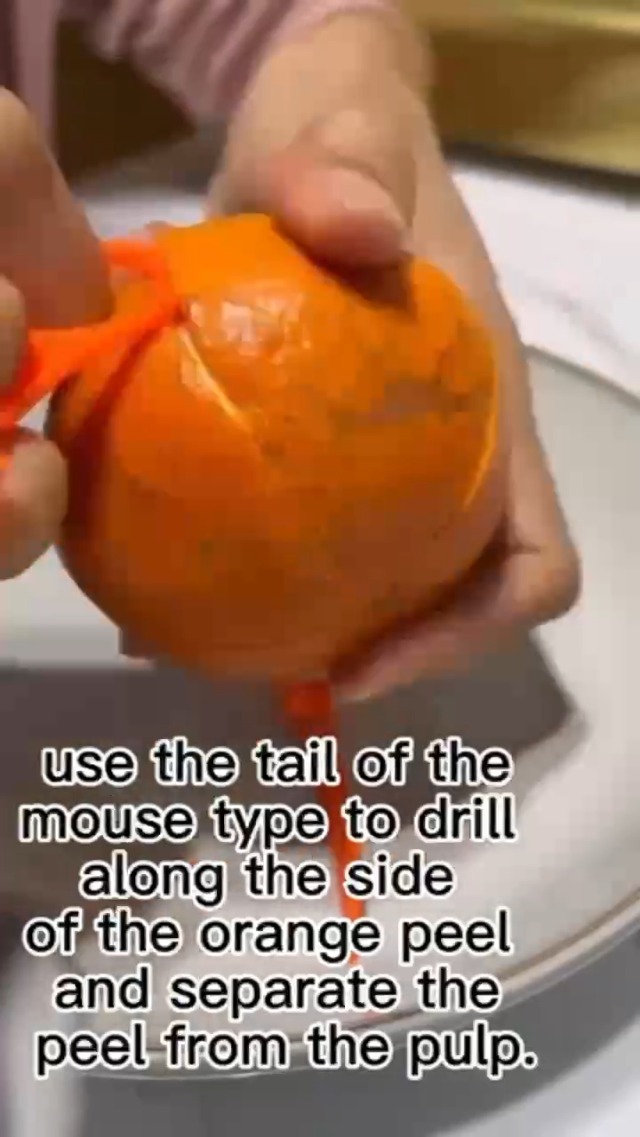
Use the peeler to make two to four shallow lines from the top of the orange toward the bottom. These lines divide the rind into easy-to-lift sections.
You can also make a small circle around the center of the orange. This method works well when the tool has a curved blade.
Step 5: Lift the peel
Slide the hook or edge under one section of rind. Lift it slowly until you can grip the peel with your fingers.
Use the tool as a starter, not as a lever that digs into the fruit. Once the peel is raised, your fingers can usually remove the rest.
Step 6: Remove each section
pull the peel away from the fruit in broad pieces. If a section sticks, slide the tool under the edge again.
A good orange peeler should move through the rind with light pressure. If you need force, check the angle or use a fresh starting cut.
Step 7: Remove extra pith if needed
The white layer under the orange peel is called pith. It is safe to eat, but it can taste bitter.
Use your fingers to remove large pieces of pith. Do not worry about removing every small bit. A thin layer will not harm the fruit.
How Do You Use an Orange Peeler Without Damaging the Fruit?
The key is to cut the peel, not the orange. Think of the rind as a jacket around the fruit. You want to open the jacket without cutting the shirt underneath.
Use short strokes and light pressure. A shallow score gives you control and lowers the chance of juice spraying onto your hands or counter.
Keep the orange steady as you work. Rotating the fruit can be easier than moving the tool around a fixed spot. This is especially helpful for children or anyone with limited hand strength.
These habits make the process safer:
- Keep the pointed end facing away from your fingers
- Use a stable surface when the orange feels slippery
- Make small cuts instead of one deep cut
- Stop if the tool becomes hard to control
- Use a different tool for very hard or unusually thick skin
When learning how do you use an orange peeler, many people press too hard. In practice, gentle pressure works better because the rind is thin and flexible.

How Do You Use an Orange Peeler on Different Citrus Fruits?
An orange peeler can work on more than oranges. The best method depends on the thickness and texture of the rind.
Mandarins and tangerines
These fruits often have loose, thin peels. Make one shallow opening near the top, then lift the rind with your thumb or the tool.
Use less pressure than you would use on a regular orange. A mandarin can split easily if you press too hard.
Clementines
Clementines usually peel by hand, but an orange peeler can start the process. Use the tip to open the top, then remove the rind in sections.
This is useful when the skin is dry or your fingernails are short.
Grapefruits
Grapefruits have a thick rind and a large amount of pith. Make several shallow cuts before lifting the peel.
You may need to work around the fruit more than once. Avoid cutting deeply because grapefruit juice can make the tool and your hands slippery.
Lemons and limes
A citrus peeler can remove the rind from lemons and limes, but a zester is often better when you only need small strips. If you want to peel the whole fruit, score the skin in narrow sections.
For zest, remove only the colored outer layer. The white pith has a stronger bitter taste.
Pomelos
Pomelos have very thick skin and dense pith. An orange peeler may help start the first cuts, but a larger citrus knife can be more practical.
Always place the pomelo on a cutting board. Its size makes it harder to hold safely in one hand.

Orange Peeler Safety Tips
Most orange peelers are simple to use, but they still have a sharp point or edge. Treat the tool like a small knife.
Keep your fingers behind the cutting edge. Do not pull the peeler toward your hand. Move it away from your body with slow, controlled strokes.
Children can use a blunt plastic citrus peeler with adult supervision. A child should not use a pointed metal model without direct help.
Follow these safety tips:
- Inspect the tool before use
- Replace a cracked plastic peeler
- Do not use a rusty or damaged metal tool
- Cut on a stable surface
- Keep the peeler away from the edge of the counter
- Wash the fruit before peeling
- Store the tool in a drawer or covered container
Food safety matters, too. Washing the peel before cutting helps prevent dirt from moving from the outside onto the fruit. The U.S. Food and Drug Administration recommends washing produce under running water, even when you plan to remove the skin.

Common Mistakes to Avoid
Knowing how do you use an orange peeler is only half the skill. Avoiding common errors will help you work faster and keep the fruit intact.
Pressing too deeply
A deep cut can pierce the orange and release juice. It can also leave small bits of peel stuck to the fruit.
Use the lightest pressure that opens the rind.
Using a dull tool
A dull edge often needs more force. That can make the peeler slip.
Clean and inspect the tool before use. If the edge is bent or damaged, replace it.
Peeling a wet orange
Water, juice, and oil from the peel can make the fruit slippery. Dry the orange before you begin.
If the orange becomes wet, pause and wipe both the fruit and your hands.
Removing every piece of pith
A little pith is harmless. Trying to scrape off every white strand can damage the fruit and waste time.
Remove thick patches only when the taste or appearance matters.
Using the wrong tool for zest
An orange peeler removes large sections of rind. It does not always create fine zest.
Use a microplane or fine zester when a recipe calls for grated citrus peel.
Pulling too hard
If the peel will not lift, make another shallow cut. Pulling forcefully may crush the fruit.
This is one of the most useful lessons when learning how do you use an orange peeler: let the tool open the rind, then let your fingers finish the job.

How Do You Clean and Store an Orange Peeler?
Wash the orange peeler soon after use. Warm water and mild dish soap remove juice, oil, and small pieces of rind.
Use a small brush to clean grooves or serrated edges. Rinse the tool well and dry it fully before storing it.
Do not leave a metal peeler wet in a sink. Moisture can lead to rust, especially around joints or small scratches.
Check the manufacturer’s instructions before placing the tool in a dishwasher. Some stainless steel peelers are dishwasher safe, while plastic tools may warp or become cloudy.
A simple care routine includes:
- Rinse the tool after each use
- Wash it with mild soap
- Brush away trapped peel
- Dry it with a clean towel
- Store it in a dry drawer
- Keep the edge covered when possible
A clean tool also helps reduce the spread of bacteria from one piece of produce to another.
Benefits and Limitations of an Orange Peeler
An orange peeler is useful because it gives you more control than your fingernails. It can also help people who have weak nails, sore fingers, or difficulty gripping a peel.
Key benefits include:
- Faster peeling for many oranges
- Less pressure on the hands
- Fewer broken fingernails
- Better control over the depth of the cut
- Less mess than using a large knife
- Easy access to thick or dry rind
Still, the tool has limits. A cheap model may bend or break. A sharp metal model can cause an injury if handled carelessly. Some oranges are so loose-skinned that using a tool adds no real benefit.
An orange peeler also cannot fix poor fruit quality. Very dry fruit may have tough membranes and little juice. Overripe fruit may tear when you try to remove the skin.
The best choice depends on the fruit, the tool design, and your comfort level.