How Do You Use A Garlic Peeler: Easy Guide
To use a garlic peeler, place cloves inside, roll or squeeze it, then remove the loosened skins.
Garlic peelers look simple, but the right method makes a big difference. After testing common silicone tubes, rolling mats, and handheld tools in everyday cooking, I have found that gentle pressure, dry cloves, and short rolling motions give the best results. This guide explains how do you use a garlic peeler, which type works best, and how to avoid crushed cloves, wasted garlic, and stubborn skins.
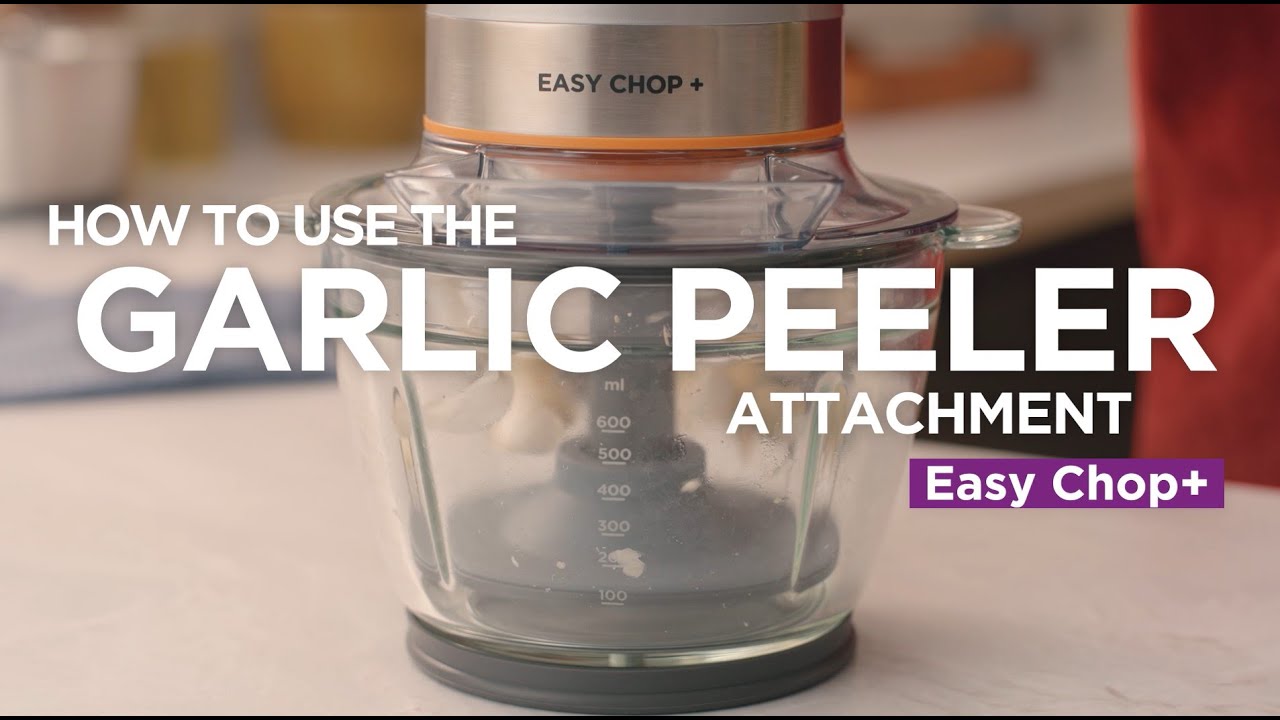
What Is a Garlic Peeler?
A garlic peeler is a small kitchen tool that removes the thin, papery skin from garlic cloves. Most models use food-grade silicone or rubber. The rough inner surface grips the skin while the clove moves inside.
The most common styles are:
• Silicone garlic peeler tube: A hollow tube that you roll with your hand.
• Garlic peeling mat: A flat silicone sheet that wraps around the cloves.
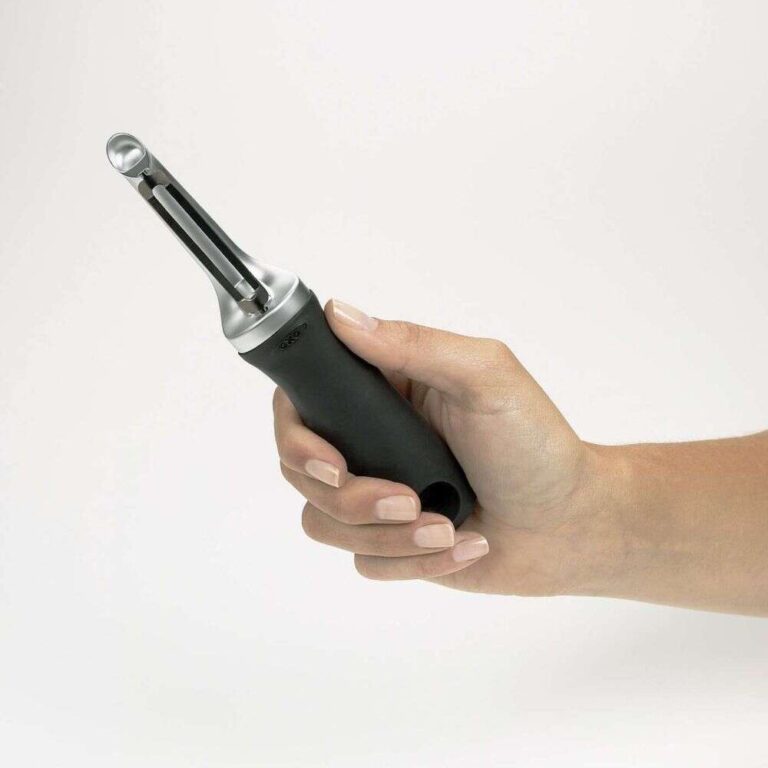
• Handheld garlic peeler: A tool with a chamber, handle, or pressing action.
• Garlic press with a peeling feature: A press that may loosen the skin before crushing the clove.
The goal is not to crush the garlic. The goal is to create enough friction to split and lift the skin while keeping the clove whole.
Knowing how do you use a garlic peeler starts with choosing the right size. A tube that is too large may not grip the clove. One that is too small can force the garlic through the opening and make a mess.

How Do You Use a Garlic Peeler?
The basic process is quick. You usually need only a garlic bulb, a flat work surface, and the peeler.
-
Separate the garlic cloves from the bulb.
-
Remove loose outer pieces of skin, but do not peel the cloves by hand.
-
Place one to three cloves inside the peeler, depending on its size.
-
Close or fold the tool if it has a lid or flap.
-
Roll the tube under your palm or rub the mat between both hands.
-
Continue for about 10 to 20 seconds.
-
Open the tool and check the cloves.
-
Remove the loose skins and rinse the cloves if needed.
-
Repeat the process for any cloves that still have skin attached.
When learning how do you use a garlic peeler, start with light pressure. Think of rolling a small pencil between your hands. Pressing too hard can split the garlic and release sticky juice into the tool.
The best results often come from dry garlic at room temperature. Cold garlic can have firmer skin, while damp cloves may slide instead of rubbing against the silicone surface.

Step by Step: How Do You Use a Silicone Garlic Peeler?
A silicone tube is one of the easiest garlic peelers for home cooks. It works through friction rather than blades, so it is safer for quick daily use.
1. Break apart the garlic bulb
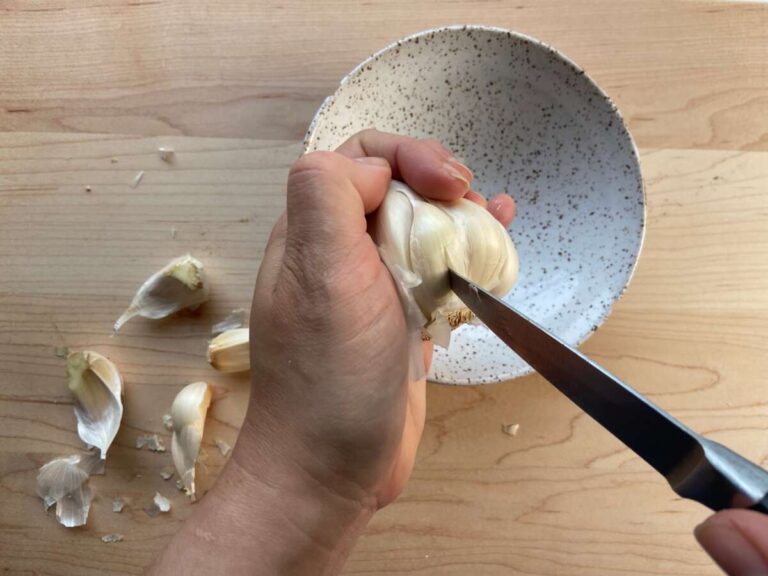
Place the bulb on a cutting board. Press it gently with the heel of your hand, or tap it with the side of a chef’s knife. Separate the cloves.
Do not smash the cloves at this stage. A damaged clove releases juice, and that juice can make the skin cling to the garlic.
2. Load the peeler
Put one or two medium cloves into the tube. Some large tubes can hold more, but overfilling reduces friction.
Leave enough room for the cloves to move. The garlic needs to roll and rub against the inner wall.
3. Roll the tool
Place the tube on the counter. Roll it back and forth under your palm with moderate pressure.
Roll for 10 seconds, then open the tube and inspect the garlic. If the skin is still attached, roll for another five to 10 seconds.
4. Remove the skins
Pour the garlic and loose skins onto the cutting board. Pick out the cloves and discard the papery pieces.
If a small patch remains, rub it away with your fingers. Avoid rolling the garlic for too long because the clove may become bruised.
5. Prepare the peeled garlic
Trim the hard root end if needed. You can then mince, slice, roast, or press the garlic.
This is the most reliable answer to how do you use a garlic peeler for a silicone tube: use a small batch, roll gently, inspect often, and stop as soon as the skin loosens.

How Do You Use a Garlic Peeler Mat?
A garlic peeling mat works much like a silicone tube, but it gives you more control over the amount of pressure.
Lay the mat flat on a clean counter. Place the cloves near the center, then fold or roll the mat around them. Rub it back and forth with both hands.
A mat is useful when you need to peel several cloves. It can also work well for cloves of different sizes because you can adjust the pressure as you roll.
Use these tips for better results:
• Keep the cloves in one layer when possible.
• Do not include large pieces of the garlic bulb.
• Use short rolling motions instead of pressing down hard.
• Open the mat every 10 seconds to check the garlic.
• Shake out the skins before adding more cloves.
In practical kitchen testing, the mat tends to work best with firm, fresh garlic. Very old garlic may have dry cloves and loose skins, but the cloves can also break more easily.
If you are asking how do you use a garlic peeler mat without making a mess, use a dry cutting board and peel only a few cloves at a time. Silicone can grip the counter, which helps, but wet surfaces can make loose skins stick.
Why Use a Garlic Peeler?
Peeling garlic by hand is not difficult, but it can be slow when you need several cloves. A garlic peeler can reduce the amount of handling and keep the thin skins from sticking to your fingers.
Common benefits include:
• Faster preparation for soups, sauces, and stir fries.
• Less garlic odor on your hands.
• Fewer small pieces of skin in the food.
• A lower risk of cutting your fingers while using a knife.
• Easy peeling without electricity.
• Simple storage in a drawer or utensil container.
A garlic peeler is especially useful for recipes that need a full bulb. It can help when making garlic paste, roasted garlic, marinades, hummus, or large batches of pasta sauce.
Still, a garlic peeler is not always faster. If you need one clove, placing it under the flat side of a knife and pressing lightly may be quicker. The tool becomes more useful as the number of cloves increases.

Common Mistakes When Using a Garlic Peeler
Many problems come from using too much force or loading the tool incorrectly. Here are the mistakes I see most often when explaining how do you use a garlic peeler.
Overfilling the tool
Too many cloves prevent proper movement. The garlic may rub against other cloves instead of the silicone wall.
Use one to three cloves at a time unless the product instructions allow more.
Crushing the garlic first
Crushed garlic is wet and sticky. The skin may tear into small pieces and cling to the flesh.
Keep the cloves whole until the skin is removed.
Rolling too hard
Heavy pressure can bruise or split the cloves. It also pushes garlic juice into the tool.
Use firm but gentle pressure. The silicone needs friction, not force.
Using wet cloves
Water makes the surface slippery. The skin may not loosen as well.
Pat the cloves dry before peeling.
Expecting every clove to peel at the same speed
Garlic varieties differ. Clove size, freshness, skin thickness, and storage conditions all affect the result.
Check the cloves during the process. One may be ready after 10 seconds, while another needs 20 seconds.
Ignoring the product design
Some peelers are made for rolling. Others require squeezing, twisting, or rubbing. Read the care and use instructions before applying pressure.
The key lesson in how do you use a garlic peeler is to work with the tool’s design rather than against it.

How Do You Clean and Store a Garlic Peeler?
Clean the peeler soon after use. Garlic oils can leave a strong smell if they sit on silicone for a long time.
Most silicone peelers can be washed with warm water and dish soap. Turn a tube inside out only if the manufacturer says it is safe. Some tools can go on the top rack of a dishwasher, but check the care label first.
Follow these steps:
-
Shake out all loose garlic skins.
-
Rinse the tool under warm water.
-
Add a small amount of dish soap.
-
Rub the inside and outside with your fingers or a soft sponge.
-
Rinse well.
-
Let it air dry fully before storage.
Do not use a sharp knife to scrape the inside. Cuts in the silicone can trap food and shorten the life of the tool.
If the peeler smells strongly of garlic, wash it with dish soap and warm water again. Drying it in open air often helps more than sealing it in a drawer while damp.
Safety and Food Handling Tips
A garlic peeler is a low risk tool, but normal food safety still matters. Wash your hands before and after handling garlic, especially when preparing other foods.
Use a clean cutting board and keep peeled cloves away from raw meat, poultry, and seafood. The United States Department of Agriculture recommends preventing cross contamination by using clean tools and separate preparation areas.
Keep peeled garlic refrigerated if you are not using it soon. Never store fresh garlic in oil at room temperature. Garlic in oil can create conditions that allow dangerous bacteria to grow. If you make garlic oil, follow a tested recipe and use proper refrigeration guidance.
Also replace a peeler when it develops deep cuts, cracks, a sticky surface, or a persistent odor that does not disappear after washing.
Choosing the Best Garlic Peeler
The best tool depends on how often you cook and how much garlic you use.
For occasional home cooking
Choose a small silicone tube. It is affordable, compact, and simple to use.
For batch cooking
Choose a wide silicone mat or large tube. It can handle several cloves and gives you more room to work.
For limited hand strength
Look for a tool with a textured grip and a wide opening. A mat may be easier than a narrow tube because it requires less squeezing.
For easy cleaning
Choose a smooth silicone model with no small seams or fixed internal parts.
For very large cloves
Use a larger tube or mat. A narrow peeler may split large cloves instead of removing the skin.
When comparing products, check the material, opening size, cleaning instructions, grip, and storage needs. A simple tool that fits your cooking style is usually better than a complex model with parts you rarely use.
How Do You Use a Garlic Peeler for Different Garlic Types?
Most peelers work with common white garlic, purple stripe garlic, and softneck garlic. The main difference is the thickness and dryness of the skin.
Fresh garlic may have moist skin that clings tightly. It often needs extra rolling time. Older garlic may peel quickly because the skin has dried, but the cloves may be more fragile.
Elephant garlic has very large cloves. It may need a larger peeler or a manual method. Small varieties can work well in a standard tube, but avoid adding too many at once.
If the skin refuses to loosen, place the whole bulb in a cool, dry area for a short time. Do not soak the cloves in water before using the peeler. Water can make the process slippery and may affect the texture.
Frequently Asked Questions About How Do You Use a Garlic Peeler
How do you use a garlic peeler with one clove?
Place the whole clove inside the tube or mat, then roll or rub it with gentle pressure for 10 to 20 seconds. Open the tool, remove the loose skin, and repeat briefly if needed.
Do you need to cut garlic before using a garlic peeler?
No. Keep the clove whole for the best result. Cutting or crushing it first releases juice and can make the skin stick to the garlic.
Why does my garlic peeler not work?
The tool may be overfilled, wet, or too large for the cloves. Use dry garlic, work in small batches, and apply steady pressure instead of squeezing hard.
Can you wash a garlic peeler in the dishwasher?
Some silicone peelers are dishwasher safe, usually on the top rack. Always check the maker’s care instructions before putting the tool in a dishwasher.
Is a garlic peeler better than using a knife?
A peeler is useful when you need several whole cloves and want less garlic odor on your hands. A knife may be faster for one clove, but it requires more care and can crush the garlic.
How long does it take to use a garlic peeler?
Most cloves peel in about 10 to 20 seconds. Thick skins, damp cloves, and very fresh garlic may require another short round of rolling.
Can you use a garlic peeler on roasted garlic?
A garlic peeler is mainly designed for raw cloves. Roasted garlic becomes soft, so the skin usually slips off more easily with your fingers.
Conclusion
Using a garlic peeler is simple once you match the tool to the clove and use controlled pressure. Separate the cloves, keep them dry, load a small batch, roll for 10 to 20 seconds, and check your progress. Avoid overfilling, crushing, and soaking the garlic.
The best answer to how do you use a garlic peeler is practical: let friction do the work. Try the method with your next sauce or soup, then clean and dry the tool before storing it. If this guide helped, explore more kitchen tool tips or share your favorite garlic preparation method in the comments.

Liora Pennings is a seasoned chef and kitchen enthusiast with a passion for turning everyday cooking into an effortless experience. With years of hands-on culinary expertise, she specializes in practical techniques, ingredient know-how, and smart kitchen solutions that help home cooks elevate their meals. At KitchFlair.com, Liora shares her best tips, time-saving tricks, and honest product reviews to guide readers toward a more efficient, enjoyable, and inspired cooking routine. Whether you’re a beginner or a seasoned home chef, Liora’s friendly, knowledge-packed insights make every visit to the kitchen a little easier—and a lot more delicious.