How To Use A Silicone Garlic Peeler: Easy Guide
To use a silicone garlic peeler, place cloves inside, roll firmly, then remove the loosened skins.
Learning how to use a silicone garlic peeler is simple, but the best results come from choosing the right pressure, preparing the cloves, and cleaning the tool well. After testing different garlic sizes and peeler styles, I have found that this small kitchen tool works fastest when you treat it like a gentle rolling pin rather than a hard press.
What Is a Silicone Garlic Peeler?
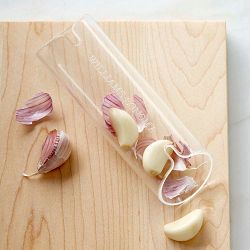
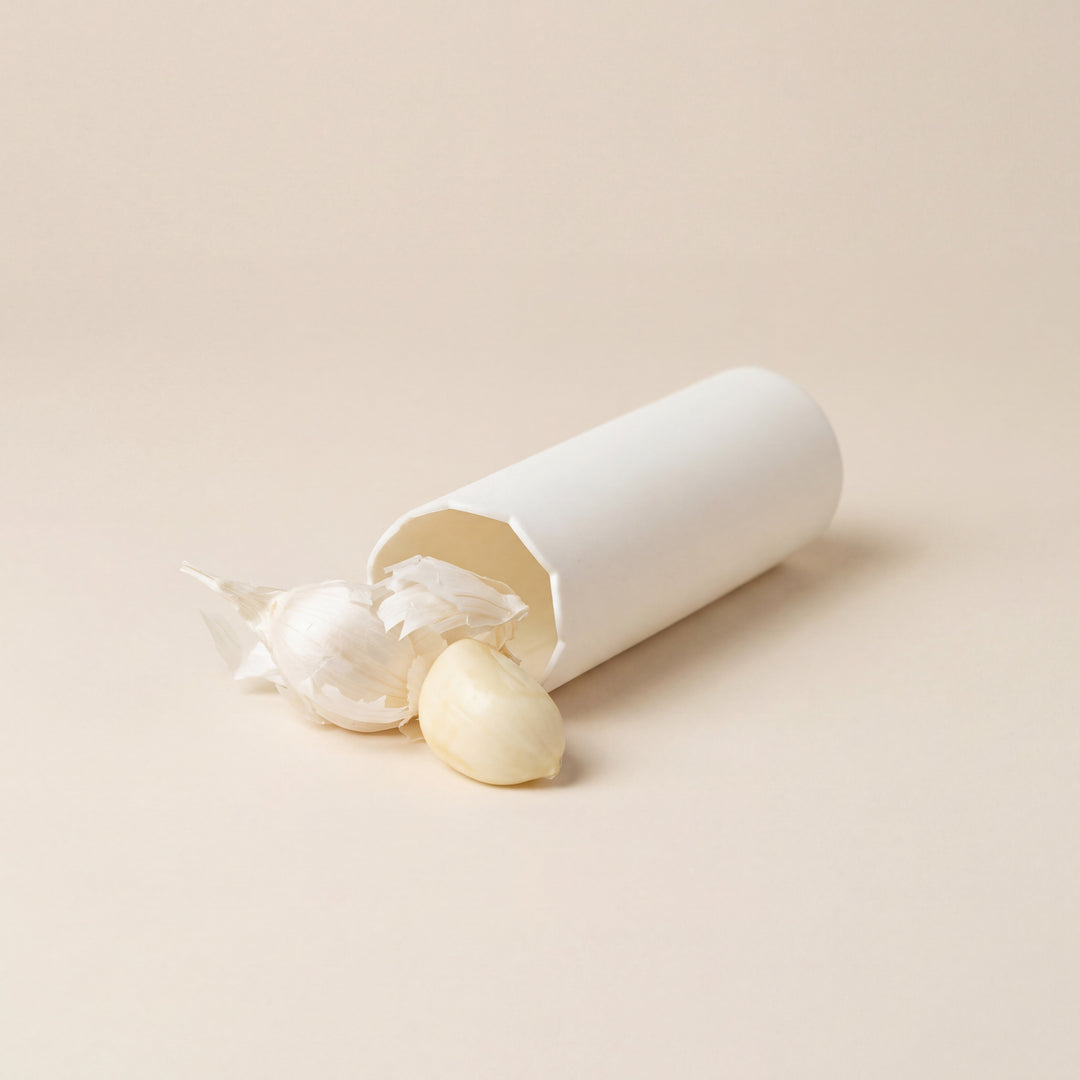
A silicone garlic peeler is a flexible tube or sheet made from food-grade silicone. You place one or more garlic cloves inside it, apply light pressure, and roll the tool across a counter or between your hands. Friction loosens the papery skin without needing a knife.
The tool works because silicone grips the garlic skin. As the clove moves inside the peeler, the skin rubs against the textured surface and cracks away. The garlic stays mostly whole, which makes it useful for roasting, sautéing, sauces, and meal prep.
Most silicone garlic peelers are:
• Flexible and easy to store
• Reusable and washable
• Safe for contact with food when made from food-grade silicone
• Suitable for one or two cloves at a time
• Less wasteful than disposable peeling methods
A silicone peeler does not crush garlic in the same way a press does. That is its main benefit. You can peel the cloves while keeping their shape and texture intact.
How to Use a Silicone Garlic Peeler Step by Step
Learning how to use a silicone garlic peeler takes only a few seconds. Follow these steps for clean, whole cloves.
1. Separate the garlic cloves
Break the garlic bulb apart with your fingers. Remove the loose outer bulb skin and separate the number of cloves you need.
Do not place the entire bulb into most silicone peelers. The bulb is too large, and the attached cloves will not move enough to create useful friction.
2. Trim the hard ends if needed
You usually do not need to cut the garlic before peeling. However, trimming the dry root end can help with very fresh or tightly attached skins.
Use a small paring knife and remove only the hard tip. Avoid cutting deeply into the clove, or you may release juice and make the tool sticky.
3. Place the cloves inside
Put one or two cloves inside the silicone tube. If your peeler is a flat sheet, place the cloves near the center and fold or roll the sheet around them.
Do not overfill the tool. Too many cloves reduce contact with the silicone surface. The cloves may slide instead of rubbing against the inner wall.
4. Apply gentle pressure
Place the peeler on a dry countertop. Roll it back and forth with the palm of your hand for about 10 to 20 seconds.
Use enough pressure to make the clove move against the silicone. You do not need to crush it. If the clove starts to split, lighten your grip.
5. Check the cloves
Open the peeler and inspect the garlic. The skin should look cracked, loose, or separated from the clove.
If a small patch remains, return the clove to the tool and roll it for a few more seconds. Very dry garlic often peels quickly, while fresh garlic may need more time.
6. Remove the skins
Shake the loose skins out of the peeler. Pick away any small pieces that remain on the garlic.
Rinse the peeled cloves only if needed. Excess water can make them slippery and may spread garlic odor across your hands and work surface.
7. Wash the tool
Rinse the silicone garlic peeler with warm water. Add a small amount of dish soap and rub the inside with your fingers or a soft sponge.
Dry it fully before storing. Trapped moisture can create an unpleasant smell and may encourage residue to build up.

How Much Garlic Should You Put in a Silicone Peeler?
The ideal amount depends on the size of the tool. In most cases, one large clove or two small cloves work best.
A crowded peeler creates three problems:
• The cloves cannot roll freely
• The skins remain trapped against the garlic
• You may need more pressure, which can bruise or crush the cloves
For a flat silicone mat, spread the cloves apart before rolling. For a tube-style peeler, leave enough space for the cloves to move from end to end.
When learning how to use a silicone garlic peeler, start with one clove. This helps you understand how much pressure the tool needs. Once you find the right motion, you can peel several cloves in small batches.
Tips for Better Garlic Peeling Results
A few small changes can make the process much faster. These tips are especially useful if the skin stays attached.
• Use dry garlic when possible. Damp skin tends to cling to the clove.
• Roll on a clean, dry counter. A wet surface reduces control.
• Keep the motion steady. Fast, short strokes work better than pressing down hard.
• Peel only what you need. Peeled garlic loses moisture faster than garlic in its skin.
• Let very fresh garlic sit for a short time. Its skin can be soft and tightly attached.
• Try two directions. Roll forward and backward, then rotate the peeler slightly.
• Avoid sharp tools inside the silicone. A knife can puncture or cut the material.
In my own kitchen tests, the most common mistake was pressing too hard. Strong pressure crushed the garlic and pushed juice into the silicone. A light, even roll gave cleaner cloves and made washing much easier.
Another useful lesson is to check the garlic variety. Some varieties have thin skins that peel quickly. Others have thick, stubborn skins and may need extra rolling or a small trim at the root end.

Can You Peel Garlic Without a Silicone Peeler?
Yes. A silicone garlic peeler is convenient, but it is not the only method.
You can place cloves in a bowl, cover them with another bowl, and shake them firmly. This method can peel many cloves at once, but it is louder and may bruise softer garlic.
You can also crush the clove lightly with the flat side of a chef’s knife. The skin will loosen, but the garlic may become partly crushed. This works well for recipes that begin with minced or chopped garlic.
Other options include:
• Using your fingers for a single clove
• Soaking cloves briefly in warm water
• Buying prepeeled garlic for speed
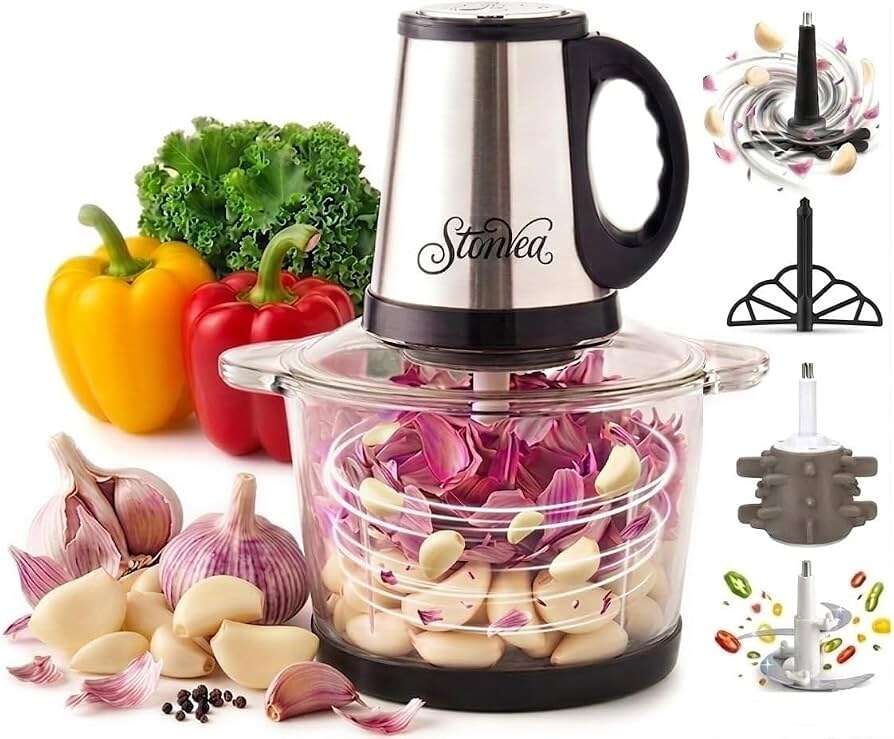
• Using a food processor for large batches
The best choice depends on the recipe. If you want whole cloves, a silicone peeler is often more suitable than crushing the garlic with a knife.
Benefits of Using a Silicone Garlic Peeler
A silicone garlic peeler offers several practical benefits for home cooks.
It saves time
Peeling one clove by hand is easy. Peeling a full bulb can become slow and irritating. The tool speeds up the process, especially when a recipe needs several cloves.
It protects your fingers
Garlic skins can stick to damp fingers. A peeler creates a barrier between your hands and the cloves. This can also reduce the strong garlic odor left on your skin.
It keeps cloves intact
Because the tool uses friction instead of a blade, it usually leaves the garlic whole. Whole cloves are helpful when roasting, pickling, or adding garlic to soups.
It is reusable
A durable silicone tool can replace disposable bags or repeated paper towel methods. That makes it a practical choice for regular cooking.
It stores easily
Most peelers fit in a drawer or hang from a kitchen hook. Their flexible shape takes up little space.
These benefits do not mean every silicone peeler performs equally well. Look for thick, food-grade silicone with a textured inner surface. Very thin products may bend too much to create friction.
Cleaning and Maintaining a Silicone Garlic Peeler
Proper cleaning keeps the peeler fresh and helps prevent garlic flavor from transferring to other foods.
Start by removing all visible skins. Rinse the tool under warm water, then wash it with dish soap. Pay special attention to the ends, folds, and textured areas where garlic residue can hide.
A dishwasher-safe model can usually go on the top rack. Still, check the product instructions before using a dishwasher. High heat is tolerated by many silicone products, but not every design has the same construction.
Follow these care habits:
• Do not use steel wool or abrasive scouring pads
• Do not cut inside the tool
• Do not store it while wet
• Do not use bleach unless the manufacturer permits it
• Replace it if you see cracks, tears, or sticky surfaces
Food safety matters because garlic residue can remain in small folds. General food hygiene guidance recommends washing kitchen tools after contact with food and keeping them dry between uses.
If odor remains, wash the peeler with dish soap and warm water. You can also soak it briefly in a mild baking soda solution, then rinse it well. Avoid mixing cleaning products.

Common Mistakes to Avoid
Knowing how to use a silicone garlic peeler also means knowing what not to do. Most problems come from using too much force or placing too many cloves inside.
Overfilling the peeler
A crowded tool cannot create enough friction. Work in small batches instead.
Pressing too hard
Heavy pressure can split the cloves and release garlic juice. Use a smooth rolling motion rather than grinding the tool into the counter.
Using wet cloves
Water makes the skin slippery. Pat the cloves dry before placing them inside.
Using a damaged tool
Cuts and tears can trap food particles. They can also expose the garlic to pieces of silicone. Replace damaged tools promptly.
Expecting every clove to peel instantly
Garlic freshness, variety, and storage conditions affect the skin. Some cloves need 20 seconds, while others need more.
Storing peeled garlic carelessly
Place unused peeled cloves in a clean, covered container in the refrigerator. Do not store garlic in oil at room temperature, since this can create conditions that support the growth of harmful bacteria. Refrigeration and proper food handling are important for safety.

Silicone Garlic Peeler vs. Other Peeling Methods
The right method depends on the amount of garlic and the final texture you want.
| Method | Best for | Main limitation |
|---|---|---|
| Silicone garlic peeler | Whole cloves and small batches | May need extra rolling for fresh garlic |
| Chef’s knife | One clove and quick cooking | Often crushes the garlic |
| Bowl shaking | Several cloves | Can be noisy and messy |
| Warm-water soak | Stubborn skins | Adds moisture to the garlic |
| Prepeeled garlic | Convenience | May cost more and lose freshness sooner |
A silicone garlic peeler is a middle-ground option. It is faster than peeling by hand and gentler than crushing with a knife. It may not be the fastest choice for a restaurant-sized batch, but it works well for everyday home cooking.

When Should You Use a Silicone Garlic Peeler?
Use a silicone garlic peeler when you need clean, whole cloves with minimal mess. It is especially useful for recipes such as:
• Roasted garlic
• Garlic confit prepared with safe storage practices
• Pickled garlic
• Stir-fries
• Soups and stews
• Pasta sauces
• Marinades
For minced garlic, you may prefer a knife or garlic press because the clove will be broken down anyway. For roasted garlic, the silicone peeler is helpful because it removes the skin without flattening the clove.
If you cook for one or two people, the tool can make small tasks less annoying. If you regularly prepare several bulbs, consider using a larger batch method and then storing the peeled cloves safely.
Frequently Asked Questions About How to Use a Silicone Garlic Peeler
How long should you roll a silicone garlic peeler?
Most cloves need about 10 to 20 seconds of steady rolling. Fresh or tightly skinned garlic may need a little longer, so check the clove before adding more pressure.
Do you need to cut garlic before using a silicone peeler?
No, you usually do not need to cut the clove first. If the skin is very tight, trim only the dry root end to help loosen it.
Can you put a whole garlic bulb in a silicone peeler?
Most silicone peelers are designed for separated cloves, not whole bulbs. Separate the cloves first so they can move and rub against the inner surface.
Can a silicone garlic peeler go in the dishwasher?
Some silicone garlic peelers are dishwasher-safe, but you should check the care instructions for your model. If allowed, place it on the top rack and let it dry fully afterward.
Why does garlic stay unpeeled inside the tool?
The garlic may be too wet, the tool may be overfilled, or you may not be using enough rolling motion. Dry the cloves, work with fewer pieces, and roll for a few more seconds.
Does a silicone garlic peeler crush the garlic?
It should not crush the garlic when used with light pressure. Pressing too hard or rolling very aggressively can split softer cloves.
How do you remove garlic odor from a silicone peeler?
Wash it with warm water and dish soap as soon as possible. For stubborn odor, soak it briefly in a mild baking soda solution, rinse it well, and dry it completely.
Conclusion
A silicone garlic peeler is a simple tool that can make everyday cooking faster and cleaner. Separate the cloves, place one or two inside, roll with gentle pressure, check the skin, and wash the tool after use.
The key is not force. A steady motion, a dry clove, and a lightly filled peeler usually produce the best result. Try these steps the next time a recipe calls for garlic, and share your favorite peeling tip or kitchen tool in the comments.

Liora Pennings is a seasoned chef and kitchen enthusiast with a passion for turning everyday cooking into an effortless experience. With years of hands-on culinary expertise, she specializes in practical techniques, ingredient know-how, and smart kitchen solutions that help home cooks elevate their meals. At KitchFlair.com, Liora shares her best tips, time-saving tricks, and honest product reviews to guide readers toward a more efficient, enjoyable, and inspired cooking routine. Whether you’re a beginner or a seasoned home chef, Liora’s friendly, knowledge-packed insights make every visit to the kitchen a little easier—and a lot more delicious.