How To Make A Small Bowl: Easy DIY Guide
Shape soft clay by hand, smooth the walls, dry it slowly, and finish it with food-safe materials.
Learning how to make a small bowl is a simple way to start pottery or handmade crafts at home. You can make one with air-dry clay, polymer clay, or ceramic clay, depending on the tools and finish you want.
I have found that the best small bowls come from slow, gentle work rather than perfect pressure. This guide explains each step, common mistakes, drying and firing limits, safe finishes, and easy ways to make your bowl look polished.
What You Need to Make a Small Bowl
The first step in learning how to make a small bowl is choosing the right clay and tools. Your material affects the drying time, strength, finish, and whether the finished bowl can hold food.
For a basic hand-built bowl, gather:
• Clay, such as air-dry clay, polymer clay, or ceramic clay
• A smooth work surface
• A rolling pin, clay roller, or glass bottle
• A small bowl to use as a shape guide
• A craft knife or clay tool
• A cup of clean water
• A sponge
• Fine sandpaper
• Paint or glaze, if desired
• A clear sealer made for your clay type
Air-dry clay is the easiest choice for beginners. It needs no kiln, but it can be less durable and may not be suitable for food use. Polymer clay must be baked in a household oven according to the package directions.
Ceramic clay creates the most traditional bowl. However, it needs careful drying and kiln firing. You should use a kiln-rated glaze if you want a ceramic bowl that is waterproof and safe for serving food.

Choose the Best Clay for Your Bowl
Each clay type has a different purpose. Before making a small bowl, decide how you plan to use it.
Air-dry clay
Air-dry clay is useful for decorative bowls, jewelry dishes, key holders, and small desk organizers. It dries in the air and is easy to shape with basic tools.
Its limits are important:
• It may crack if it dries too fast
• It can soften when exposed to water
• Most types are not food-safe
• It may break if the walls are too thin
Use an acrylic sealer only for decoration unless the product clearly states that it is safe for food contact. Even then, avoid using an air-dry clay bowl for hot food, liquids, or long-term food storage.
Polymer clay
Polymer clay stays soft until it is baked. This gives you more time to correct fingerprints, cracks, and uneven edges.
It works well for small decorative bowls. Follow the package temperature and baking time closely. An oven thermometer can help because many household ovens run hotter or cooler than the display shows.
Polymer clay bowls are usually decorative. Do not assume that a cured polymer clay finish is safe for food, especially if it has paint, varnish, or mixed materials.
Ceramic clay
Ceramic clay is the best option for a strong, functional bowl. It needs a kiln, and both the clay and glaze must be fired at compatible temperatures.
Clay shrinks as it dries and fires. The exact amount depends on the clay body and firing schedule. For that reason, make your first small bowl slightly larger than the final size you want.
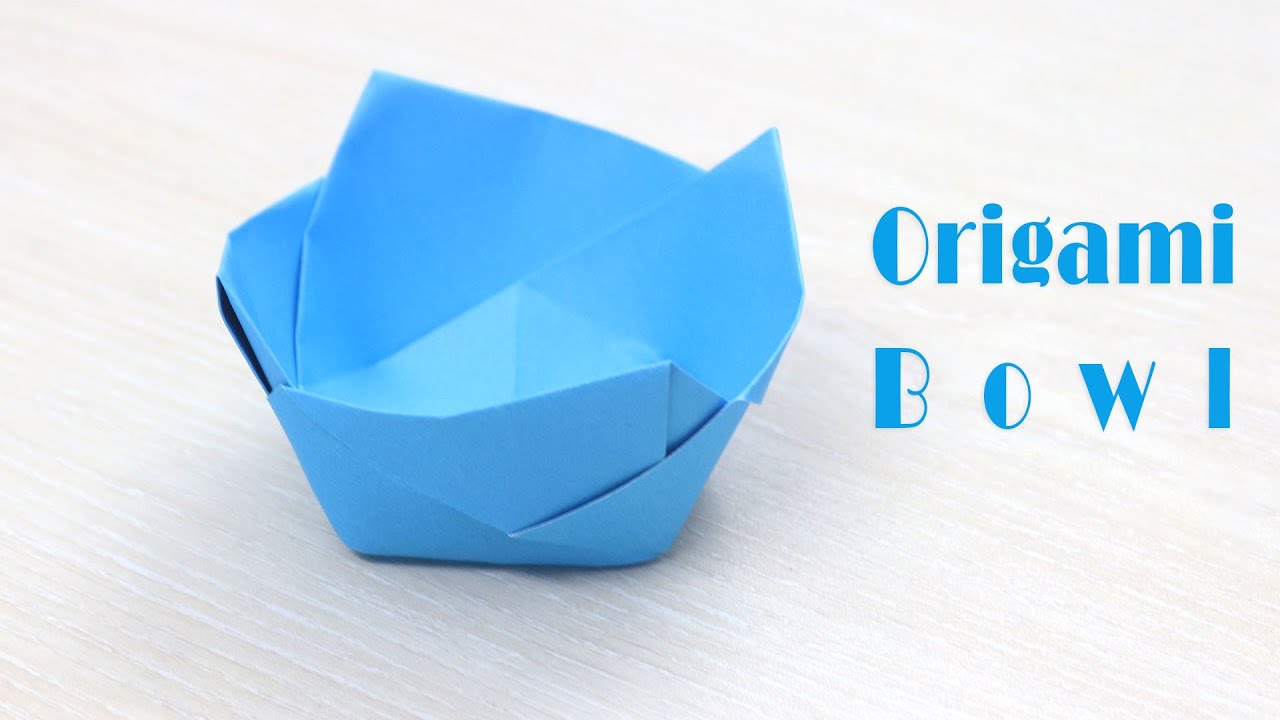
How to Make a Small Bowl by Hand
The pinch pot method is one of the easiest ways to make a small bowl. It uses your hands instead of a pottery wheel, so it is affordable and beginner-friendly.
1. Prepare the clay
Cut off a piece of clay about the size of a small orange. Knead it gently to remove air pockets and make the texture even.
Do not add too much water. Excess water can make the clay sticky and weak. If the clay feels dry, use damp fingers instead of pouring water onto it.
Shape the clay into a smooth ball. Check the surface for cracks before you begin.
2. Make the opening
Hold the clay ball in one hand. Press your thumb into the center, but stop before pushing through the bottom.
Leave a base about one-quarter inch thick for a small bowl. A base that is too thin may crack or warp during drying.
3. Pinch the walls
Place your thumb inside the opening and your fingers on the outside. Gently pinch the wall while turning the clay after each pinch.
Work around the bowl in small sections. Keep the pressure steady. The goal is to stretch the clay, not squeeze it flat.
As you learn how to make a small bowl, watch the wall thickness often. A small bowl usually works well with walls about one-quarter inch thick, though the right thickness depends on the clay.
4. Shape the rim
Once the bowl is wide enough, smooth the rim with a damp finger or soft sponge. A strong rim should feel even and firm.
You can make the rim round, slightly wavy, or gently flared. Avoid making sharp points because they can chip after drying.
5. Smooth the surface
Use a damp sponge to remove deep fingerprints and small dents. Do not scrub hard, or you may remove too much clay.
A wooden tool can help refine the inside curve. Keep the shape natural. Small handmade marks often give the bowl character.
6. Flatten the base
Set the bowl on a smooth surface and check whether it rocks. If it does, gently press the base or remove a small amount of clay from the lowest side.
For ceramic clay, you can refine the base later with a trimming tool. For air-dry clay, make the base flat before the bowl becomes firm.

How to Make a Small Bowl With a Mold
A mold helps you create a more even bowl. This method is helpful when you want matching bowls or a neat, shallow dish.
Choose a smooth bowl made from glass, plastic, or metal. Avoid a mold with deep ridges or sharp corners because the clay may stick.
Step-by-step molding method
-
Cover the outside of the mold with plastic wrap.
-
Roll the clay into a sheet about one-quarter inch thick.
-
Lay the clay over the mold.
-
Press the clay gently against the outside surface.
-
Trim the edge with a craft knife.
-
Smooth the rim with a damp finger.
-
Let the clay firm up before removing the mold.
Do not press the clay too hard against the mold. Heavy pressure can make one area thin while another stays thick.
If the clay sticks, wait longer. Pulling it away too soon is a common cause of dents and stretched edges. When I tested mold-shaped bowls, patience made a bigger difference than extra tools.
You can also use the inside of a bowl as a mold. In that case, place the rolled clay inside the mold and support the walls with your fingers.
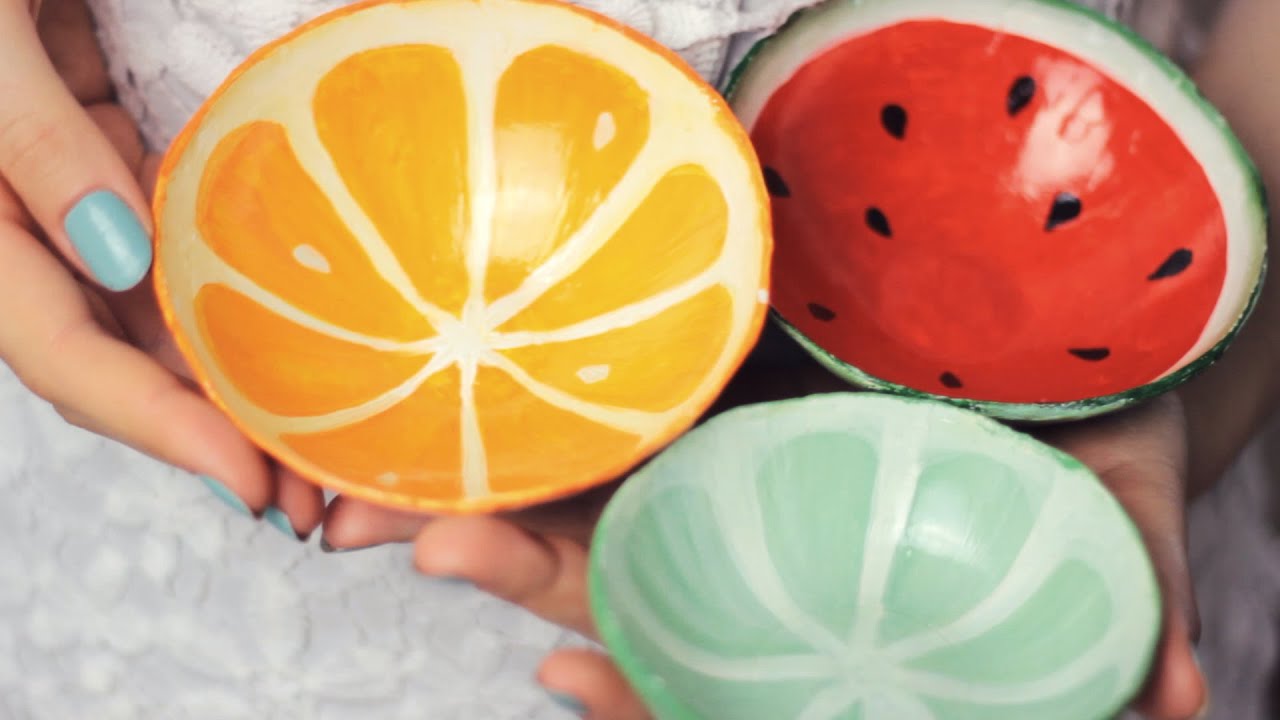
How to Make a Small Bowl Without Cracks
Cracks are one of the most common problems when making a small bowl. They usually come from uneven thickness, trapped air, weak joins, or fast drying.
Use these habits to reduce cracking:
• Keep the base and walls close to the same thickness
• Smooth cracks while the clay is still workable
• Dry the bowl away from direct heat
• Cover it loosely with plastic during early drying
• Turn the bowl as it dries if the base stays damp
• Avoid adding wet clay to leather-hard clay without scoring
If a crack appears, widen it slightly with a tool. Add a small amount of soft clay slip or matching clay, then smooth the repair.
Do not hide a deep structural crack with paint. A crack that reaches through the wall may continue to grow during firing or use.
Fast drying is especially risky for ceramic clay. Sunlight, heaters, and hot air can dry one side faster than the other. Think of the bowl as a small wooden board: if one side changes faster, stress builds inside.

Drying, Baking, or Firing Your Small Bowl
The correct finishing process depends on the clay you use.
Air-dry clay
Place the bowl on wax paper or a nonstick surface. Let it dry at room temperature according to the package directions.
Turn the bowl carefully after several hours if the bottom remains soft. Do not use a hair dryer to speed up the process. Forced heat can cause warping and cracks.
Polymer clay
Bake the bowl in a household oven using the temperature and time listed on the package. Use a baking tray and parchment paper to protect the surface.
Never guess the baking temperature. Too little heat may leave the clay weak, while too much heat can discolor or damage it.
Ceramic clay
Ceramic clay must become completely dry before it goes into a kiln. Clay that still contains moisture can crack or break during firing.
A pottery studio can help with the correct firing schedule. Tell the studio which clay body and glaze you used. Mixing products with different firing ranges can cause problems.
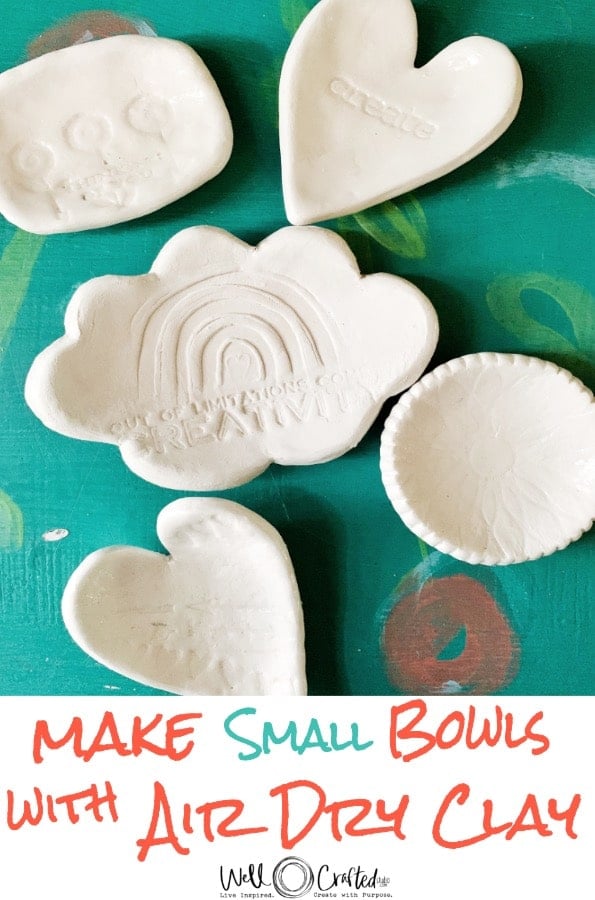
How to Decorate a Small Bowl
Decoration should support the shape of the bowl, not hide it. Simple designs often look more professional than too many colors or patterns.
Good decoration ideas include:
• A single painted stripe around the rim
• Small dots or leaf shapes
• A two-color inside and outside design
• A carved line around the bowl
• A soft speckled finish
• A natural clay base with a colored rim
For air-dry clay, let the bowl dry fully before painting. Acrylic paint is a common choice for decorative projects.
For ceramic bowls, use ceramic glaze rather than ordinary paint. Glaze changes during firing, so test it on a small tile or sample piece when possible.
Avoid coating the inside of a food-use bowl with an unknown sealer. Food safety depends on the clay, glaze, firing temperature, and final surface. A glossy appearance alone does not prove that a bowl is food-safe.
Common Mistakes When Making a Small Bowl
Learning how to make a small bowl often involves a few imperfect attempts. These mistakes are normal, and each one teaches you how the material behaves.
Making the walls too thin
Thin walls may look delicate, but they can dry unevenly and break easily. Keep the walls sturdy until you gain more control.
Using too much water
Water can make clay feel smooth for a moment. Too much water weakens the structure and may create a soft, collapsing bowl.
Pulling the bowl from the mold too soon
Soft clay can lose its shape when removed from a mold. Wait until the surface feels firm but still has some flexibility.