What Is A Serrated Peeler: Uses And Benefits
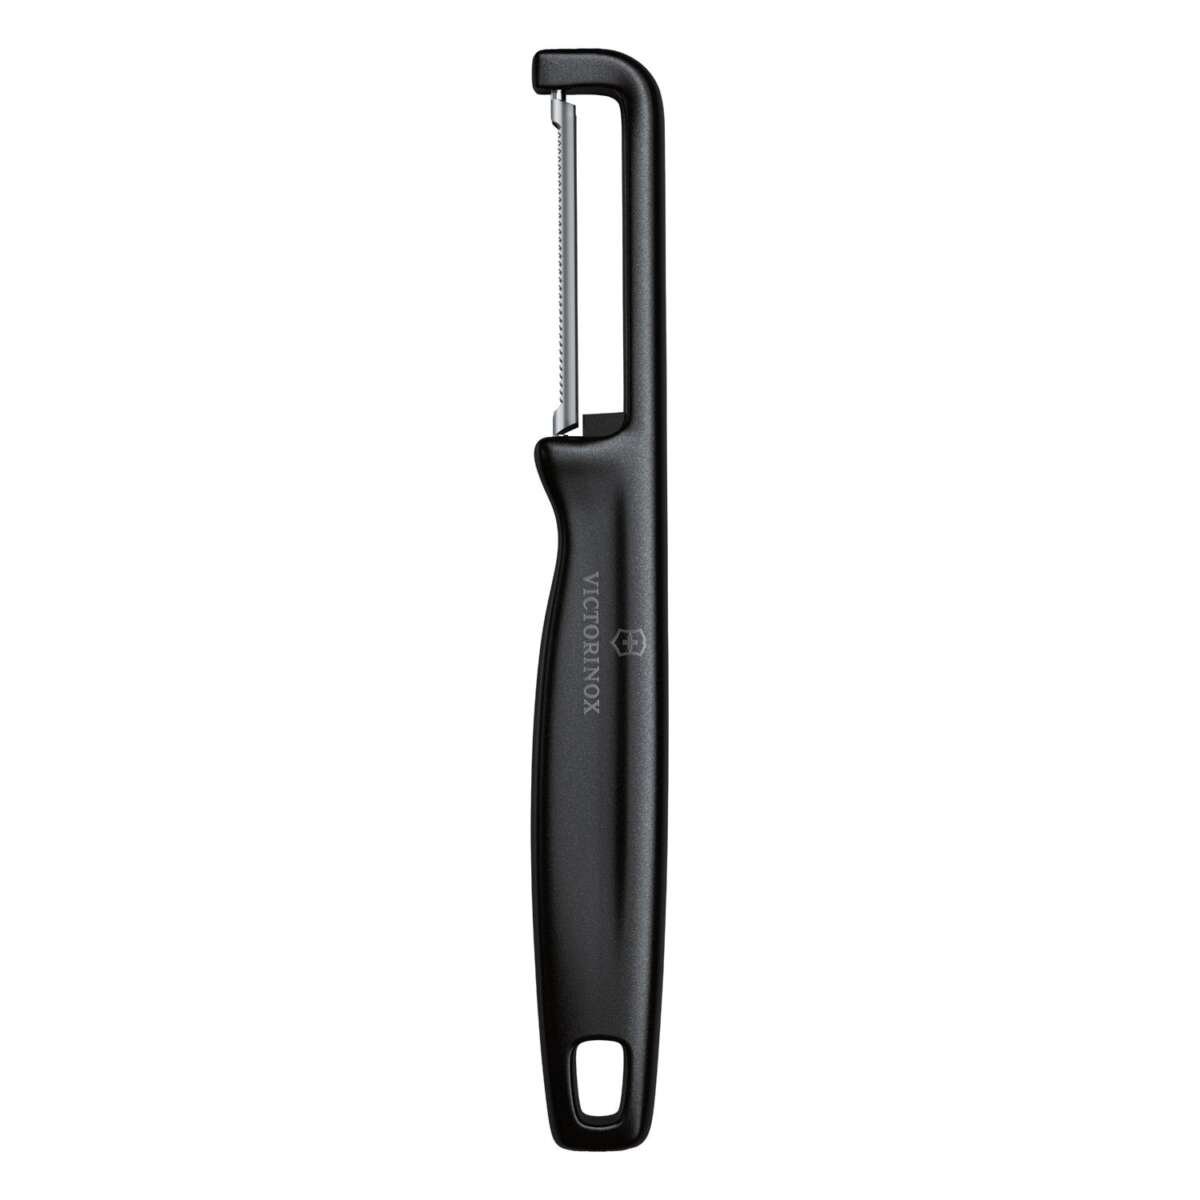
A serrated peeler is a kitchen tool with a toothed blade that grips and removes tough, soft, or slippery skin.
If you have ever crushed a ripe tomato with a smooth peeler, you already understand the problem this tool solves. A serrated peeler uses small, sharp teeth to hold the food as you peel, making it useful for tomatoes, peaches, kiwi, citrus fruits, and other delicate produce. This guide explains what is a serrated peeler, how it works, when to use it, and how to choose one that feels safe and comfortable.
What Is a Serrated Peeler?
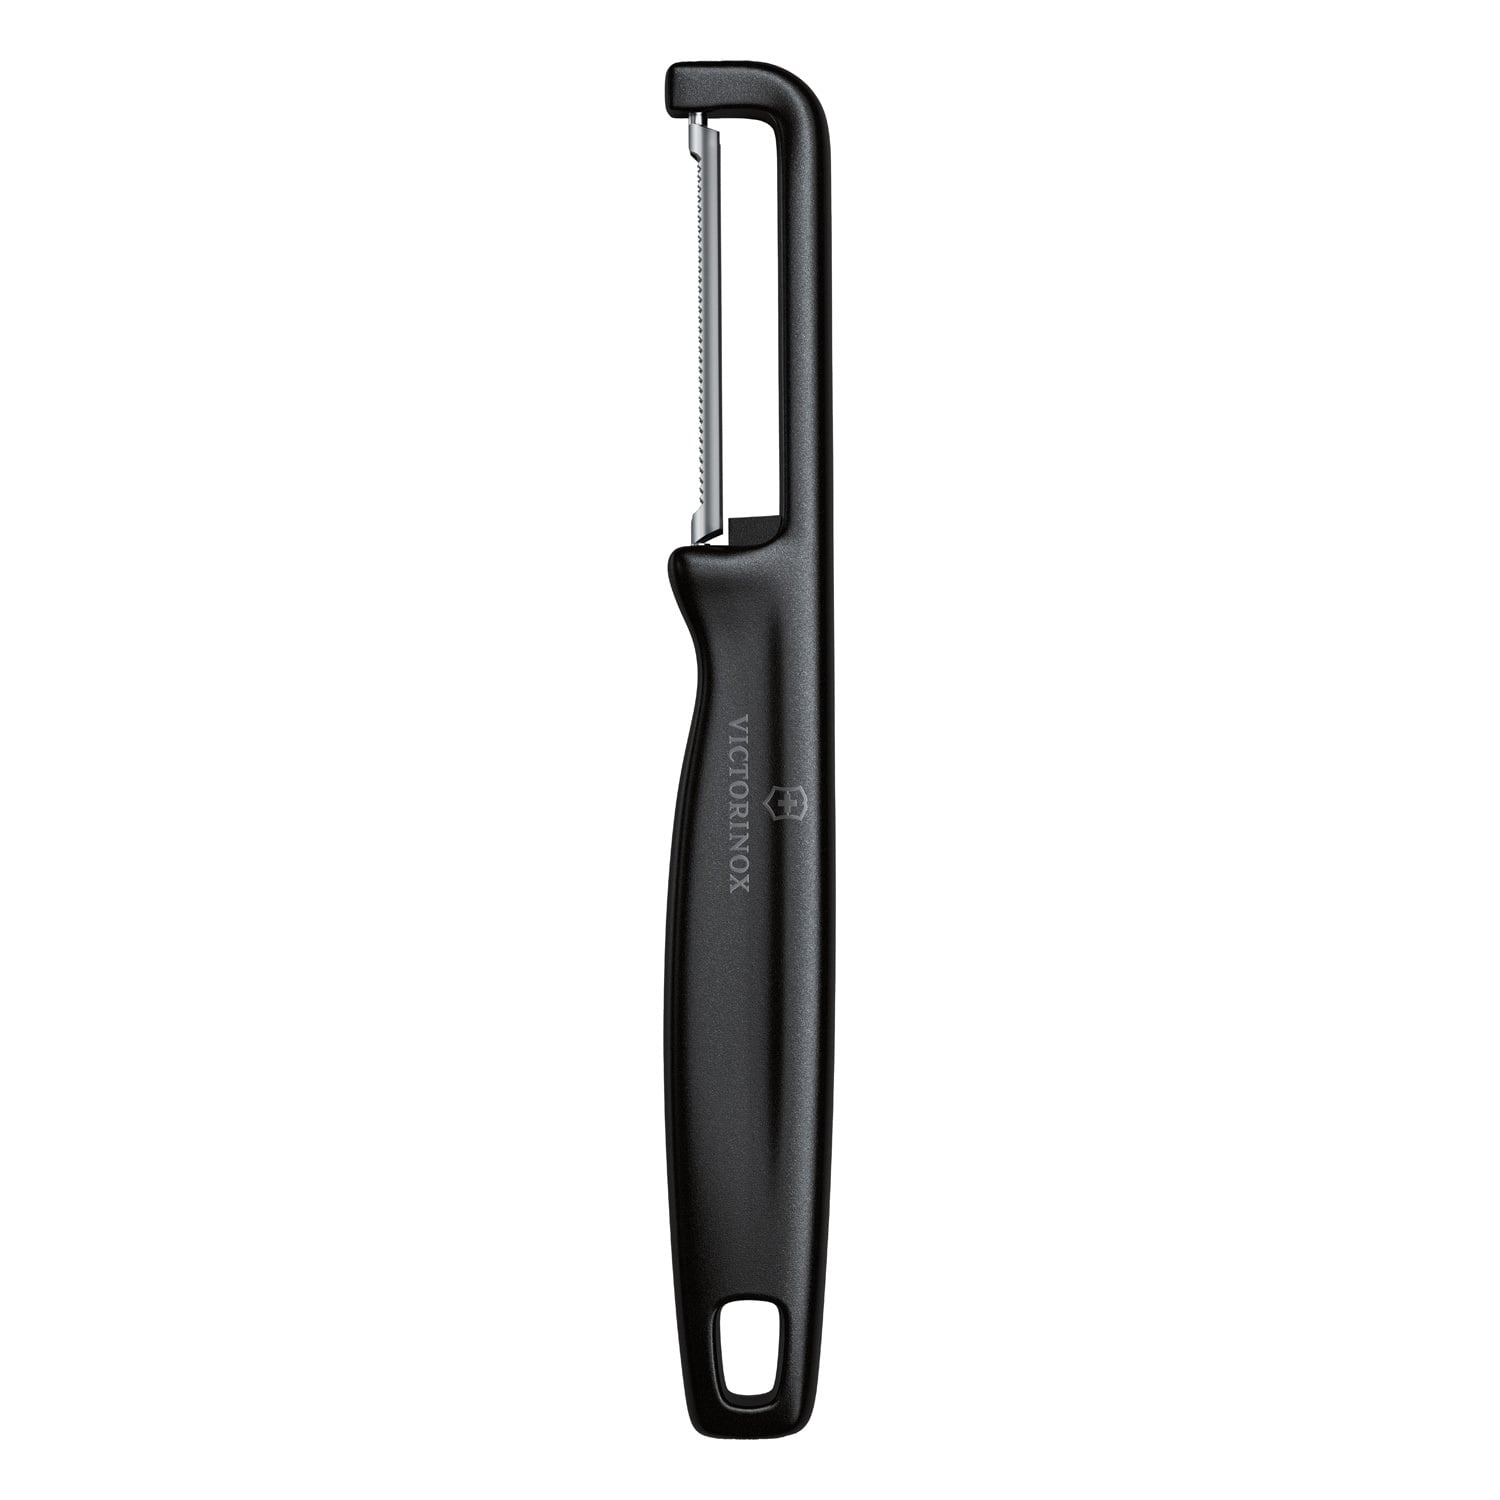
A serrated peeler is a handheld kitchen utensil with a blade that has small teeth along its cutting edge. Unlike a standard straight blade, the toothed edge catches the surface of food instead of sliding over it. This design helps remove thin strips of skin from produce with soft flesh, waxy skin, or an uneven surface.
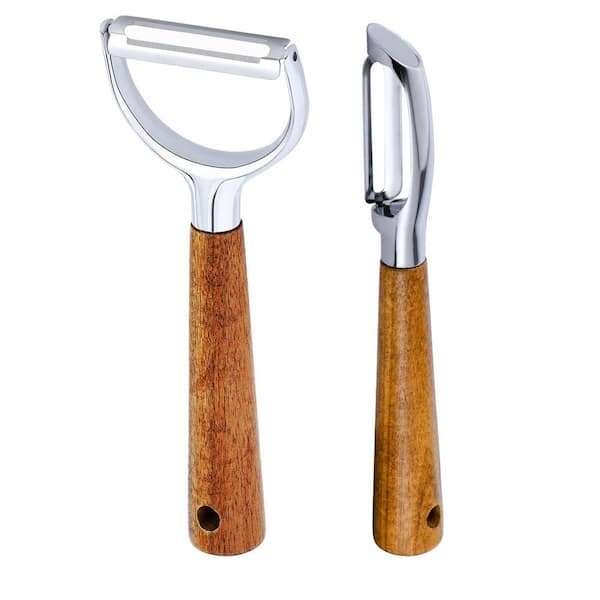
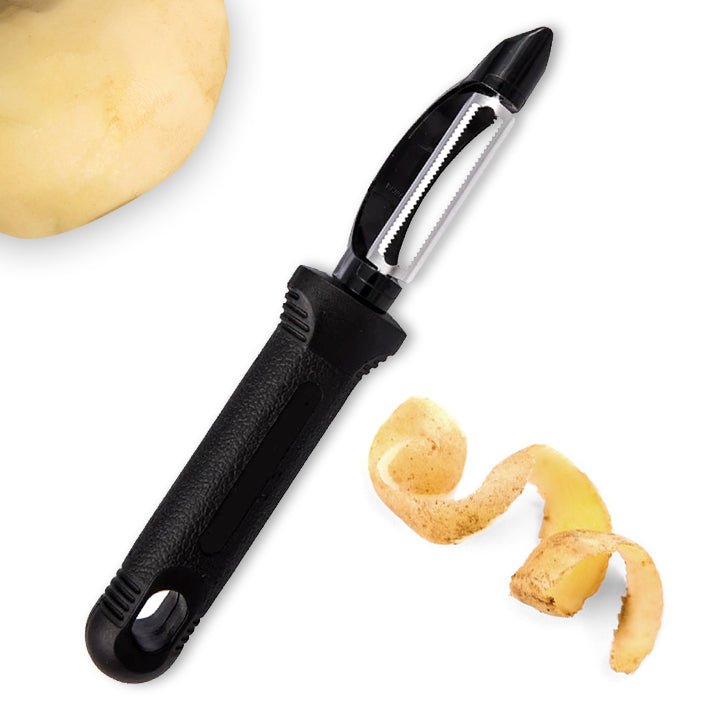
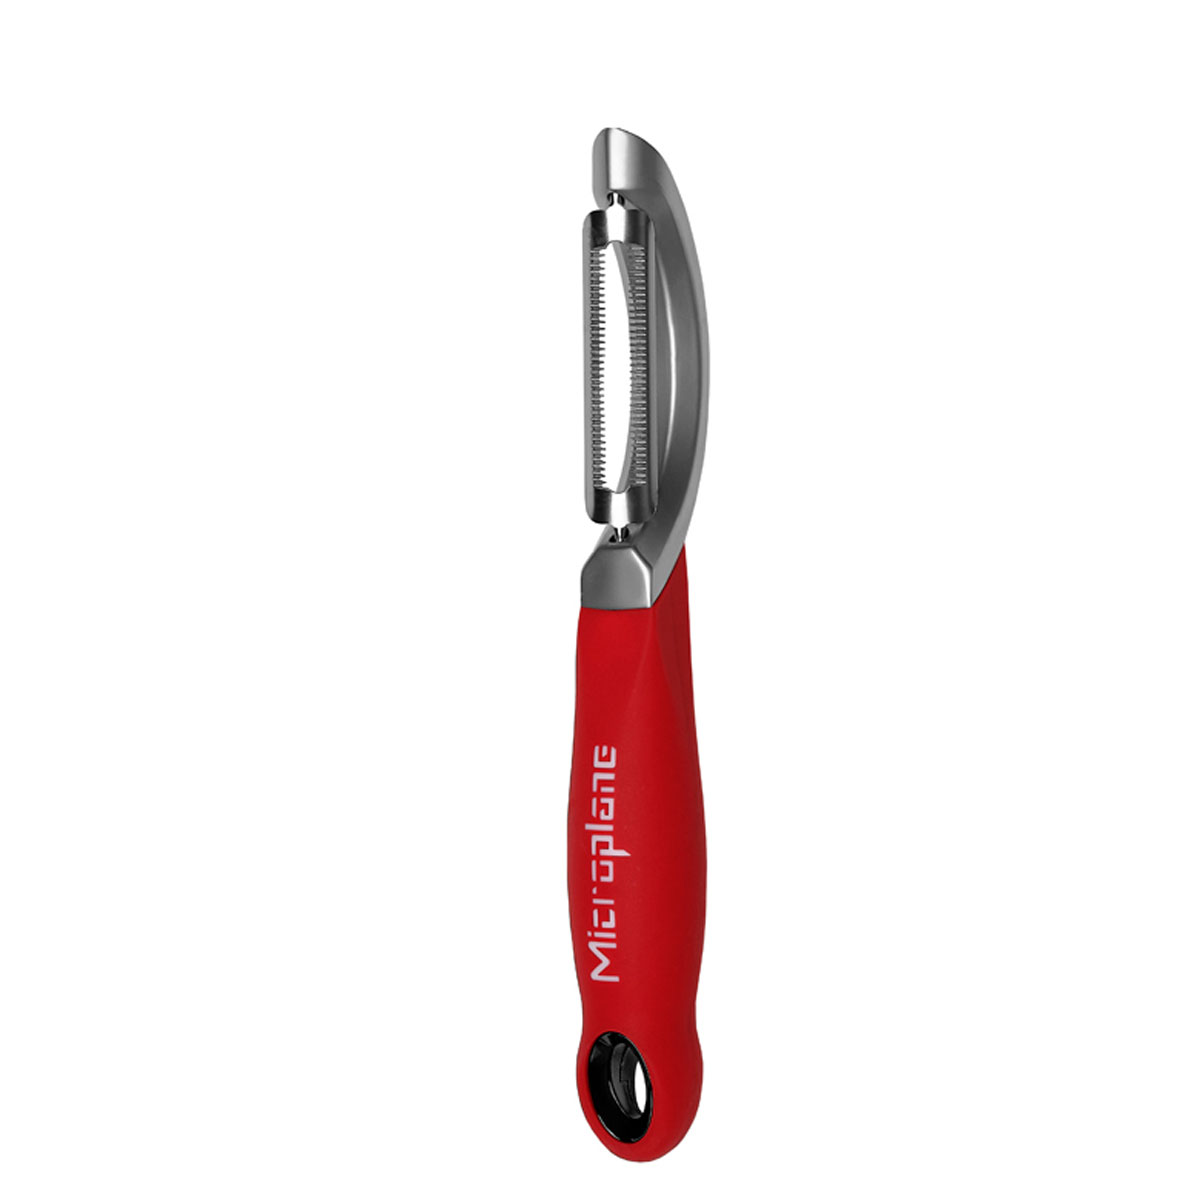
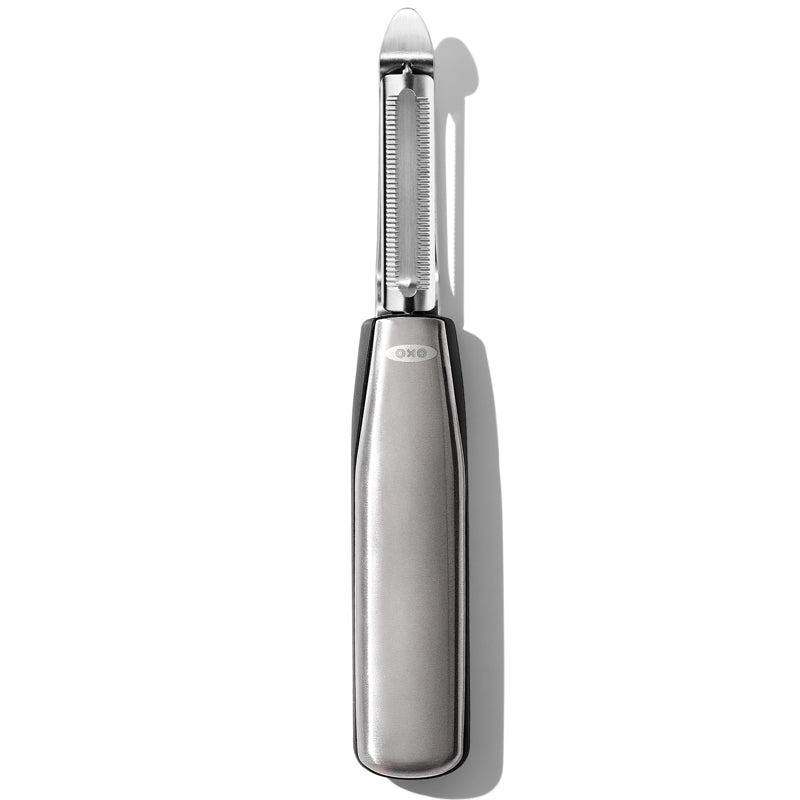
Most serrated peelers have a compact handle and a narrow blade. Some have a fixed blade, while others use a swivel head that follows the shape of the food. The blade may be made from stainless steel, and the handle may use plastic, rubber, or a mix of both.
The main purpose of a serrated peeler is control. It removes the outer skin while reducing pressure on the fruit or vegetable underneath. Think of the teeth as tiny hooks. They grip the skin first, then cut through it with a light pulling motion.
When people ask what is a serrated peeler, they often want to know how it differs from a normal vegetable peeler. The simple answer is that a serrated peeler is made for foods that smooth blades may crush, skip, or fail to grip.

How Does a Serrated Peeler Work?
The teeth on a serrated peeler create many small contact points with the food. These points grip the skin and help the blade move forward. A smooth peeler usually needs a firm, steady surface, but a serrated design can handle more movement and texture.
To use one, hold the food in your non-dominant hand or place it on a stable cutting board. Pull the peeler toward you with light pressure. Let the teeth do the work instead of pushing hard.
A serrated peeler works best when:
• The food has a soft or delicate surface
• The skin is thin but difficult to grip
• The produce is ripe or slightly slippery
• The surface has small bumps or an uneven shape
• You want to remove a very thin layer
The blade does not saw through the food in the same way as a bread knife. Its teeth are much smaller. They gently break the skin and lift it away in narrow strips.
Knowing what is a serrated peeler also means understanding its cutting action. It grips first and cuts second. That is why it can work well on a ripe tomato without turning it into a messy pulp.
What Foods Can You Peel With a Serrated Peeler?
A serrated peeler is most useful for fruits and vegetables with delicate flesh or tough, slippery skin. It can also help with foods that have irregular shapes.
Common examples include:
• Tomatoes
• Peaches
• Nectarines
• Kiwis
• Plums
• Pears
• Mangoes
• Bell peppers
• Cucumbers
• Zucchini
• Citrus fruits
• Small squash
• Soft potatoes
A serrated peeler can remove tomato skin for sauces, fresh salsa, or tomato salads. It may also peel a ripe peach without pressing deeply into the flesh. For kiwi, the teeth can catch the fuzzy outer surface while leaving more fruit behind.
Some people use a serrated peeler on citrus fruits to remove thin strips of zest. However, a dedicated zester or fine grater may offer better results when you want only the colored outer layer.
Very hard foods may not be a good match. A standard sharp peeler is often better for carrots, firm potatoes, parsnips, and butternut squash. A serrated peeler may work on these foods, but it can feel slow and may require extra effort.
The best answer to what is a serrated peeler depends on the food in front of you. It is not a replacement for every peeler. It is a specialist tool for grip and control.
Serrated Peeler vs. Standard Vegetable Peeler
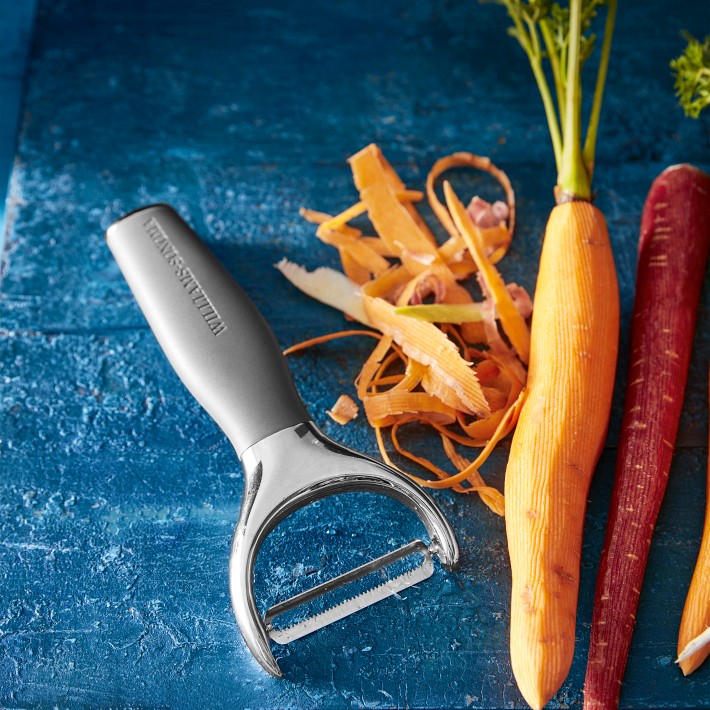
The biggest difference between these tools is the blade edge. A standard vegetable peeler has a smooth, sharp blade. A serrated peeler has small teeth that grip the surface.
Standard vegetable peeler
A smooth peeler is usually best for firm produce. It can remove long, even strips with little effort. It is often the faster choice for carrots, apples, potatoes, and cucumbers with firm skin.
Serrated peeler
A serrated peeler is better when the surface is soft, slippery, fuzzy, or uneven. It may produce a less smooth strip, but it can prevent the food from tearing or collapsing.
Here is a simple comparison:
| Feature | Serrated peeler | Standard peeler |
|---|---|---|
| Blade edge | Small teeth | Smooth cutting edge |
| Best use | Soft or slippery produce | Firm produce |
| Main strength | Grip and control | Speed and clean strips |
| Common issue | May feel slower | May slide or crush soft food |
| Typical foods | Tomatoes, peaches, kiwis | Carrots, potatoes, apples |
When learning what is a serrated peeler, many cooks assume the toothed blade is always sharper. That is not necessarily true. Its advantage comes from the shape of the edge, not simply from sharpness.
Benefits of Using a Serrated Peeler
A serrated peeler offers several practical benefits in a home kitchen. Its value becomes clear when a smooth blade fails to hold the food.
Better grip on slippery foods
Tomatoes, ripe peaches, and mangoes can be hard to hold. Their juice and soft flesh make a smooth blade slide. The teeth help anchor the peeler to the surface.
Less crushing
Soft food can bruise under pressure. Because the blade catches the skin, you can often use a lighter touch. This helps preserve the shape and texture of the fruit.
Useful on uneven surfaces
Foods such as kiwis and citrus fruits do not have perfectly smooth surfaces. A serrated edge can follow small curves and bumps more easily than a rigid smooth blade.
Thin peeling
With the right angle, the tool can remove only the outer skin. This reduces waste and leaves more edible flesh behind.
Good for beginners
A serrated peeler can feel more forgiving because it does not glide away as easily. It still requires care, but the extra grip may make peeling easier for people with limited hand strength.
In my kitchen testing, the biggest improvement usually comes from using less force. Many people press down because they expect the tool to behave like a knife. A serrated peeler works better with short, relaxed strokes.
Limitations of a Serrated Peeler
No kitchen tool is perfect. Understanding the limits of a serrated peeler helps you use it safely and avoid disappointment.
The toothed edge may leave a slightly rougher finish than a smooth blade. This rarely matters for a tomato sauce or fruit salad, but it may matter when you want long, neat strips for garnishing.
A serrated peeler can also be slower on hard produce. The teeth may catch too much material, especially if you press too firmly. For thick skins, a knife or strong standard peeler may be more efficient.
Cleaning can require extra attention. Food fibers may lodge between the teeth, particularly after peeling citrus or soft fruit. A small dish brush can help remove residue.
Common limitations include:
• Less efficient on very hard vegetables
• A rougher peel surface
• More difficult cleaning if food sticks between the teeth
• Possible discomfort if the handle is narrow
• Reduced performance when the blade becomes dull
One mistake I often see is using a serrated peeler with a heavy sawing motion. This can damage soft food and make the tool harder to control. Use short strokes and clean the blade after each use.
How to Use a Serrated Peeler Safely
A serrated peeler is safer when you control both the food and the direction of movement. Even a small blade can cause a cut if it slips.
Follow these steps:
-
Wash the produce under running water before peeling. This reduces surface dirt and bacteria that could move onto the edible flesh.
-
Dry the food with a clean towel. A dry surface gives you better control.
-
Place very small or round foods on a cutting board when possible.
-
Hold the peeler with a firm but relaxed grip.
-
Pull the blade away from your fingers and body.
-
Use light pressure and short strokes.
-
Rotate the food slowly as you work.
-
Stop when the blade meets a tough stem or hard spot.
Do not peel toward your fingertips. If the produce is hard to hold, cut it into a stable piece first. Children should use this tool only with close adult supervision.
Food safety also matters. Peeling does not remove all contamination from food. Clean the produce before peeling, and wash the tool after use. This advice follows basic produce-handling principles used in home and professional kitchens.

How to Choose the Best Serrated Peeler
The best serrated peeler should feel stable, comfortable, and easy to clean. Blade design matters, but handle design matters just as much.
Look for these features:
• Stainless steel teeth that resist rust
• A comfortable, non-slip handle
• A blade that stays firmly attached
• A swivel head for curved produce
• A protective cover for storage
• A design that is easy to rinse and brush clean
If you have arthritis or weak grip strength, choose a wide, padded handle. A handle that fills your palm can reduce strain. Avoid models with sharp edges around the grip.
Check the blade before buying. The teeth should look even and secure. They should not be bent, loose, or widely spaced. A very aggressive blade may remove too much flesh from soft fruit.
Price does not always predict performance. A simple, well-made peeler can work better than an expensive model with a poor handle. When possible, hold the tool in a store or read reviews that discuss comfort, cleaning, and long-term blade performance.
How to Clean and Store a Serrated Peeler
Clean the peeler soon after use. Dried food can become trapped in the small teeth and may be harder to remove later.
Use warm water, dish soap, and a soft brush. Move the brush across the teeth rather than pressing your fingers along the blade. Rinse the tool well and dry it fully before storage.
Some serrated peelers are dishwasher safe, but check the product instructions first. High heat and strong detergent may damage certain handles or reduce the life of the blade.
Avoid these cleaning mistakes:
• Do not use your bare fingers to wipe across the teeth
• Do not leave the tool soaking for long periods
• Do not store it loose in a crowded drawer
• Do not use abrasive pads on coated blades
• Do not put away the peeler while it is wet
A blade cover or utensil holder can protect both the tool and your hands. If the teeth become bent, rusty, or loose, replace the peeler rather than trying to reshape the blade.

Common Mistakes to Avoid
Using a serrated peeler seems simple, but a few habits can reduce its performance.
The first mistake is pressing too hard. Extra pressure can dig into the flesh and create thick, uneven strips. Let the teeth catch the skin with a gentle pull.
The second mistake is using the wrong angle. Hold the blade at a shallow angle to the food. A steep angle removes too much material and may cause the tool to stop suddenly.
The third mistake is peeling wet produce. Water, juice, and loose skin can make the food difficult to control. Dry the surface first.
The fourth mistake is expecting one peeler to do every job. A serrated peeler is excellent for soft and slippery foods, but a smooth peeler may be better for firm vegetables.
The final mistake is ignoring comfort. If your hand aches after a few minutes, the handle may not suit you. Good kitchen tools should make work easier, not turn a simple task into a struggle.
When Should You Use a Knife Instead?
A knife may be better when the skin is thick, tough, or too irregular for a peeler. Pineapple, melon, celeriac, and large winter squash usually need a chef’s knife or paring knife.
Use a knife when you need to remove:
• Thick rind
• Hard stems
• Deep blemishes
• Tough eyes or woody spots
• Large sections of peel
A knife gives you more control over thick layers, but it also requires stronger cutting skills. Keep the blade sharp, use a stable cutting board, and cut away from your body.
For many foods, the best approach is to use both tools. You might remove a thick stem with a paring knife, then use a serrated peeler for the softer surface around it.
Frequently Asked Questions About What Is a Serrated Peeler
Is a serrated peeler better than a regular peeler?
A serrated peeler is better for soft, slippery, or uneven produce. A regular smooth peeler is often faster for firm foods such as carrots, apples, and potatoes.
Can you use a serrated peeler on tomatoes?
Yes, a serrated peeler works well on ripe tomatoes because its teeth grip the skin without pressing heavily on the soft flesh. Use light strokes and rotate the tomato as you peel.
Does a serrated peeler remove more or less skin?
With gentle pressure, it can remove a thin layer of skin and reduce waste. Pressing too hard may cause the teeth to dig into the food and remove more flesh.
Is a serrated peeler safe to use?
Yes, it is generally safe when you keep the food stable and pull the blade away from your fingers. Always wash the produce first, use a controlled grip, and clean the tool carefully.
Can a serrated peeler go in the dishwasher?
Some models are dishwasher safe, but not all are. Check the care instructions because heat and detergent may damage the handle or shorten the blade’s useful life.
What is a serrated peeler used for besides vegetables?
It can peel fruits such as peaches, nectarines, kiwis, plums, mangoes, and pears. Some cooks also use it for thin citrus strips, although a zester may provide better control for fine zest.
Conclusion
A serrated peeler is a specialized kitchen tool with small teeth that grip and remove the skin from soft, slippery, or uneven produce. It is especially useful for tomatoes, peaches, kiwis, citrus fruits, and other foods that a smooth blade may crush or skip.
The best results come from light pressure, short strokes, dry produce, and a comfortable grip. Choose a model with strong stainless steel teeth, a non-slip handle, and simple cleaning needs.
Now that you know what is a serrated peeler, try one on a ripe tomato or peach and compare the result with a standard peeler. Explore more kitchen tool guides, share your experience, or leave a comment about which foods you peel most often.

Liora Pennings is a seasoned chef and kitchen enthusiast with a passion for turning everyday cooking into an effortless experience. With years of hands-on culinary expertise, she specializes in practical techniques, ingredient know-how, and smart kitchen solutions that help home cooks elevate their meals. At KitchFlair.com, Liora shares her best tips, time-saving tricks, and honest product reviews to guide readers toward a more efficient, enjoyable, and inspired cooking routine. Whether you’re a beginner or a seasoned home chef, Liora’s friendly, knowledge-packed insights make every visit to the kitchen a little easier—and a lot more delicious.