How To Make Soup Bowls: Easy DIY Guide
You can make soup bowls from clay by shaping, drying, glazing, and firing them safely.
Learning how to make soup bowls is a rewarding pottery project for beginners and skilled makers alike. A good soup bowl must feel balanced, hold heat well, resist cracking, and give you enough room for broth, noodles, or a hearty stew. This guide explains the full process, from choosing clay to finishing a food-safe bowl, with practical tips that help prevent common pottery mistakes.
What Makes a Good Soup Bowl?
A soup bowl is more than a round dish with tall sides. Its shape affects comfort, heat retention, serving size, and how easily you can use a spoon.
When learning how to make soup bowls, focus on these features:
• A wide opening makes soup easy to serve and eat.
• A gently curved wall helps prevent spills.
• A stable foot ring keeps the bowl steady.
• A thick but not heavy base improves strength.
• A smooth rim feels comfortable against the mouth.
• Food-safe glaze protects the clay and makes cleaning easier.
A useful soup bowl often holds 16 to 24 fluid ounces. Small bowls work well for side soups, while larger bowls suit ramen, chili, or thick stews. Always consider how the bowl will feel when filled with hot liquid.
The best design is like a well-made chair. It should look attractive, but comfort and function come first.

Materials and Tools You Need
Before you begin making soup bowls, gather all your materials. Good preparation saves time and helps you avoid cracks, weak rims, and uneven surfaces.
Clay
Choose a clay body made for functional pottery. Stoneware is a popular option because it is strong, durable, and suitable for high-temperature firing. Porcelain can create elegant soup bowls, but it is less forgiving and may warp or crack more easily.
Earthenware is also usable for some bowls, but it is more porous unless it receives a proper glaze and firing. Follow the firing range listed by the clay manufacturer.
Basic pottery tools
You may need:
• Pottery clay
• Canvas or a smooth work surface
• Wire clay cutter
• Pottery wheel or a hand-building board
• Needle tool
• Wooden rib
• Metal rib
• Sponge
• Scoring tool
• Slip
• Trimming tool
• Ruler or calipers
• Kiln
• Food-safe glaze
A damp box or plastic bag is also helpful. It slows drying and gives the clay time to lose moisture evenly.
Safety supplies
Wear a dust mask rated for fine particles when handling dry clay or sanding bisque ware. Do not sweep clay dust with a dry broom. Use a damp sponge or a certified shop vacuum designed for fine dust.
Never use unknown glazes on dishes. A glaze must be labeled for food contact and fired at the correct temperature.
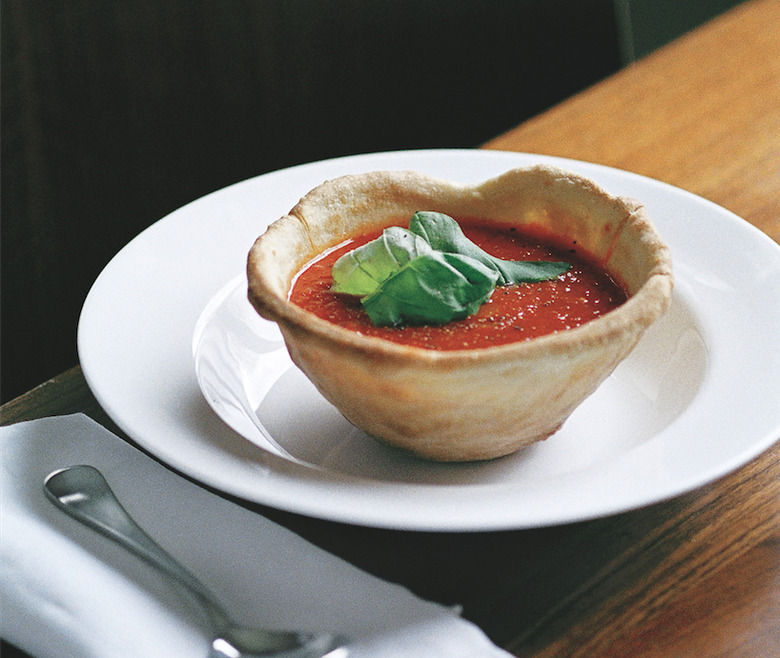
Choose the Right Clay and Bowl Size
The clay you choose affects every step of making soup bowls. Some clay bodies shrink more than others, so check the manufacturer’s shrinkage information before planning your dimensions.
For most home pottery studios, a smooth stoneware clay is a reliable choice. It has enough strength for everyday use and gives you many glaze options.
Plan for shrinkage when measuring the bowl. Many clay bodies shrink between 8% and 15% from wet form to final firing. If you want a finished bowl that is 8 inches wide, you may need to make the wet bowl slightly larger.
A practical starting size is:
• Wet diameter: about 9 inches
• Finished diameter: about 7.5 to 8 inches
• Wet height: about 3.5 inches
• Final capacity: about 18 to 24 fluid ounces
These measurements vary by clay type and firing method. Test one bowl before making a full set.
One of the most useful lessons in pottery is to measure the finished goal, not just the wet form. Clay changes as it dries and fires, much like dough changes as it bakes.
How to Make Soup Bowls on a Pottery Wheel
Wheel throwing is one of the most common ways to make soup bowls. It creates smooth, even forms and makes it easier to produce matching bowls.
1. Prepare and center the clay
Start with about 2 to 3 pounds of clay for a medium soup bowl. Wedge the clay to remove air pockets and even out its moisture.
Place the clay in the center of the wheel. Wet your hands and press the clay firmly into a cone. Then open your hands and bring the clay back down into a centered mound.
Centering may feel difficult at first. Keep your elbows close to your body and use steady pressure rather than force.
2. Open the form
Slow the wheel to a moderate speed. Press your thumb into the center of the clay, but leave enough clay at the bottom for the base.
Stop when the floor is about ⅜ inch thick. You can check the depth with a needle tool, but do not drag the tool across the surface while the wheel spins.
3. Pull the walls
Use both hands to pull the clay upward. Begin near the base and move slowly toward the rim. Use several light pulls instead of one hard pull.
Keep the walls about ¼ inch thick at first. A soup bowl needs enough strength to hold hot liquid, but excessive thickness makes it heavy and slows drying.
4. Shape the bowl
Create a rounded interior with a broad base and gently rising walls. Avoid a sharp corner where the floor meets the wall. That corner can collect food and create a weak stress point.
A wooden rib can help compress the clay and smooth the inside. Keep the outside slightly rounded or faceted, depending on the style you want.
5. Form the rim
The rim should be even, smooth, and slightly rounded. A sharp edge can chip easily and may feel uncomfortable when eating.
Compress the rim with your fingers or a soft rib. Check it from several angles. Small differences become more noticeable after glazing.
6. Let the bowl firm up
Cut the bowl from the wheel and place it on a dry board. Cover it loosely with plastic and let it reach a leather-hard stage.
Do not trim the bowl while it is too soft. The form may collapse. Do not wait until it is bone dry either, because trimming becomes difficult and can cause cracks.
How to Make Soup Bowls by Hand
You do not need a pottery wheel to make soup bowls. Hand-building methods can produce strong, beautiful bowls with a more natural and personal look.
Pinch method
The pinch method works well for small bowls.
-
Roll a smooth ball of clay.
-
Press your thumb into the center.
-
Rotate the clay while pinching the walls.
-
Keep the base thick enough to support the bowl.
-
Smooth the rim and interior with a rib or damp sponge.
This method creates bowls with gentle variations. Those small differences can make a handmade dinner set feel warm and personal.
Slab method
For a slab-built bowl, roll clay to an even thickness of about ¼ inch. Cut a circular base and a long wall strip, or use several shaped panels.
Score and add slip to every seam. Press the joints together firmly. Blend the inside seams so soup cannot collect in open gaps.
Support the bowl with a mold while it dries. A bowl, plaster form, or commercial slump mold can help hold the shape.
Coil method
Roll long, even coils and stack them around a clay base. Join each coil to the next with scoring, slip, and firm compression.
Coil-built soup bowls can have a strong handmade character. Smooth the coils for a clean look, or leave some texture visible for a rustic design.
When hand-building, keep the wall thickness consistent. Uneven areas dry at different rates, which increases the risk of cracking.
How to Shape and Trim Soup Bowls
Trimming gives the bowl a finished base and improves its balance. It also removes extra clay that would make the bowl heavy.
Place the leather-hard bowl upside down on the wheel. Use soft clay coils or chuck jaws to hold it in place without damaging the rim.
Trim a small foot ring rather than cutting away too much clay. A foot ring lifts the bowl slightly from the table and gives it a more refined appearance.
Check these areas as you trim:
• The foot should sit flat.
• The wall should remain strong.
• The base should not become paper-thin.
• The foot ring should match the bowl’s scale.
• The edge should be smooth and free from loose crumbs.
A wide, low foot often works well for soup bowls. It gives stability without making the bowl look bulky.
After trimming, smooth the foot and remove all sharp edges. Let the bowl dry slowly under loose plastic. Fast drying is one of the main causes of cracks.
How to Dry Soup Bowls Without Cracks
Drying is a slow stage, but it is one of the most important parts of learning how to make soup bowls. Water leaves the clay from the outside surface first. If one area dries much faster than another, the clay can pull apart.
Use these drying practices:
• Place the bowl on a porous surface, such as unfinished wood or drywall.
• Cover it loosely with plastic.
• Turn the bowl occasionally if the base dries unevenly.
• Keep it away from direct sunlight and heaters.
• Dry several bowls together when possible.
• Inspect the rim and foot ring each day.
If the rim dries quickly, place a small piece of plastic over just the rim. If the base stays wet, lift the bowl slightly so air can move underneath it.
The bowl is ready for the kiln when it is bone dry. It should feel room temperature, not cool, when held against your cheek. Any remaining moisture can turn into steam and damage the piece during firing.

Bisque Firing Soup Bowls
The first kiln firing is called a bisque firing. It changes dry clay into a hard, porous ceramic form that can accept glaze.
Load bowls with space between them. Do not stack them unless the kiln manufacturer and clay instructions specifically allow it. Make sure the bowls are completely dry before firing.
A typical bisque firing may reach cone 06 to cone 04, but the correct temperature depends on the clay body. Always follow the product label and kiln schedule.
During this stage:
• Use a slow early ramp to release moisture.
• Avoid overcrowding the kiln.
• Check that no glaze or clay remains on the kiln shelf.
• Allow the kiln to cool fully before unloading.
Bisque ware should be firm but porous. If the bowl feels chalky or breaks easily, the firing or clay choice may need review.
Do not rush to open a hot kiln. Sudden temperature changes can cause thermal shock and damage both the bowls and the kiln.

How to Glaze Soup Bowls
Glaze adds color, texture, and a protective surface. It also makes soup bowls easier to clean, but glaze selection and application require care.
Wipe bisque ware with a clean, damp sponge before glazing. This removes loose dust and helps the glaze coat evenly.
Apply glaze by dipping, pouring, brushing, or spraying. Follow the manufacturer’s instructions for the number of coats. Too much glaze may run onto the kiln shelf. Too little may leave the surface rough or patchy.
Keep glaze off the bottom of the bowl and the foot ring. Remove any drips with a damp sponge or wax-resist cleanup.
For functional soup bowls, choose a glaze that is:
• Labeled for food-contact use
• Compatible with your clay body
• Fired within the correct temperature range
• Durable enough for repeated washing
• Free from sharp crystals or rough exposed clay
Food safety depends on more than a glaze being labeled “non-toxic.” The glaze must mature correctly, fit the clay, and produce a stable surface. If you plan to sell bowls, use testing appropriate for your local regulations and intended market.
Avoid decorative glazes that are marked for display only. They may contain materials or produce surfaces that are not suitable for food.

Final Firing and Quality Checks
The glaze firing melts the glaze into a glass-like coating and strengthens the ceramic body. The firing temperature must match the clay and glaze.
Load the kiln carefully. Keep glazed surfaces from touching shelves or other pieces. Use kiln stilts only when appropriate for the clay and glaze system.
After firing, inspect every bowl before using it. Look for:
• Cracks in the rim or base
• Sharp glaze edges
• Pinholes or blisters
• Crawling, where glaze pulls away
• Bare patches
• Warping
• A wobbly foot
Run your finger around the rim and foot. If anything feels sharp, do not use the bowl for food until it is repaired or set aside for decoration.
A simple water test can reveal problems, but it does not replace professional laboratory testing. Fill the cooled bowl with water and leave it for several hours. Moisture appearing on the outside suggests the piece is porous and may not be suitable for regular soup service.
Common Mistakes When Making Soup Bowls
Many problems happen because the bowl is designed for appearance only. Soup adds weight and heat, so the form needs both strength and comfort.
Making the walls too thin
Thin walls may look elegant, but they can feel fragile and heat up quickly. Aim for a balanced thickness that suits your clay and intended use.
Making the base too heavy
A thick base makes the bowl tiring to hold. It can also dry and fire differently from the walls, which may cause cracks.
Using a sharp interior corner
Sharp corners trap food and create stress points. A softly rounded transition is easier to clean and stronger.
Drying the bowl too fast
Uneven drying can split the rim or separate the foot. Slow drying is usually safer than trying to save time.
Applying too much glaze
Thick glaze may run, bubble, or create a rough surface. Measure glaze thickness when possible and follow the product instructions.
Ignoring thermal shock
Do not pour boiling liquid into a cold bowl straight from a cold location. Avoid placing a hot ceramic bowl on a wet or very cold surface.
Skipping test pieces
A small test tile or sample bowl can reveal glaze color, fit, and texture before you risk a full set.
How to Make Soup Bowls Safe for Everyday Use
Safety should guide every step of making soup bowls. Use proven clay and glaze combinations, and fire both at the temperatures they require.
A finished bowl should have a stable surface that does not flake, powder, or release sharp particles. Avoid using bowls with visible cracks, deep chips, or glaze defects that are difficult to clean.
Hand-wash unusual or highly textured bowls at first. Even when a bowl is dishwasher safe, repeated high heat and strong detergents can shorten its life.
Microwave use depends on the clay, glaze, and decorations. Metallic accents should never go in a microwave. If the maker does not confirm microwave safety, use the bowl only for serving.
Lead and cadmium concerns are especially important for pottery made with unknown materials. Do not use mystery glazes or vintage pieces for food unless their safety has been verified.
Design Ideas for Handmade Soup Bowls
Once you understand how to make soup bowls, you can develop a style that suits your kitchen or craft business.
Try these design ideas:
• Use a wide rim for garnishes and toppings.
• Add subtle fluting for texture.
• Carve simple leaves, waves, or geometric lines.
• Use a matte exterior with a glossy interior.
• Create matching sets with different glaze colors.
• Add small thumb rests to large bowls.
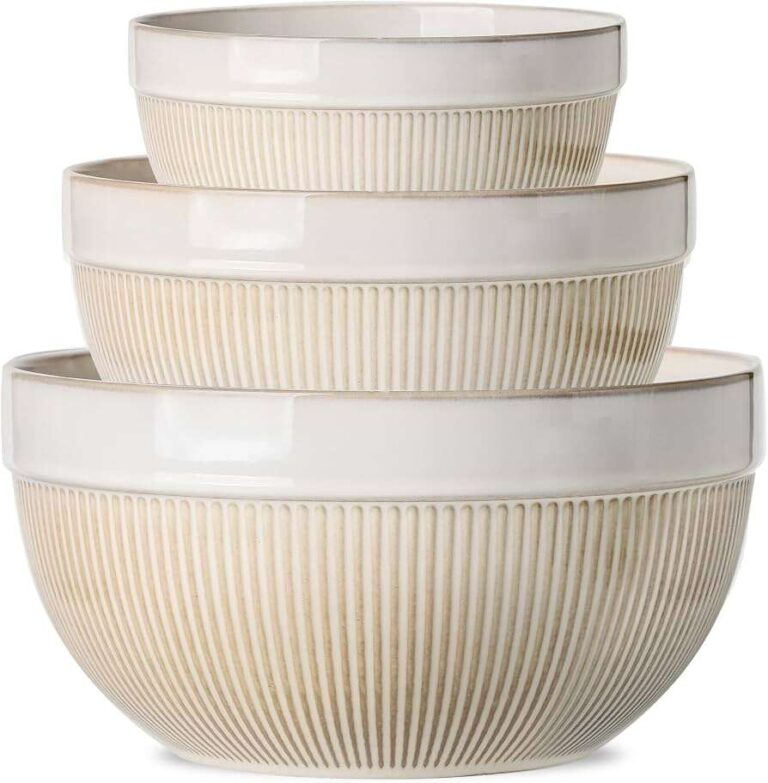
• Make nesting bowls with consistent sizes.
• Leave a narrow band of exposed clay near the foot.
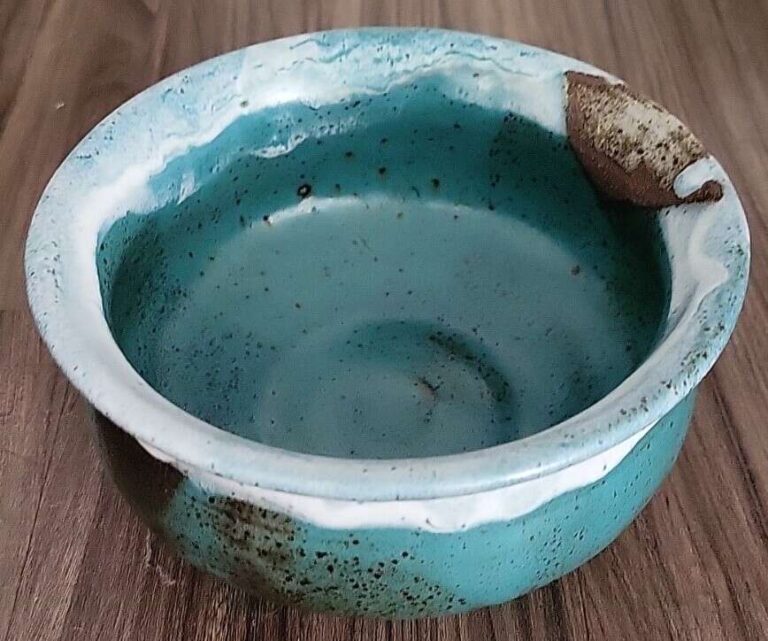
Test decorations on sample tiles first. Glaze colors can change dramatically during firing. A soft blue may become bright turquoise, while a brown may turn honey-colored.
Keep decoration away from areas that touch the mouth or food unless the material is specifically approved for that use.
Making Soup Bowls as a Beginner
Beginners often do best by starting with one bowl rather than trying to make a complete dinner set. This lets you learn how your clay behaves during throwing, drying, trimming, and firing.
Take notes after each stage. Record the clay type, wet weight, bowl measurements, glaze name, coat count, and firing temperature.
Helpful beginner goals include:
-
Make a bowl with an even rim.
-
Keep the walls close to the same thickness.
-
Dry the bowl without cracks.
-
Trim a stable foot.
-
Apply glaze without covering the foot.
-
Compare the finished bowl with your original measurements.
One practical lesson many potters discover is that “perfect” matching is harder than expected. Small differences are normal. A coordinated set often looks more inviting than a mechanically identical set.
If a bowl fails, study the failure. A crack near the rim may point to uneven drying. A warped base may suggest an unsupported form. Each failed piece can teach you how to improve the next one.
Frequently Asked Questions About How to Make Soup Bowls
What clay is best for making soup bowls?
Stoneware is usually a strong choice because it produces durable, functional bowls when fired correctly. Choose a clay body that matches your kiln and food-safe glaze.
How thick should a soup bowl be?
A wall thickness of about ¼ inch is a useful starting point for many handmade soup bowls. The ideal thickness depends on the clay, bowl size, and forming method.
Can I make soup bowls without a pottery wheel?
Yes. You can make soup bowls with pinch, slab, or coil techniques. Hand-building takes more time to smooth and join, but it can create strong and distinctive forms.
How long should soup bowls dry before firing?
Drying time varies with bowl size, clay type, humidity, and air flow. A bowl is ready when it is completely bone dry and feels the same temperature as the room.
Are all ceramic soup bowls food safe?
No. A ceramic bowl is food safe only when its clay, glaze, firing, and surface meet suitable standards. Do not use unknown glazes or bowls with sharp cracks and unstable surfaces.
Can handmade soup bowls go in the dishwasher?
Some can, especially high-fired stoneware with a durable glaze. However, check the maker’s guidance because thermal shock, rough textures, and repeated washing may cause damage.
Conclusion
Making soup bowls combines design, patience, and careful control of clay, moisture, glaze, and heat. Start with a stable shape, use suitable materials, dry the bowl slowly, and fire it according to the clay and glaze instructions.
Your first bowl may not be perfect, and that is part of the process. Each attempt teaches you how to create a stronger base, smoother rim, and more comfortable form. Try making one bowl this week, test your glaze on a sample, and keep notes so your next soup bowl is even better.

Liora Pennings is a seasoned chef and kitchen enthusiast with a passion for turning everyday cooking into an effortless experience. With years of hands-on culinary expertise, she specializes in practical techniques, ingredient know-how, and smart kitchen solutions that help home cooks elevate their meals. At KitchFlair.com, Liora shares her best tips, time-saving tricks, and honest product reviews to guide readers toward a more efficient, enjoyable, and inspired cooking routine. Whether you’re a beginner or a seasoned home chef, Liora’s friendly, knowledge-packed insights make every visit to the kitchen a little easier—and a lot more delicious.