How To Make Your Own Coffee Creamer: Easy Homemade Recipes
Mix milk or a milk alternative with cream, sweetener, and flavor—heat and blend.
I’ve spent years testing homemade blends and teaching friends how to make your own coffee creamer that tastes better than store-bought. This guide covers simple recipes, flavor ideas, safety tips, and expert tricks so you can master how to make your own coffee creamer at home with confidence and ease. Read on to start customizing creamer to your taste and diet.
Why make your own coffee creamer
Making your own creamer saves money and puts you in control of ingredients. You avoid additives, tune sweetness, and create flavors you won’t find on shelves. When you learn how to make your own coffee creamer, you also reduce waste by using pantry staples and small jars.
I recommend homemade creamer for people with allergies, diet goals, or who want fresh flavor. The process is simple, fast, and rewarding. You’ll find tips below from real tests and common mistakes I’ve learned to avoid.
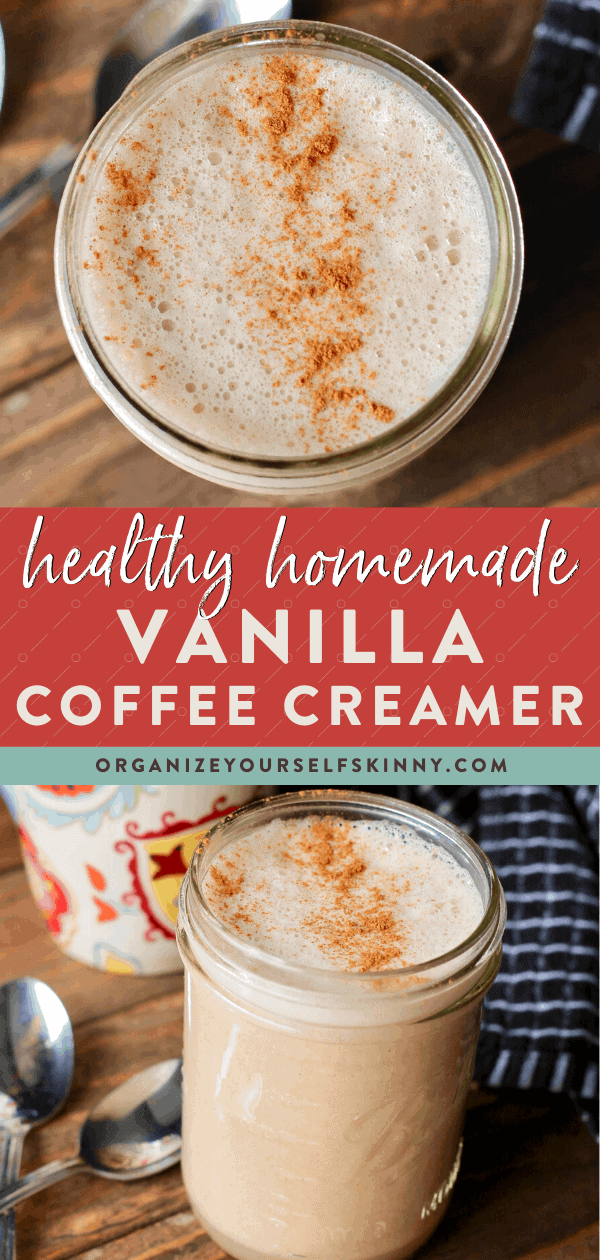
Kitchen basics: tools and ingredients you’ll need
Making creamer is low-tech. You need a few small tools and pantry items.
- Tools: measuring cups, small saucepan, whisk, blender or immersion blender, glass jar for storage.
- Base liquids: dairy milk, half-and-half, heavy cream, or plant milks like almond, oat, or coconut.
- Sweeteners: sugar, maple syrup, honey, agave, or sugar-free options like stevia or erythritol.
- Flavorings: vanilla extract, cocoa powder, cinnamon, espresso, extracts, or infused syrups.
- Optional stabilizers: a pinch of salt, a small amount of instant coffee, or emulsifiers like lecithin for nut milks.
When you search for how to make your own coffee creamer, start with a simple base and one or two flavors. This keeps things predictable and tasty.
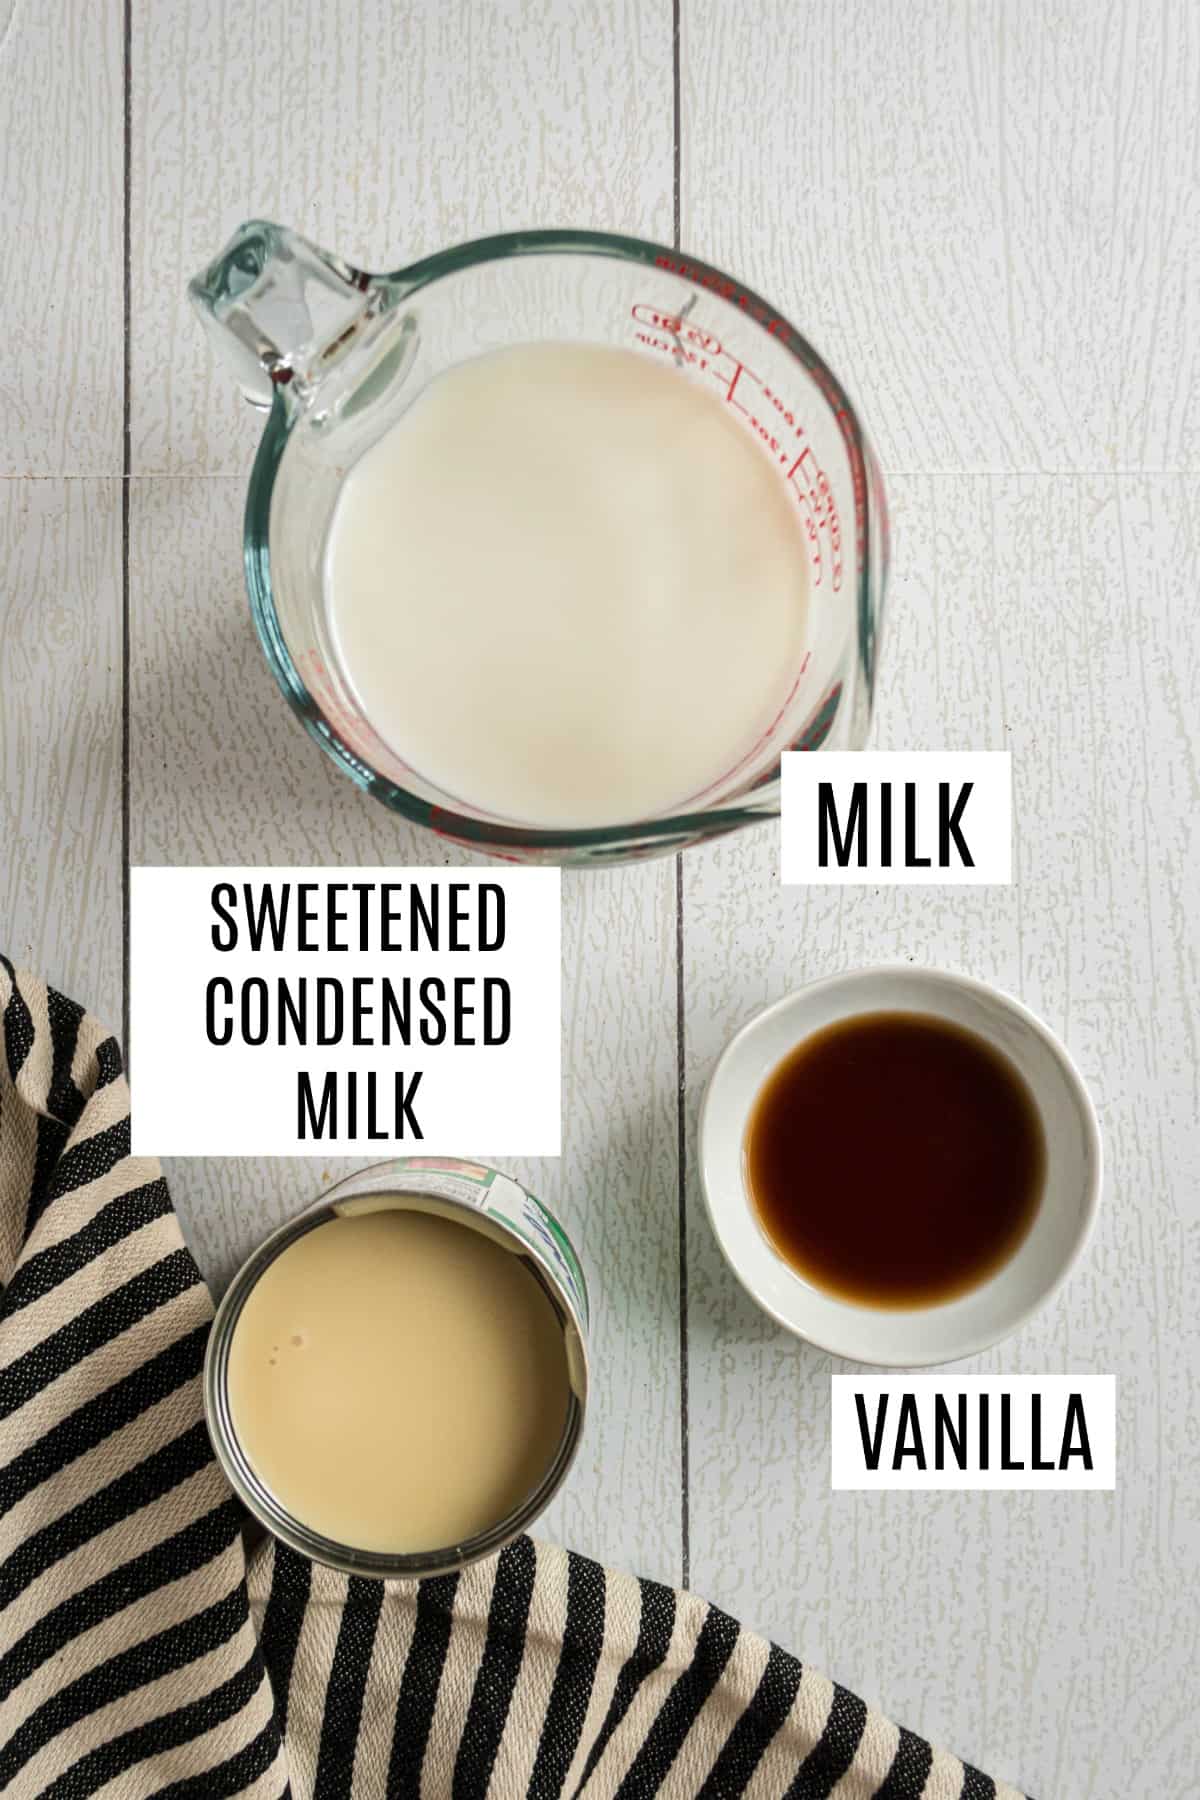
5 easy recipes for how to make your own coffee creamer
Below are five reliable recipes I use often. Each makes about 2 cups. Adjust sweetness to taste.
Classic vanilla creamer (dairy)
Ingredients:
- 1 cup half-and-half
- 1 cup whole milk
- 2 tablespoons sugar or maple syrup
- 1 teaspoon vanilla extract
Steps:
- Warm milk and half-and-half in a saucepan over low heat. Do not boil.
- Stir in sugar until dissolved.
- Remove from heat and add vanilla.
- Cool and store in a jar in the fridge.
Vegan coconut-oat creamer
Ingredients:
- 1 cup canned coconut milk (full fat)
- 1 cup oat milk
- 1 tablespoon maple syrup
- 1/2 teaspoon vanilla extract
Steps:
- Whisk coconut milk and oat milk together.
- Stir in maple and vanilla.
- Blend briefly for a smoother texture.
- Refrigerate and shake before use.
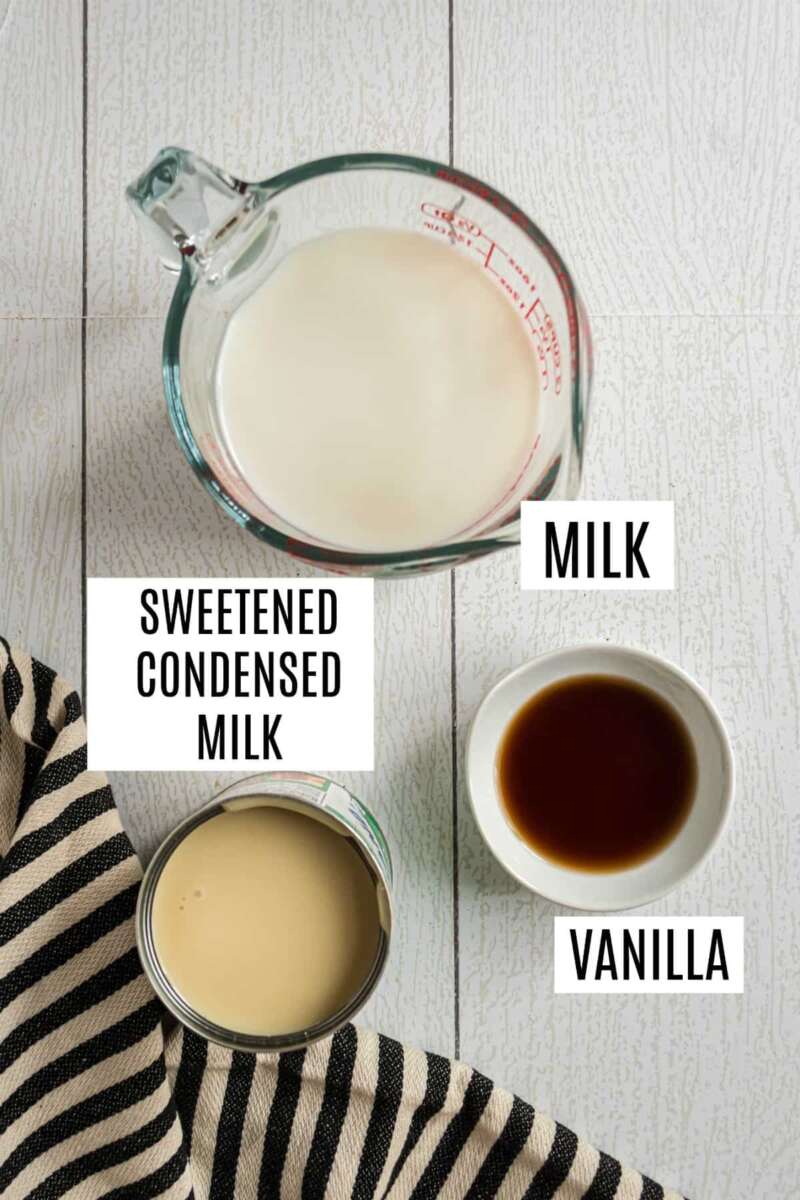
Sweetened condensed style (rich and sweet)
Ingredients:
- 1 cup whole milk
- 1 cup heavy cream
- 3/4 cup sweetened condensed milk (store-bought or homemade)
Steps:
- Heat milk and cream gently, then whisk in condensed milk.
- Cool and store. This makes a luxuriously sweet creamer for dessert-like coffee.
Almond creamer (low dairy)
Ingredients:
- 1 cup almond milk
- 1 cup half-and-half
- 2 tablespoons almond butter or blanched ground almonds
- 1 teaspoon vanilla
Steps:
- Warm liquids and whisk in almond butter until smooth.
- Blend if needed for a silky texture.
- Chill and shake before use.
Sugar-free MCT creamer (keto-friendly)
Ingredients:
- 1 cup unsweetened almond milk
- 1/2 cup heavy cream
- 1 tablespoon MCT oil
- Liquid stevia to taste
- 1/2 tsp vanilla
Steps:
- Combine ingredients and blend until emulsified.
- Store in fridge and shake before pouring.
When making how to make your own coffee creamer, test small batches first. That saves waste and helps you dial in flavor.
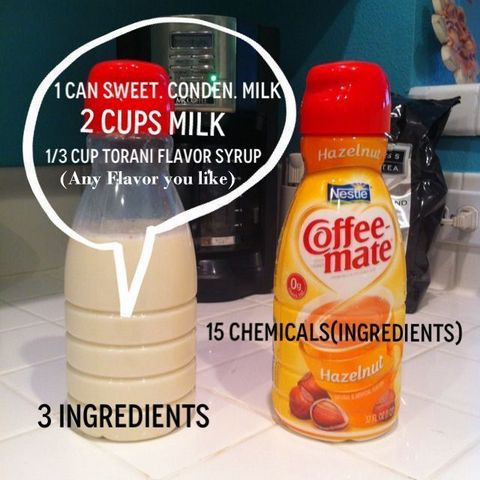
Flavoring ideas and sweeteners
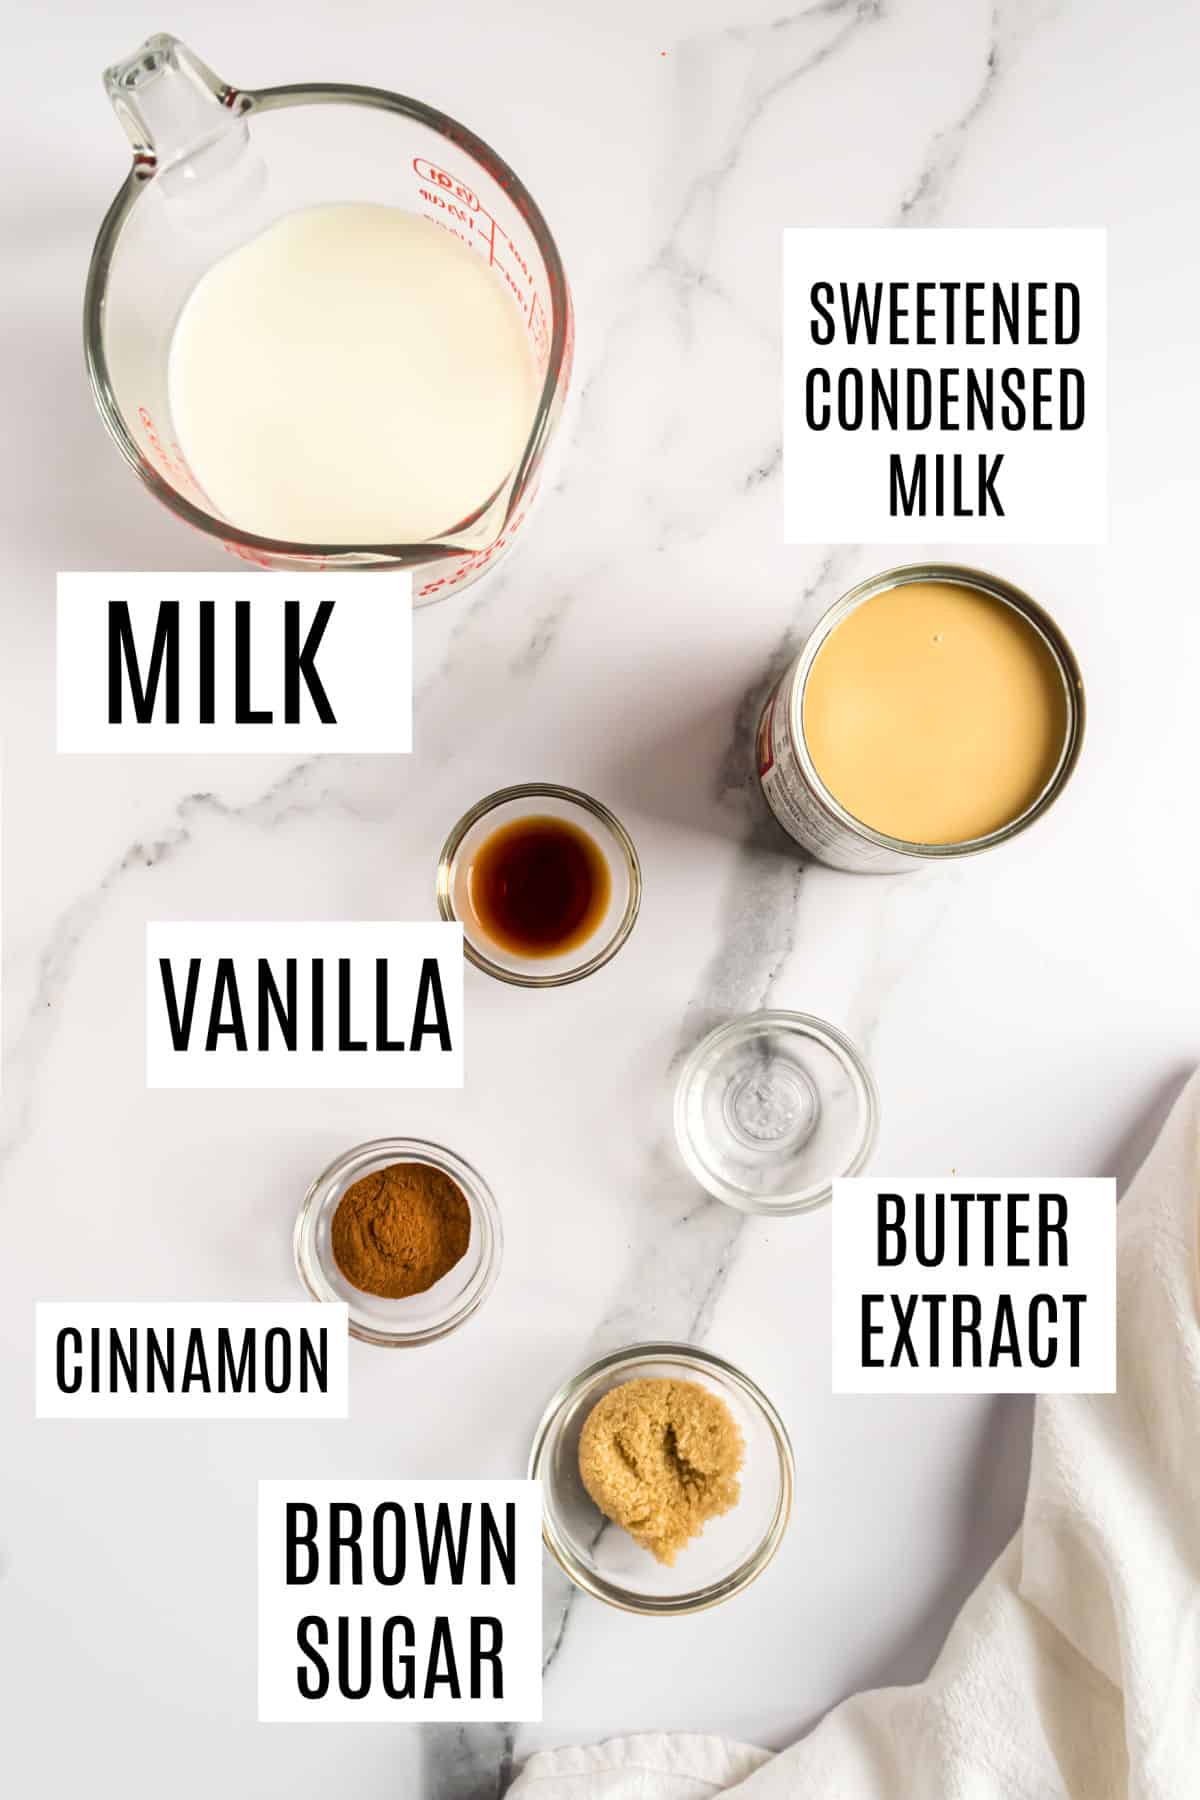
Flavor variety is why people learn how to make your own coffee creamer. Try these safe, simple combos.
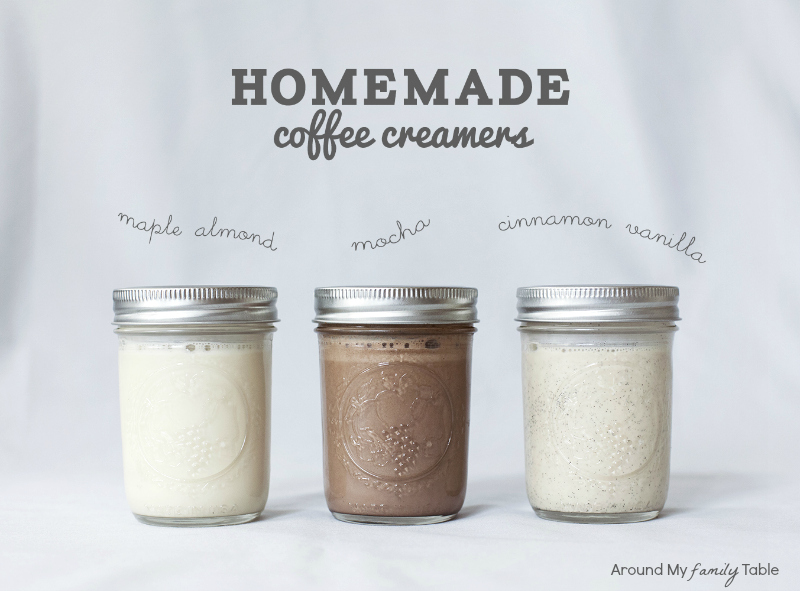
- Vanilla and cinnamon: classic and cozy.
- Chocolate mocha: add 1–2 tablespoons cocoa powder and a touch of sweetener.
- Pumpkin spice: mix 1 teaspoon pumpkin pie spice and 1–2 tablespoons pumpkin purée.
- Hazelnut: use toasted hazelnut extract or ground hazelnut blended into the base.
- Caramel: stir in a tablespoon of salted caramel sauce or caramel-flavored syrup.
Sweetener tips:
- Use liquid sweeteners for easy mixing.
- Taste as you go; creamer sweetens coffee differently than plain tasting.
- For sugar-free, choose stevia or monk fruit and start small.
Small batches let you experiment so you can master how to make your own coffee creamer that fits your morning ritual.
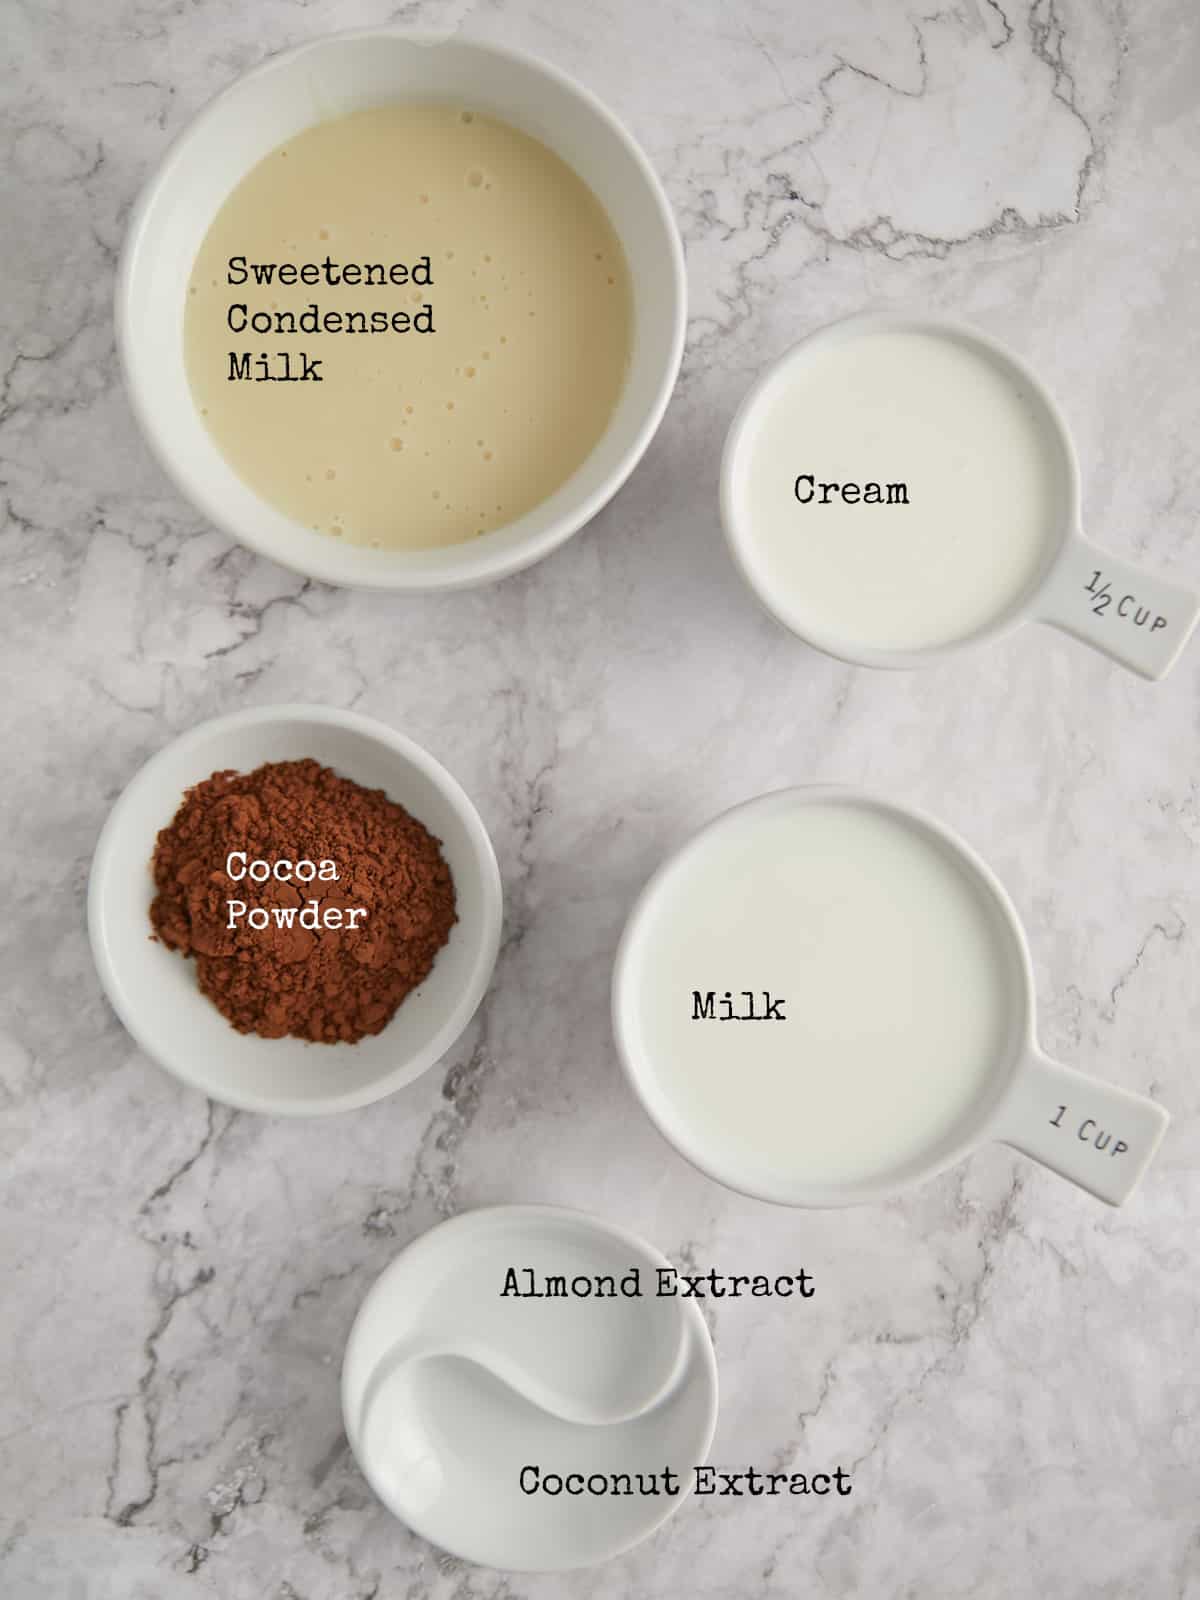
Storage, shelf life, and safety
Homemade creamer lasts less than commercial versions because it lacks preservatives. Keep it safe.
- Store in a sealed glass jar in the refrigerator.
- Use within 5–10 days for dairy-based creamer.
- Plant-based creamer may last 4–7 days depending on the milk.
- Always smell and look for curdling or off-odors before use.
- If using fresh ingredients like pumpkin, aim for the shorter end of the shelf life.
Label jars with the date. When practicing how to make your own coffee creamer, safety keeps your mornings pleasant, not risky.

Troubleshooting and advanced tips
Separation, grainy texture, or bland flavor are common. Here’s what I’ve learned from trial and error.
- Separation: shake the jar or blend briefly. For nut milks, add 1/4 teaspoon lecithin per cup to stabilize.
- Grainy cocoa: mix cocoa with a small amount of warm milk into a paste before adding to the batch.
- Too sweet or bland: always add sweetener gradually and taste with coffee.
- Curdling in hot coffee: warm heavy cream slightly before mixing into very hot coffee. Plant milks with acid can curdle; use a stronger base or lower acidity coffee.
Practice and small tweaks make a big difference when you learn how to make your own coffee creamer.
Quick PAA-style questions
What is the easiest way to make creamer at home?
Mix milk or milk alternative with cream, sweetener, and vanilla. Heat gently, whisk, cool, and store.
Can I make creamer without dairy?
Yes. Use oat, almond, or coconut milk and add coconut cream or almond butter for richness.
How long does homemade creamer last?
Typically 4–10 days in the refrigerator, depending on ingredients and cleanliness.
Frequently Asked Questions of how to make your own coffee creamer
What is the simplest homemade creamer recipe?
The simplest recipe is equal parts milk and half-and-half with 1 teaspoon vanilla and 1–2 tablespoons sweetener. Warm, stir, cool, and store in the fridge.
Can I make sugar-free creamer that tastes good?
Yes. Use liquid stevia or monk fruit and add a little xanthan gum or MCT oil for mouthfeel. Taste and adjust gradually.
Will homemade creamer curdle in coffee?
Plant-based creamer can curdle if the coffee is very acidic or hot. Warm the creamer slightly and stir slowly to reduce curdling.
How do I thicken dairy-free creamers?
Add a tablespoon of creamed coconut, a little nut butter, or 1/4 teaspoon xanthan gum per cup and blend well. These boost body without dairy.
Is homemade creamer cost-effective?
Usually yes. Making creamer at home can save money, especially if you buy base ingredients in bulk and avoid specialty syrups.
Can I use leftover coffee to flavor creamer?
Yes, reduce leftover coffee into a concentrate and mix into your base for a coffee-forward creamer. Keep in mind this changes shelf life.
How do I prevent separation in nut-based creamers?
Use an emulsifier like lecithin or blend with a small amount of neutral oil. Shake well before each use for best results.
Conclusion
You now have clear, easy ways to make your own coffee creamer at home. Start with a basic recipe, test small batches, and slowly build flavors that match your taste. My best advice: experiment, take notes, and adjust little by little—this is how you find the perfect creamer for your coffee.
Try one recipe this week, tweak it, and share your favorite blend in the comments or subscribe for more simple kitchen guides.

Liora Pennings is a seasoned chef and kitchen enthusiast with a passion for turning everyday cooking into an effortless experience. With years of hands-on culinary expertise, she specializes in practical techniques, ingredient know-how, and smart kitchen solutions that help home cooks elevate their meals. At KitchFlair.com, Liora shares her best tips, time-saving tricks, and honest product reviews to guide readers toward a more efficient, enjoyable, and inspired cooking routine. Whether you’re a beginner or a seasoned home chef, Liora’s friendly, knowledge-packed insights make every visit to the kitchen a little easier—and a lot more delicious.