How To Make Coffee Soaked Letter: Easy DIY Guide
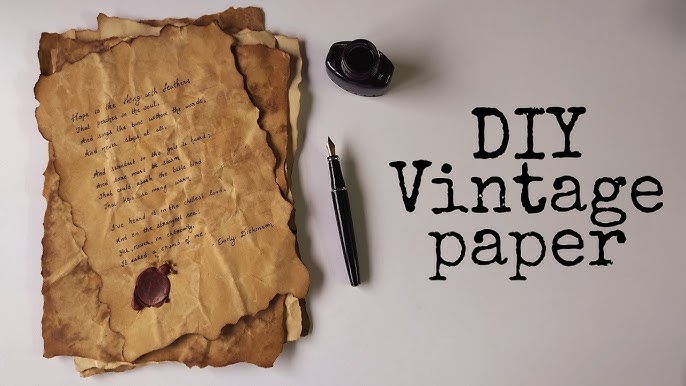
Make a coffee soaked letter by brushing brewed coffee over paper, drying it gently, and adding light stains for an aged look.
A coffee soaked letter can look warm, old, and full of history without special tools. I have found that the best results come from using very little liquid, drying the paper slowly, and testing the method on scrap paper first. This guide explains how to make a coffee soaked letter, how to avoid tears and blotches, and how to create different vintage effects safely.
What Is a Coffee Soaked Letter?
A coffee soaked letter is a sheet of paper treated with brewed coffee to create a brown, antique look. The coffee changes the paper’s color and may add soft rings, uneven edges, and small marks that resemble natural aging.
This craft works well for:
• Handmade letters and invitations
• Treasure maps and journal pages
• Theater props and school projects
• Scrapbooks and themed party decor
• Vintage-style poems and keepsakes
The phrase “coffee soaked” can mean two things. You can fully soak the paper in coffee, or you can brush coffee over the surface. Brushing gives you more control, while soaking creates a deeper and less even stain.

Materials You Need
You only need a few basic supplies to make a coffee soaked letter. Choose materials based on the finish you want and the strength of your paper.
• Plain white or cream paper
• Strong brewed coffee or instant coffee
• A shallow tray or bowl
• A wide paintbrush, sponge, or clean cloth
• Paper towels
• A baking sheet or flat board
• A hair dryer, optional
• A pen or printer for the letter
• Scissors, optional
• A candle or lighter, only for careful edge effects
Use uncoated paper when possible. Copy paper works, but thicker paper, watercolor paper, or mixed-media paper usually holds moisture better.
Avoid glossy paper. Coffee may sit on top instead of soaking in, which can create streaks and a sticky surface. If you plan to mail the letter, use a sturdy paper and let it dry fully before folding it.
How to Make a Coffee Soaked Letter Step by Step
Follow these steps for a simple and controlled coffee stain. Work on a protected surface because coffee can stain tables, fabric, and counters.
1. Prepare the coffee
Brew a small cup of strong black coffee. You can use leftover coffee, but fresh coffee often gives a cleaner color.
For a darker stain, use:
• Two teaspoons of instant coffee in one cup of warm water
• Strong dark roast coffee
• Less water for a thicker coffee mixture
Let the coffee cool before applying it. Hot liquid can make paper curl faster and may damage thin sheets.
2. Choose and prepare the paper
Place the paper on a baking sheet, tray, or thick towel. If the paper is very thin, put a sheet of parchment paper underneath it.
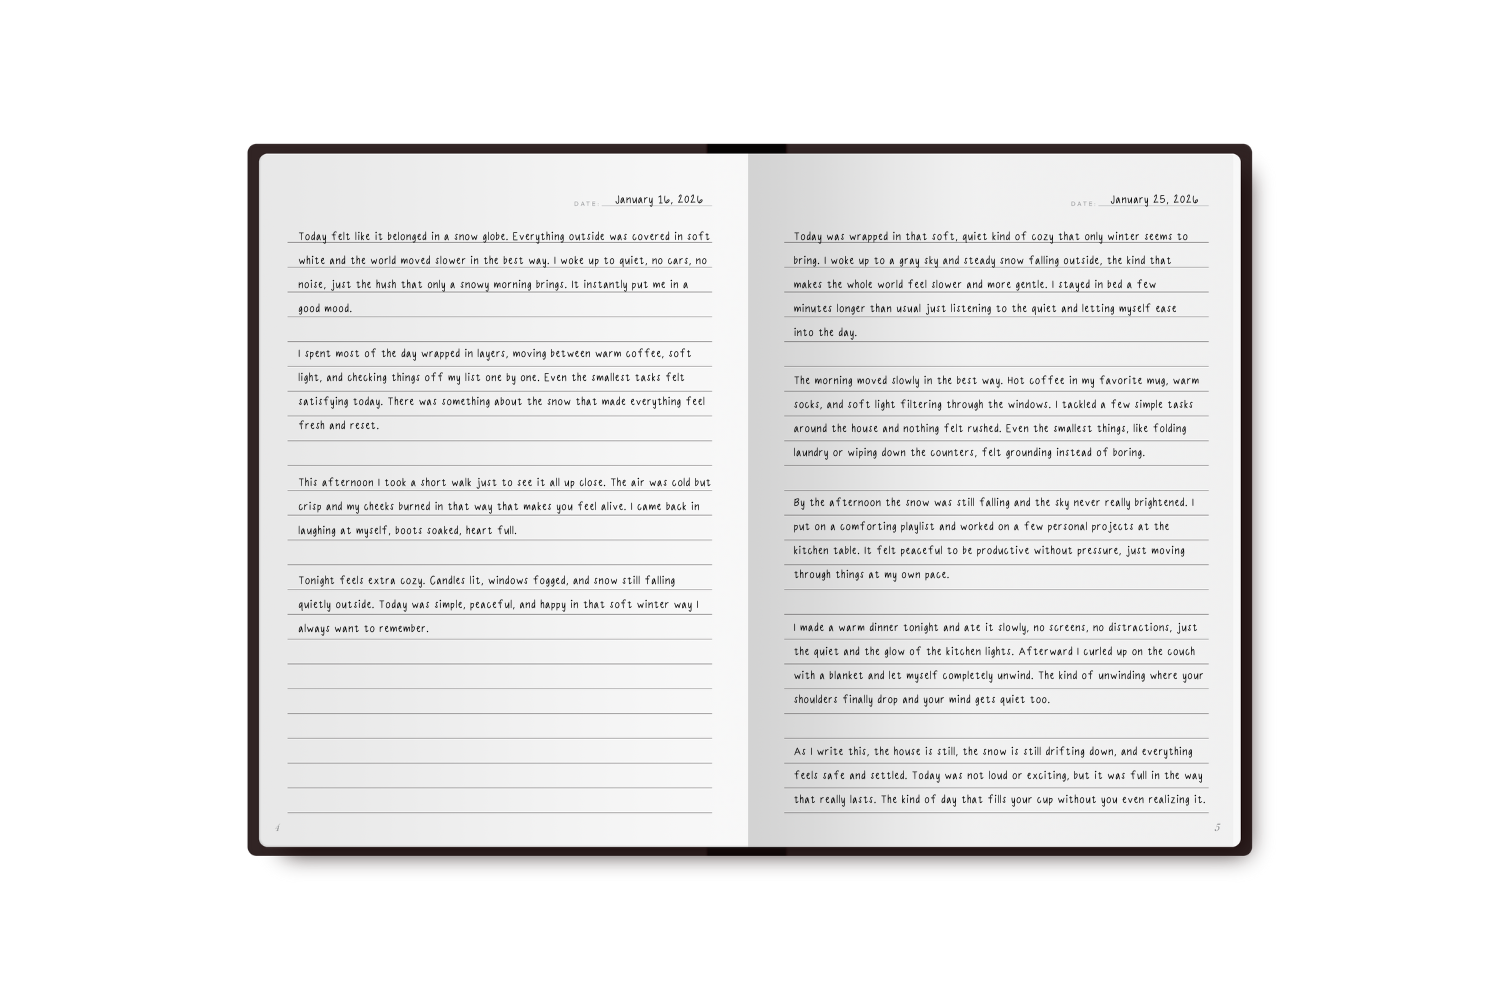
Write or print the letter before staining if you want clean, readable text. This method works well with waterproof ink, laser printing, or a pencil. Water-based ink may run when coffee touches it, so test a small mark first.
3. Apply a light coat
Dip a brush or sponge into the coffee. Press out excess liquid, then brush across the paper in long, gentle strokes.
Cover the whole page or leave some areas lighter. Start with a thin layer. You can always add more coffee, but you cannot easily remove a heavy stain.
4. Add natural-looking marks
To create a more realistic vintage effect, try these methods:
• Press a damp coffee spoon against the page to make round marks.
• Flick a small amount of coffee with a toothbrush for tiny specks.
• Dab the edges with a sponge for darker borders.
• Place a few coffee grounds on the wet page, then remove them after drying.
• Fold the paper lightly before staining to create darker crease lines.
Do not add too many marks. Real aged paper usually has uneven color, not a pattern that looks repeated.
5. Dry the paper
Let the page air-dry on a flat surface for 30 to 90 minutes. Drying time depends on the paper weight and the amount of coffee used.
For faster drying, use a hair dryer on a low, warm setting. Keep it at least several inches away and move it constantly. Strong heat can cause deep wrinkles, curled corners, or brittle paper.
6. Flatten the letter
Once dry, place the paper between two clean sheets of paper. Put a heavy book on top for several hours or overnight.
This step helps reduce waves and makes the letter easier to fold. If you want a rough, handmade look, leave a few wrinkles instead of pressing the page completely flat.
7. Check the final result
Read the letter under good light. Make sure the text is clear and the paper is fully dry.
If the color is too light, add another thin coffee layer. If it is too dark, gently wipe the surface with a barely damp cloth and let it dry again. The result may not become much lighter, so small layers are the safest approach.
Three Easy Methods for Coffee Staining Paper
There is no single best way to make a coffee soaked letter. Each method creates a different texture and level of control.
Brush method
The brush method is the easiest choice for beginners. It gives you control over the color and helps prevent the paper from becoming too wet.
Brush the coffee from the center toward the edges. Use a dry brush to soften harsh lines while the paper is still damp.
Tray soak method
Pour cooled coffee into a shallow tray. Place the paper in the tray for 10 to 30 seconds, then lift it carefully.
This creates a deeper, more even color. It also makes the paper more fragile, so support it with both hands. Blot excess coffee with paper towels before drying.
Spray method
Put coffee in a clean spray bottle and mist the paper lightly. This makes soft, cloudy marks and uses less liquid than a full soak.
Spray from a distance of about 12 inches. Several light sprays look more natural than one heavy spray. Clean the bottle after use because coffee residue can clog the nozzle.
How to Create Different Vintage Effects
Coffee can create more than one shade of brown. The final look depends on the coffee strength, paper type, drying method, and number of coats.
For a lightly aged letter
Use weak coffee and one thin coat. Let the page dry naturally without adding grounds or dark edge marks.
This style looks subtle and works well for invitations, notes, and scrapbook pages.
For a deeply aged letter
Use strong coffee and apply two or three thin coats. Darken the corners with a sponge, but allow each coat to dry before adding the next one.
Several thin coats usually look better than one thick coat. They create soft color changes instead of large wet patches.
For a distressed letter
Crumple the paper loosely before applying coffee. Open it, smooth it slightly, and brush coffee over the raised folds.
The creases will absorb more liquid and become darker. This creates a worn look, but crumpling also weakens the paper.
For dark edges
Use a small sponge to apply extra coffee around the border. Keep the center lighter so the page remains easy to read.
Some crafters burn the edges for a dramatic effect. I recommend avoiding open flames because dry paper catches fire quickly. A sponge, brown watercolor, or a darker coffee mix gives a safer result.
Common Mistakes to Avoid
The first time people make a coffee soaked letter, they often use too much liquid. A wet page may tear, wrinkle heavily, or stick to the tray.
Keep these points in mind:
• Do not use boiling coffee. Let it cool first.
• Do not lift soaked paper by one corner. Support the entire sheet.
• Do not dry paper with high heat.
• Do not use a thick layer of wet coffee grounds. They can leave harsh marks.
• Do not stain paper on an unprotected wood or fabric surface.
• Do not mail the letter until it is completely dry.
• Do not use ink without testing it for water resistance.
A useful lesson from testing this craft is that patience improves the result. One page I made became too dark because I tried to fix a pale first coat before it had dried. The color changed as the paper dried, so waiting between coats is one of the most important steps.

How to Make the Letter Last Longer
Coffee-stained paper is decorative, but it is not automatically archival. Coffee contains acids and natural compounds that may contribute to long-term discoloration or paper damage.
For a keepsake, follow these tips:
• Use acid-free or archival paper.
• Keep the letter away from direct sunlight.
• Store it in a cool, dry place.
• Place it in an acid-free sleeve or folder.
• Avoid plastic sleeves that trap moisture.
• Handle the paper with clean, dry hands.
If the letter has personal or historical value, do not apply coffee directly to the original. Make a copy and stain the copy instead. Professional paper conservators generally favor stable, reversible materials when caring for important documents.
Coffee staining also has practical limits. It can make paper look old, but it cannot reproduce every feature of naturally aged paper. Real aging may involve oxidation, fading, dirt, mold, and physical wear, so a handmade coffee effect should be treated as an artistic finish.
Is Coffee Soaked Paper Safe for Kids and Pets?
Coffee-stained paper is usually safe as a craft item once it is dry, but wet coffee should not be consumed by children or pets. Keep the coffee, grounds, and stained paper away from mouths.
Use child-safe scissors and supervise any project that involves a hair dryer. Avoid candles, lighters, and other flame-based techniques. A painted edge is safer and can create a similar vintage effect.
If coffee spills on skin, wash it with soap and water. If it gets into the eyes, rinse with clean water. These simple precautions make the project suitable for classrooms, family crafts, and community workshops.

Creative Ideas for Your Finished Letter
A coffee soaked letter can support many themes. Think about the story you want the paper to tell before choosing the stain.
Try these ideas:
• Write a pirate-style map with dark corners and a few coffee rings.
• Create a romantic letter with a soft tan wash and clean edges.
• Make a period costume prop with uneven folds and faded ink.
• Add a pressed leaf after the coffee dries for a nature theme.
• Use a white gel pen for contrast on a darker page.
• Seal the finished letter in a frame for wall decor.
• Add a wax-style sticker rather than hot wax if you plan to mail it.
For a more believable result, match the stain to the purpose. A love letter may look best with a gentle wash, while a treasure map can use stronger marks and rougher edges.
Frequently Asked Questions About How to Make Coffee Soaked Letter
Can I use cold coffee to make a coffee soaked letter?
Yes, cold coffee works well and is safer for paper than hot coffee. Strong, cooled coffee may create a rich brown stain, while weak coffee creates a softer effect.
How long should I soak paper in coffee?
Soak thin paper for about 10 to 15 seconds and thicker paper for up to 30 seconds. Remove it as soon as the color looks right because the paper will become weaker as it absorbs more liquid.
Can I write on the paper after staining it?
Yes, but wait until the paper is fully dry and flat. A fine-tip permanent pen, pencil, or waterproof ink usually works better than water-based markers.
How do I make a coffee soaked letter darker?
Apply two or three thin coats of strong coffee. Let each coat dry before adding another layer, and darken the edges with a sponge for more contrast.
Will coffee-stained paper smell?
It may have a light coffee smell while damp. The scent usually fades as the paper dries, especially if you let it air out in a dry, well-ventilated room.
Can I mail a coffee soaked letter?
You can mail one if the paper is completely dry, flat, and free from loose grounds. Use a protective envelope and check that the stain has not transferred to the paper inside.
Conclusion
Making a coffee soaked letter is a simple way to give plain paper a warm, aged appearance. Use cooled, strong coffee, apply thin layers, dry the paper gently, and test your ink before starting. For the best finish, work slowly and let each layer dry before adding more.
Start with a spare sheet today and try the brush method first. Once you find the shade and texture you like, create your final letter and share your results or favorite staining technique in the comments.

Liora Pennings is a seasoned chef and kitchen enthusiast with a passion for turning everyday cooking into an effortless experience. With years of hands-on culinary expertise, she specializes in practical techniques, ingredient know-how, and smart kitchen solutions that help home cooks elevate their meals. At KitchFlair.com, Liora shares her best tips, time-saving tricks, and honest product reviews to guide readers toward a more efficient, enjoyable, and inspired cooking routine. Whether you’re a beginner or a seasoned home chef, Liora’s friendly, knowledge-packed insights make every visit to the kitchen a little easier—and a lot more delicious.