How To Make Coffee Creamer Without Condensed Milk: Easy
Make homemade coffee creamer with milk, cream, or plant milk, plus sweetener and vanilla.
Learning how to make coffee creamer without condensed milk is simple, affordable, and easy to customize. With tested ratios, safe storage tips, and a few flavor ideas, you can make a smooth creamer that suits your coffee and your diet.

Why make coffee creamer without condensed milk?
Sweetened condensed milk gives coffee creamer a thick texture and rich taste. However, it is very sweet and may not fit your diet, budget, or pantry. Learning how to make coffee creamer without condensed milk gives you more control over sugar, flavor, and texture.
Homemade creamer also lets you use ingredients you already have. Milk, half-and-half, heavy cream, sugar, maple syrup, and plant-based milk can all work well.
A homemade version will not taste exactly like store-bought creamer. It may also be less thick because condensed milk contains less water and more sugar. Still, the fresh flavor often tastes cleaner and more natural.

Basic coffee creamer recipe without condensed milk
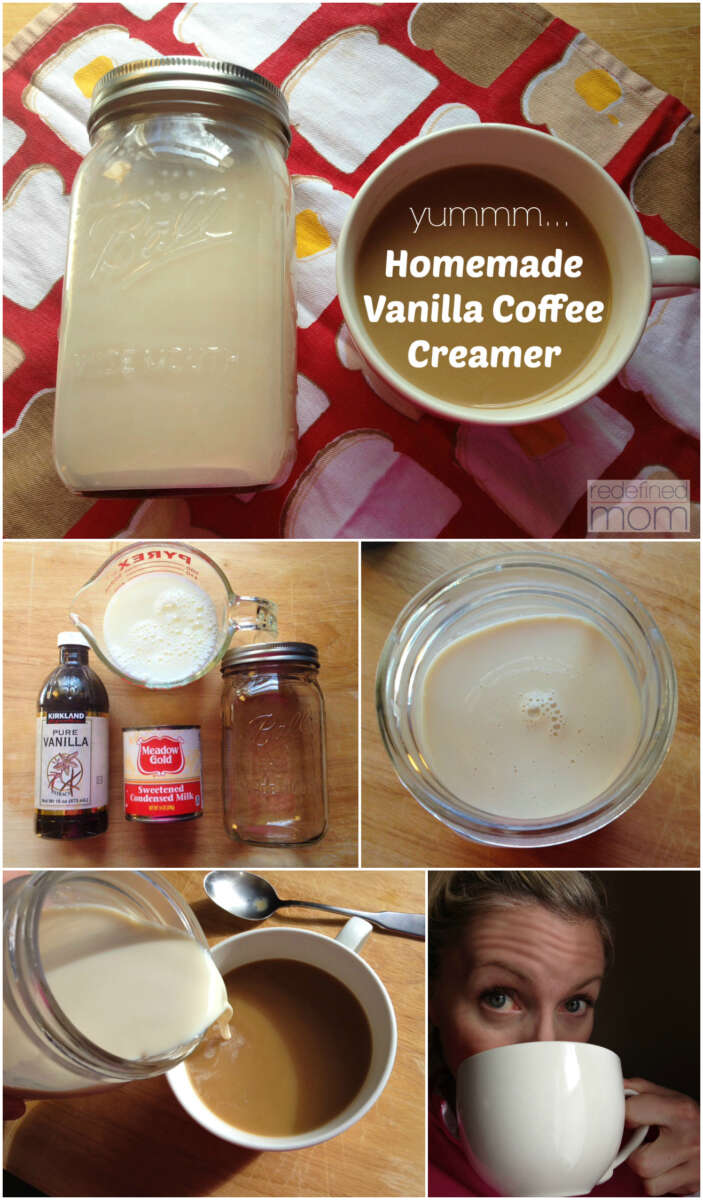
This simple recipe makes about 1½ cups of coffee creamer. It has a smooth texture and a mild vanilla taste.
Ingredients
• 1 cup half-and-half
• ½ cup whole milk
• 2 to 3 tablespoons sugar
• 1 teaspoon vanilla extract
• A small pinch of salt
Directions
-
Add the half-and-half, milk, sugar, and salt to a small saucepan.
-
Warm the mixture over low heat. Stir often until the sugar dissolves.
-
Do not let the creamer boil. Heat can cause milk to scorch or form a skin.
-
Remove the pan from the heat and stir in the vanilla extract.
-
Let the creamer cool before pouring it into a clean glass jar.
-
Store it in the refrigerator and shake it before each use.
This is the best starting point when learning how to make coffee creamer without condensed milk. You can make it lighter with more milk or richer with more cream.
When I test homemade creamer, I add vanilla after turning off the heat. This keeps the flavor bright. Adding vanilla too early can make its delicate flavor fade.
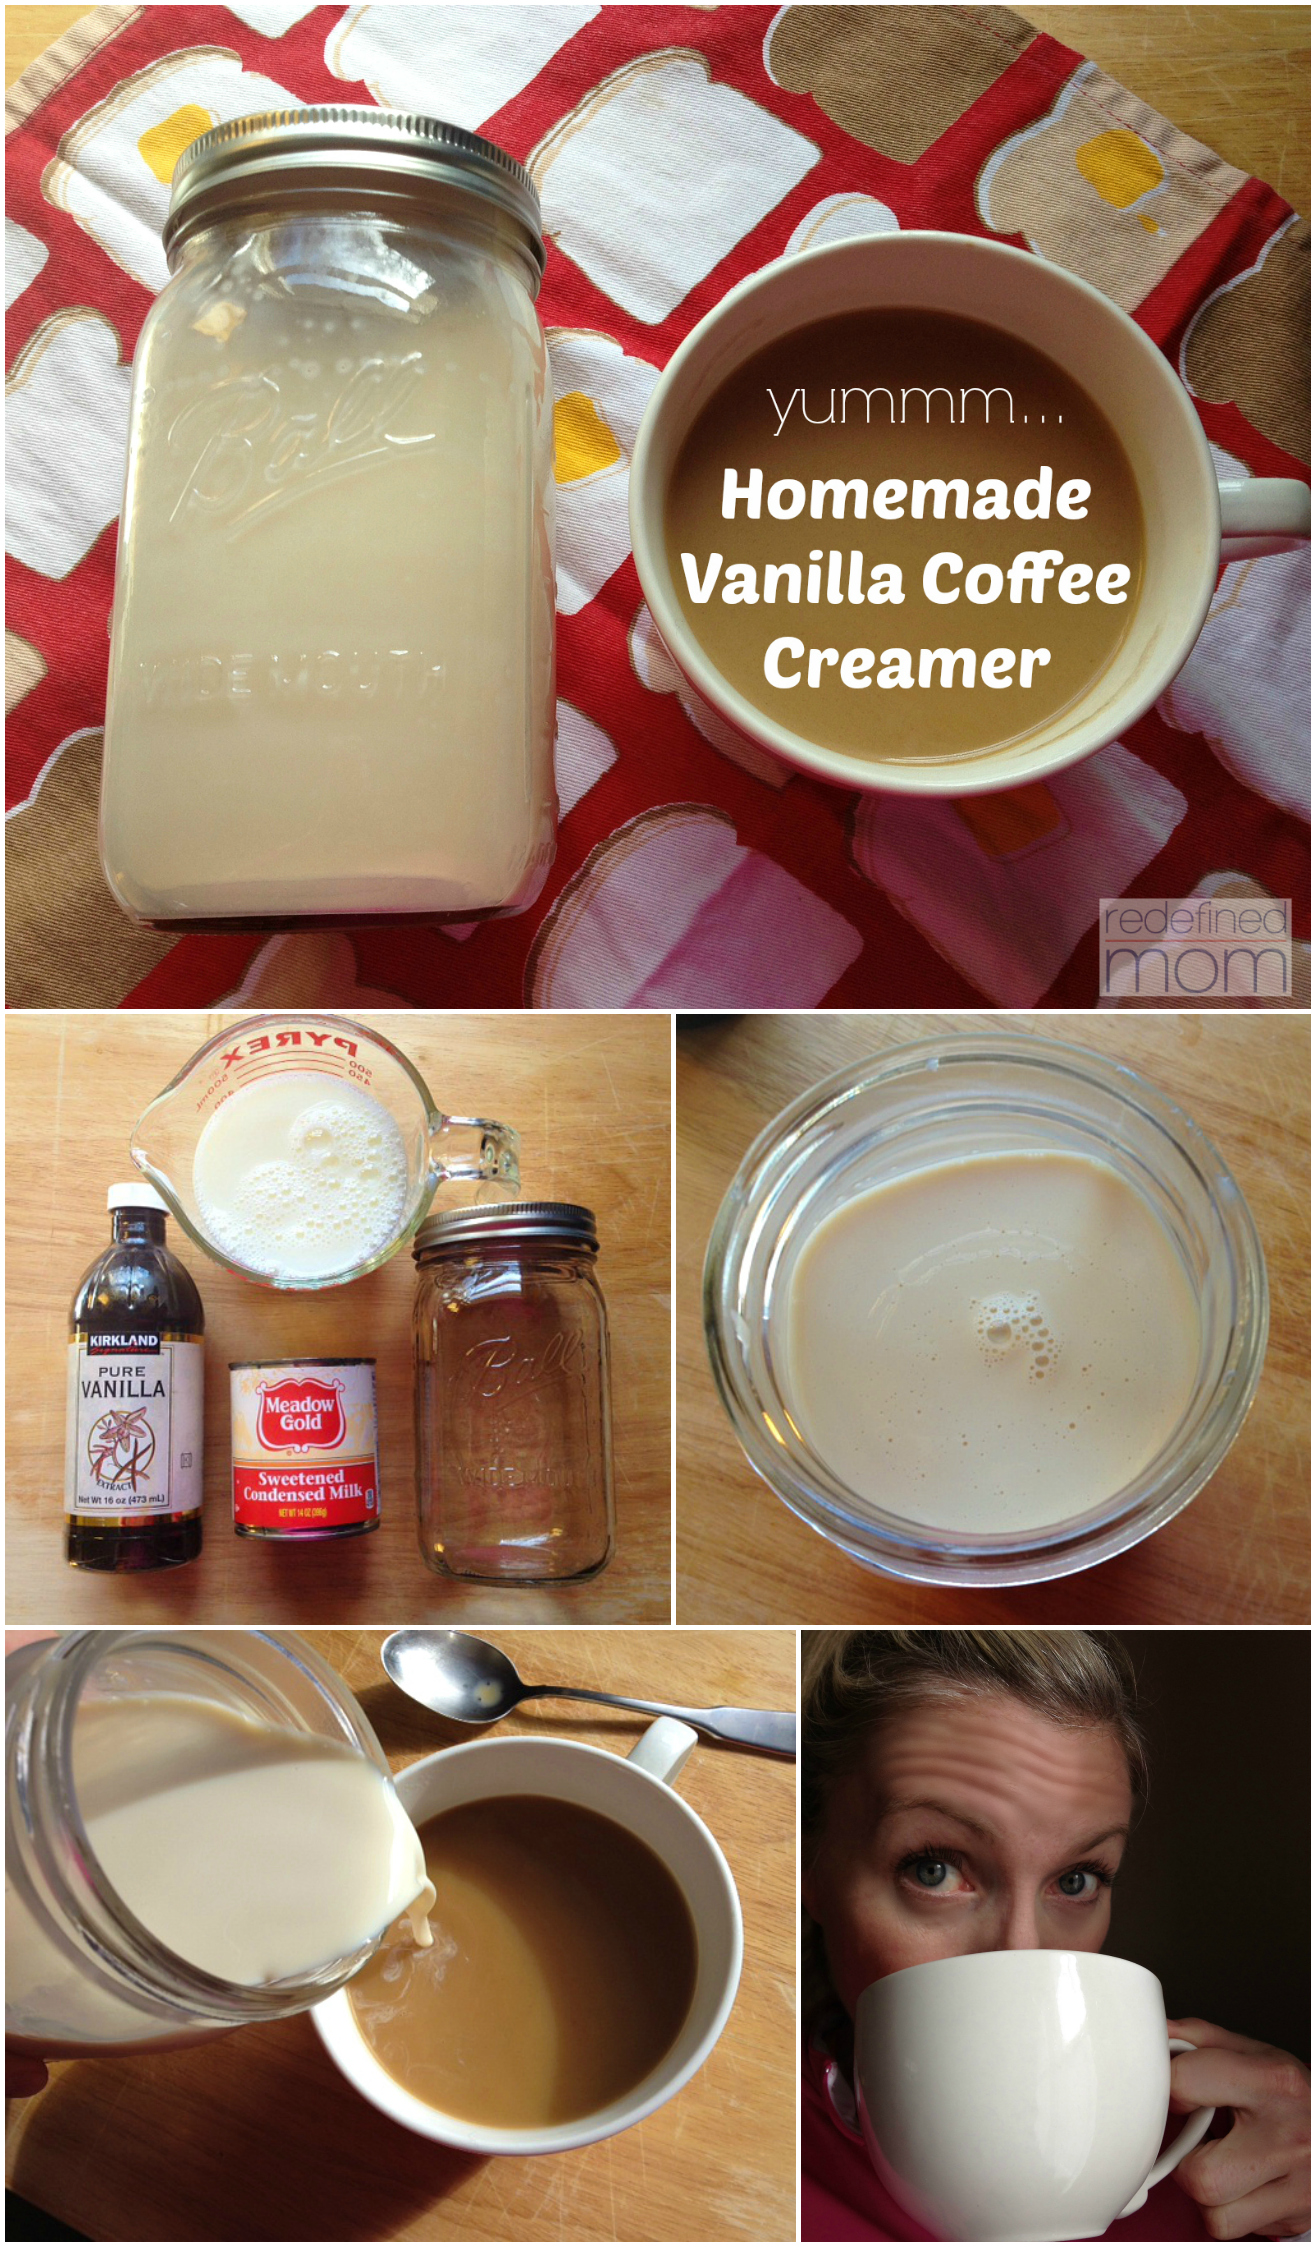
How to make coffee creamer with milk and heavy cream
Heavy cream creates a rich creamer with a texture close to many commercial products. It works well in strong coffee, cold brew, and espresso drinks.
Rich homemade creamer
• ¾ cup whole milk
• ¾ cup heavy cream
• 2 tablespoons sugar or maple syrup
• 1 teaspoon vanilla extract
Warm the milk, cream, and sweetener in a saucepan over low heat. Stir until smooth, then remove the pan from the heat and add the vanilla.
For a lighter creamer, use 1¼ cups of whole milk and ¼ cup of heavy cream. For a richer result, use equal parts heavy cream and whole milk.
Avoid boiling the mixture. A gentle warming step is enough because the goal is to dissolve the sweetener, not reduce the liquid.
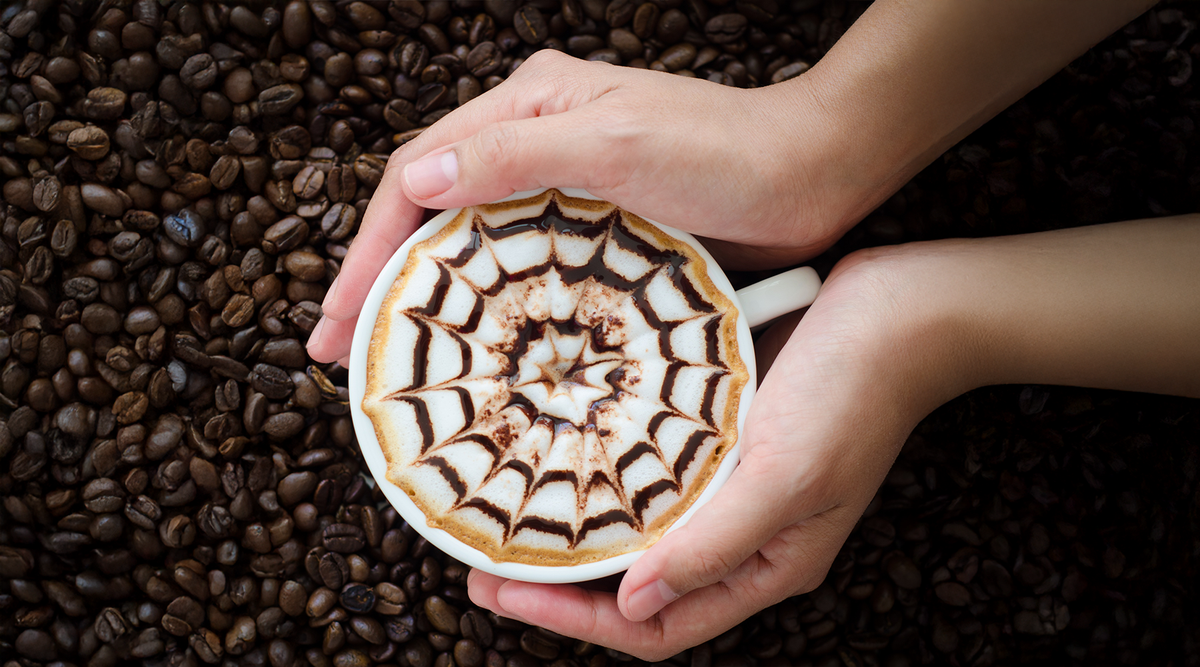
How to make coffee creamer with plant milk
Plant milk is a useful choice if you avoid dairy. Oat milk gives coffee a creamy body, while almond milk creates a lighter drink. Soy milk adds protein and a fairly rich texture.
Dairy free coffee creamer
• 1 cup unsweetened oat milk
• ½ cup unsweetened soy milk or almond milk
• 2 tablespoons maple syrup
• 1 teaspoon vanilla extract
• A pinch of salt
Warm the plant milk and maple syrup in a saucepan. Stir gently, then add the vanilla once the pan is off the heat.
Oat milk usually gives the smoothest texture. Coconut milk adds richness but also brings a noticeable coconut taste. Choose an unsweetened product so you can control the final sweetness.
Some plant milks separate in hot coffee. Shake the creamer well and pour it into coffee slowly. Barista-style oat milk often blends better because it contains ingredients designed to improve foaming and stability.

Flavor ideas for homemade coffee creamer
Once you know how to make coffee creamer without condensed milk, you can create many flavors from the same base recipe.
Cinnamon vanilla creamer
Add ½ teaspoon of ground cinnamon to the milk mixture. A tiny pinch of nutmeg can add warmth without overpowering the coffee.
Chocolate creamer
Whisk 1 tablespoon of unsweetened cocoa powder into the warm milk. Add an extra tablespoon of sugar if needed because cocoa can taste bitter.
Maple coffee creamer
Replace the sugar with 2 to 3 tablespoons of pure maple syrup. Maple pairs especially well with oat milk and cinnamon.
Honey creamer
Use 2 tablespoons of honey as the sweetener. Stir it into warm, not boiling, milk so the honey keeps its gentle floral taste.
Pumpkin spice creamer
Add 2 tablespoons of pumpkin puree, ½ teaspoon of pumpkin pie spice, and 1 teaspoon of vanilla. Strain the creamer if you want a very smooth texture.
Peppermint mocha creamer
Add 1 tablespoon of cocoa powder and only ⅛ teaspoon of peppermint extract. Peppermint extract is strong, so a small amount goes a long way.
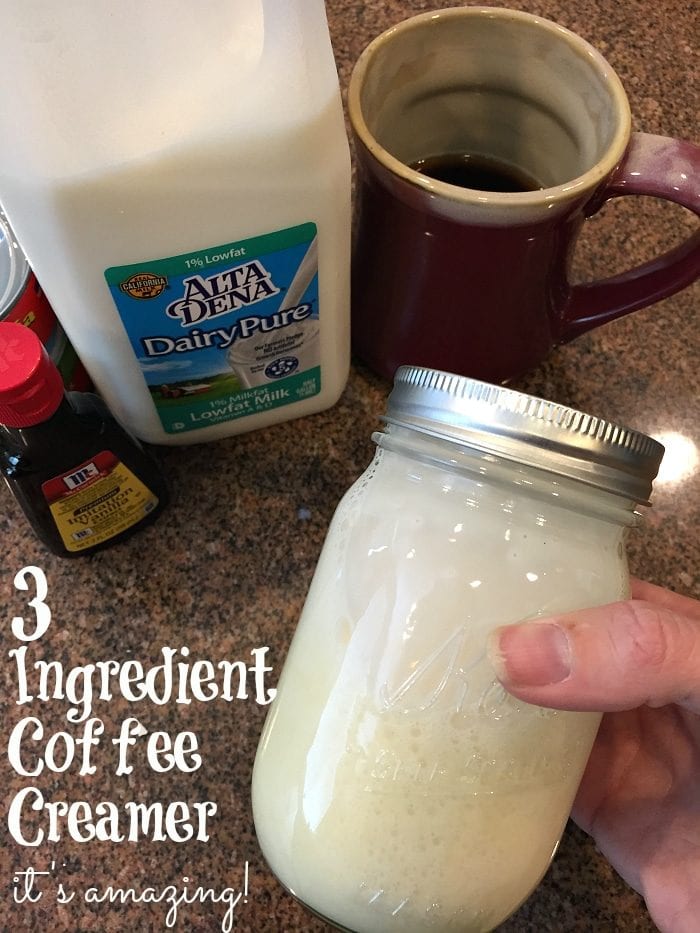
How to make coffee creamer less sweet
Many store-bought creamers contain a large amount of added sugar. Homemade creamer lets you reduce that amount or leave it out completely.
Start with 1 tablespoon of sweetener per 1½ cups of liquid. Taste the creamer after it cools because sweetness can seem stronger when the mixture is warm.
Good sweetener choices include:
• Granulated sugar
• Brown sugar
• Maple syrup
• Honey
• Coconut sugar
• Stevia or monk fruit blends
Unsweetened creamer can still taste pleasant when you add vanilla, cinnamon, cocoa, or a pinch of salt. Salt does not make the creamer salty when used in a tiny amount. Instead, it can balance bitter coffee and bring out the flavor.
People with diabetes or blood sugar concerns should check the nutrition label of each sweetener and consider advice from a qualified health professional. “Natural” sweeteners still contain calories or carbohydrates in many cases.
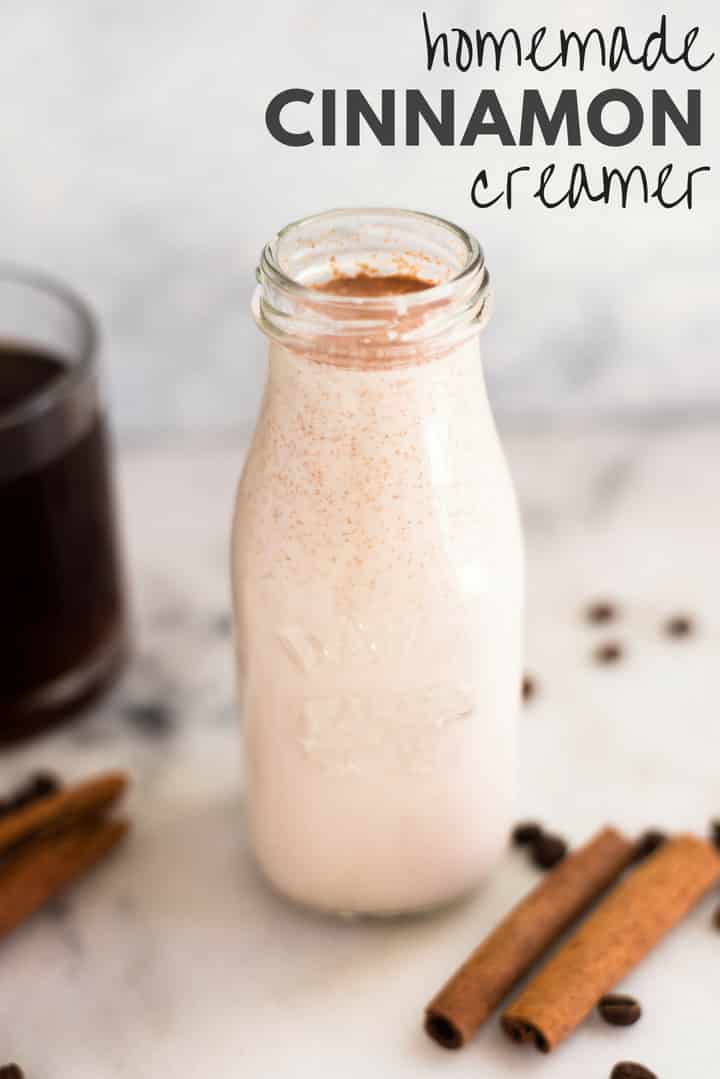
How to make coffee creamer thicker
Without condensed milk, your creamer may feel thinner than a commercial product. You can improve the body with a few simple changes.
Use more heavy cream or choose oat milk instead of almond milk. You can also simmer the dairy mixture very gently for a few minutes to remove some water. Keep the heat low and stir often to prevent scorching.
For a thicker coffee creamer, try this ratio:
• 1 cup half-and-half
• ½ cup heavy cream
• 2 tablespoons sugar
• 1 teaspoon vanilla
A small amount of cornstarch can thicken the mixture, but it may create a pudding-like texture if you use too much. If you choose this method, mix ½ teaspoon cornstarch with 1 tablespoon cold milk first. Add the slurry to the saucepan and warm it gently while stirring.
In my own kitchen tests, increasing the cream works better than adding starch. It creates a smoother mouthfeel and keeps the flavor clean.
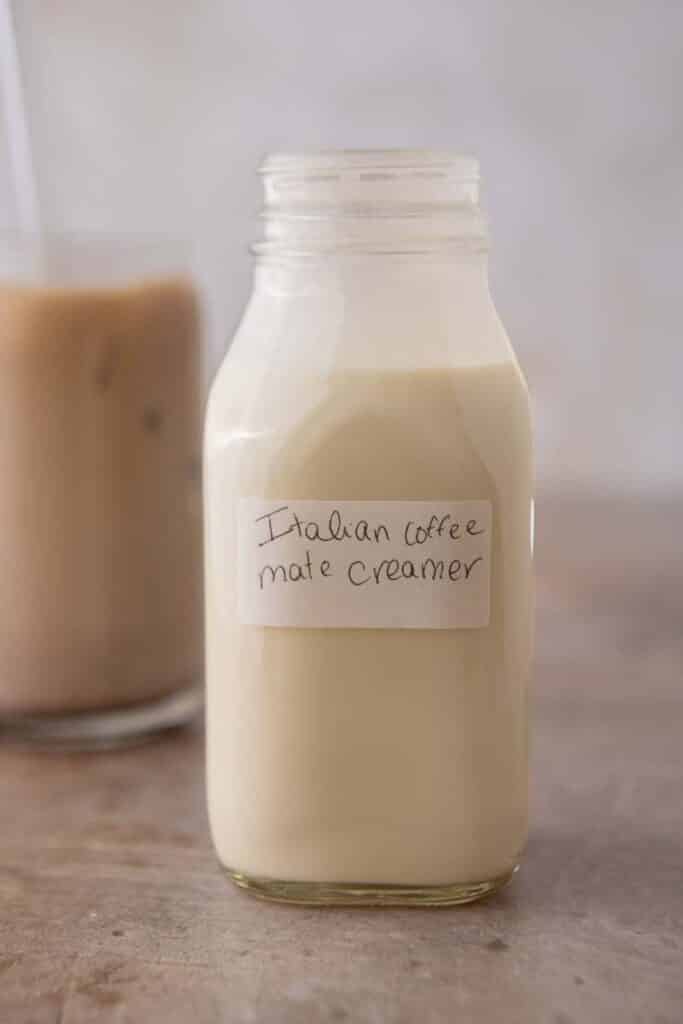
How to make coffee creamer without condensed milk and without dairy
For a fully dairy free recipe, use a combination of oat milk and coconut milk. Oat milk provides a mild base, while coconut milk adds fat and richness.
Creamy dairy free recipe
• 1 cup unsweetened oat milk
• ½ cup full fat canned coconut milk
• 2 tablespoons maple syrup
• 1 teaspoon vanilla extract
Warm the oat milk, coconut milk, and maple syrup over low heat. Whisk well because coconut milk can separate in the can. Remove the pan from the heat and stir in the vanilla.
This creamer may become thicker in the refrigerator. Shake it before use. If it separates slightly, that does not always mean it has spoiled. A quick shake can restore the texture.
Check labels carefully if you have a milk allergy. Some products may contain milk ingredients even when their names sound plant-based.
Storage and food safety tips
Homemade coffee creamer contains milk or plant milk, so it needs refrigeration. Keep it in a clean, airtight container at 40°F or below.
Use homemade dairy creamer within 3 to 5 days. Plant-based creamer may last slightly longer, but the package date and ingredient type matter. When in doubt, follow the shorter time.
Never leave creamer at room temperature for more than 2 hours. If the room is above 90°F, refrigerate it within 1 hour. These limits help reduce the risk of harmful bacterial growth.
Discard the creamer if you notice:
• A sour or unpleasant smell
• Mold
• Curdling that does not blend after shaking
• A swollen container
• An unusual color or taste
Write the preparation date on the jar. This small habit makes homemade creamer safer and easier to manage.
Common mistakes to avoid
Learning how to make coffee creamer without condensed milk takes only a little practice. Most problems come from heat, ratios, or storage.
• Boiling the milk can cause scorching, curdling, or a cooked taste.
• Adding too much sugar can hide the coffee’s natural flavor.
• Using strong extracts can make the creamer taste artificial.
• Mixing cold creamer into very hot coffee may cause slight separation.
• Using low fat milk alone may create a thin result.
• Keeping the creamer too long can lead to spoilage.
Add the creamer slowly to your coffee. This helps you control the color and strength. It also gives you a chance to adjust the recipe next time.
If the coffee tastes bitter, do not automatically add more sugar. Try a pinch of salt, a richer milk, or a less intense coffee roast.
How to use homemade coffee creamer
Homemade creamer works in more drinks than a basic cup of coffee. Add 1 to 3 tablespoons to each serving, then adjust it to your taste.
Try it in:
• Hot brewed coffee
• Iced coffee
• Cold brew
• Espresso
• Café au lait
• Chai tea
• Black tea
• Homemade mocha drinks
For iced coffee, cool the creamer fully before using it. Warm creamer can melt the ice quickly and make the drink watery.
You can also froth the creamer with a handheld milk frother. Oat milk and dairy blends usually foam more easily than almond milk. Do not expect every homemade creamer to create thick café-style foam.
Frequently Asked Questions
Can I make coffee creamer with regular milk?
Yes. Combine whole milk with sugar and vanilla for a light creamer. For a richer result, replace part of the milk with half-and-half or heavy cream.
How long does homemade coffee creamer last?
Most homemade dairy creamers last 3 to 5 days in the refrigerator. Store them in a sealed container and discard them if they smell sour, develop mold, or change in texture.
Can I make coffee creamer without sugar?
Yes. Use unsweetened milk and add vanilla, cinnamon, cocoa, or a sugar substitute if desired. Keep in mind that some sugar substitutes may change the taste or texture.
What is the best dairy free milk for homemade creamer?
Unsweetened oat milk usually gives the creamiest texture and blends well with coffee. Soy milk is another good choice, while almond milk creates a lighter creamer.
Why does my homemade creamer separate?
Separation can happen when the ingredients have different fat levels or when cold creamer meets very hot coffee. Shake the creamer well and warm it gently before adding it to coffee.
Can I freeze homemade coffee creamer?
Freezing is not ideal because milk and cream can separate after thawing. If you freeze it, thaw it in the refrigerator and whisk it well before use.
How can I make coffee creamer taste like vanilla?
Use 1 teaspoon of vanilla extract for about 1½ cups of creamer. Add it after heating the milk to protect its flavor.
Conclusion
Making coffee creamer without condensed milk is easy once you understand the basic formula: choose a creamy liquid, add a sweetener, and finish with flavor. Milk, half-and-half, heavy cream, oat milk, and coconut milk all create different results.
Start with the simple vanilla recipe, then adjust the sweetness and richness to suit your coffee. Store the creamer safely, use it within a few days, and test small batches until you find your favorite blend.
Make a batch today and try a new flavor such as cinnamon, maple, or chocolate. Share your favorite homemade coffee creamer combination in the comments.

Liora Pennings is a seasoned chef and kitchen enthusiast with a passion for turning everyday cooking into an effortless experience. With years of hands-on culinary expertise, she specializes in practical techniques, ingredient know-how, and smart kitchen solutions that help home cooks elevate their meals. At KitchFlair.com, Liora shares her best tips, time-saving tricks, and honest product reviews to guide readers toward a more efficient, enjoyable, and inspired cooking routine. Whether you’re a beginner or a seasoned home chef, Liora’s friendly, knowledge-packed insights make every visit to the kitchen a little easier—and a lot more delicious.