How To Make A Pour Over Coffee: Easy Brewing Guide
Use fresh coffee, the right grind, controlled water, and a slow, steady pour for balanced flavor.
Learning how to make a pour over coffee is simple, but small details shape the final cup. The grind size, water temperature, pouring speed, and brew time all work together. Once you understand those parts, you can make clean, bright, and flavorful coffee at home without expensive equipment.
This guide explains how to make a pour over coffee step by step, how to fix common problems, and how to adjust the recipe for your taste. The method is easy to learn, yet it offers the control that many coffee professionals use every day.
What Is Pour Over Coffee?
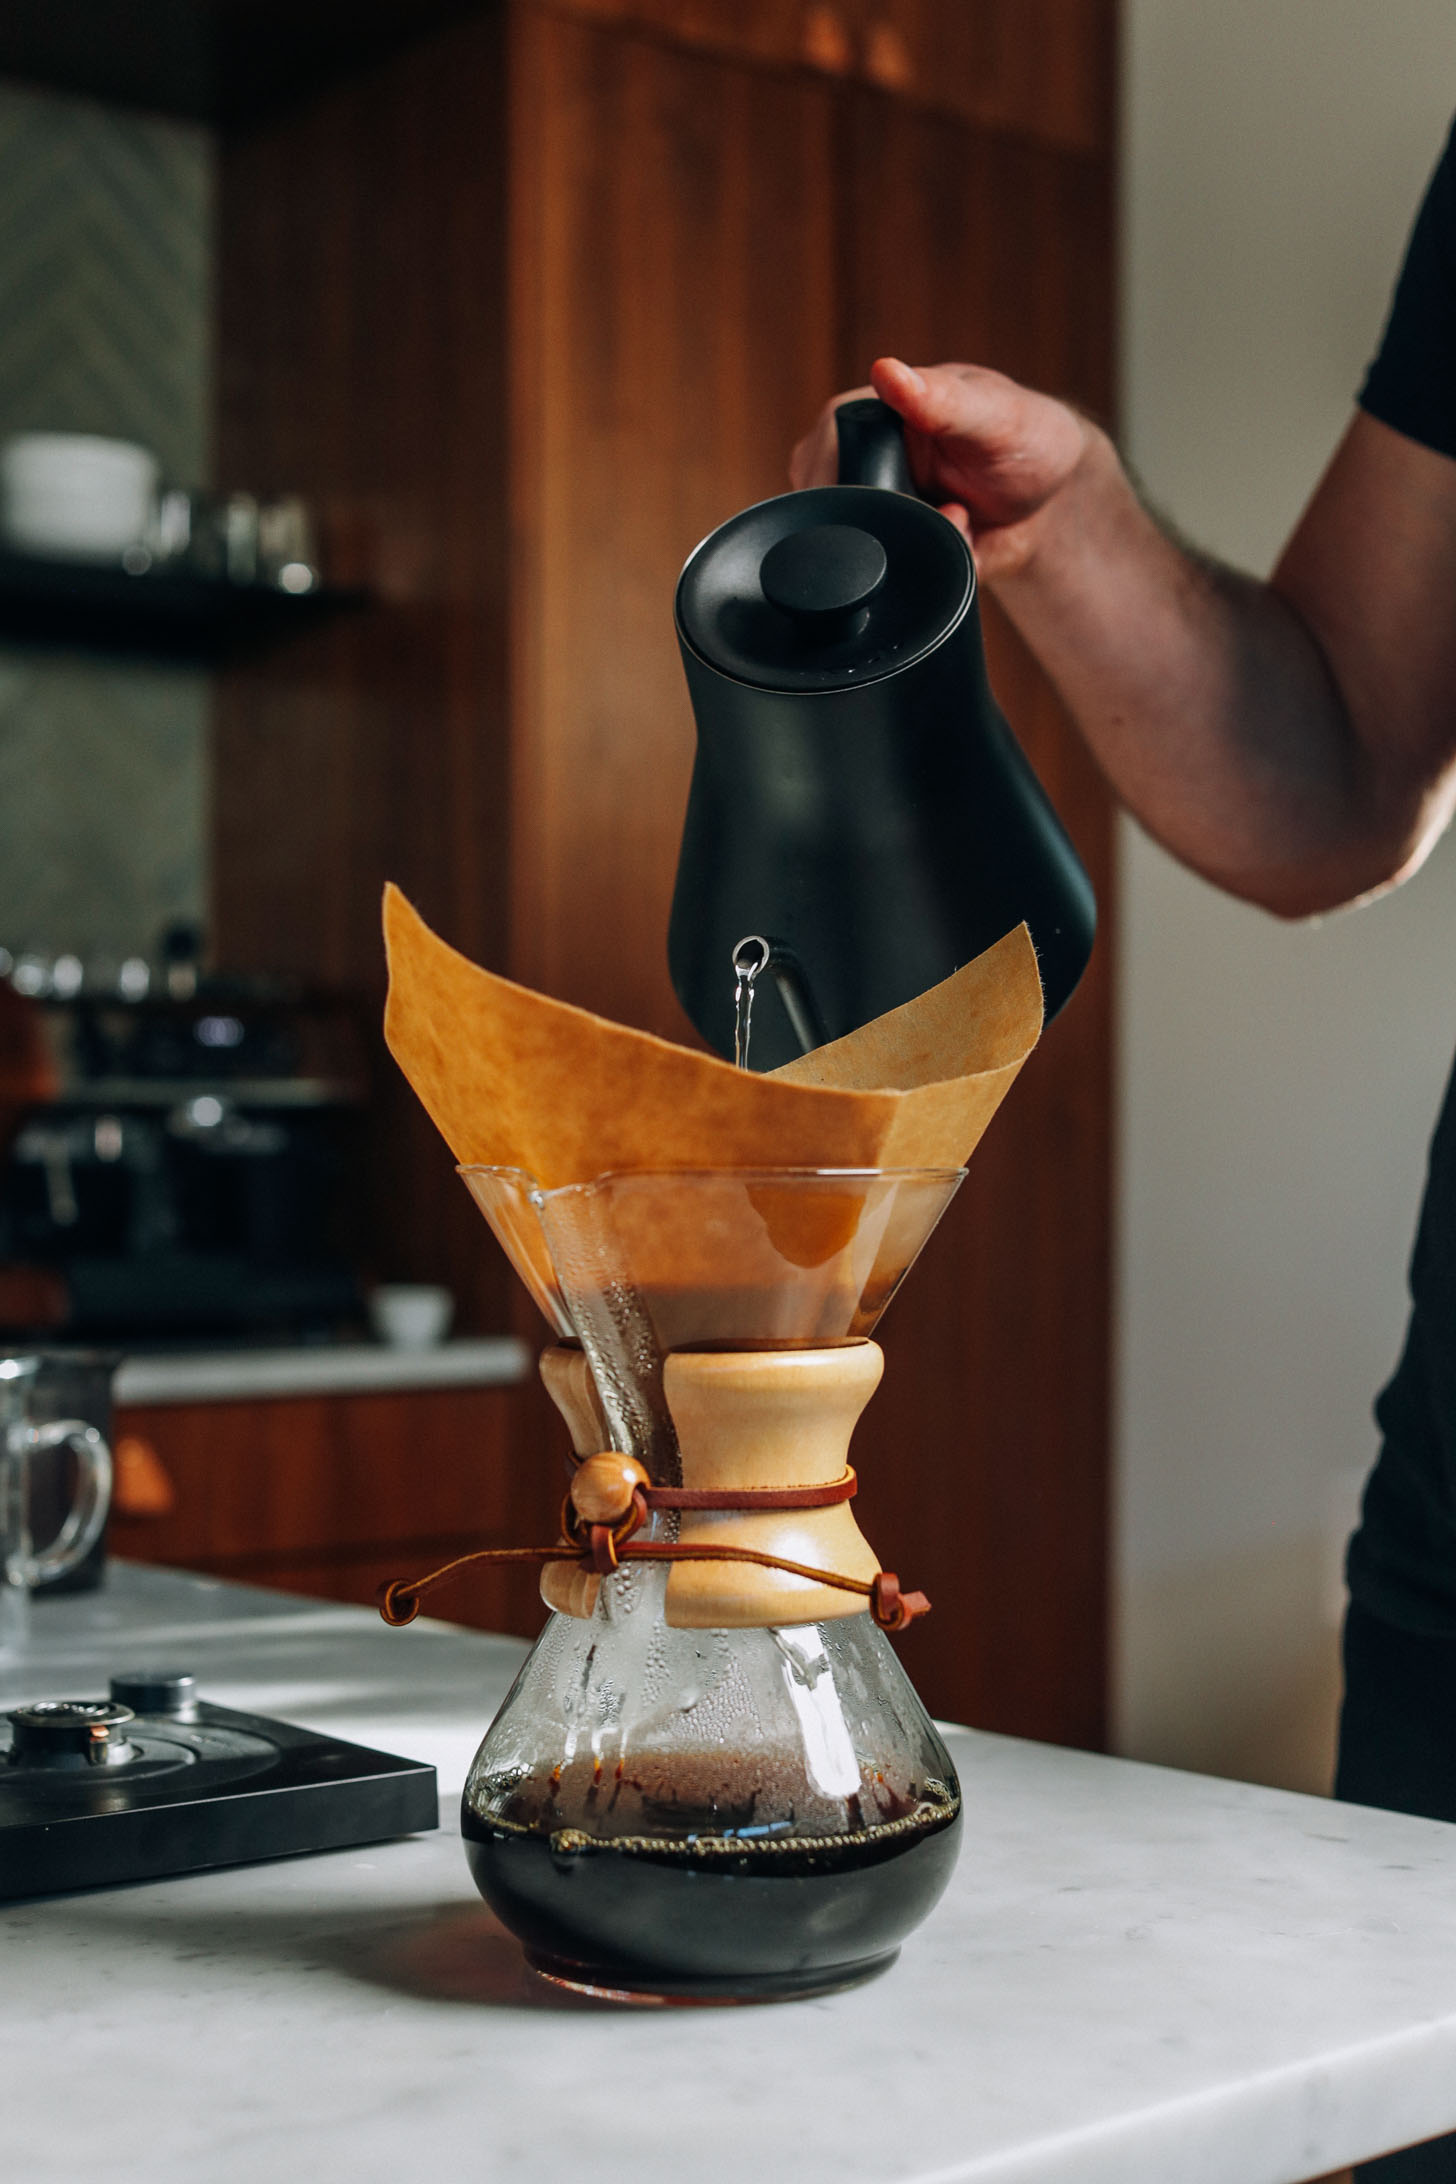
Pour over coffee is a manual brewing method. You place ground coffee in a paper or reusable filter, then pour hot water over it by hand. The water moves through the coffee and filter before collecting in a cup or carafe.
Unlike an automatic coffee maker, a pour over gives you control over the brewing process. You control the water flow, timing, and movement. This makes it easier to highlight delicate flavors such as citrus, berries, flowers, chocolate, or nuts.
The filter also removes much of the coffee oil and fine sediment. As a result, pour over coffee often tastes clean and smooth. It may feel lighter than French press coffee, but it can still have strong flavor and body.
Why Make Pour Over Coffee?
There are several good reasons to learn how to make a pour over coffee. The method does take a few extra minutes, but it rewards care and attention.
• Better control: You can change the grind, water, and pour to suit your taste.
• Clear flavor: Paper filters create a clean cup with less sediment.
• Easy equipment: You only need a dripper, filter, coffee, water, and a mug or carafe.
• Fresh results: You can brew one cup at a time instead of making a full pot.
• Useful feedback: Each cup teaches you how coffee responds to small changes.
Pour over brewing also turns coffee into a calm morning routine. The sound of water, the smell of fresh grounds, and the slow bloom can make the process feel less like a chore and more like a small daily ritual.
Equipment You Need
You do not need a large collection of coffee tools. Start with a few reliable items, then upgrade only if you enjoy the method.
• Pour over dripper: Popular choices include a cone-shaped dripper or a flat-bottom brewer.
• Paper filter: Use the filter made for your dripper. The shape affects water flow.
• Digital scale: A scale helps you measure both coffee and water with accuracy.
• Gooseneck kettle: Its narrow spout gives you better control over the pour.
• Burr grinder: A burr grinder creates more even coffee particles than a blade grinder.
• Timer: A phone timer works well.
• Fresh coffee beans: Choose whole beans when possible.
• Mug or carafe: Make sure it can hold the full brew.
A gooseneck kettle is helpful, but it is not required. You can still learn how to make a pour over coffee with a regular kettle. Pour slowly and carefully, and avoid flooding the coffee bed.
The Best Coffee-to-Water Ratio
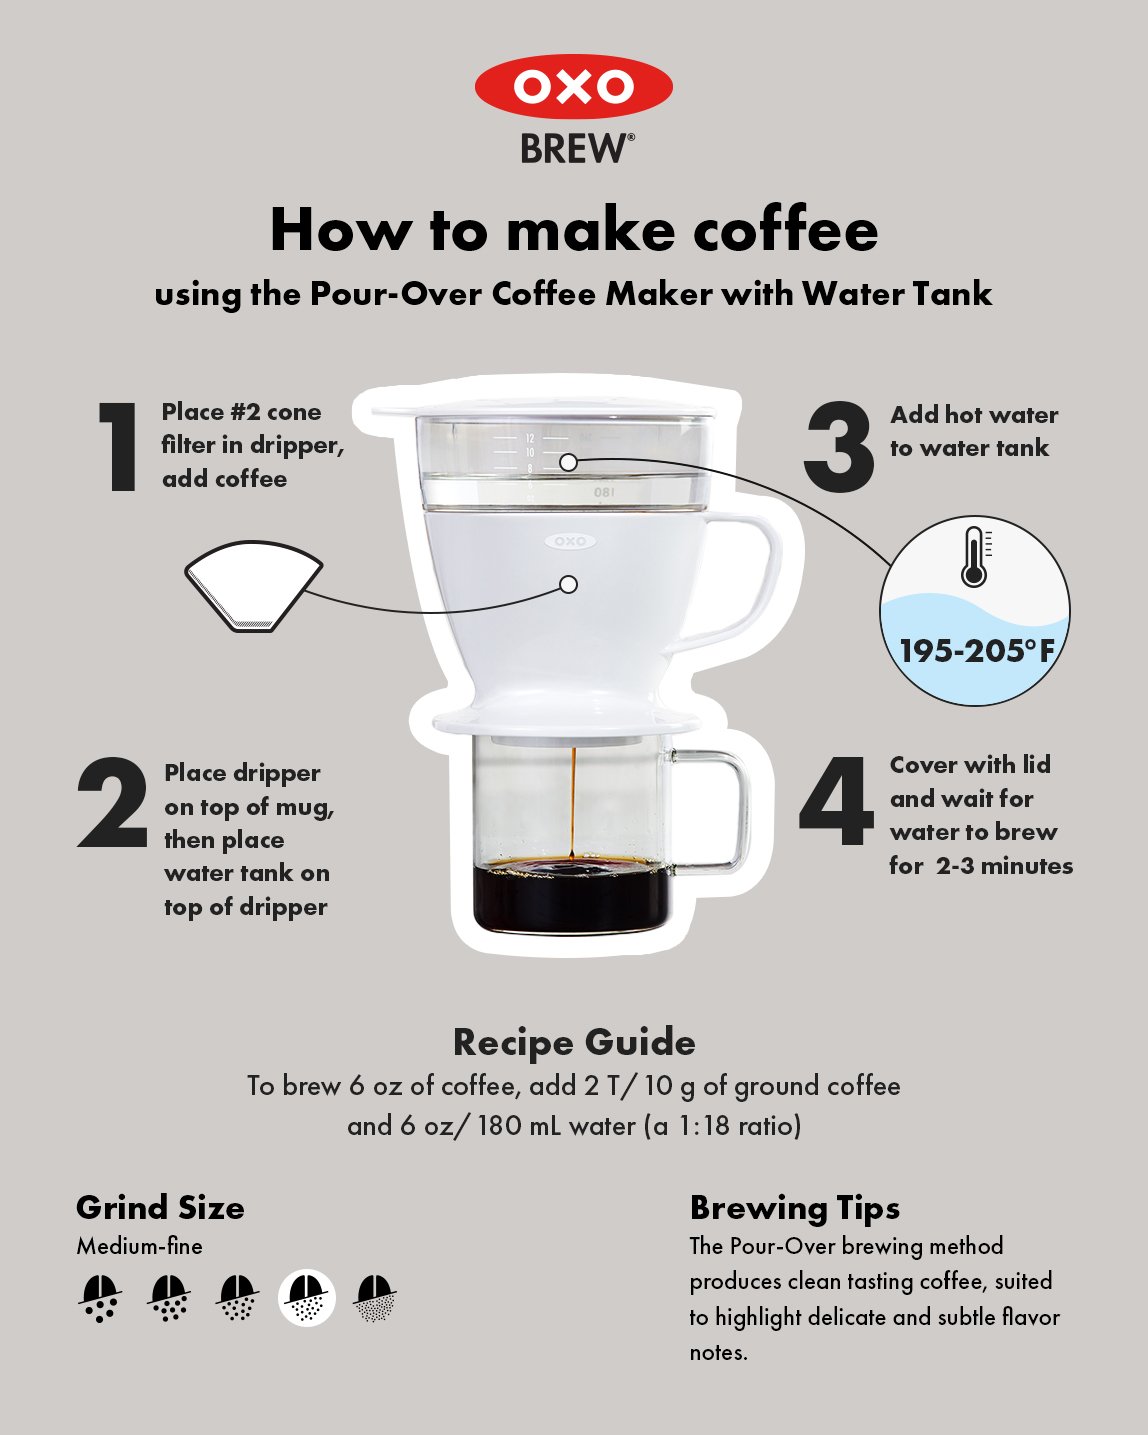
A good starting ratio is 1 gram of coffee for every 16 grams of water. This is often written as 1:16.
For one cup, try:
• 20 grams of coffee
• 320 grams of water
This ratio makes a balanced cup for many people. You can adjust it after tasting the coffee.
• Use a stronger ratio, such as 1:15, for a richer cup.
• Use a lighter ratio, such as 1:17, for a softer and more delicate cup.
The ratio is not a strict rule. Dark roasts may taste better with more water, while light roasts may need a stronger ratio to bring out enough body. Keep the ratio steady while changing one other variable at a time. This makes it easier to understand what changed.
Choosing Coffee Beans
Fresh beans make a noticeable difference. Look for a roast date rather than only a “best by” date. Many coffees taste lively from about one to six weeks after roasting, though the best window depends on the coffee and how it is stored.
Light roasts often show bright, fruit-like, or floral flavors. Medium roasts may taste sweet and balanced, with notes of caramel or nuts. Dark roasts usually offer deeper flavors, such as cocoa, smoke, or toasted spice.
Store beans in an airtight container away from heat, sunlight, and moisture. Do not keep them in the refrigerator, because temperature changes can create condensation. Grind the beans just before brewing for the freshest flavor.
When I test a new coffee, I begin with a medium roast and a simple 1:16 recipe. This gives me a neutral starting point. From there, I can tell whether the coffee needs a finer grind, a slower pour, or a stronger ratio.
Water Temperature and Quality
Water makes up most of your coffee, so its quality matters. Use clean, fresh-tasting water. If your tap water tastes strongly of chlorine or minerals, filtered water may improve the cup.
A useful brewing temperature range is about 195°F to 205°F. Water that is too cool may produce weak, sour coffee. Water that is too hot can make some coffees taste harsh or bitter.
A kettle without temperature control can still work. After the water reaches a boil, wait about 30 to 60 seconds before pouring. The exact temperature will vary, but this simple pause often brings the water into a useful range.
Avoid distilled water for everyday brewing. It lacks minerals that help extract flavor from coffee. Very hard water can also create problems by adding dull or chalky flavors and causing mineral buildup in your kettle.
How to Make a Pour Over Coffee Step by Step
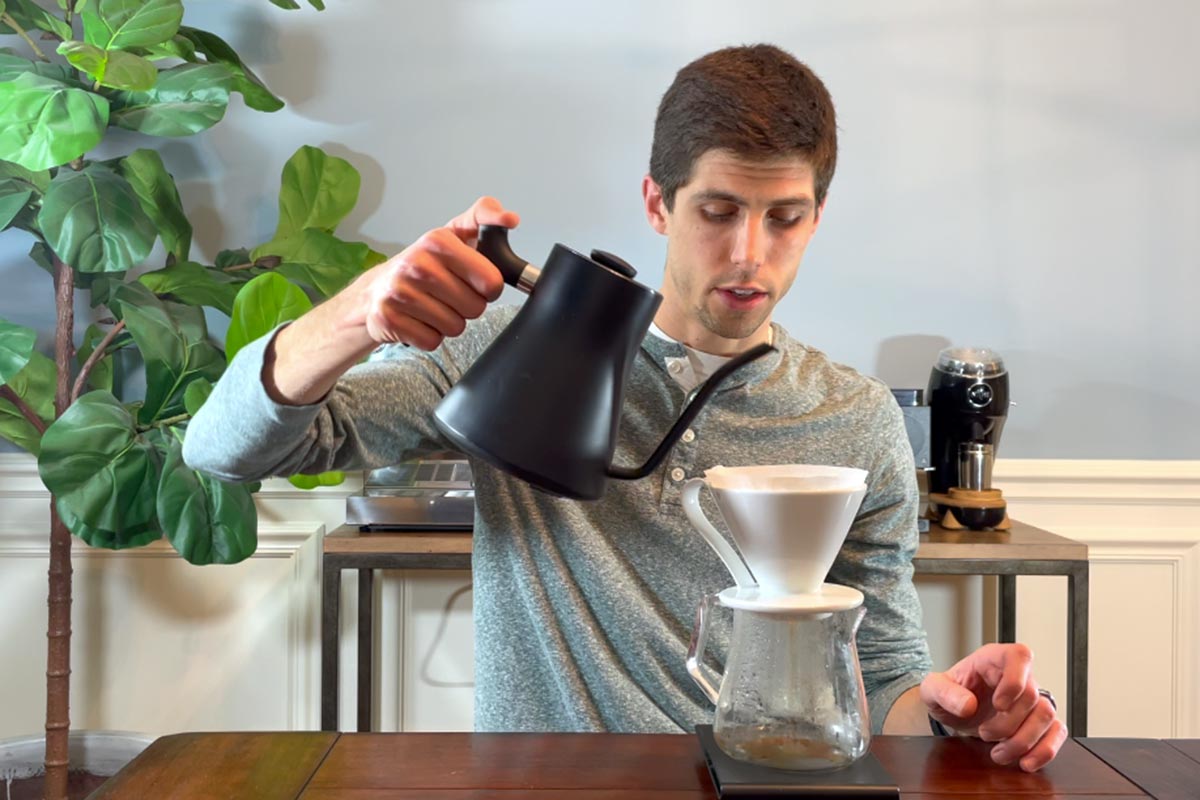
The following method works well for one cup. It uses 20 grams of coffee and 320 grams of water.
1. Heat the water
Heat at least 400 grams of water to about 200°F. You need extra water to rinse the filter and warm the brewer.
2. Rinse the filter
Place the paper filter in the dripper. Pour hot water through it until the paper is fully wet.
Rinsing removes much of the paper taste and warms the dripper and cup. Empty the rinse water before adding coffee.
3. Grind the coffee
Grind 20 grams of beans to a medium-fine texture. The grounds should look a little finer than coarse sand, but not as fine as espresso powder.
Grind size is one of the most important parts of how to make a pour over coffee. A fine grind slows the water and increases extraction. A coarse grind lets water pass more quickly and reduces extraction.
4. Add and level the grounds
Place the ground coffee in the filter. Gently shake the dripper or tap its side to create a flat coffee bed.
A level bed helps water pass through the coffee more evenly. Uneven grounds can create weak areas and over-brewed areas in the same cup.
5. Start the bloom
Start your timer and pour about 40 to 60 grams of water over the coffee. Wet all the grounds. Then wait 30 to 45 seconds.
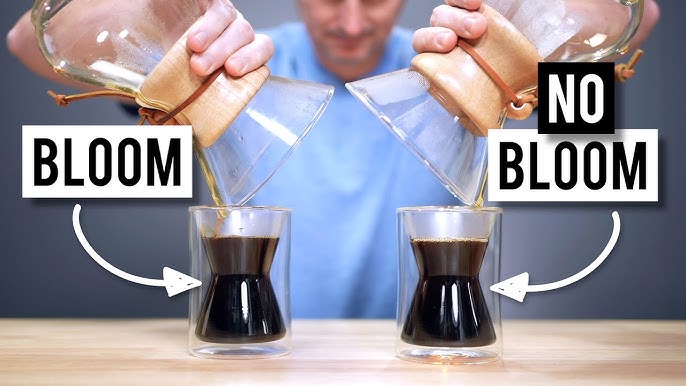
This stage is called the bloom. Fresh coffee releases trapped carbon dioxide when it meets hot water. If you skip the bloom, gas can push water away from the grounds and lead to uneven extraction.
6. Add the remaining water
Pour slowly in small circles. Start near the center and move outward, but avoid pouring directly onto the paper filter.
Add water in stages until the scale reaches 320 grams. Keep the coffee bed gently covered with water, but do not let it rise too close to the top of the filter.
7. Let the coffee drain
The total brew time will often fall between 2½ and 4 minutes. Remove the dripper when the water has passed through the grounds.
Brew time is a guide, not a score. A coffee that drains in three minutes can taste better than one that drains in four minutes. Taste matters more than the timer.
8. Swirl and serve
Swirl the coffee in the carafe or mug. This mixes the early and late parts of the brew, which can have different strengths.
Let the coffee cool for a minute or two before tasting. Very hot coffee can hide its sweetness and make it harder to judge the flavor.
A Simple Pour Over Recipe
Use this recipe when you want a dependable starting point.
• Coffee: 20 grams
• Water: 320 grams
• Ratio: 1:16
• Water temperature: 195°F to 205°F
• Grind: Medium-fine
• Bloom: 50 grams for 40 seconds
• Total brew time: About 3 minutes
Pour the remaining 270 grams in two or three slow pours. Keep your movements calm and consistent. The goal is even saturation, not speed.
When learning how to make a pour over coffee, repeat the same recipe several times. Changing the coffee, grind, water, and pouring style at once makes it hard to learn. Consistency gives you useful information.
:max_bytes(150000):strip_icc()/Web_1500-SEA-kalita-wave-pour-shot-jesse-raub-01-d4e2aa9b3a574c44abca52742a2874a4.jpg)
How to Adjust the Flavor
Taste the coffee before changing the recipe. Try to describe the cup in simple terms. Is it sour, bitter, thin, dry, heavy, sweet, or balanced?
If the coffee tastes sour or sharp
Sourness often points to under-extraction. The water has not removed enough flavor from the grounds.
Try one change:
• Grind the coffee finer.
• Use slightly hotter water.
• Pour more slowly.
• Increase the brew time.
• Use a little more water.
Do not make all these changes at once. Start with a slightly finer grind and taste again.
If the coffee tastes bitter or dry
Bitterness and dryness may point to over-extraction. Too much flavor has moved from the grounds into the water.
Try one change:
• Grind the coffee coarser.
• Use slightly cooler water.
• Pour faster.
• Reduce the brew time.
• Use a little less water.
Dark roasts can taste bitter when brewed too hot. Try a lower temperature before making major changes.
If the coffee tastes weak or watery
Weak coffee may come from too little coffee, too much water, or a grind that is too coarse.
Try using a 1:15 ratio. For example, brew 20 grams of coffee with 300 grams of water. You can also grind slightly finer.
If the coffee tastes harsh but drains quickly
Fast drainage does not always mean weak extraction. Uneven pouring can cause some grounds to over-extract while others remain under-extracted.
Pour in smaller circles and keep the coffee bed level. Avoid pouring against the filter wall, where water can bypass the grounds.
Common Mistakes to Avoid
Even experienced home brewers make small mistakes. The following issues can make how to make a pour over coffee feel harder than it needs to be.
Using old coffee
Old beans lose aroma and can taste flat. Keep the beans sealed and grind them just before brewing.
Using a blade grinder
A blade grinder creates a mix of powder and large chunks. The powder may taste bitter while the larger pieces remain weak. A burr grinder gives you more even results.
Skipping the filter rinse
An unrinsed paper filter may add a papery taste. It can also leave the brewer and cup cold.
Pouring too fast
A fast pour can push water through channels in the coffee bed. This creates uneven extraction. Slow, controlled pours usually work better.
Pouring only around the edge
Water poured near the edge can run down the side of the filter without fully passing through the coffee. Keep most of the water over the coffee bed.
Chasing an exact brew time
Time helps you repeat a recipe, but it does not decide whether the coffee tastes good. A delicious cup matters more than reaching a perfect number.
Changing too many variables
If you change the grind, water, dose, and pouring pattern together, you will not know what helped. Make one adjustment at a time.
From my own brewing practice, the most common mistake is rushing the pour. People often focus on finishing quickly, but pour over coffee rewards patience. A steady pour usually improves the cup more than an expensive gadget.
Pour Over Coffee for Beginners
If you are new to the method, keep the first recipe simple. Use a medium roast, a medium-fine grind, and a 1:16 ratio.
Follow these beginner steps:
-
Weigh 20 grams of coffee.
-
Heat 320 to 400 grams of water.
-
Rinse the filter.
-
Add the grounds and level them.
-
Pour 50 grams of water and wait 40 seconds.
-
Slowly add the remaining water.
-
Finish near the three-minute mark.
-
Taste the coffee after it cools slightly.
Do not worry if your first cup is not perfect. Brewing coffee is a skill built through small changes. Keep brief notes about the coffee, grind setting, water amount, brew time, and taste.
A simple note might say: “Sour and thin, drained in two minutes, grind finer next time.” This turns each cup into a useful lesson.
Pour Over Coffee Without a Scale
A scale is the best way to improve consistency, but you can brew without one. Use about two level tablespoons of ground coffee for every 10 ounces of water as a rough starting point.
This method is less exact because spoon size and coffee density vary. If you enjoy pour over coffee, a basic digital scale is one of the most useful upgrades you can make.
Without a scale, focus on a steady pour and a repeatable routine. Use the same mug and spoon each time. Consistency still helps you improve.
How Different Drippers Change the Brew
The dripper shape affects how quickly water moves through the coffee.
Cone-shaped drippers often create a deeper coffee bed. They can produce a bright, clear cup, but they may respond strongly to pouring speed and grind size.
Flat-bottom drippers spread the coffee over a wider bed. They often provide a more even flow and may feel easier for beginners.
Some brewers have large openings, while others have small openings or ridges. These design features change contact time and drainage. That is why the same recipe may need small adjustments on different brewers.
The basic principles remain the same: use fresh coffee, control the grind, wet the grounds evenly, and taste the result.
How to Make a Pour Over Coffee for One or More People
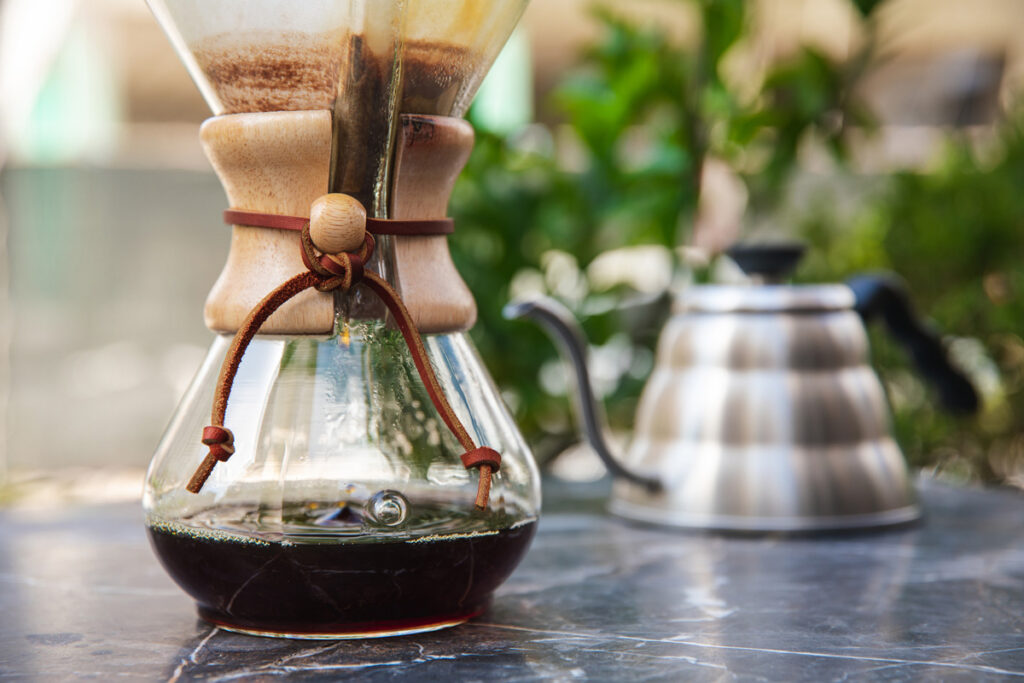
For one serving, 15 to 20 grams of coffee is a practical range. Use 240 to 320 grams of water, depending on your preferred strength.
For two servings, try:
• Coffee: 30 grams
• Water: 480 grams
• Ratio: 1:16
• Bloom water: About 60 grams
• Total brew time: About 3½ to 4½ minutes
Larger batches may drain more slowly because the coffee bed is deeper. You may need a slightly coarser grind or a larger brewer.
Do not fill a small dripper beyond its comfortable capacity. A crowded coffee bed can cause slow drainage and uneven brewing. For larger amounts, use a brewer designed for multiple cups.
Cleaning and Care
Clean equipment helps coffee taste fresh. After brewing, discard the filter and grounds. Rinse the dripper and carafe with warm water.
Wash the brewer regularly with mild dish soap. Coffee oils can build up over time and add stale flavors. If you use a kettle often, remove mineral deposits when you see white scale inside.
Keep your grinder clean as well. Old grounds can become rancid and affect new coffee. Follow the grinder maker’s cleaning instructions, especially if the burrs are removable.
Never leave wet coffee grounds in the dripper for hours. They can create odors and encourage mold. A quick rinse after each brew prevents most problems.
Health, Caffeine, and Practical Limits
Pour over coffee can fit into a healthy diet for most adults, but caffeine affects people in different ways. Some people can drink coffee late in the day, while others may notice poor sleep after one afternoon cup.
A typical 8-ounce cup may contain roughly 80 to 120 milligrams of caffeine, though the amount changes with the coffee, dose, grind, and brew method. Coffee brewed with more grounds usually contains more caffeine.
If caffeine causes anxiety, a racing heart, or sleep problems, reduce the amount or choose decaffeinated coffee. Pregnant people and those with certain medical conditions should follow advice from a qualified health professional.
Paper-filtered coffee may also remove some compounds found in unfiltered coffee. This is one reason many people choose paper filters for daily brewing. Individual health needs vary, so coffee advice should not replace medical guidance.

Frequently Asked Questions About How to Make a Pour Over Coffee
What is the best grind size for pour over coffee?
A medium-fine grind is a good starting point. If the coffee tastes sour and drains too fast, grind finer; if it tastes bitter and drains too slowly, grind coarser.
How much coffee should I use for one cup?
Start with 20 grams of coffee and 320 grams of water. This 1:16 ratio makes about one large mug, though you can adjust it for a stronger or lighter cup.
How long should pour over coffee take?
Most pour over brews take about 2½ to 4 minutes. The ideal time depends on the dripper, coffee, grind, and pouring style, so taste should guide your final adjustments.
Should I rinse the paper filter?
Yes. Rinsing removes much of the paper flavor and warms the dripper and cup. Empty the rinse water before adding the coffee grounds.
Why does my pour over coffee taste bitter?
Bitter coffee may be over-extracted because the grind is too fine, the water is too hot, or the brew takes too long. Try a slightly coarser grind or a shorter brew time.
Can I make pour over coffee without a gooseneck kettle?
Yes. A gooseneck kettle offers better control, but a regular kettle can work. Pour slowly and avoid flooding the filter or pouring directly onto its sides.
Conclusion
Learning how to make a pour over coffee comes down to a few key habits: use fresh beans, measure your coffee and water, choose the right grind, control the water temperature, and pour slowly. Begin with a 1:16 ratio, then adjust one variable at a time based on taste.
Your first cup may not be perfect, and that is part of the process. Keep brewing, take simple notes, and let each cup teach you something new. Try this recipe tomorrow morning, then explore different beans, drippers, and brewing styles as your confidence grows.

Liora Pennings is a seasoned chef and kitchen enthusiast with a passion for turning everyday cooking into an effortless experience. With years of hands-on culinary expertise, she specializes in practical techniques, ingredient know-how, and smart kitchen solutions that help home cooks elevate their meals. At KitchFlair.com, Liora shares her best tips, time-saving tricks, and honest product reviews to guide readers toward a more efficient, enjoyable, and inspired cooking routine. Whether you’re a beginner or a seasoned home chef, Liora’s friendly, knowledge-packed insights make every visit to the kitchen a little easier—and a lot more delicious.