How To Use A Pour Over Coffee Maker: Easy Guide
To use a pour over coffee maker, add coffee grounds, pour hot water slowly, and let the brew drain.
Learning how to use a pour over coffee maker is simple, but small details shape the final cup. The grind size, water temperature, pouring speed, and coffee-to-water ratio all work together. This guide explains the method clearly, with practical tips, common mistakes, and tested ways to make smooth, flavorful coffee at home.
What Is a Pour Over Coffee Maker?
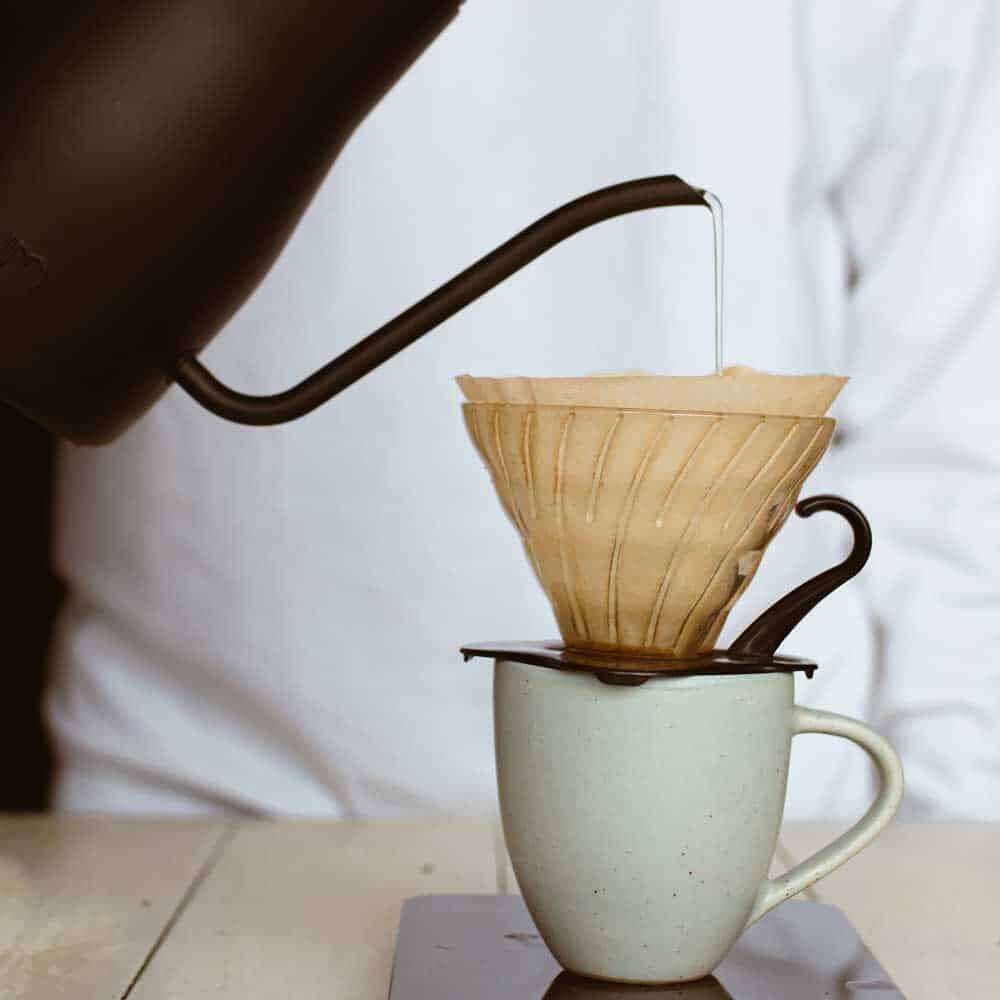
A pour over coffee maker is a manual brewer that uses gravity to move hot water through coffee grounds. The brewer usually sits on top of a mug or carafe. A paper or metal filter holds the grounds while the brewed coffee flows below.
Unlike an automatic drip machine, a pour over coffee maker gives you control over nearly every part of brewing. You decide how much water to use, how fast to pour, and when to pause.
This control can reveal more flavor in the coffee. A light roast may taste bright and fruity, while a medium roast can show notes of chocolate, nuts, or caramel. The brewer does not create flavor by itself. It helps you bring out what is already in the beans.
Common pour over brewers include:
• Hario V60, known for its cone shape and fast flow
• Kalita Wave, which uses a flat bottom and offers a more even extraction
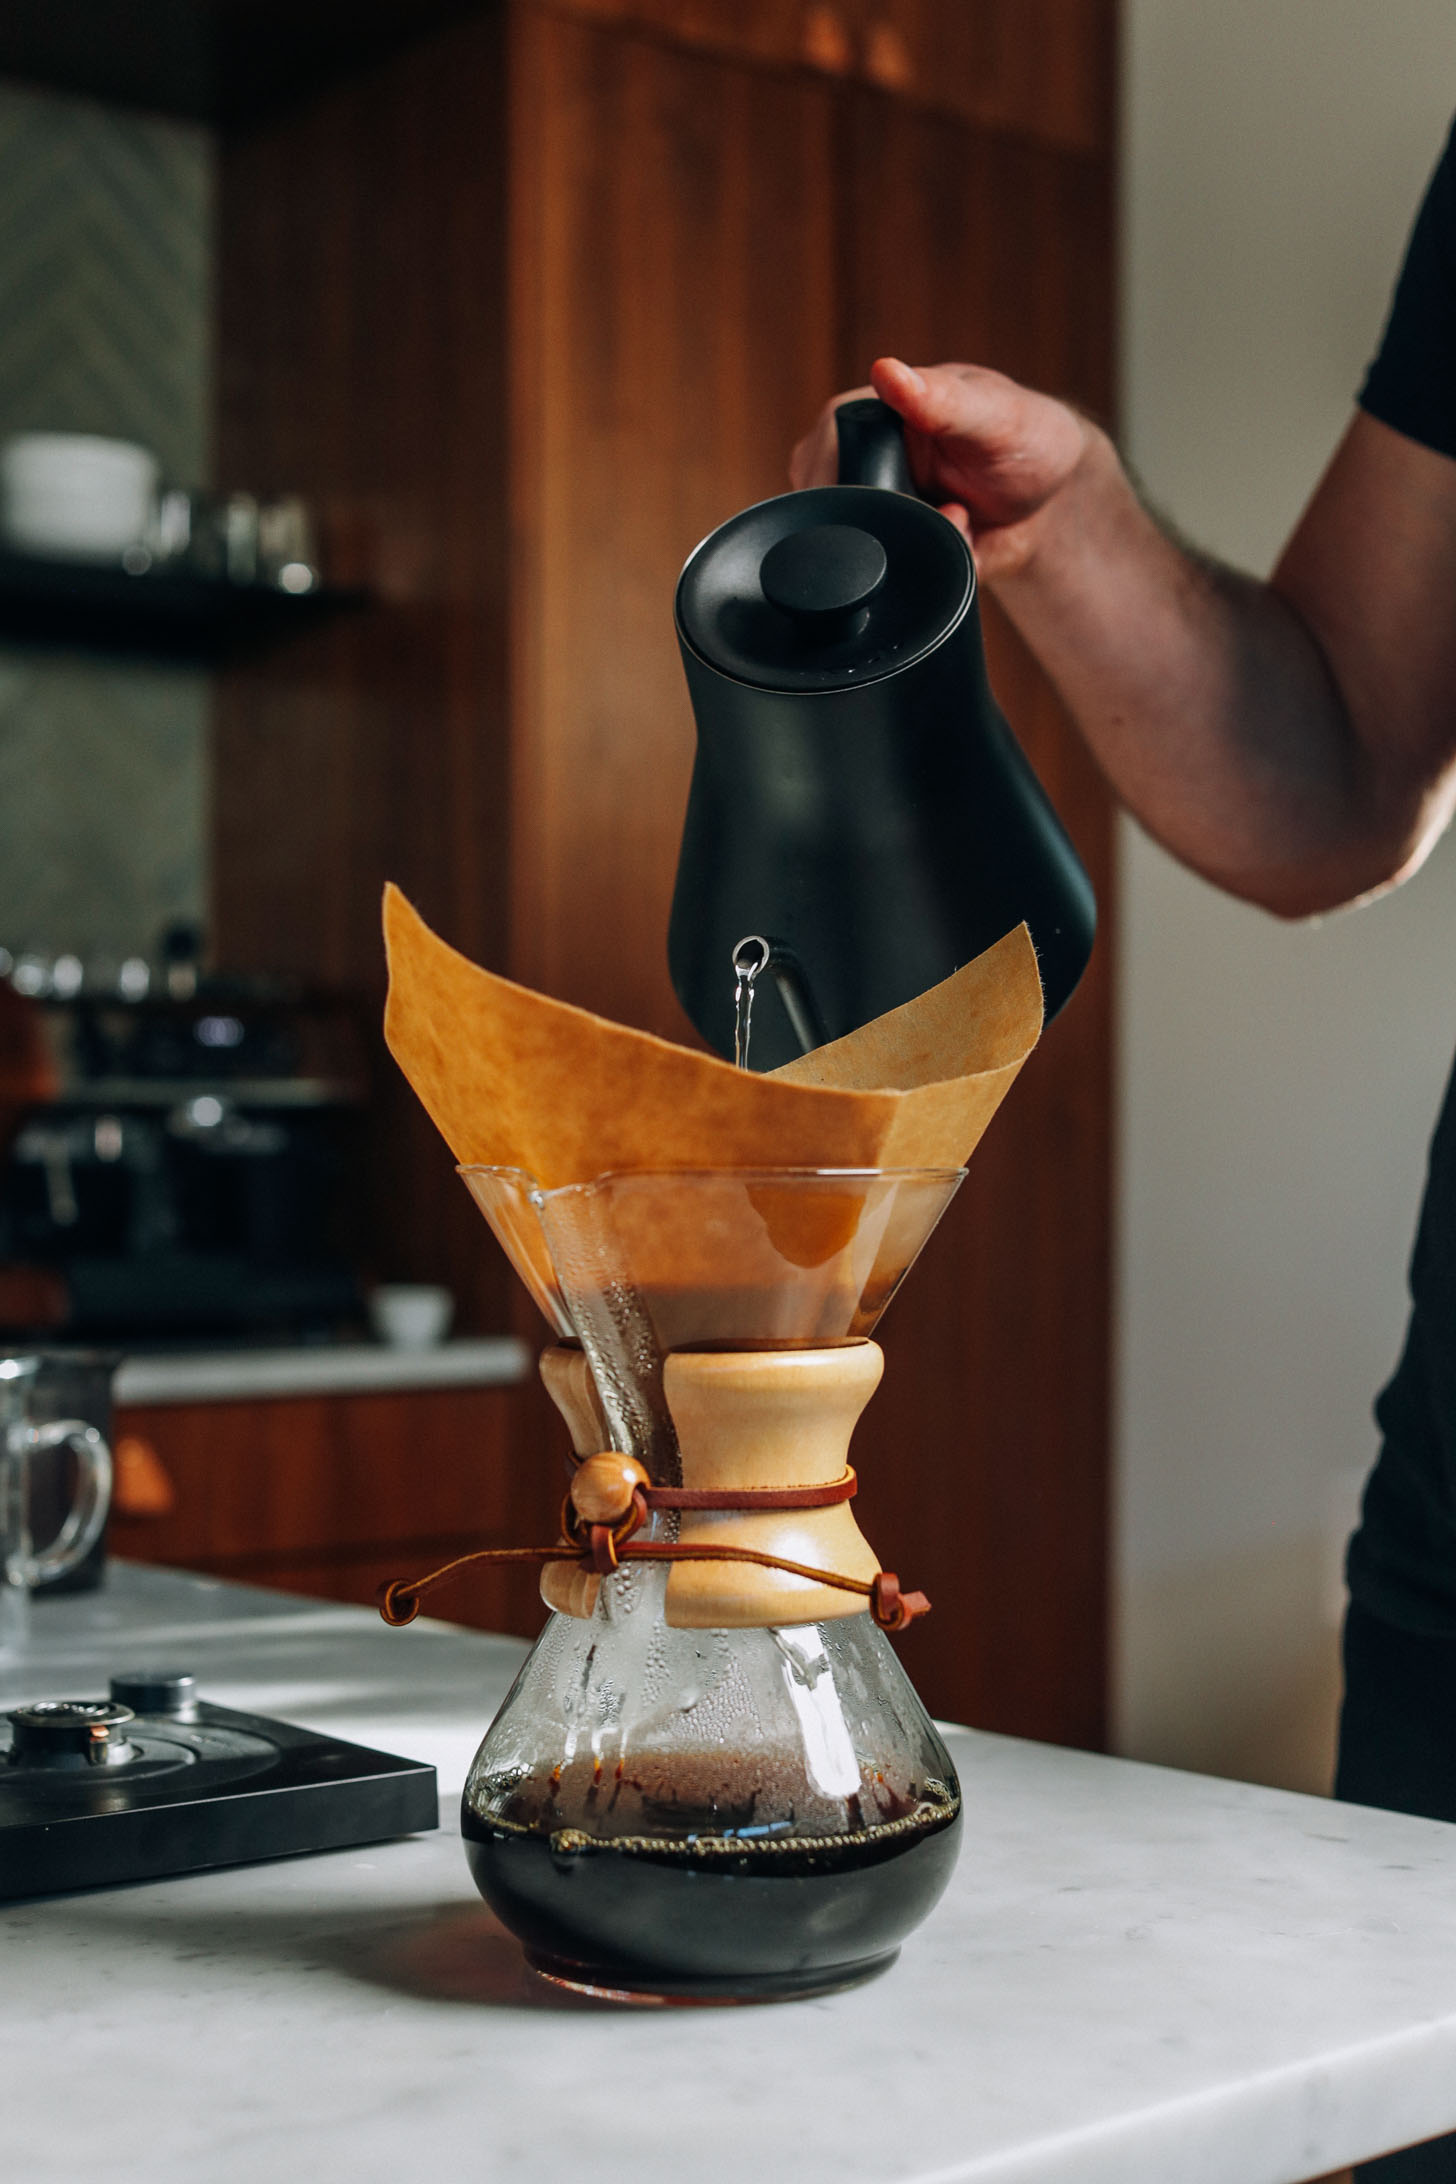
• Chemex, which uses thick paper filters for a clean and light cup
• Melitta, a simple and affordable cone brewer
Each design drains water at a different rate. The basic brewing method remains much the same.
Why Use a Pour Over Coffee Maker?
Many coffee drinkers choose a pour over coffee maker because it offers a clean, fresh, and customized cup. You can adjust the brew to match your taste instead of accepting one preset program.
The main benefits include:
• More control over brewing time and water flow
• A clean cup with clear flavor notes
• Low equipment cost compared with espresso machines
• No need for electricity if you have a way to heat water
• Easy adjustment for one or two servings
• A calming morning ritual that slows down your routine
There are limits, too. Manual brewing takes more attention than pressing a button on an automatic machine. It may also take several attempts to produce the same taste each time.
In my own testing, the biggest benefit was not speed. It was learning how small changes affected flavor. A slightly finer grind made a weak cup richer, while a slower pour sometimes made the coffee taste dry. That feedback makes pour over brewing feel more like cooking than operating an appliance.
What You Need Before Brewing
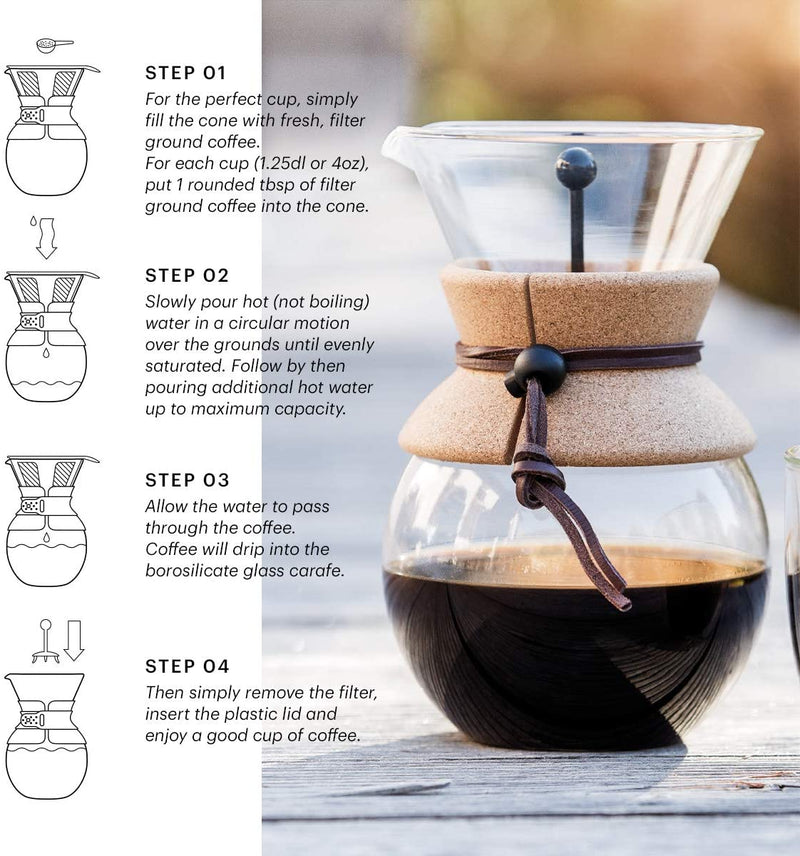
You do not need expensive gear to learn how to use a pour over coffee maker. A few basic tools are enough.
Gather these items:
• Pour over coffee maker
• Paper or reusable filter
• Fresh coffee beans
• Burr grinder, if possible
• Digital kitchen scale
• Gooseneck kettle or another controlled-pour kettle
• Mug or coffee carafe
• Clean, fresh water
A burr grinder is useful because it produces more even particles than a blade grinder. Even grounds allow water to extract the coffee more evenly. If a burr grinder is not available, use the most consistent setting you can.
A digital scale is one of the best low-cost upgrades. Measuring coffee by volume can be unreliable because beans vary in size and density. Weight gives you a more repeatable recipe.
For water, filtered water usually works well. Very hard water can mute flavor and leave mineral buildup in the kettle. Very soft or distilled water may make coffee taste flat. Water with balanced mineral content tends to produce a better cup.
:max_bytes(150000):strip_icc()/ses-primary-pour-over-coffee-rkilgore.jpg-e1e6c5f5d3e84eec868f98843362d9c5.jpg)
The Best Coffee-to-Water Ratio
A good starting ratio for a pour over coffee maker is 1 gram of coffee for every 16 grams of water. This is often written as 1:16.
Try this simple recipe:
• 20 grams of coffee
• 320 grams of water
• Water temperature between 195°F and 205°F
• Medium-fine grind
• Total brew time of about 3 to 4 minutes
You can adjust the ratio to suit your taste. Use more coffee for a stronger cup or more water for a lighter cup.
Useful starting recipes include:
| Coffee | Water | Approximate servings |
|---|---|---|
| 15 grams | 240 grams | 1 small mug |
| 20 grams | 320 grams | 1 regular mug |
| 30 grams | 480 grams | 2 small mugs |
| 40 grams | 640 grams | 2 large mugs |
Do not treat these numbers as strict rules. Coffee origin, roast level, grinder quality, filter type, and brewer shape all affect the result. A recipe gives you a stable starting point, not a permanent limit.

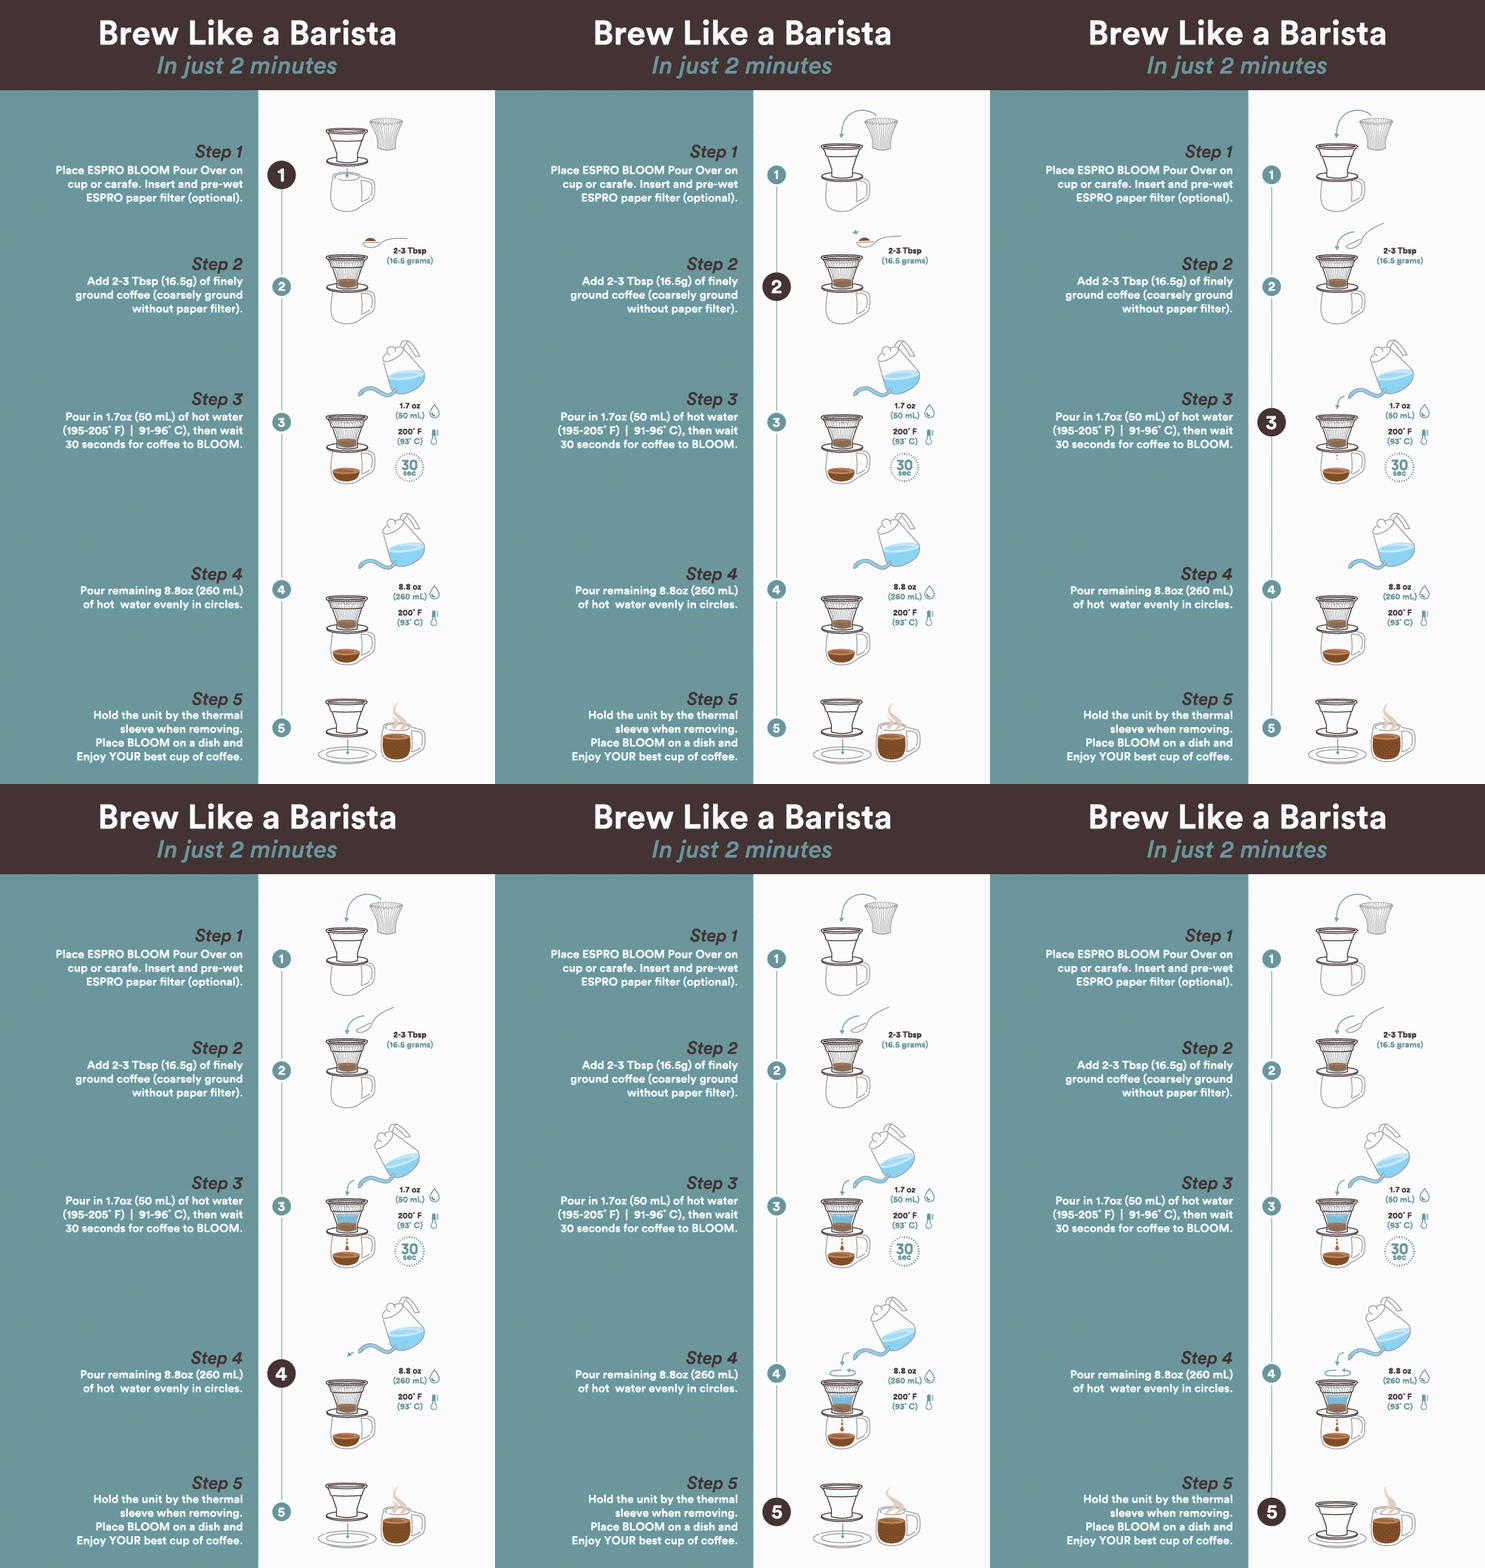
How to Use a Pour Over Coffee Maker Step by Step
Follow these steps for a balanced and clear cup. The process becomes natural after a few brews.
1. Heat the water
Heat your water to about 195°F to 205°F. If you do not have a thermometer, bring the water to a boil and let it sit for about 30 to 60 seconds.
Darker roasts often taste better with slightly cooler water. Light roasts may need water closer to the upper end of the range to extract their deeper flavors.
2. Rinse the filter
Place the filter inside the brewer. Pour hot water through it to remove any paper taste and warm the brewer and mug.
Discard the rinse water before adding coffee. This step also helps keep the brewing temperature more stable.
3. Grind the coffee
Grind fresh beans to a medium-fine texture. The grounds should look a little finer than sand but not as fine as espresso powder.
Grind the coffee just before brewing. Once coffee is ground, it loses aroma more quickly because more surface area is exposed to air.
4. Add the coffee
Place the brewer on your mug or carafe. Add the measured grounds, then gently shake the brewer to create a level bed.
A flat coffee bed helps water spread more evenly. Do not press or pack the grounds.
5. Start the bloom
Start your timer. Pour about twice the coffee’s weight in water over the grounds. For 20 grams of coffee, use about 40 grams of water.
Make sure all the grounds are wet. Wait 30 to 45 seconds while the coffee releases trapped gas. This stage is called the bloom.
Fresh coffee may rise and bubble more than older coffee. If the grounds barely move, the coffee may have lost some freshness, although it can still brew well.
6. Pour the remaining water
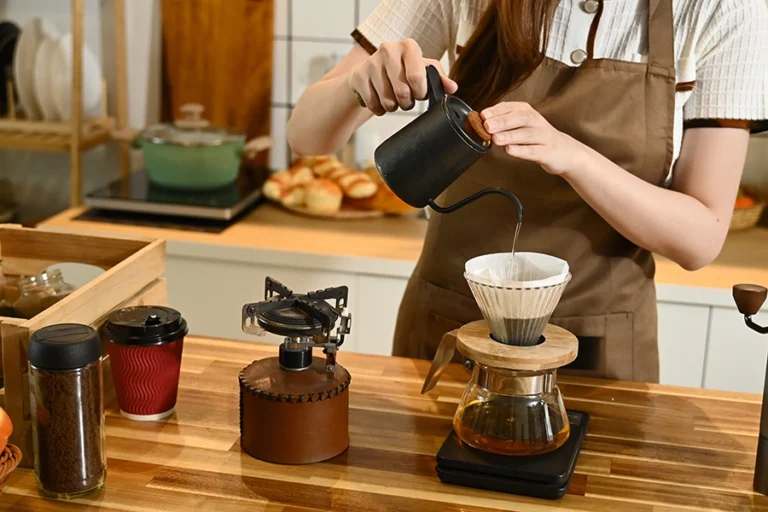
Pour slowly in small circles. Begin near the center and move outward without pouring directly onto the filter paper.
For a 20-gram recipe, you could pour like this:
• 0:00: Add 40 grams for the bloom
• 0:40: Pour to 160 grams
• 1:20: Pour to 240 grams
• 2:00: Pour to 320 grams
Keep the water level steady. Avoid flooding the brewer or allowing the coffee bed to dry completely between pours.
7. Let the coffee drain
Allow the water to pass through the grounds. A total brew time of about 3 to 4 minutes works well for many cone brewers.
Remove the brewer when the flow slows to a few drops. Swirl the finished coffee gently in the mug or carafe. This mixes the different layers of the brew.
8. Taste and adjust
Let the coffee cool for a minute or two, then taste it. Coffee often reveals more flavor as it cools.
If it tastes sour, thin, or sharp, it may be under-extracted. Use a finer grind, hotter water, or a slower brew next time.
If it tastes bitter, harsh, or dry, it may be over-extracted. Use a coarser grind, cooler water, or a faster brew.
This simple taste test is one of the most useful parts of learning how to use a pour over coffee maker.

How to Control Grind Size, Pouring, and Brew Time
Grind size is often the first adjustment to make. Fine grounds slow the flow of water and increase extraction. Coarse grounds let water move faster and may produce a weaker cup.
Use these signs as a guide:
• Sour or watery coffee usually needs more extraction
• Bitter or dry coffee usually needs less extraction
• A brew that drains too quickly may need a finer grind
• A brew that drains too slowly may need a coarser grind
Pouring technique matters as well. A gooseneck kettle gives you better control, but you can still use a regular kettle if you pour gently and steadily.
Try not to pour against the paper filter. Water that runs down the sides can bypass the coffee grounds. This creates uneven extraction and may make the cup taste weak.
Brew time is useful, but flavor matters more. A coffee that drains in three minutes may taste excellent, while a four-minute brew may taste flat. Use time as a clue, not as the only measure of success.
:max_bytes(150000):strip_icc()/Web_1500-SEA-kalita-wave-pour-shot-jesse-raub-01-d4e2aa9b3a574c44abca52742a2874a4.jpg)
How to Use a Pour Over Coffee Maker Without a Gooseneck Kettle
A gooseneck kettle makes the process easier, but it is not required. You can use a standard kettle, a measuring cup, or a small pitcher with a narrow spout.
Heat the water, then pour in small amounts. Move slowly and avoid large splashes. You may need to pour closer to the center because a wide stream is harder to control.
A simple workaround is to divide the water into several small pours. This limits the amount of water moving through the brewer at once.
For example:
• Bloom with 40 grams
• Add 90 grams after the bloom
• Add another 90 grams
• Finish with 100 grams
This method gives you control even without specialized equipment. It may not look as precise, but careful pouring can still produce excellent coffee.
Common Pour Over Coffee Mistakes
Learning how to use a pour over coffee maker includes learning what to avoid. Most poor results come from a few repeat problems.
Using stale coffee
Old coffee can taste dull, flat, or papery. Buy whole beans in small amounts and store them in an airtight container away from heat and light.
Skipping the filter rinse
Some paper filters add a mild paper flavor. Rinsing also warms the brewer and mug, so it is a useful step for both taste and temperature.
Using water that is too hot or too cold
Boiling water can make some dark roasts taste harsh. Water that is too cool may fail to extract enough flavor, especially from light roasts.
Pouring too fast
A fast pour can cause water to rush through the grounds. The coffee may finish early and taste thin.
Changing too many variables
If you change the grind, ratio, water temperature, and pouring style at the same time, you will not know what improved the cup.
Change one variable at a time. This is the same approach used in careful coffee tasting and quality control.
Pressing the coffee bed
Do not stir or press the grounds unless a recipe specifically calls for it. Aggressive stirring can create too much fine sediment and increase bitterness.
Ignoring the water
Coffee is mostly water, so water quality has a major effect. If your tap water tastes unpleasant on its own, it will probably make unpleasant coffee.
How to Use a Pour Over Coffee Maker for Different Roasts
The roast level can guide your starting recipe.
Light roast coffee is dense and often needs more heat or a slightly finer grind. It may produce bright notes such as citrus, berries, or flowers.
Medium roast coffee is usually flexible. Start with the standard 1:16 ratio, medium-fine grind, and water around 200°F.
Dark roast coffee extracts more easily and can taste bitter if brewed too aggressively. Try slightly cooler water, a coarser grind, or a shorter brew.
These are starting points, not strict laws. The coffee’s origin and processing method matter, too. A natural Ethiopian coffee may taste fruitier than a washed coffee from the same roast level.
When I have found a cup too bitter, my first instinct used to be adding more water after brewing. That can help the strength, but it does not fix over-extraction. Adjusting the grind or water temperature before brewing usually produces a cleaner result.
How to Use a Pour Over Coffee Maker for Iced Coffee
You can make iced pour over coffee by brewing directly over ice. Use less hot water because the melting ice completes the recipe.
Try this method:
• Add 20 grams of coffee to the filter
• Place 160 grams of ice in the carafe
• Heat 160 grams of water to about 200°F
• Bloom the coffee with 40 grams of water
• Slowly pour the remaining 120 grams
• Swirl the carafe until the ice melts
The final drink contains 320 grams of liquid: 160 grams of brewed coffee and about 160 grams of melted ice.
Use a slightly stronger recipe because ice dilutes the coffee. A medium or light roast often works well for this method.
Cleaning and Maintaining Your Brewer
Clean equipment protects flavor. Rinse the brewer after every use and remove all coffee grounds.
Wash the brewer with warm water and mild soap as needed. If you use a reusable metal filter, clean it carefully because trapped oils can become rancid.
Clean your kettle and grinder based on their instructions. Mineral buildup inside a kettle can affect heating and water flow. Grinder residue can make fresh coffee taste stale.
Replace paper filters when they appear damaged or do not fit correctly. A poor fit can cause water to bypass the coffee or make the filter collapse.
A clean brewer should not add a smell to the coffee. If it smells sour, oily, or dusty, it needs a deeper cleaning.
A Simple Pour Over Recipe to Save
Use this recipe when you want a reliable daily cup.
Ingredients and tools
• 20 grams of fresh coffee
• 320 grams of filtered water
• Pour over brewer
• Paper filter
• Scale
• Kettle
Method
-
Heat the water to about 200°F.
-
Rinse the filter and warm the brewer.
-
Grind 20 grams of coffee to a medium-fine texture.
-
Add the grounds and level the coffee bed.
-
Pour 40 grams of water and wait 30 to 45 seconds.
-
Slowly pour until the scale reaches 320 grams.
-
Finish brewing in about 3 to 4 minutes.
-
Swirl the coffee and taste it after it cools slightly.
If the cup is weak, make the grind finer or use a little more coffee. If it is bitter, make the grind coarser or pour more quickly.
Frequently Asked Questions About How to Use a Pour Over Coffee Maker
How much coffee do I use for one cup of pour over coffee?
Start with 15 to 20 grams of coffee for 240 to 320 grams of water. A 1:16 coffee-to-water ratio is a reliable starting point for most brewers.
What grind size is best for a pour over coffee maker?
Use a medium-fine grind, similar to fine sand. If the coffee drains too fast and tastes weak, grind finer; if it drains slowly and tastes bitter, grind coarser.
How hot should water be for pour over coffee?
Use water between 195°F and 205°F. Slightly cooler water can work well for dark roasts, while light roasts may benefit from water closer to 205°F.
Why does my pour over coffee taste sour?
Sour coffee is often under-extracted. Try a finer grind, hotter water, a longer brew time, or a slower pour.
Why does my pour over coffee taste bitter?
Bitter coffee is often over-extracted. Try a coarser grind, cooler water, a shorter brew time, or a slightly faster pour.
Do I need a gooseneck kettle for pour over coffee?
No, but a gooseneck kettle makes the water flow easier to control. You can use a regular kettle if you pour slowly and carefully.
Should I rinse a paper coffee filter?
Yes. Rinsing removes much of the paper taste and preheats the brewer and serving vessel. Always discard the rinse water before adding coffee grounds.
How long should pour over coffee take?
Many pour over brews take about 3 to 4 minutes, including the bloom. The ideal time depends on the brewer, coffee, grind size, and pouring method.
Conclusion
Learning how to use a pour over coffee maker comes down to a few repeatable habits: use fresh coffee, measure your ingredients, control the water, pour slowly, and adjust one variable at a time. Start with 20 grams of coffee, 320 grams of water, a medium-fine grind, and a brew time near four minutes.
Do not worry about making a perfect cup on your first attempt. Taste each brew, note what changed, and let small improvements guide you. Try the recipe today, explore different beans, and share your favorite pour over method or coffee tip in the comments.

Liora Pennings is a seasoned chef and kitchen enthusiast with a passion for turning everyday cooking into an effortless experience. With years of hands-on culinary expertise, she specializes in practical techniques, ingredient know-how, and smart kitchen solutions that help home cooks elevate their meals. At KitchFlair.com, Liora shares her best tips, time-saving tricks, and honest product reviews to guide readers toward a more efficient, enjoyable, and inspired cooking routine. Whether you’re a beginner or a seasoned home chef, Liora’s friendly, knowledge-packed insights make every visit to the kitchen a little easier—and a lot more delicious.