Introduction
To charge a car vacuum cleaner at home, use the charger, USB cable, or charging dock made for that vacuum. Plug it into a safe indoor outlet, place the vacuum in the correct charging position, and wait for the charge light to show that charging is complete. Do not use a random adapter just because the plug fits.
This guide applies to common car vacuums sold in the United States, including cordless models with lithium-ion batteries, USB charging, wall adapters, and removable battery packs. The exact charging time and light pattern depend on the make and model, so the owner’s manual remains the final source for model-specific instructions.

Identify the Charging System Before You Plug It In
The first step is to find out how your car vacuum receives power. Most models use one of four systems:


| Charging system | What you use at home | What to check |
|---|---|---|
| USB charging | A compatible USB cable and wall power adapter | USB type, required power, and cable condition |
| AC wall adapter | The supplied adapter and a household outlet | Output voltage, current, polarity, and plug size |
| Charging dock | The supplied dock and its adapter | Correct contact between the vacuum and dock |
| Removable battery charger | The manufacturer’s battery charger | Battery model and charger compatibility |
A vacuum may also include a 12-volt car charger. That plug is designed for a vehicle’s accessory socket. It may not work from a regular wall outlet unless you use a suitable, approved 12-volt power supply with the correct output.
Find the charging port
Look for a port or label marked:
- DC IN
- CHARGE
- USB-C
- Micro-USB
- Input
- A battery symbol
- Two metal charging contacts
The port may sit on the handle, near the dust cup, under a rubber cover, or on the bottom of a wall dock. Check the manual if you cannot find it.
Check the label on the charger
A wall adapter usually lists:
- Input: The power it accepts from the outlet
- Output: The voltage and current it sends to the vacuum
- Polarity: Often shown by a small center-positive symbol
- Model number: Useful for confirming compatibility
The output must match the vacuum’s requirements. A plug that fits does not prove that the charger is safe.
Understand common terms
- Voltage, measured in volts (V): Electrical pressure.
- Current, measured in amps (A): The amount of electrical flow.
- Wattage, measured in watts (W): Voltage multiplied by current.
- Battery capacity, often measured in watt-hours (Wh) or milliamp-hours (mAh): An estimate of how much energy the battery stores.
For example, a 12-volt adapter rated at 1 amp supplies about 12 watts. That calculation does not replace the manufacturer’s charging instructions. It only helps explain why a higher-power adapter is not automatically suitable.
Use the original charger whenever possible. If it is lost, replace it with one that the manufacturer confirms as compatible.
How to Charge a Cordless Car Vacuum at Home
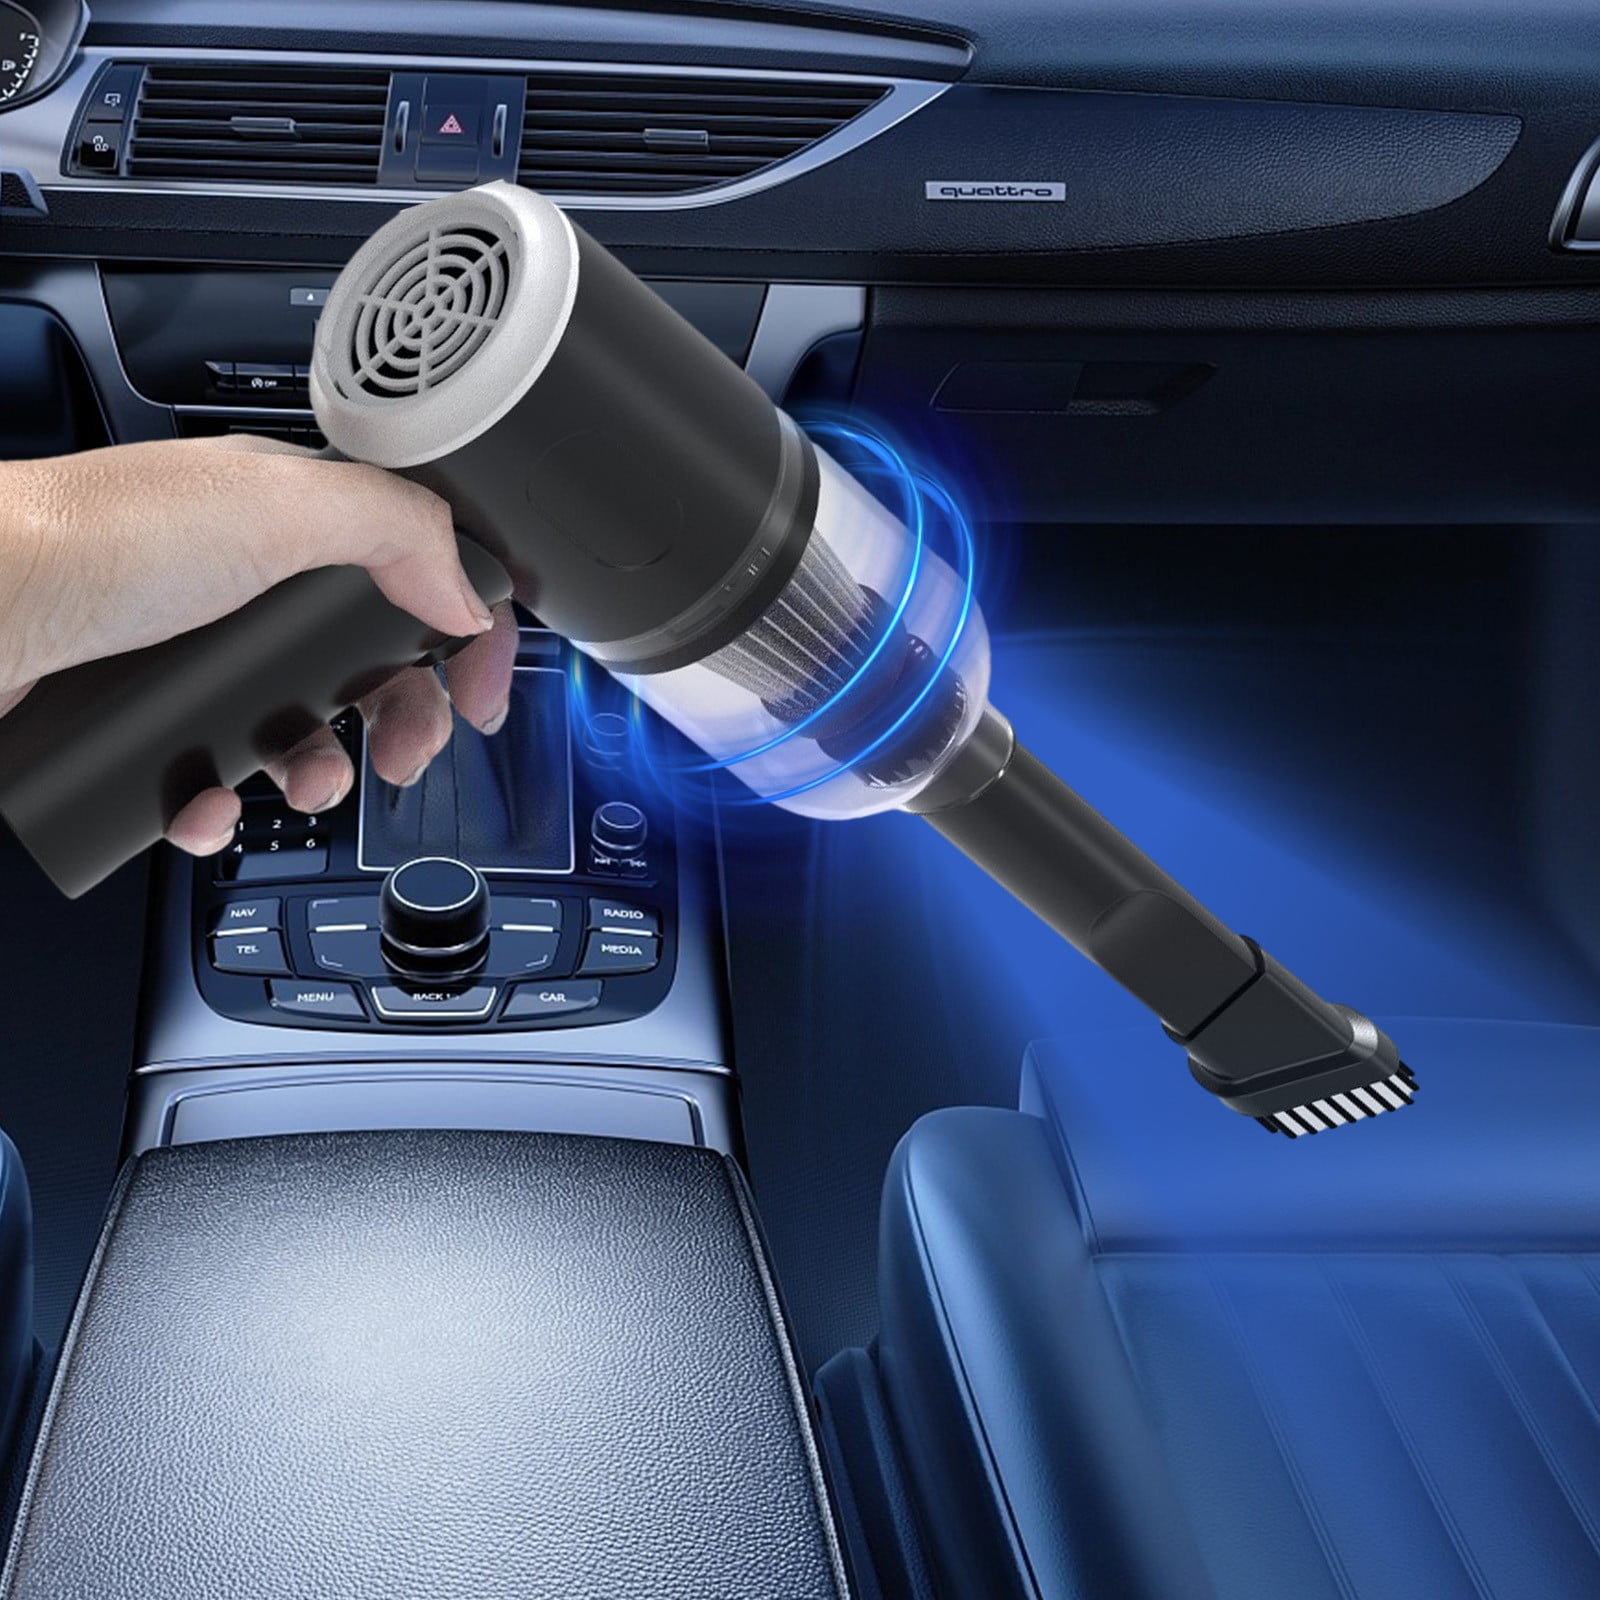
Follow these steps for most rechargeable car vacuums.
1. Turn the vacuum off
Switch the vacuum off before connecting the charger. Some models will not charge while running. Turning it off also prevents the motor from drawing power during charging.
If the vacuum was used moments ago, let it cool first. A warm motor or battery can increase charging time, and some models pause charging until the battery returns to a safer temperature.


2. Inspect the charger and vacuum
Check the cable, plug, charging port, and contacts. Do not use the charger if you see:
- A cut, crushed, or frayed cable
- Melted plastic
- Bent connector pins
- Loose charging contacts
- Burn marks
- A strong chemical or burnt smell
- Moisture inside the port
Keep the vacuum and charger dry. Never charge a wet vacuum, even if the outside looks mostly dry.
3. Connect the charger
Connect the correct end of the cable to the vacuum or dock. Then plug the power adapter into an indoor wall outlet.
For USB models, the cable and power adapter both matter. A USB-C cable does not mean that every USB-C power source is suitable. Some vacuums accept only basic USB power, while others need a specific USB-C power profile.
4. Confirm the charging light
A light may:
- Blink while charging
- Stay red or amber while charging
- Turn green or white when full
- Turn off when charging is complete
- Show a battery level with several bars
The light pattern varies by model. If the manual gives no clear explanation, unplug the charger and contact the manufacturer rather than guessing from the color.
5. Leave the vacuum on a hard, open surface
Place the vacuum on a table, counter, or charging dock with space around it. Do not charge it under a blanket, on a bed, inside a closed cabinet, or in direct heat.
A hard surface lets heat escape. This matters most for cordless vacuums with lithium-ion batteries.
6. Unplug it when the manual recommends
Many modern chargers stop or reduce charging when the battery is full. Even so, follow the manual’s guidance about storage and charging. Unplug the adapter if the vacuum becomes unusually hot, swells, smells strange, makes a noise, or shows signs of damage.
Do not use a damaged battery after charging stops. Place the vacuum away from flammable items and contact the manufacturer for help.
A successful charge usually shows a normal indicator, no unusual heat or smell, and normal run time when you use the vacuum. The light alone is not proof that the battery is healthy.

How to Charge Different Types of Car Vacuums
The correct home charging method depends on the power system built into the vacuum. The main difference is not the shape of the connector. It is the electrical output the battery and charging circuit require.
USB-charging car vacuum
For a USB model:
- Connect the approved USB cable to the vacuum.
- Connect the other end to a compatible wall adapter.
- Plug the adapter into a household outlet.
- Check for the charging indicator.
A phone charger may work only if its output matches the vacuum’s requirements. Do not assume that a high-wattage laptop charger, fast charger, or power bank is safe for every vacuum.


If the vacuum uses Micro-USB, use a good-quality Micro-USB cable. If it uses USB-C, read the manual before using a USB-C Power Delivery adapter.
Car vacuum with an AC adapter
Some vacuums include a small power brick with a round barrel plug. Use that adapter unless the manufacturer identifies a replacement.
Match all of these details:
- Output voltage
- Output current
- Connector dimensions
- Center polarity
- AC or DC input type
- Manufacturer-approved model or part number
A replacement adapter with the wrong voltage can damage the charging circuit or battery. A replacement with the wrong polarity can also cause damage.
Vacuum with a charging dock
A dock may both store and charge the vacuum. To use it at home:
- Connect the dock’s supplied adapter.
- Place the vacuum upright or in the position shown in the manual.
- Make sure the metal contacts touch.
- Look for the charge light.
Dust, hair, or corrosion on the contacts can block charging. Unplug the dock before wiping the contacts with a dry, soft cloth. Do not pour cleaner into the dock or scrape the contacts with a metal tool.
Vacuum with a removable battery
A removable battery may charge inside the vacuum or in a separate charger. Use only the charger listed for that battery pack.
Do not charge a loose lithium-ion battery with bare wires, a homemade setup, or a charger designed for another battery system. Keep spare batteries away from coins, keys, tools, and other metal objects that could bridge the terminals.
Vacuum with a 12-volt plug
A 12-volt plug is common on older or corded car vacuums. It normally draws power from a vehicle accessory socket, not a standard U.S. wall outlet.
To use it at home, you would need a correctly rated AC-to-12-volt DC power supply. The power supply must meet the vacuum’s voltage, current, connector, and polarity requirements. Because an incorrect supply can overheat the vacuum or power adapter, the safer choice is to use the vehicle socket or obtain a manufacturer-approved home adapter.

How Long Does a Car Vacuum Take to Charge?
Charging time varies by battery size, charger output, battery age, temperature, and the vacuum’s charging design. The manual or product label is more reliable than a general time estimate.
As a rough planning example, suppose a battery stores 30 watt-hours and the charger provides 10 watts. A simple estimate is:
30 Wh ÷ 10 W = 3 hours
Real charging can take longer because charging slows as the battery nears full. The vacuum also loses some energy in the charging circuit. This example is only a calculation, not a promised charging time.


| Situation | Likely effect |
|---|---|
| Battery is nearly empty | Longer charge |
| Battery is partly charged | Shorter charge |
| Battery is cold or hot | Charging may slow or pause |
| Old battery | Charge may finish quickly but run for less time |
| Weak or damaged cable | Charging may be slow or fail |
| Wrong adapter | Charging may fail or become unsafe |
| Vacuum is running while connected | Charging may stop or take longer |
Do not judge battery health by charging time alone. A worn battery may reach its “full” light quickly but lose power after only a short cleaning session.

What to Do When the Car Vacuum Will Not Charge
Check the simple and safe causes first. Stop if the battery looks damaged or becomes very hot.
| Symptom | Possible cause | Safe check |
|---|---|---|
| No light at all | No power, loose cable, blocked port, or failed adapter | Test the outlet with another device and reseat the cable |
| Light blinks but battery stays low | Poor contact, weak adapter, or battery fault | Inspect the port and use the original charger |
| Vacuum runs only briefly | Aging battery, blocked filter, or heavy load | Clean the filter and compare run time with the manual |
| Charger gets very hot | Wrong adapter, damaged charger, or internal fault | Unplug it and stop using it |
| Vacuum charges only at one angle | Loose port or damaged cable | Do not hold it in place; replace the cable or seek service |
| Charge stops quickly | Battery fault, temperature protection, or full charge | Let it cool and check the manual’s indicator guide |
| Dock does not charge | Dirty or misaligned contacts | Unplug the dock and clean contacts gently |
Check the outlet
Plug the charger into a known working indoor outlet. Avoid testing through a damaged extension cord, loose power strip, or overloaded outlet.
If the outlet is warm, loose, sparking, or smells burnt, stop using it and have a qualified electrician inspect it.
Check the connection
Disconnect and reconnect the charger at both ends. Make sure the plug is fully inserted. For a dock, lift the vacuum off and place it back carefully.
Look for lint or dust in the charging port. Use a dry, soft brush or compressed air only if the manufacturer allows it. Never push a sharp metal object into the port.
Check temperature
Move the vacuum to a room-temperature location and let it rest. Very hot or cold conditions can cause a battery management system to pause charging.
Do not cool the vacuum with water, ice, or a refrigerator. Condensation can damage the electronics.
Check the filter and dust cup
A full dust cup or clogged filter can make the vacuum work harder. That may reduce run time and create the impression that the battery is not charging well.
Empty the dust cup and clean the filter according to the manual. Let a washable filter dry completely before reinstalling it.
Replace the charger only with a confirmed match
If the original charger has failed, use the exact replacement from the manufacturer when available. If you must use a third-party replacement, verify every electrical specification and the vacuum model.
If the vacuum still will not charge, the battery, port, charging circuit, or control board may need service. Do not open a sealed battery pack.
Battery and Charging Safety at Home
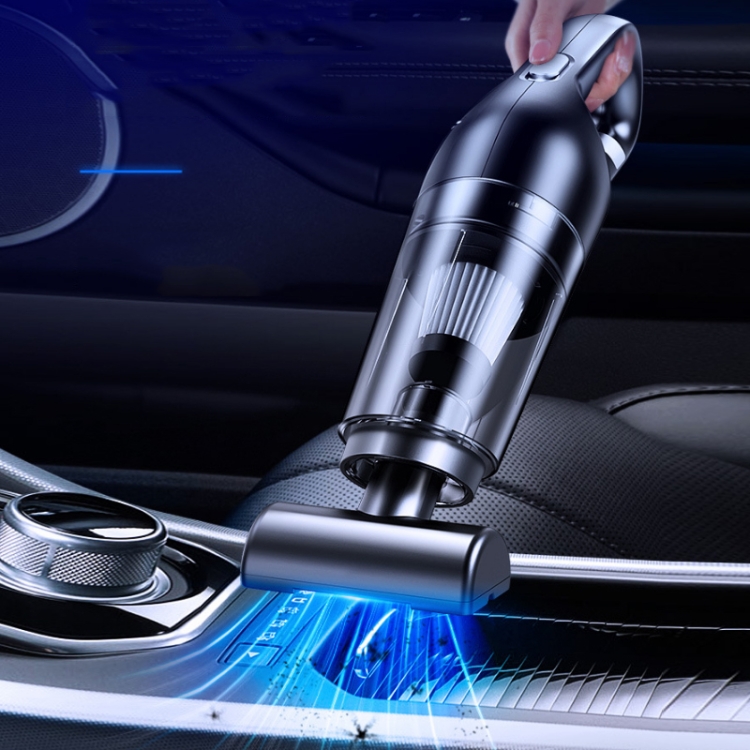
Most rechargeable car vacuums use lithium-ion batteries. These batteries store a large amount of energy in a small package, so careful charging and storage matter.


Follow these safety rules:
- Charge on a hard, dry, stable surface.
- Keep the charger away from water and heat.
- Use the supplied or approved charger.
- Keep air vents clear.
- Do not cover the vacuum while charging.
- Keep batteries away from keys, coins, and other metal objects.
- Do not use a swollen, cracked, leaking, or damaged battery.
- Do not charge a battery that has been crushed or severely dropped.
- Keep the vacuum away from gasoline, solvents, paper, and other flammable materials.
- Keep charging equipment away from children and pets.
- Do not modify the battery, cable, plug, or charging circuit.
If a battery becomes very hot, swells, hisses, leaks, smokes, or gives off a strong odor, unplug the charger only if you can do so without touching a dangerous part or entering smoke. Move people away and call emergency services if there is fire or heavy smoke. Do not put a burning lithium-ion battery in the trash or carry it through the home.
For disposal, check your local waste authority or a battery recycling program in the United States. Do not place a loose rechargeable battery in household trash or curbside recycling unless local instructions specifically allow it.

How to Keep the Battery Healthy
Good care can help the vacuum maintain useful run time, although every rechargeable battery eventually loses capacity.
Use the vacuum’s recommended charging method. Do not repeatedly run the battery until the vacuum stops unless the manual specifically calls for that process. Lithium-ion batteries generally do not need a full discharge to “reset” them.
Keep the filter clean. A blocked filter can reduce suction and make the motor draw more power. Empty the dust cup before it becomes packed.
Store the vacuum in a cool, dry indoor area. Avoid a hot garage, a car parked in the sun, or a damp basement. If the manual gives a storage charge level, follow it. Otherwise, avoid storing the vacuum for long periods with the battery completely empty.
If you will not use the vacuum for several months, inspect it from time to time. Recharge it only with the approved charger and only when the battery shows no signs of damage.

Key Takeaways
- Use the charger supplied with the car vacuum whenever possible.
- A matching connector does not guarantee a safe electrical match.
- Charge on a hard, dry surface with air around the vacuum.
- Check the charge light, but use the manual to interpret it.
- Do not charge a wet, swollen, leaking, cracked, or unusually hot battery.
- A 12-volt car plug is not automatically compatible with a household outlet.
- Replace lost chargers only with a confirmed match.
- Recycle damaged or unwanted rechargeable batteries through an approved local program.
Frequently Asked Questions
Can I charge a car vacuum with a phone charger?
Sometimes, but only when the phone charger’s output matches the vacuum’s requirements and the vacuum is designed for that type of USB charging. Check the manual before using a phone charger. USB-C plugs and phone chargers are not automatically interchangeable for every device.
Can I leave my car vacuum charging overnight?
Follow the manufacturer’s instructions. Some modern charging systems manage the battery after it reaches full charge, but leaving any damaged or poorly matched charger connected creates a safety risk. Do not leave the vacuum charging overnight if it becomes hot, smells unusual, or has a damaged cable or battery.
Can I charge a 12-volt car vacuum from a wall outlet?
Not directly. A household outlet supplies AC power, while a typical vehicle accessory socket supplies low-voltage DC power. You would need a correctly rated AC-to-DC power supply approved for that vacuum.
Why does my car vacuum show full charge but run for only a few minutes?
The battery may be worn, or the filter and air path may be blocked. Clean the dust cup and filter first. If run time remains very short, the battery may need replacement or service.
Should I charge the vacuum before the first use?
Most rechargeable models should receive a full charge before first use, unless the manual says otherwise. The indicator may show a partial charge when the vacuum is new.
Is it safe to use the vacuum while it charges?
Many cordless vacuums do not operate while charging. Do not force the vacuum to run from the charger unless the manual specifically supports that feature. Running it during charging can increase heat and may prevent the battery from charging.
Conclusion
Charging a car vacuum cleaner at home is usually simple: identify the charging system, use the correct charger, connect it to a safe indoor outlet, and confirm the indicator. The most important rule is to match the charger to the vacuum rather than relying on a connector that merely fits.
If charging fails, check the outlet, cable, port, dock contacts, temperature, filter, and battery condition in that order. Stop using the vacuum when the battery swells, leaks, smokes, smells burnt, or becomes unusually hot, and contact the manufacturer or a qualified service professional for help.

Liora Pennings is a seasoned chef and kitchen enthusiast with a passion for turning everyday cooking into an effortless experience. With years of hands-on culinary expertise, she specializes in practical techniques, ingredient know-how, and smart kitchen solutions that help home cooks elevate their meals. At KitchFlair.com, Liora shares her best tips, time-saving tricks, and honest product reviews to guide readers toward a more efficient, enjoyable, and inspired cooking routine. Whether you’re a beginner or a seasoned home chef, Liora’s friendly, knowledge-packed insights make every visit to the kitchen a little easier—and a lot more delicious.