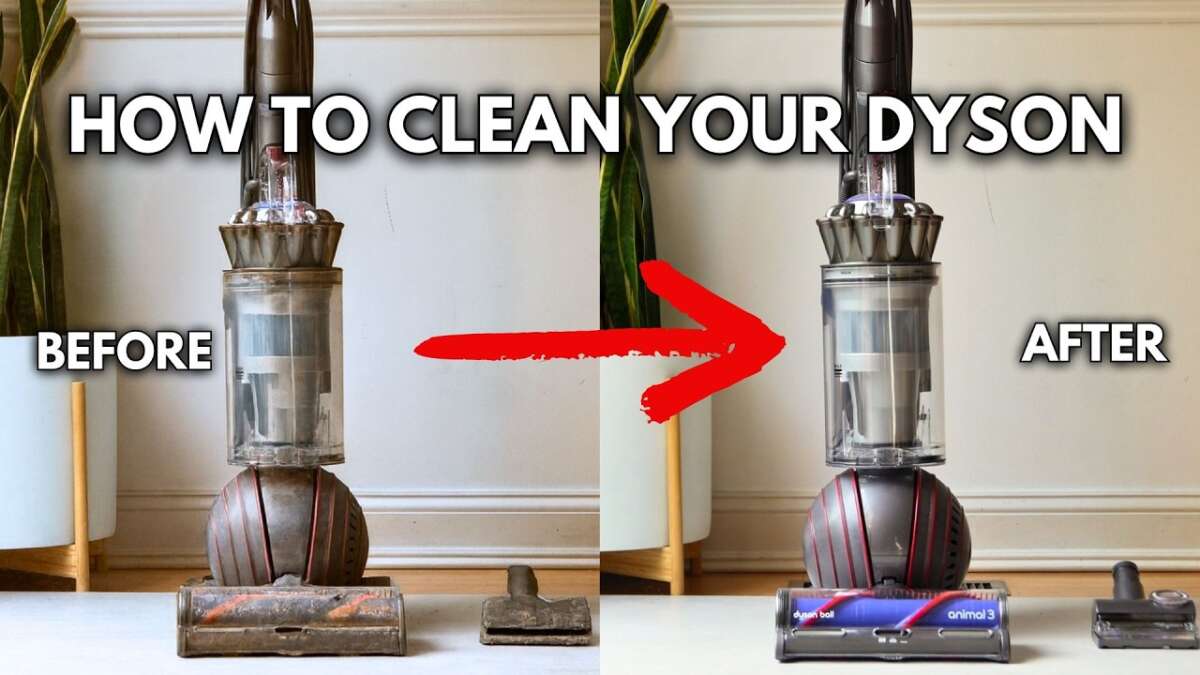
How Do You Take Apart A Dyson Vacuum Cleaner: Easy Guide
Unplug the Dyson, remove its bin and cleaner head, then release filters and covers in model-specific steps.
Learning how do you take apart a Dyson vacuum cleaner starts with one rule: do not force anything. Dyson models use clips, locks, screws, seals, and electrical parts in different ways. This guide explains a safe method for cleaning, checking, and repairing common Dyson cordless, upright, and canister vacuums. It also shows where to stop and seek a qualified repair service.

Before You Take Apart a Dyson Vacuum Cleaner
Before learning how do you take apart a Dyson vacuum cleaner, identify the exact model. Look for the model number on the battery, dust bin, rating label, or vacuum body. A Dyson V8, V10, V11, V15, Ball, and older DC model may look similar, but their parts do not always come apart in the same way.
Check the owner’s manual before removing any screw or sealed cover. The manual can show approved filter care, battery removal steps, and parts that should not be opened by the owner. Taking apart a sealed motor or battery pack may void the warranty and can create a safety risk.
Gather these simple tools:
• A clean, well-lit work area
• A small Phillips screwdriver
• A Torx screwdriver set, often T8 or T10
• A plastic trim tool or old plastic card
• A soft brush
• A clean microfiber cloth
• A small tray for screws
• A phone for taking reference photos
A plastic tool is safer than a metal knife. Metal can scratch the plastic shell, break clips, or touch a live electrical contact.

Safety Steps Before Disassembly
Safety matters more than speed when you take apart a Dyson vacuum cleaner. Turn the machine off, unplug the charger, and remove the battery if your model has a removable battery. Never work on a vacuum while it is charging.
If the vacuum recently ran, allow it to cool. The motor, battery, and charging contacts can become warm during use. Stop at once if you notice smoke, a burnt smell, melted plastic, swelling, or a damaged power cord.
Follow these safety rules:
• Do not wash the motor, battery, charger, or electrical control board.
• Keep water away from all electrical parts.
• Do not puncture, crush, or open a lithium-ion battery pack.
• Wear safety glasses when removing tight clips or springs.
• Keep small screws away from children and pets.
• Do not test exposed wiring with the battery connected.
• Stop if a part does not release with light pressure.
A Dyson battery is not like a normal household battery. It stores a large amount of energy in a small space. A damaged lithium-ion pack can short out or become dangerously hot.
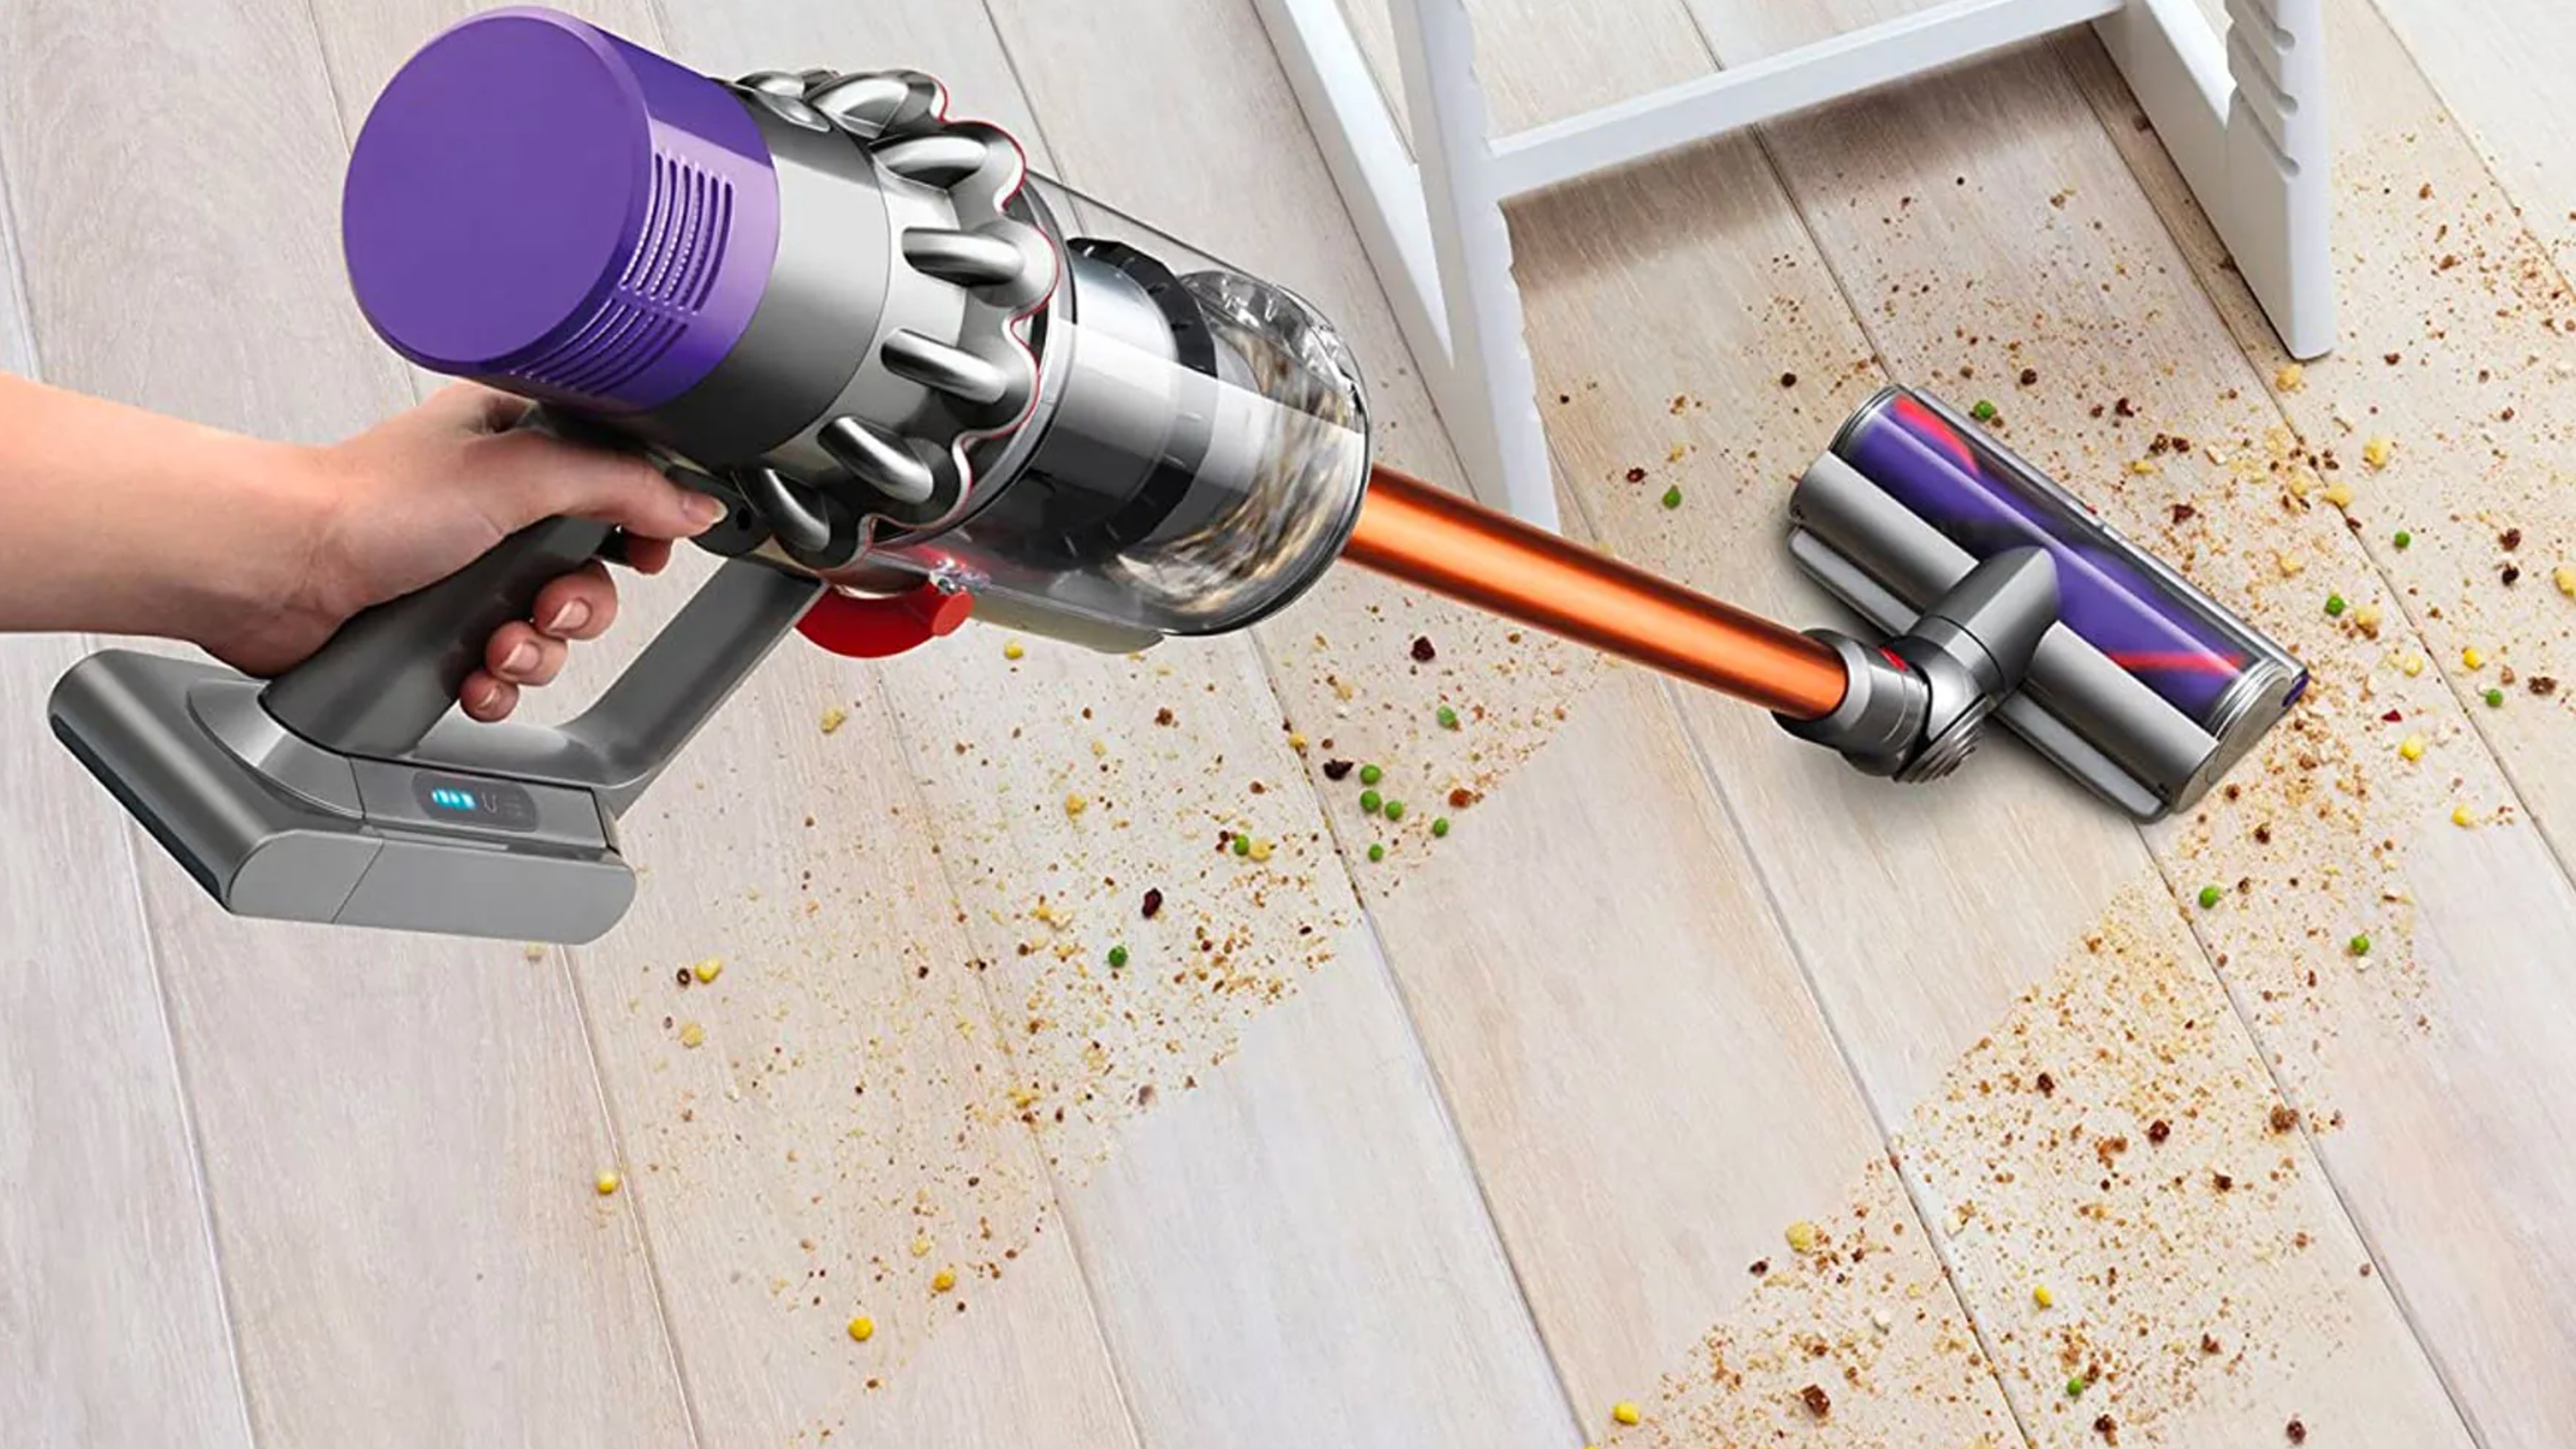
How Do You Take Apart a Dyson Vacuum Cleaner Safely?
The safest answer is to work from the outside in. Remove the easy parts first, take clear photos, and keep each group of screws together. Do not begin by removing the main housing.
1. Remove the Cleaner Head
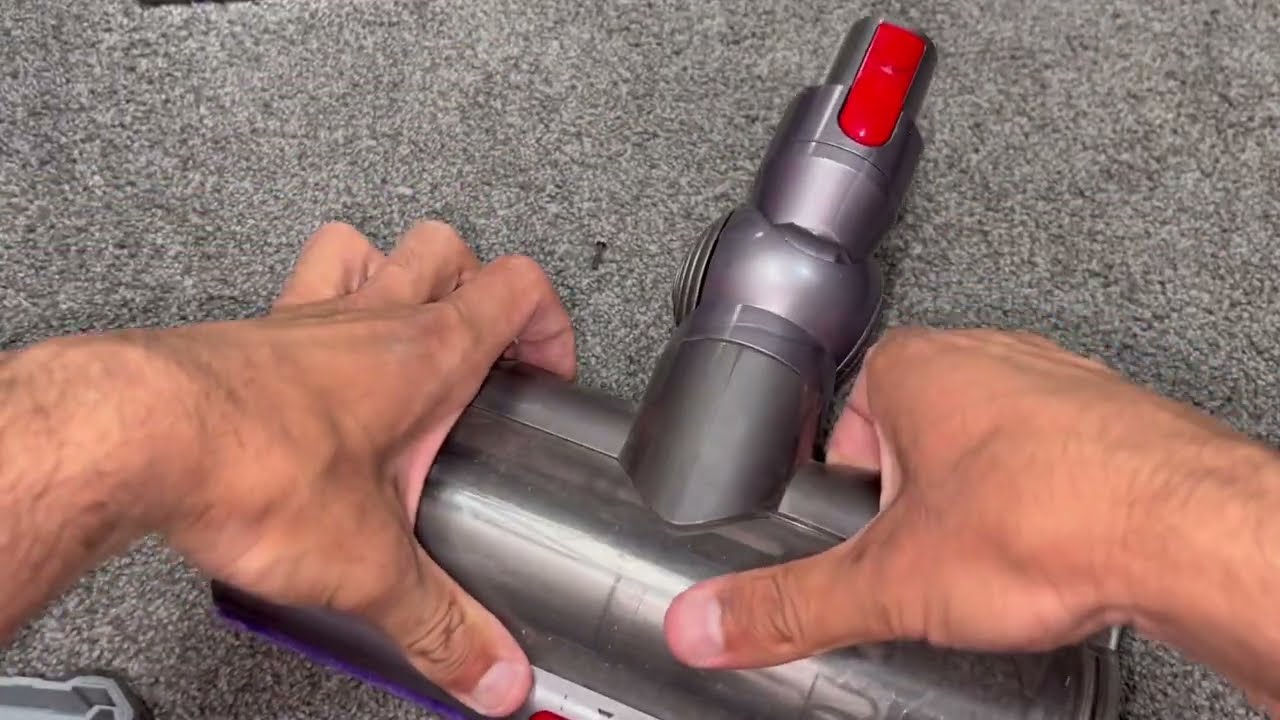
Lay the vacuum on a towel. Press the release button where the wand connects to the cleaner head. Pull the head away from the wand with steady pressure.
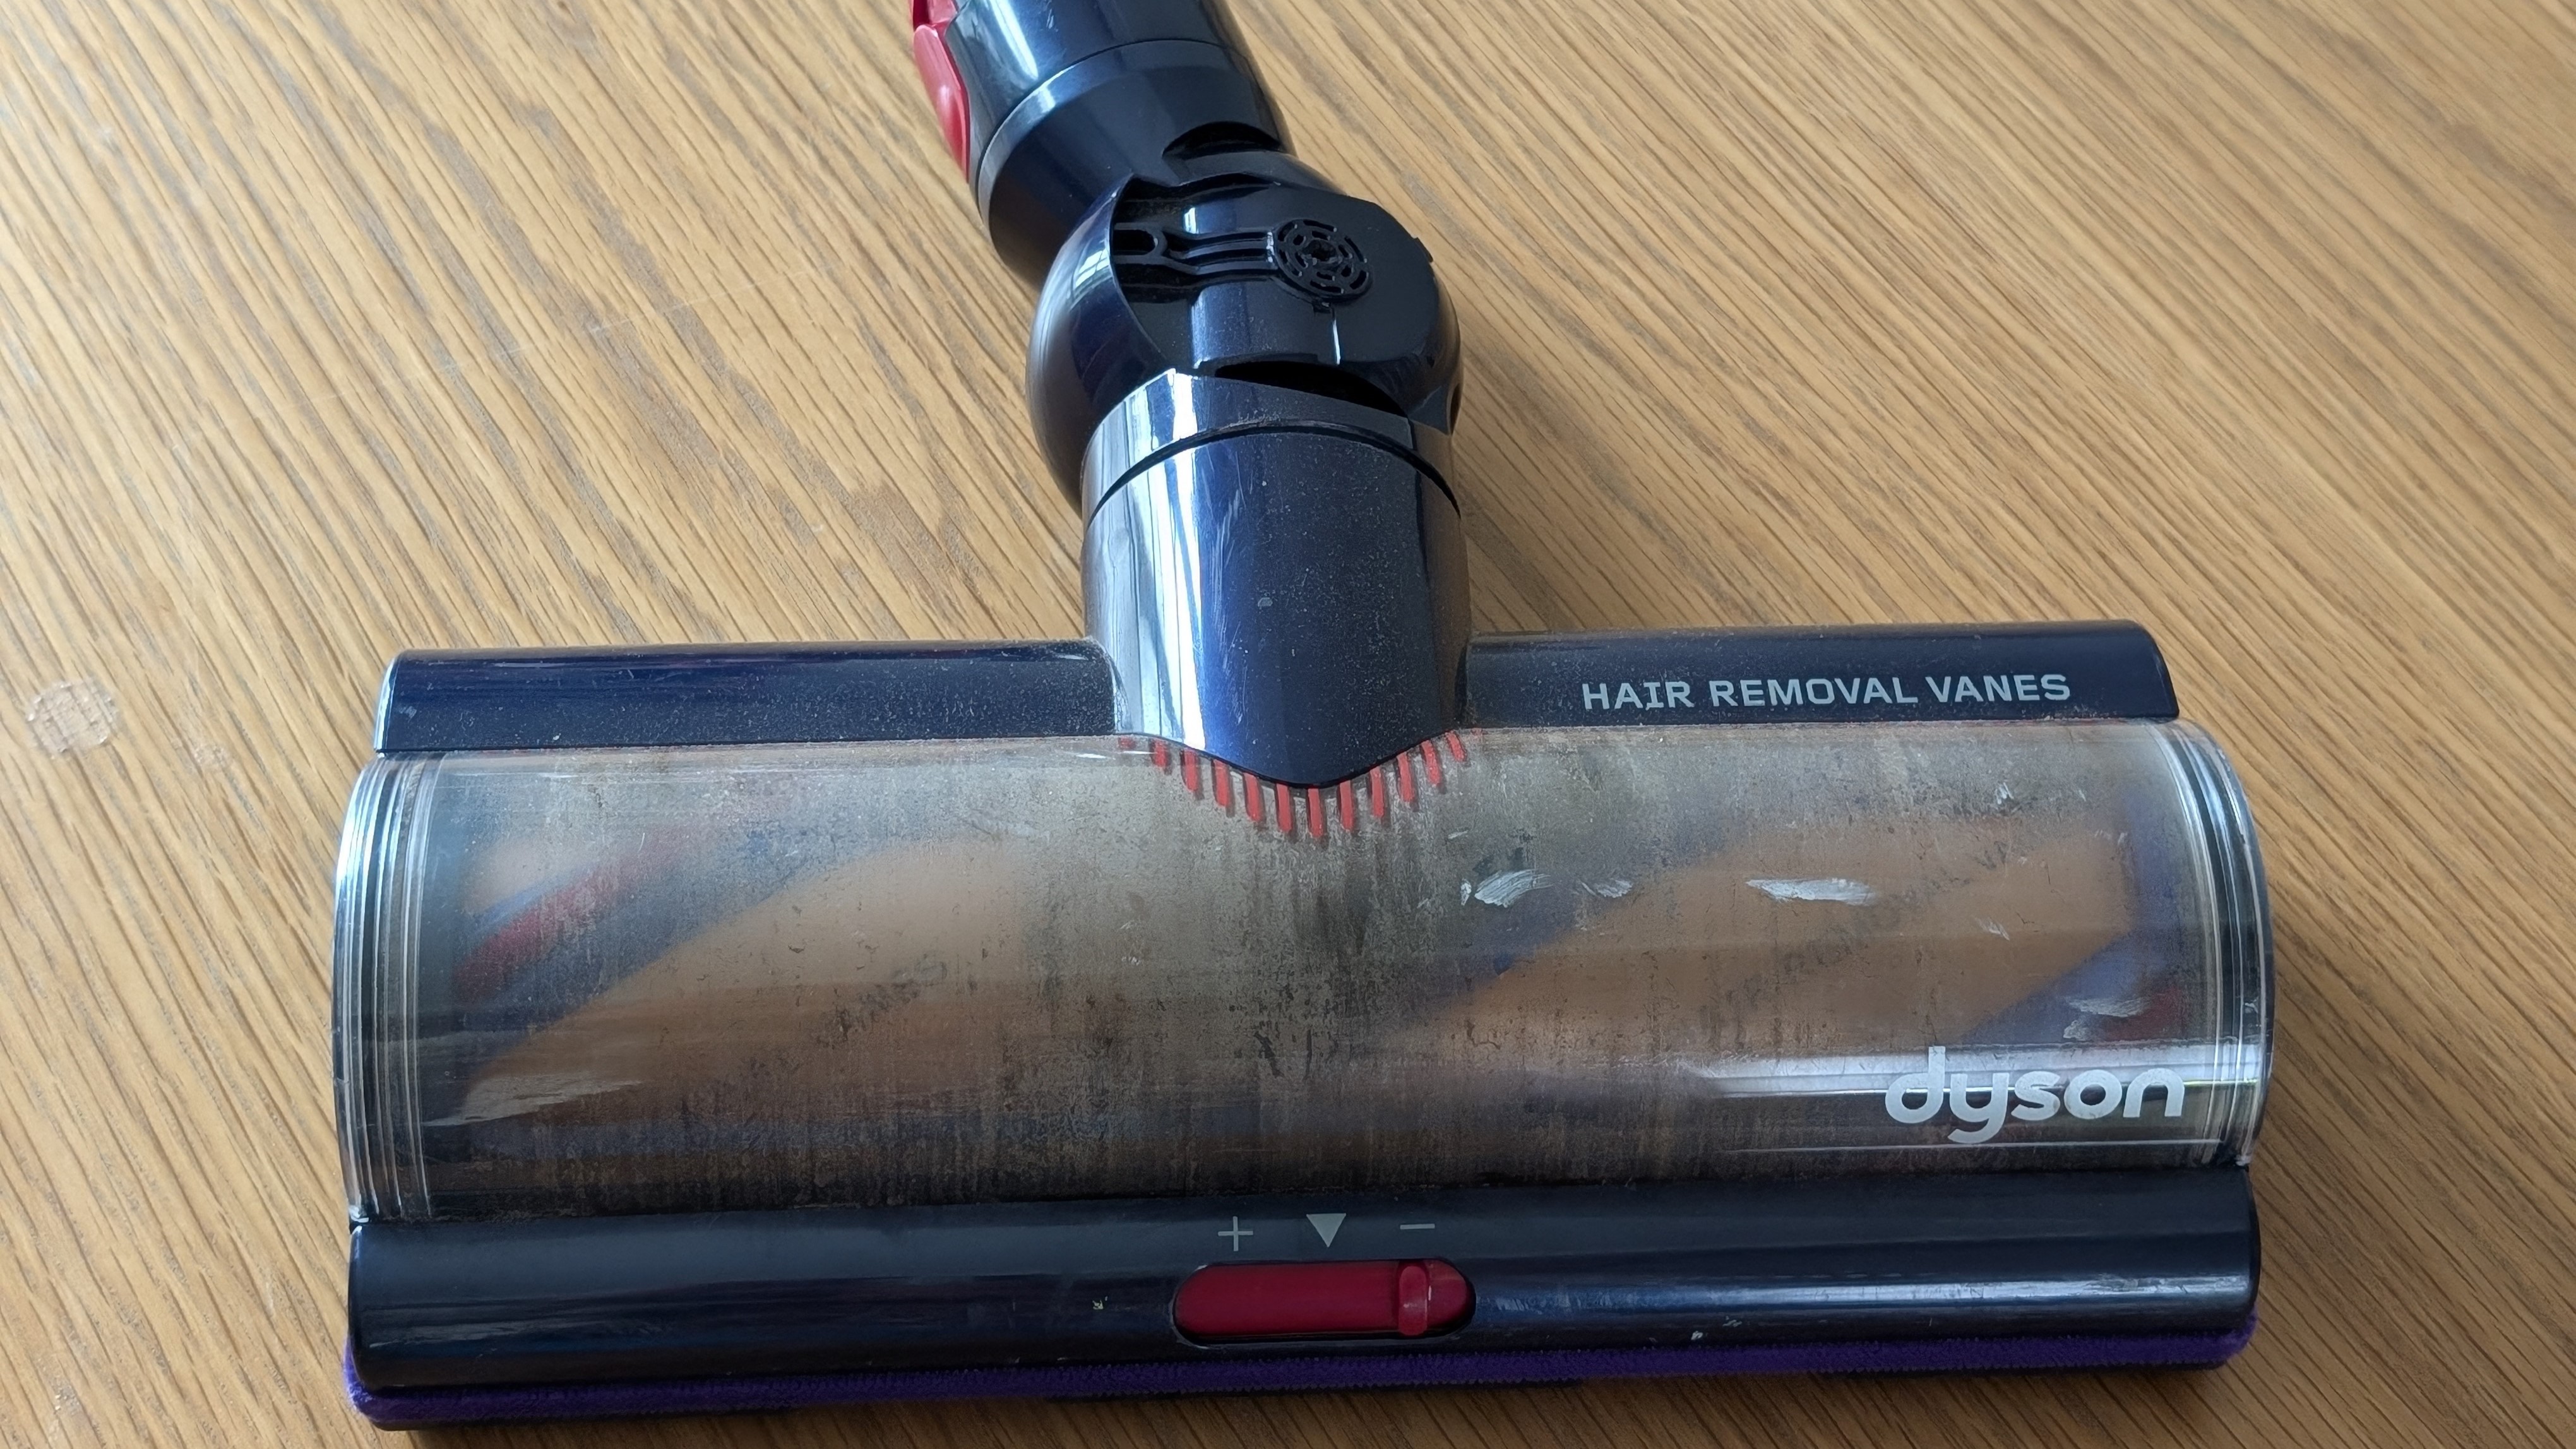
On many cordless Dyson models, the brush bar has a release mechanism near one side. Use a coin or the correct tool to turn the fastener, then slide the brush bar out. Do not use force if the bar is held by a hidden lock.
Remove hair, thread, and packed dust from the brush bar. Scissors can help cut long hair, but keep the blades away from the soft roller and bristles.
2. Remove the Wand
Press the red or colored release button on the wand connection. Pull the wand away from the main vacuum body. Inspect both ends for coins, hair, or compacted dirt.
A blocked wand often looks like a motor problem. Shine a flashlight through the tube. If you cannot see light from the other end, clear the blockage before opening the vacuum body.
3. Remove the Dust Bin
Empty the bin over a trash can before opening it further. On many Dyson cordless models, the bin opens with a sliding release, but the exact action differs by model.
Keep your fingers clear of the bin track. Fine dust can act like cement, so clean the track with a dry brush before trying to move it again. Never pour water into the main vacuum body.
4. Remove the Filters
Most Dyson cordless vacuums have a washable filter near the top and a second filter near the rear of the motor. Twist or pull the filter according to the markings on the filter housing.
Rinse washable filters with cold water only. Do not use soap unless the manual specifically allows it. Let each filter dry for at least 24 hours, and make sure it is completely dry before reinstalling it.
5. Remove the Battery
Only remove the battery if it is designed to come out. Some Dyson cordless batteries use visible screws on the handle or underside. Others are built into the body and should be serviced by an authorized technician.
Keep the battery away from metal tools and loose screws. If the battery is swollen, cracked, hot, or leaking, do not continue. Place the vacuum in a safe area away from flammable items and arrange proper battery service.
6. Open the Outer Housing
If you need to inspect the cyclone, trigger, wiring, or motor area, photograph the vacuum from every side first. Note the location of each screw and clip.
Remove visible screws with the correct driver. Store them in labeled groups, such as “handle,” “bin,” and “cleaner head.” Use a plastic trim tool to separate the shell slowly.
This is the point where many people damage a Dyson. If the housing will not open, look for a hidden screw under a label, rubber plug, filter, or trim piece. Do not twist the shell until it cracks.

How to Take Apart a Dyson V-Series Vacuum
The Dyson V6, V7, V8, V10, V11, V12, and V15 families share some design ideas, but they are not identical. Their bins, batteries, filters, screws, and cyclone assemblies can vary.
When you take apart a Dyson V-series vacuum, begin with the wand, cleaner head, bin, filters, and battery. These parts are usually easier to remove and are often enough for routine cleaning.
The cyclone assembly is more difficult. It can contain fine dust that becomes airborne when disturbed. Wear a mask if you are sensitive to dust, and avoid blowing debris with compressed air because it can push dirt deeper into the motor or electronics.
Do not open the motor housing unless you have the proper repair knowledge. The motor controller, seals, and wiring can be damaged easily. A motor that spins but has poor suction may have a blockage or dirty filter rather than a failed motor.
How to Take Apart a Dyson Ball or Upright Vacuum
Dyson Ball and upright models have a different layout from cordless models. They may include a long power cord, a larger cyclone, a powered brush head, and several plastic panels.
Unplug the power cord before removing any cover. Never work on an upright vacuum while it is connected to a wall outlet, even if the power switch is off.
To take apart a Dyson upright vacuum for basic cleaning:
- Remove the canister from the main body.
- Empty the canister and clean its seals.
- Remove the brush bar cover if the model allows it.
- Inspect the hose, wand, and airway for blockages.
- Remove washable filters according to the manual.
- Label each screw before opening the outer panels.
- Keep the cord and switch wiring in their original positions.
The brush bar may contain a belt, clutch, or electrical connection. Do not pull on its wires. If the brush bar does not spin, first check for hair, a jammed bearing, a blocked airway, or a worn belt.

Cleaning Parts After Disassembly
Taking apart a Dyson vacuum cleaner is only useful if you clean the parts correctly. Dry dust can be brushed from the cyclone shroud, bin, wand, and cleaner head. Use a soft brush instead of a hard wire brush.
Wash only parts that the manual identifies as washable. The clear bin may be rinsed in some models, but it must be completely dry before it returns to the vacuum. Water trapped near a motor seal can cause damage.
Use this simple cleaning plan:
• Brush dust from the cyclone and bin seals.
• Wipe electrical contacts with a dry cloth.
• Remove hair from the brush bar ends.
• Check the wand for compacted debris.
• Inspect rubber seals for tears or flattening.
• Wash filters with cold water when approved.
• Air-dry every washed part for at least 24 hours.
Avoid bleach, solvents, oil, and household spray cleaners. These products can weaken plastic, damage rubber, or leave residue that attracts more dust.

Common Mistakes to Avoid
The biggest mistake when learning how do you take apart a Dyson vacuum cleaner is using force too soon. Dyson parts often lock together with small tabs. A hidden screw or release button may be holding the panel in place.
Other common mistakes include:
• Mixing screws from different sections
• Reinstalling a damp filter
• Pulling wires instead of their connectors
• Opening a swollen battery
• Losing a rubber seal
• Using the wrong screwdriver
• Spraying cleaner into the motor area
• Running the vacuum without its filters
• Closing the bin before its seal is seated
• Forgetting to photograph cable routing
One practical lesson is to place every screw on a sheet of paper and write its location beside it. This small step prevents many reassembly problems. Another useful habit is to take a photo after every major part comes off.
How to Reassemble a Dyson Vacuum Cleaner
Reassembly should follow the reverse order of disassembly, but do not rush. Check that every seal, filter, clip, and connector is correctly placed before tightening screws.
Use this checklist:
- Confirm that all washed parts are fully dry.
- Replace seals in their original grooves.
- Reconnect wires without pinching them.
- Fit the battery only if it is safe and approved for removal.
- Install the filters in the correct direction.
- Reattach the bin and check its release mechanism.
- Install the wand and cleaner head.
- Turn the brush bar by hand if the design allows it.
- Check that no wire or seal is trapped.
- Test the vacuum for a few seconds.
Do not overtighten plastic screws. Tighten them until secure, then stop. Too much force can strip the plastic post and leave the housing loose.
After reassembly, check for unusual sounds, a burning smell, weak suction, or rapid shutdown. Turn the vacuum off immediately if any of these symptoms appear.
Troubleshooting After You Take Apart a Dyson
If the vacuum does not start after you take apart a Dyson vacuum cleaner, check the simple causes first. Confirm that the battery is charged, the bin is fully closed, and the filter is installed correctly.
If the motor pulses on and off, look for a blockage or a dirty filter. Many Dyson models reduce power or cycle the motor when airflow is restricted. This feature can help protect the motor from overheating.
If suction is weak, inspect these areas:
• The wand and hose
• The cleaner head airway
• The bin inlet
• The cyclone shroud
• The filters
• The brush bar
• The bin and body seals
A cleaner head that will not spin may have tangled hair, a jammed end cap, a failed motor, or a connection issue. Do not assume the battery is faulty until you have checked the airflow path and filter condition.
If the vacuum still fails after basic checks, professional service may be the safer choice. A control board, motor, charging circuit, or sealed battery is not a good beginner repair.
When Should You Use a Repair Professional?
You can usually handle external cleaning, filter care, blockage removal, and some brush bar maintenance. More advanced work requires experience with electrical testing, lithium-ion batteries, and small plastic assemblies.
Contact an authorized service center or qualified appliance repair professional if:
• The battery is swollen, cracked, or unusually hot.
• The vacuum has smoke or a burnt odor.
• The charger or cord is damaged.
• The motor makes grinding or sparking sounds.
• The housing will not open without heavy force.
• A circuit board or motor must be replaced.
• The vacuum is still under warranty.
The lowest repair cost is not always the safest option. A damaged battery or motor can cause injury and may cost more after an incorrect repair.
Model Differences That Matter
When searching for how do you take apart a Dyson vacuum cleaner, avoid following a guide for a different model without checking the design. A V8 guide may not match a V11 or V15 guide. An upright Dyson may have completely different steps from a cordless model.
Pay attention to these differences:
• Battery location and screw type
• Number and location of filters
• Bin release design
• Cleaner head connection
• Brush bar removal method
• Cyclone and motor layout
• Washable part instructions
• Warranty and service limits
Use the model number as your main search term when reviewing the manual or ordering a replacement part. “Dyson vacuum filter” is too general because filters can look alike while fitting differently.
Frequently Asked Questions About How Do You Take Apart a Dyson Vacuum Cleaner
Can I take apart a Dyson vacuum cleaner without special tools?
You can remove many external parts with a small screwdriver, a Torx driver, and a plastic trim tool. However, motor housings, sealed batteries, and control boards may require specialized tools and repair skills.