Changing a bag on a Panasonic vacuum cleaner is usually a simple job. Unplug the vacuum, open the bag chamber, remove the full bag without spilling dust, fit the correct replacement, and close the cover firmly.
Panasonic sells many vacuum models in the United States, including upright and canister models. The bag shape, collar, and attachment method can differ by model. Always check the model number on your vacuum and match the replacement bag to that model before installing it.
Introduction
For most Panasonic bagged vacuums, the bag sits behind a front or rear cover. A cardboard or plastic collar connects the bag to the intake tube. The collar must sit squarely on the holder so dust does not leak into the motor area.
This guide applies to many Panasonic bagged vacuum cleaners used in U.S. homes. It does not apply to bagless Panasonic models. If your vacuum has a dust cup instead of a paper or cloth bag, follow the dust-cup cleaning instructions in the owner’s manual.


What You Need Before You Start
Prepare the correct replacement bag and a clear work area. You may also want a damp cloth for cleaning dust from the bag compartment.
You will need:
- A replacement bag listed for your exact Panasonic model
- The vacuum cleaner’s model number
- A trash bag for the used vacuum bag
- A flashlight, if the bag compartment is dark
- A damp cloth, if dust has collected inside the chamber
Find the Panasonic model number
Look for a label in one of these places:
- The back or bottom of the vacuum
- Near the power cord
- Inside the bag compartment
- On the side of the motor housing
- On the original box or owner’s manual
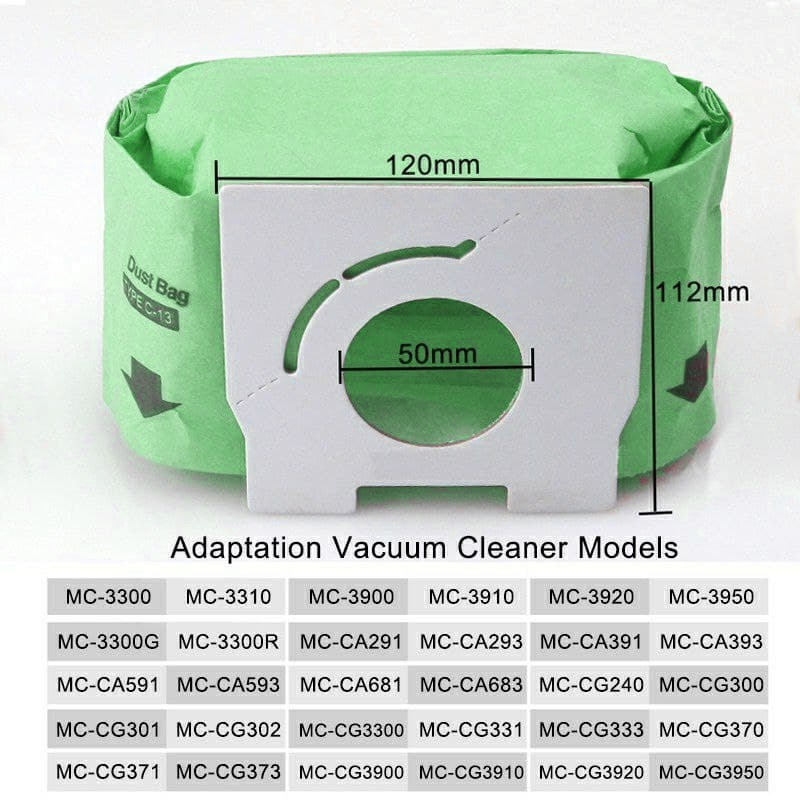
The model number may begin with letters such as MC, followed by numbers and other letters. Do not select a bag based only on the brand name. Two Panasonic vacuums may use different bags.
Confirm the bag type
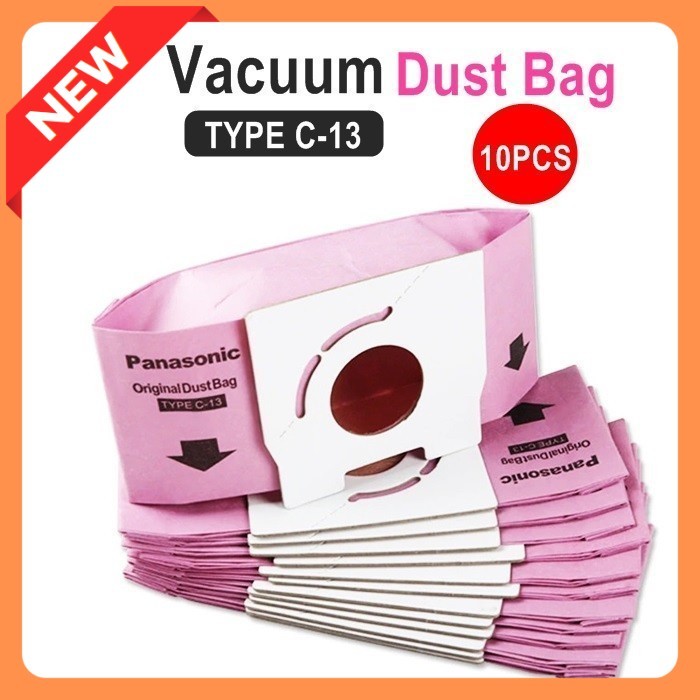
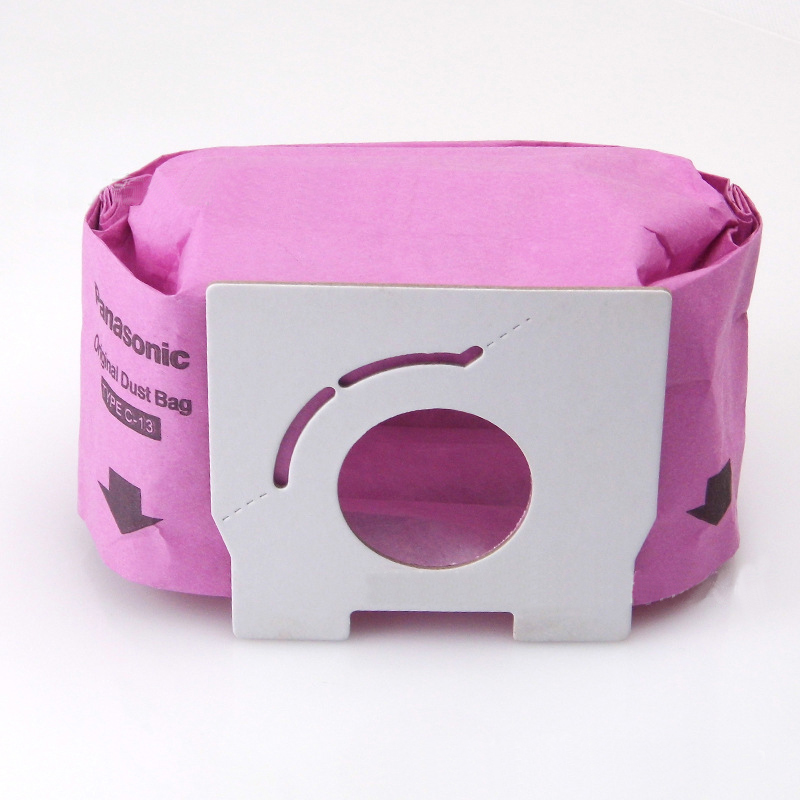
Some Panasonic upright models use disposable paper bags. Others may use a reusable cloth bag or a model-specific bag with a plastic collar.
Common Panasonic bag names can include terms such as:
- Panasonic Type U
- Panasonic Type U-3
- Panasonic Type C-5
- Panasonic upright vacuum bag
- Panasonic canister vacuum bag
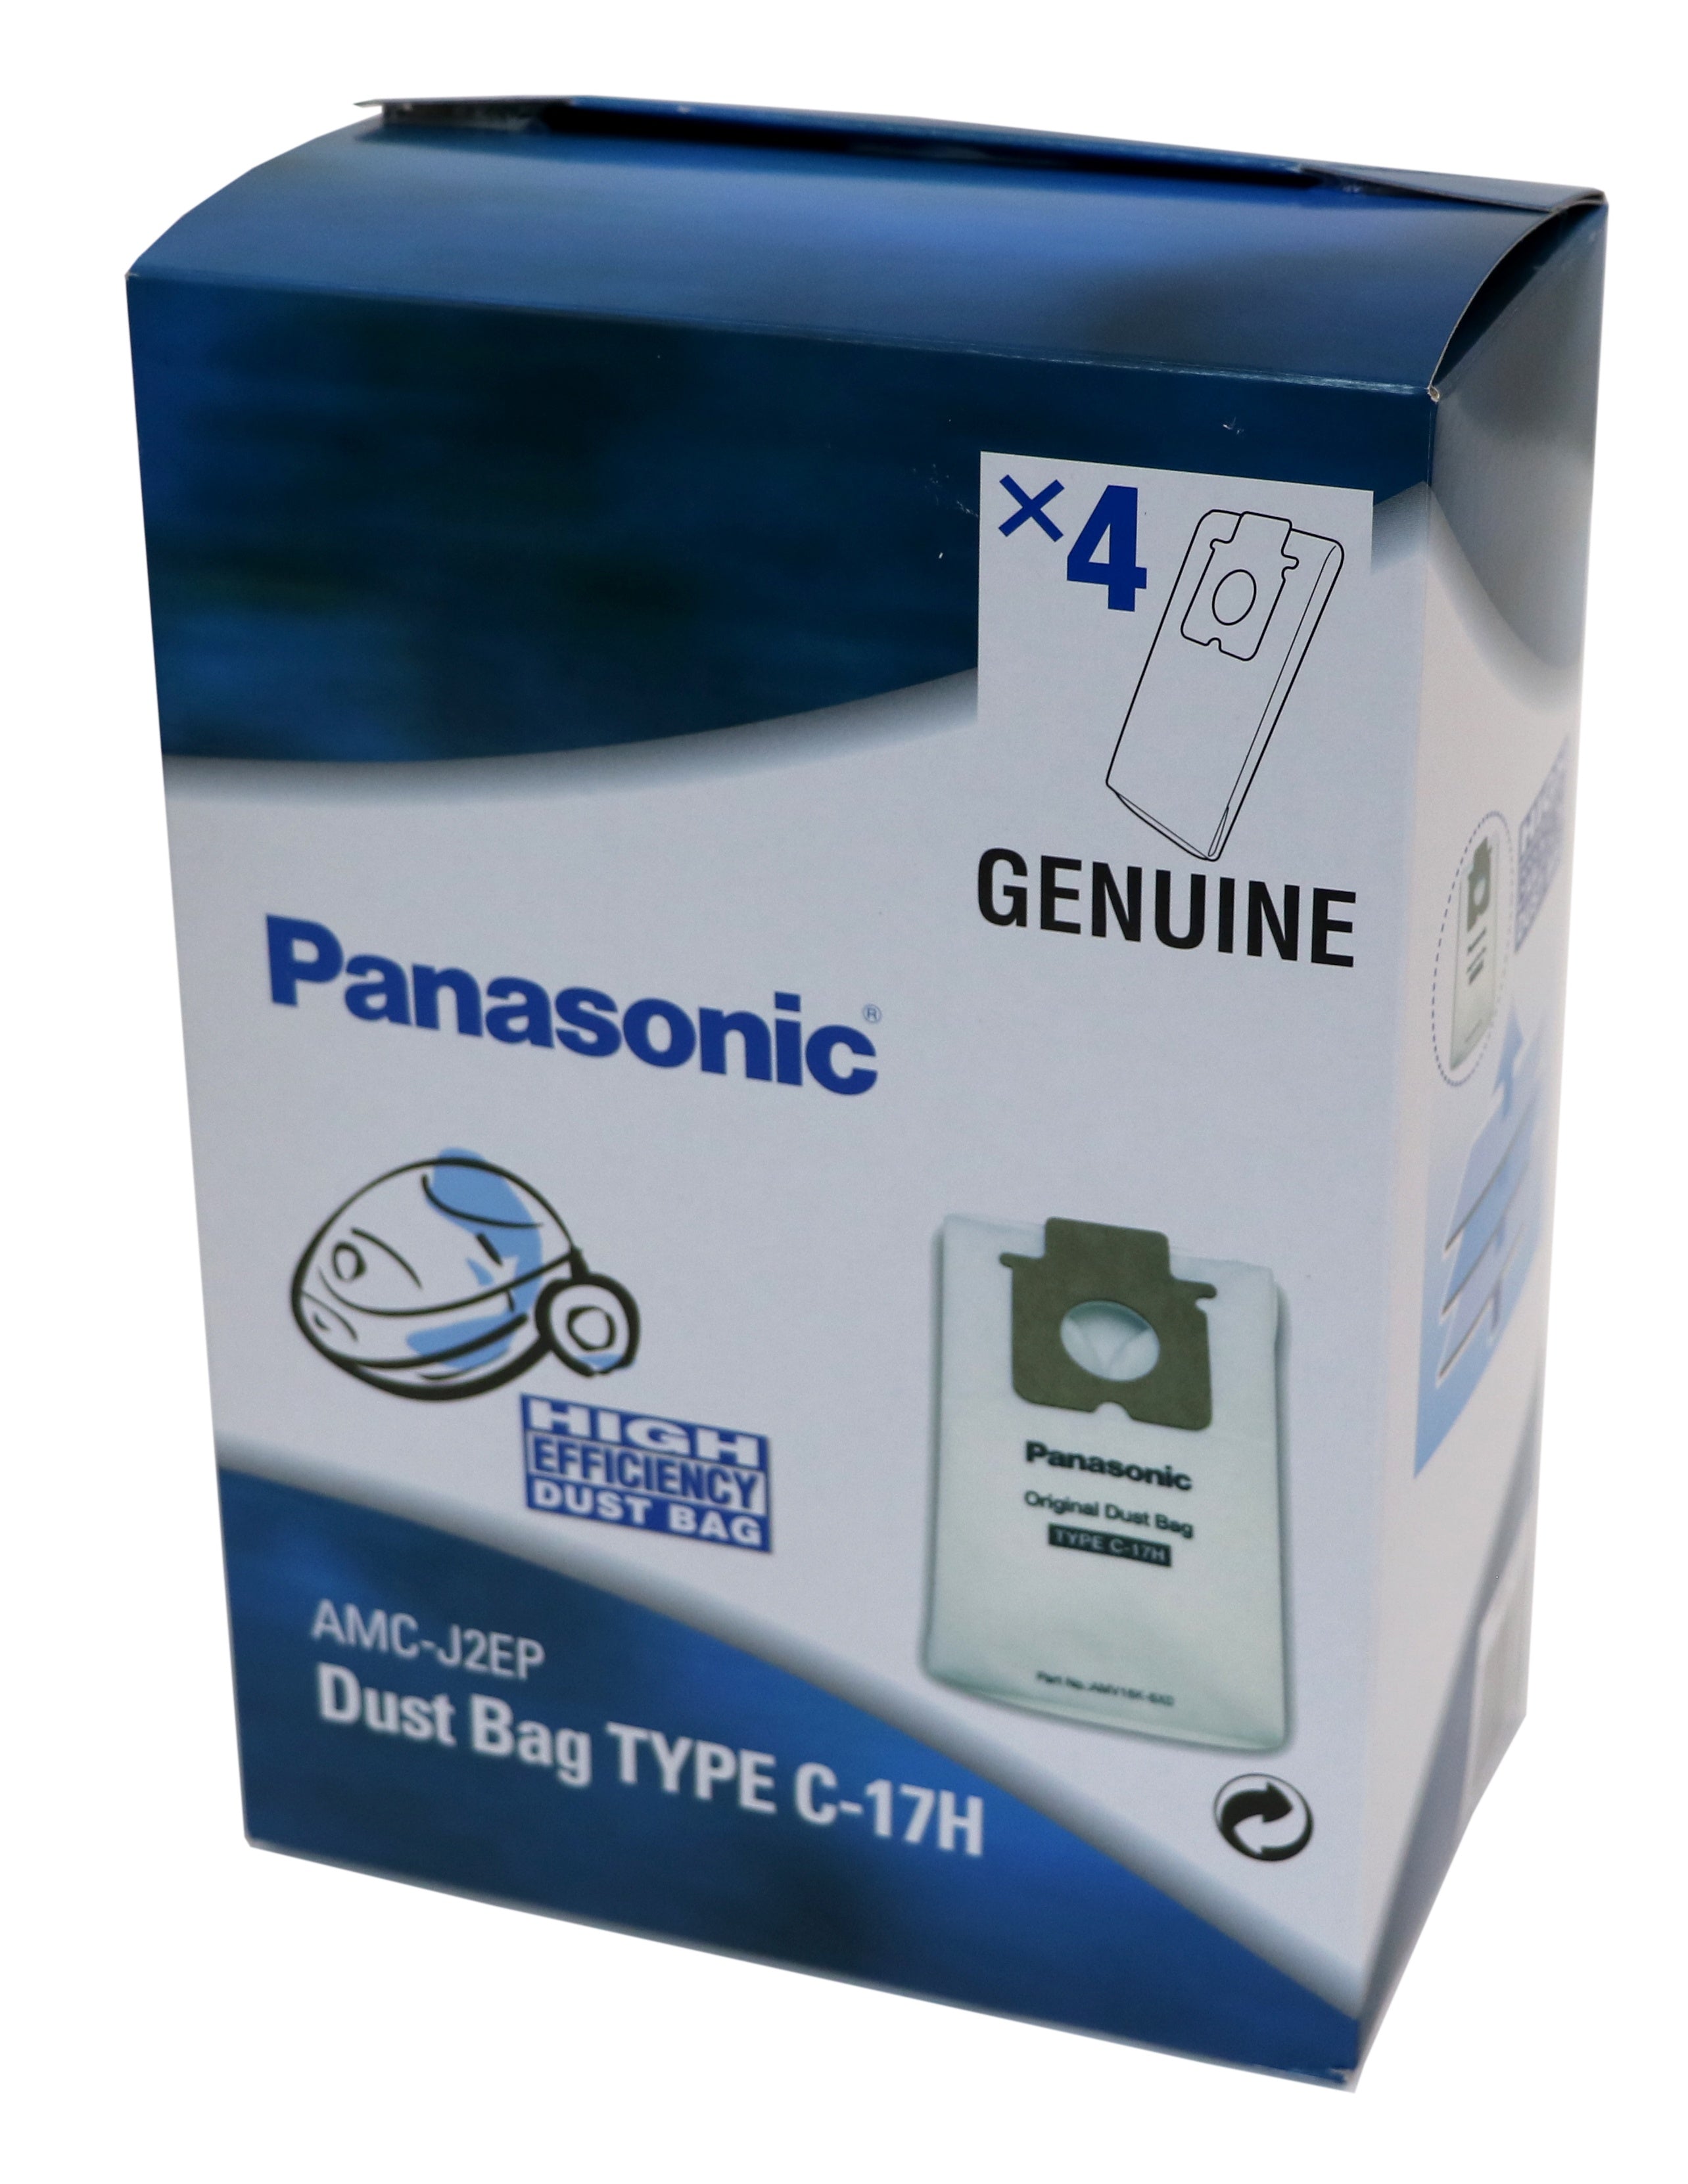
These names are not universal for every Panasonic vacuum. Check the manual, the old bag, or the manufacturer’s compatibility information before buying.
Check whether the bag is full
Replace the bag when:
- The bag looks full or swollen
- Suction has dropped
- The vacuum makes a different sound
- The full-bag indicator appears, if your model has one
- Dust comes from the exhaust
- The vacuum overheats or shuts off
A bag can need replacement before it looks completely full. Fine dust may block airflow and reduce suction.


How to Change a Bag on a Panasonic Vacuum Cleaner
Follow these steps in order. The exact cover location may differ, but the basic process is similar on many Panasonic bagged models.
1. Turn off and unplug the vacuum
Switch the vacuum off. Remove the plug from the electrical outlet before opening the bag compartment.
Do not change the bag while the motor is running. unplugging the vacuum prevents accidental startup and keeps dust from being pulled through the system while you work.
Let the vacuum cool for a few minutes if it was running or felt hot.
2. Place the vacuum on a stable surface
For an upright vacuum, place it on a level floor. If the handle folds or reclines, use the position shown in the owner’s manual.
For a canister vacuum, place the canister on the floor with the bag compartment facing upward or toward you. Keep the hose clear so it does not pull the vacuum over.
3. Open the bag compartment
Find the bag-cover release. Depending on the Panasonic model, it may be:
- A latch on the front
- A button near the handle
- A release at the top of the canister
- A hinged panel behind the hose connection
Open the cover gently. Do not force it. If it will not open, look for a second latch or make sure the handle is in the correct position.
4. Identify how the old bag is attached
Look at the bag before removing it. Notice how the collar sits on the intake tube or holder.
The bag may be held by:
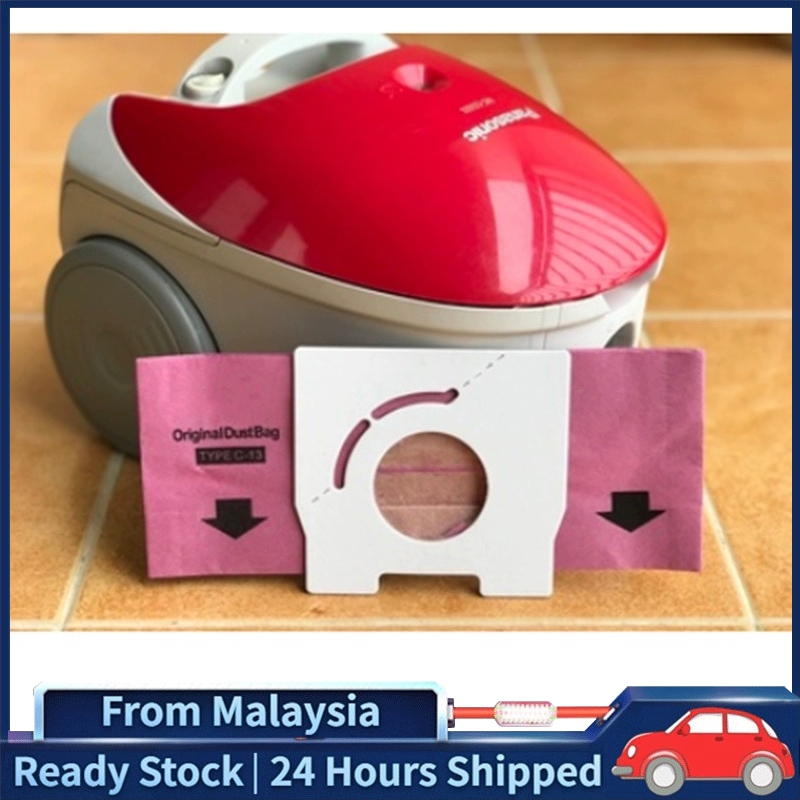
- A cardboard collar
- A plastic collar
- A sliding bracket
- A retaining clip
- A bag holder that folds down or lifts up
Take a quick photo if you are unsure how the new bag should fit. This can prevent an upside-down or backward installation.
5. Remove the full bag
Hold the bag near its collar. Pull the collar straight away from the intake opening or release it from the retaining clip.
Avoid pulling on the paper bag itself. A full bag can tear easily, releasing dust into the vacuum.
If the bag has a sliding closure or flap, close it before removal if the design allows. Put the used bag directly into a trash bag and seal it.
Do not reuse a disposable paper bag. A used bag may have restricted airflow, and cutting or emptying it can release fine dust.


6. Inspect the bag compartment
Use a flashlight to check the inside of the chamber. Look for:
- Loose dust
- A torn piece of the old bag
- A blocked intake opening
- A bent bag holder
- A damaged gasket or seal
- A filter that appears clogged
Remove loose dust with a dry cloth or a handheld brush. Keep moisture away from the motor, wiring, and electrical parts.
Do not run the vacuum without its required bag and filters. The bag and filters help protect the motor from dust.
7. Prepare the new bag
Take the new bag from its package. Open it fully so it is not folded against the air path.
Check the collar for damage. Do not install a bag with:
- A cracked collar
- A torn paper body
- A loose seal
- The wrong opening size
- A shape that does not match the old bag
If the bag has a cardboard collar, keep the collar flat. If it has a plastic collar, check that the locking tabs are intact.
8. Install the new bag
Place the new bag collar onto the intake opening or bag holder. Push it into place until it sits flat and secure.
The bag should:
- Face the same direction as the old bag
- Sit straight on the intake
- Remain inside the bag chamber
- Avoid contact with the cover hinge
- Avoid blocking the air path
- Lock into the retaining clip, if present
Do not force the collar. If it does not fit easily, stop and check the model and bag type.
9. Expand the bag inside the chamber
Gently unfold or spread the bag so it has room to fill. Keep the paper body away from the cover seal and moving parts.
A folded bag may restrict airflow. A bag caught under the cover can leak dust or prevent the cover from closing.
10. Close the cover
Lower the cover until it clicks or latches. Check the entire edge of the cover.
If the cover will not close:
- Make sure the collar is fully seated
- Check that the bag is not folded over the seal
- Confirm that the correct bag is installed
- Look for dust blocking the latch
- Check whether the bag holder is in its normal position
Never force the cover shut. A forced cover can crack the housing or damage the latch.
11. Test the vacuum
Plug the vacuum into the outlet. Turn it on for a short test.


Listen for normal airflow and check for:
- A steady motor sound
- Normal suction at the floor head or hose
- No dust blowing from the exhaust
- No loose cover
- No unusual odor
- No warning light or full-bag indicator
Turn the vacuum off at once if it makes a high-pitched noise, smells hot, loses suction, or blows dust.
How to Tell Whether the New Bag Is Installed Correctly
A correctly installed bag sits firmly on the intake and allows the cover to close without pressure. The vacuum should run with steady airflow and no dust leakage.
Use this quick check:
| Check | Correct result | Possible problem |
|---|---|---|
| Bag collar | Fully seated and straight | Air leak or poor suction |
| Bag body | Open and inside the chamber | Restricted airflow |
| Cover | Closes and latches fully | Bag may be trapped |
| Suction | Normal for the vacuum | Wrong bag, clog, or filter issue |
| Exhaust | No visible dust | Torn bag or filter problem |
| Sound | Smooth and steady | Blockage or motor strain |
A new bag does not always restore suction. A clogged hose, floor nozzle, filter, or brush roll can cause the same symptom.
If the vacuum still has weak suction after a correct bag change, unplug it and inspect the air path.
Panasonic Vacuum Bag Troubleshooting
Most bag-changing problems come from an incorrect bag, poor collar placement, or a blocked air path. Check the safest and simplest causes first.
The bag cover will not close
Possible causes include:
- The bag collar is not fully inserted
- The bag is folded under the cover
- The replacement bag is too large
- The bag holder is not in position
- The cover latch has dust in it
- The wrong bag was purchased
Remove the bag and compare it with the old one. Check the opening, collar shape, and overall size. Never operate the vacuum with the cover partly open.
Suction is weak after replacing the bag
Check these items:
- Confirm that the bag collar is sealed around the intake.
- Check that the bag is not folded or compressed.
- Inspect the hose for a blockage.
- Check the floor nozzle and wand.
- Clean or replace the filters as the manual directs.
- Inspect the brush roll for hair or thread.
- Check that the cover is fully latched.
If suction remains weak, the motor may have an internal fault. Stop using the vacuum if it overheats or smells like burning plastic.
Dust is escaping from the vacuum
Dust usually escapes because the bag is torn, the collar is loose, or a filter is missing or damaged.
Unplug the vacuum and remove the bag. Inspect the collar and the area around the intake. Check whether the bag was installed backward or whether the cover seal is dirty.


Clean the chamber with a dry cloth. Replace a damaged bag or filter before using the vacuum again.
The vacuum makes a loud or high-pitched sound
A high-pitched sound can indicate restricted airflow. Possible causes include:
- A full bag
- A blocked hose
- A clogged filter
- A compressed bag
- A blocked floor nozzle
Turn off and unplug the vacuum. Clear only accessible blockages. Do not push a sharp object deep into the hose, since it can damage the hose or create a hidden puncture.
The full-bag indicator stays on
Some Panasonic models use an airflow-based indicator. It may remain active because of a full bag, a blocked hose, or a dirty filter.
Replace the bag first if it is full. If the indicator stays on with a new bag, inspect the hose, nozzle, and filters. Use the owner’s manual for model-specific indicator instructions.

Disposable Bag or Reusable Cloth Bag?
The correct choice depends on the vacuum model and the type of bag holder it uses.
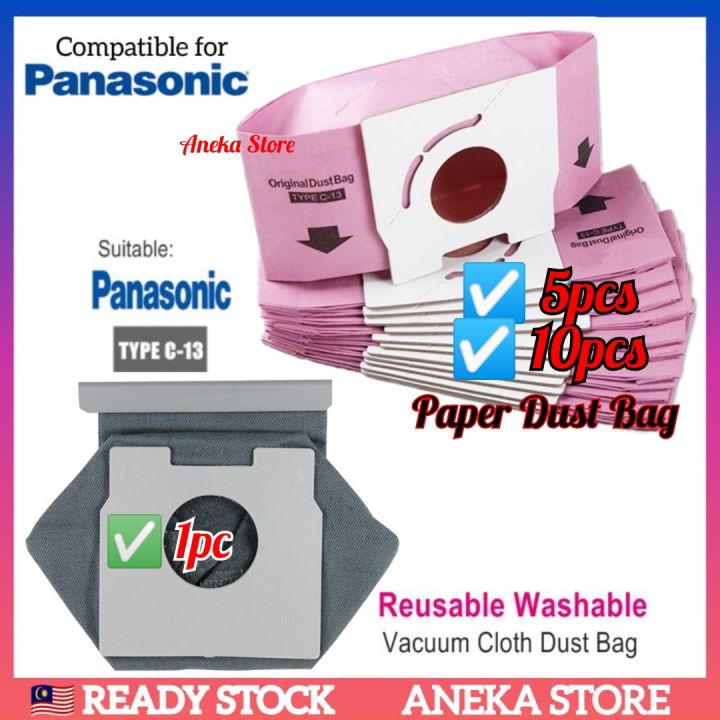
Disposable paper bags
Disposable bags are designed to be removed and thrown away when full. They are often the simplest option for homes where dust control matters.
Advantages include:
- Less contact with collected dust
- Easy replacement
- No bag washing
- A lower chance of releasing dust during emptying
Do not empty and reuse a disposable paper bag unless the manufacturer specifically says it is reusable.
Reusable cloth bags
Some vacuum cleaners use a washable or reusable cloth bag. These bags must be handled according to the manual.
Before washing a cloth bag, confirm that the manufacturer permits washing. Some cloth bags have cardboard or plastic parts that should not be soaked.
A reusable bag must be completely dry before installation. Moisture inside the vacuum can damage filters and electrical parts or encourage odor.
Do not mix bag systems
A disposable bag and a reusable bag may look similar but still use different collars or seals. Use only the bag style designed for your Panasonic model.
How Often Should You Change a Panasonic Vacuum Bag?
Change the bag when it is full, airflow drops, or the vacuum shows a full-bag warning. There is no single schedule that fits every home.
The replacement interval depends on:
- Floor area
- Carpet thickness
- Pets
- Dust levels
- Remodeling or construction dust
- How often you vacuum
- The bag’s capacity
- Whether the home has allergy-sensitive occupants
Pet hair and fine dust can fill a bag quickly. After vacuuming drywall dust, fireplace ash, or fine renovation debris, inspect the bag and filters right away. Some fine materials can overload filters and should not be vacuumed unless the machine is rated for them.
Safety Rules for Changing a Vacuum Bag
Use these precautions every time:
- Unplug the vacuum before opening the bag compartment.
- Keep hands, hair, and clothing away from the brush roll.
- Do not operate the vacuum without the required bag.
- Do not use a torn, wet, or incorrect bag.
- Do not vacuum liquids with a standard household vacuum.
- Avoid vacuuming hot ash, burning material, or sharp debris.
- Wear a dust mask if you are sensitive to dust.
- Wash your hands after handling a full bag.
- Keep replacement bags away from children and pets.
- Stop using the vacuum if the cord, plug, housing, or motor appears damaged.
If the vacuum has been exposed to water or a large amount of fine hazardous dust, do not keep operating it. Consult the owner’s manual or a qualified appliance service professional.

Common Mistakes to Avoid
The most common mistake is buying a bag by appearance rather than by model compatibility. A bag can look close enough to fit but still fail to seal around the intake.
Avoid these errors:
-
Using the vacuum with no bag installed
This can send dust toward the motor and filters. -
Forcing the wrong bag into the holder
A forced collar may crack or leak. -
Leaving the bag folded
A folded bag can restrict airflow. -
Closing the cover on the bag
This can tear the bag or prevent a proper seal. -
Ignoring the filters
A new bag cannot fix a clogged filter. -
Emptying a disposable paper bag
This may release fine dust and can damage the bag. -
Using a damp bag
Moisture can harm the vacuum and create odors. -
Pulling the bag by the paper body
The bag may tear before it comes free. -
Running the vacuum with a loose cover
Dust can escape, and airflow may be reduced.

When to Contact a Repair Professional
A bag change should not require technical repair. Seek service if the vacuum still has a serious problem after you install the correct bag and clear accessible blockages.
Contact a qualified repair provider when:
- The vacuum smells like burning insulation
- The motor sparks or makes grinding sounds
- The power cord or plug is damaged
- The cover latch will not hold
- The bag holder is broken
- Dust reaches the motor area
- The vacuum repeatedly overheats
- The vacuum shuts off even with clear airflow
- A warning light remains active after the manual’s reset steps
Do not open the motor housing unless you are qualified to work on household electrical appliances. Unplugging the machine does not remove every possible electrical hazard from internal components.
Frequently Asked Questions
What bag does my Panasonic vacuum cleaner use?
The correct bag depends on the exact model. Find the model number on the vacuum and compare it with the replacement bag packaging or Panasonic’s model documentation. Do not rely on the vacuum’s color or general shape.
Can I use a generic bag in a Panasonic vacuum?
A generic bag may work only if it is specifically listed as compatible with your model and has the correct collar, size, seal, and airflow design. An almost-fitting bag can leak dust or reduce suction.
How do I remove a stuck Panasonic vacuum bag?
Unplug the vacuum first. Hold the bag collar, release the retaining clip if present, and pull the collar straight from the intake. Do not yank the paper body. If the collar is stuck because of dust, gently clean around it and check the manual for the holder design.
Why does my Panasonic vacuum lose suction with a new bag?
The bag may be installed incorrectly, folded, or incompatible. If the bag is correct, inspect the hose, wand, floor nozzle, brush roll, and filters. A blockage outside the bag chamber is a common cause.
Can I wash a Panasonic vacuum bag?
Wash a bag only if the owner’s manual identifies it as reusable and washable. Disposable paper bags should not be washed. A washable bag must be fully dry before it goes back into the vacuum.
Conclusion
To change a bag on a Panasonic vacuum cleaner, unplug the machine, open the bag compartment, remove the old bag by its collar, inspect the chamber, install the correct replacement, and latch the cover securely. The key is model compatibility: Panasonic bag styles are not interchangeable across every vacuum.
Start by finding the model number on your vacuum. Then match the replacement bag to that model, test the vacuum briefly, and inspect the hose and filters if suction is still weak.

Liora Pennings is a seasoned chef and kitchen enthusiast with a passion for turning everyday cooking into an effortless experience. With years of hands-on culinary expertise, she specializes in practical techniques, ingredient know-how, and smart kitchen solutions that help home cooks elevate their meals. At KitchFlair.com, Liora shares her best tips, time-saving tricks, and honest product reviews to guide readers toward a more efficient, enjoyable, and inspired cooking routine. Whether you’re a beginner or a seasoned home chef, Liora’s friendly, knowledge-packed insights make every visit to the kitchen a little easier—and a lot more delicious.