How To Clean Vacuum Cleaner Filter Housing Properly: Tips
Remove, gently brush, wash removable parts, and fully dry before reassembling to avoid damage.
I’ve spent years repairing and maintaining vacuums for homes and small businesses, so I know what keeps them running. This guide explains how to clean vacuum cleaner filter housing properly with clear, safe steps, practical tips, and real-life lessons. Read on to protect your motor, keep suction strong, and extend the life of your machine.

Why cleaning the filter housing matters
A clean filter housing keeps airflow steady. It prevents dust from bypassing filters and reaching the motor. Regular cleaning avoids bad smells and improves indoor air quality. Learning how to clean vacuum cleaner filter housing properly saves money on repairs and prolongs filter life.
Know your filter: types and washability
Different vacuums use different filters. Common types include:
- Foam or sponge filters: usually washable.
- Pleated paper filters: often replaceable, not washable.
- HEPA filters: some are washable, many are not.
- Charcoal or odor filters: typically replace, not wash.
Check the user manual or a sticker on the filter for washability. When in doubt, treat the filter as non-washable. Understanding filter type is the first step in how to clean vacuum cleaner filter housing properly.

Tools and materials you'll need
Gather simple, safe supplies before you start:
- Soft brush or old toothbrush for dust removal.
- Microfiber cloths for wiping.
- Mild dish soap and a bowl of warm water for washable parts.
- Compressed air can or a low-pressure vacuum for tight spots.
- Gloves and a mask if you are sensitive to dust.
- A tray or towel to catch debris.
Having the right tools makes how to clean vacuum cleaner filter housing properly quick and low-risk.
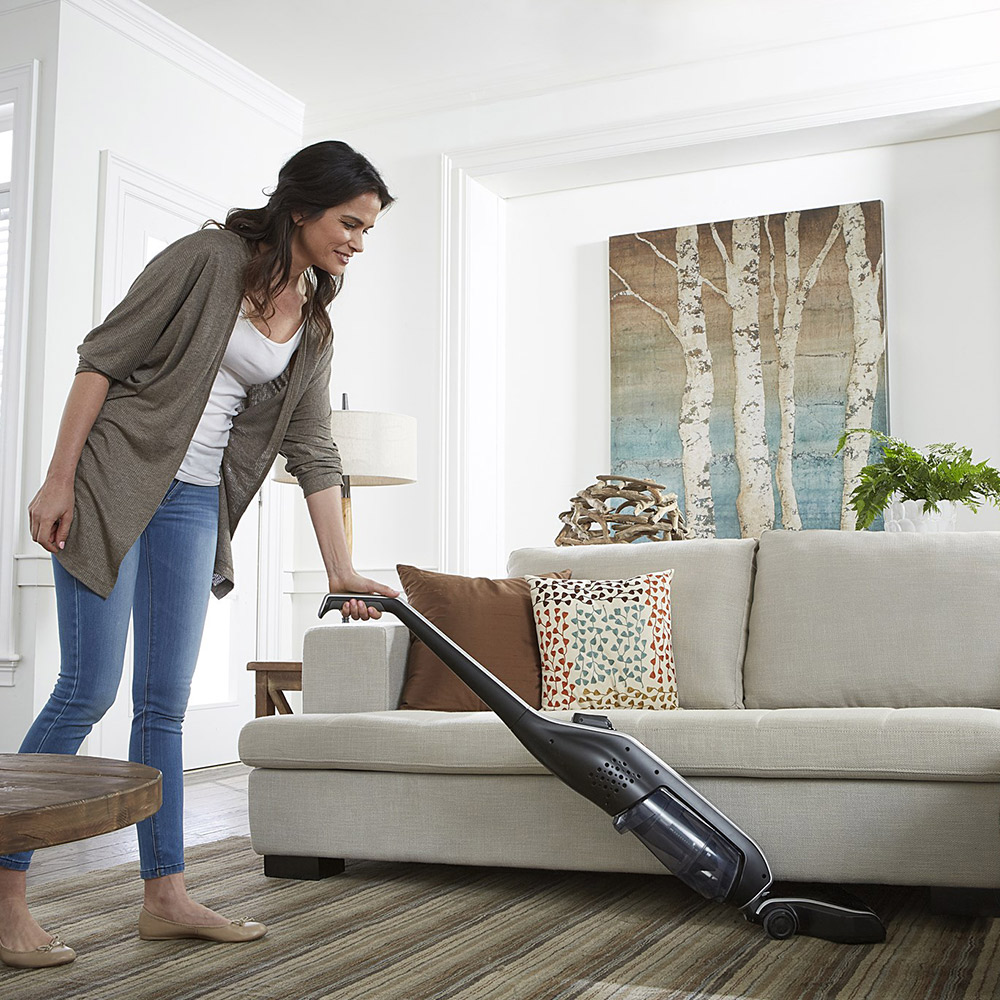
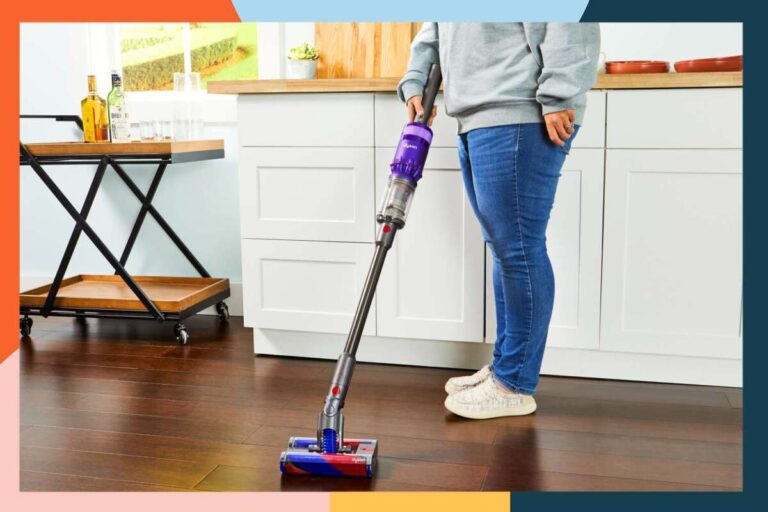
Step-by-step: how to clean vacuum cleaner filter housing properly
Follow these simple steps. Work in a well-ventilated area or outdoors if possible.
- Power down and unplug
- Unplug the vacuum and remove any attachments. This prevents accidental starts and electrical hazards.
- Remove the dustbin and filters
- Empty the dustbin into a trash bag. Take out all filters and set them aside. Note their order for reassembly.
- Dry dust removal from the housing
- Use a soft brush or a handheld vacuum to remove loose dust from the filter housing. Focus on corners and crevices.
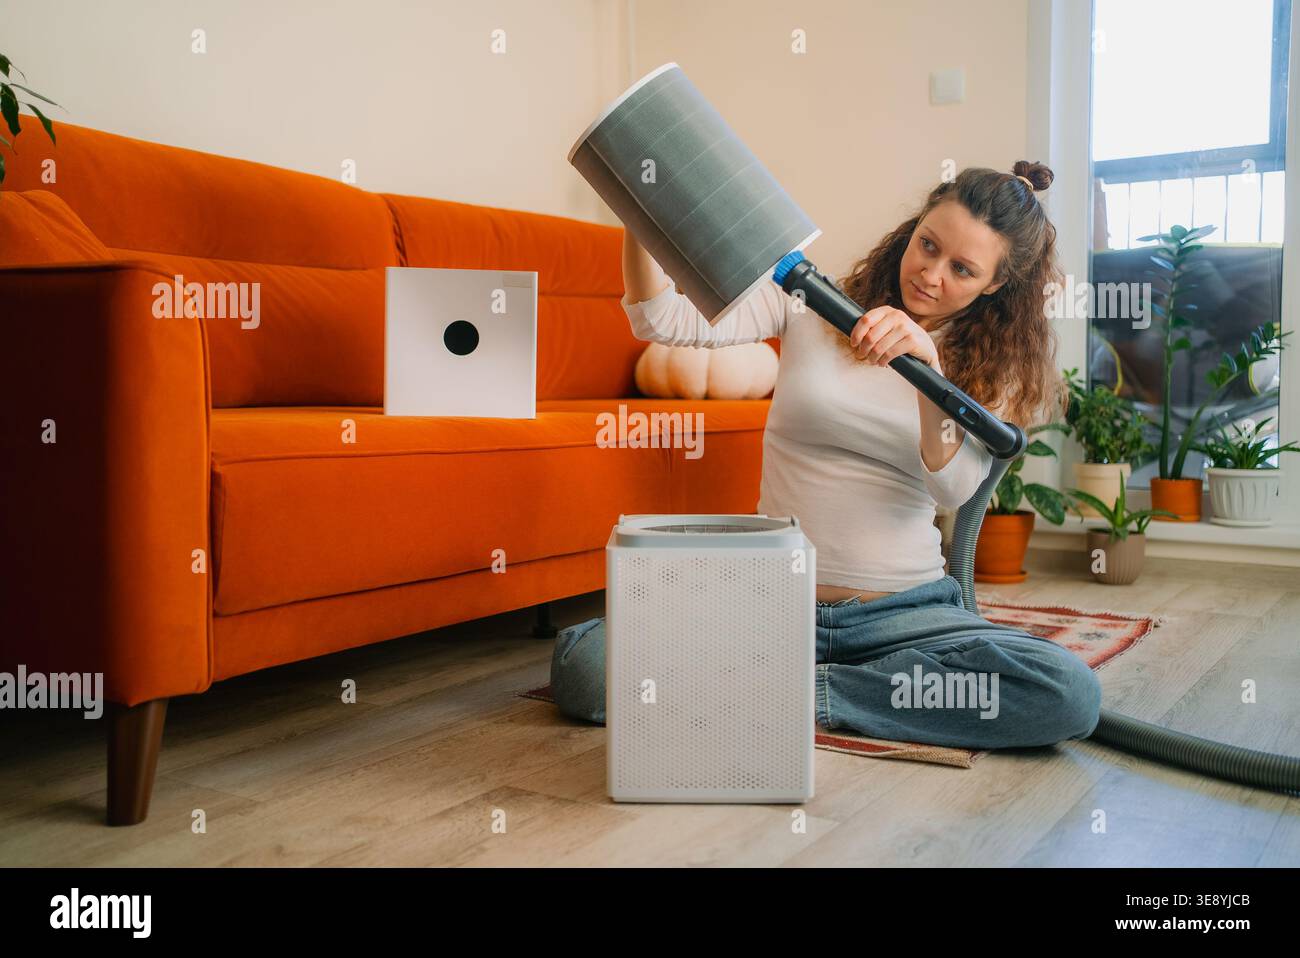
- Clean washable parts
- For washable housings or washable pre-filters, submerge in warm, soapy water and rinse thoroughly. Gently scrub with a soft brush if needed.
- Clean seals and gasket areas
- Wipe rubber seals and gaskets with a damp microfiber cloth. Dirt on seals can let air leak past filters.
- Use compressed air for tight spots
- Blow out remaining dust with short bursts of compressed air. Keep the can upright and hold a safe distance to avoid moisture spray.
- Inspect for damage
- Look for cracks, warped seals, or broken clips. Damaged housing can cause leaks or motor strain.
- Reinstall filters and test
- Only reinstall filters that are fully dry and undamaged. Turn the vacuum on briefly to check suction and listen for odd noises.
Repeat these steps as your regular cleaning routine. Proper technique is central to how to clean vacuum cleaner filter housing properly.

Drying, reassembly, and testing
Drying is critical. Wet filters or housings can grow mold and damage the motor.
- Air-dry washable parts for 24 hours or until fully dry.
- Avoid heat sources like hair dryers or ovens; heat can deform plastic and filters.
- Reassemble in the reverse order you removed parts. Ensure seals click into place.
After reassembly, run the vacuum on a low setting for a minute. Check for reduced suction or rattles. These checks confirm you cleaned and reinstalled the housing right and that you know how to clean vacuum cleaner filter housing properly.
Maintenance schedule and troubleshooting
A regular schedule keeps problems away. A practical plan:
- Empty dustbin after each use.
- Clean pre-filters every 1–3 months.
- Deep-clean filter housing and washable filters every 3–6 months.
- Replace non-washable filters as manufacturer recommends, usually every 6–12 months.
Common problems and fixes:
- Reduced suction: Check for clogs, dirty housing, or clogged filters.
- Strange smells: Fully clean housing and check for trapped debris or damp parts.
- Noise or overheating: Inspect housing for blockages and ensure filters sit correctly.
Knowing how to clean vacuum cleaner filter housing properly helps you spot issues early and avoid costly repairs.
Personal experience and pro tips
I once reassembled a vacuum after cleaning without letting the pre-filter dry. Within days a musty smell returned and the motor stressed. Lesson learned: always wait until parts are bone dry.
Helpful tips from field work:
- Take a photo before you disassemble. It makes reassembly easy.
- Label small parts or store them in a bowl so nothing gets lost.
- If a filter looks torn or misshapen, replace it instead of washing it.
- Use a thin brush to remove lint from crevices; it’s safer than metal tools.
These simple habits improve results and show practical ways to master how to clean vacuum cleaner filter housing properly.

Frequently Asked Questions of how to clean vacuum cleaner filter housing properly
How often should I clean the filter housing?
Clean the housing every 3–6 months for regular home use, or more often if you have pets or heavy dust. Empty the dustbin after each use.
Can I use water on all vacuum filters?
No. Only use water on filters labeled washable. Paper and many HEPA filters usually should not be washed. Check your manual before using water.
How long should I dry washable filters?
Air-dry washable filters for at least 24 hours or until completely dry to touch. Never reassemble while moist to avoid mold and motor damage.
What if my vacuum loses suction after cleaning?
Check for missed clogs, improperly seated filters, or damaged seals. Re-check the housing and all hose connections for obstructions.
Is compressed air safe for filter housing?
Compressed air is useful for tight spots but use short bursts and keep distance. Avoid high pressure directly on delicate filter media to prevent damage.
Conclusion
Cleaning the filter housing protects your vacuum, improves air quality, and prevents motor problems. Follow the safe steps, check filter washability, dry parts completely, and keep a simple maintenance schedule. Try the steps this week and notice better suction and fewer smells. If you found this helpful, subscribe for more appliance care tips or leave a comment with your vacuum model and questions.

Liora Pennings is a seasoned chef and kitchen enthusiast with a passion for turning everyday cooking into an effortless experience. With years of hands-on culinary expertise, she specializes in practical techniques, ingredient know-how, and smart kitchen solutions that help home cooks elevate their meals. At KitchFlair.com, Liora shares her best tips, time-saving tricks, and honest product reviews to guide readers toward a more efficient, enjoyable, and inspired cooking routine. Whether you’re a beginner or a seasoned home chef, Liora’s friendly, knowledge-packed insights make every visit to the kitchen a little easier—and a lot more delicious.