How To Make Popcorn Shrimp: Crispy Easy Recipe
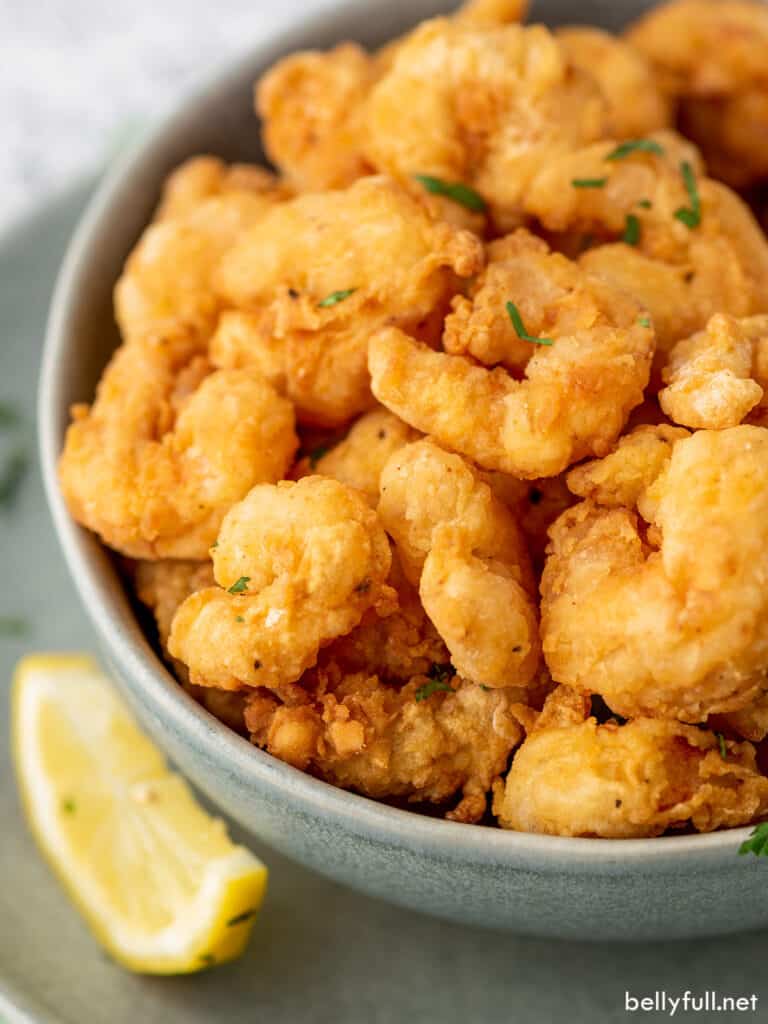
Crispy popcorn shrimp comes from small shrimp, a well-seasoned coating, and hot oil or air circulation.
Learning how to make popcorn shrimp at home is easier than it looks. With a simple flour, egg, and panko coating, you can make tender shrimp with a crisp, golden shell in about 30 minutes. I have tested this method with fresh and frozen shrimp, and the key lessons are clear: dry the shrimp well, season every layer, and avoid crowding the pan.
What Is Popcorn Shrimp?
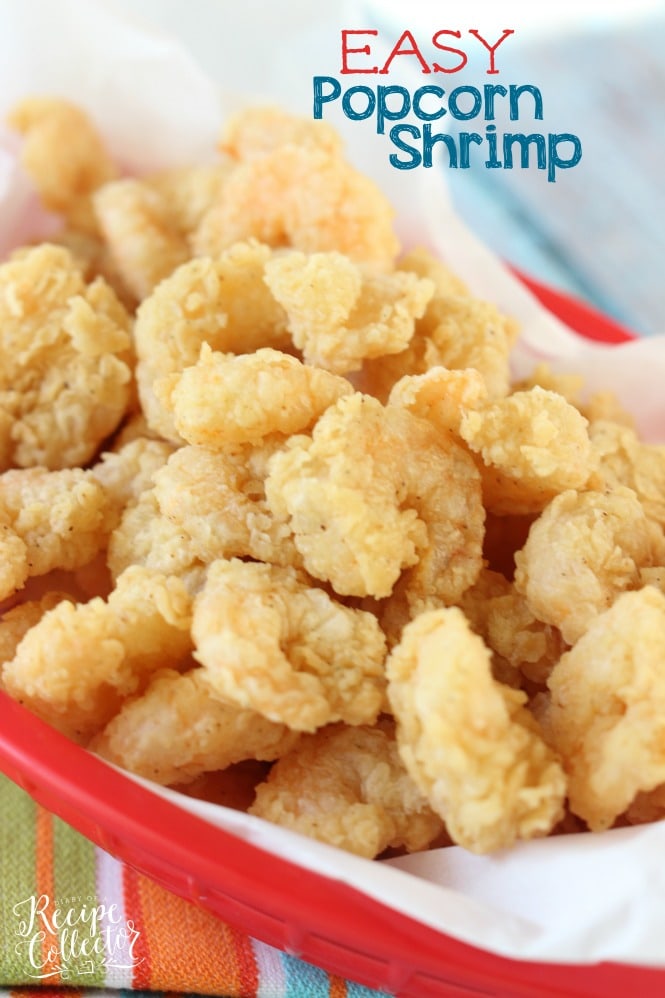
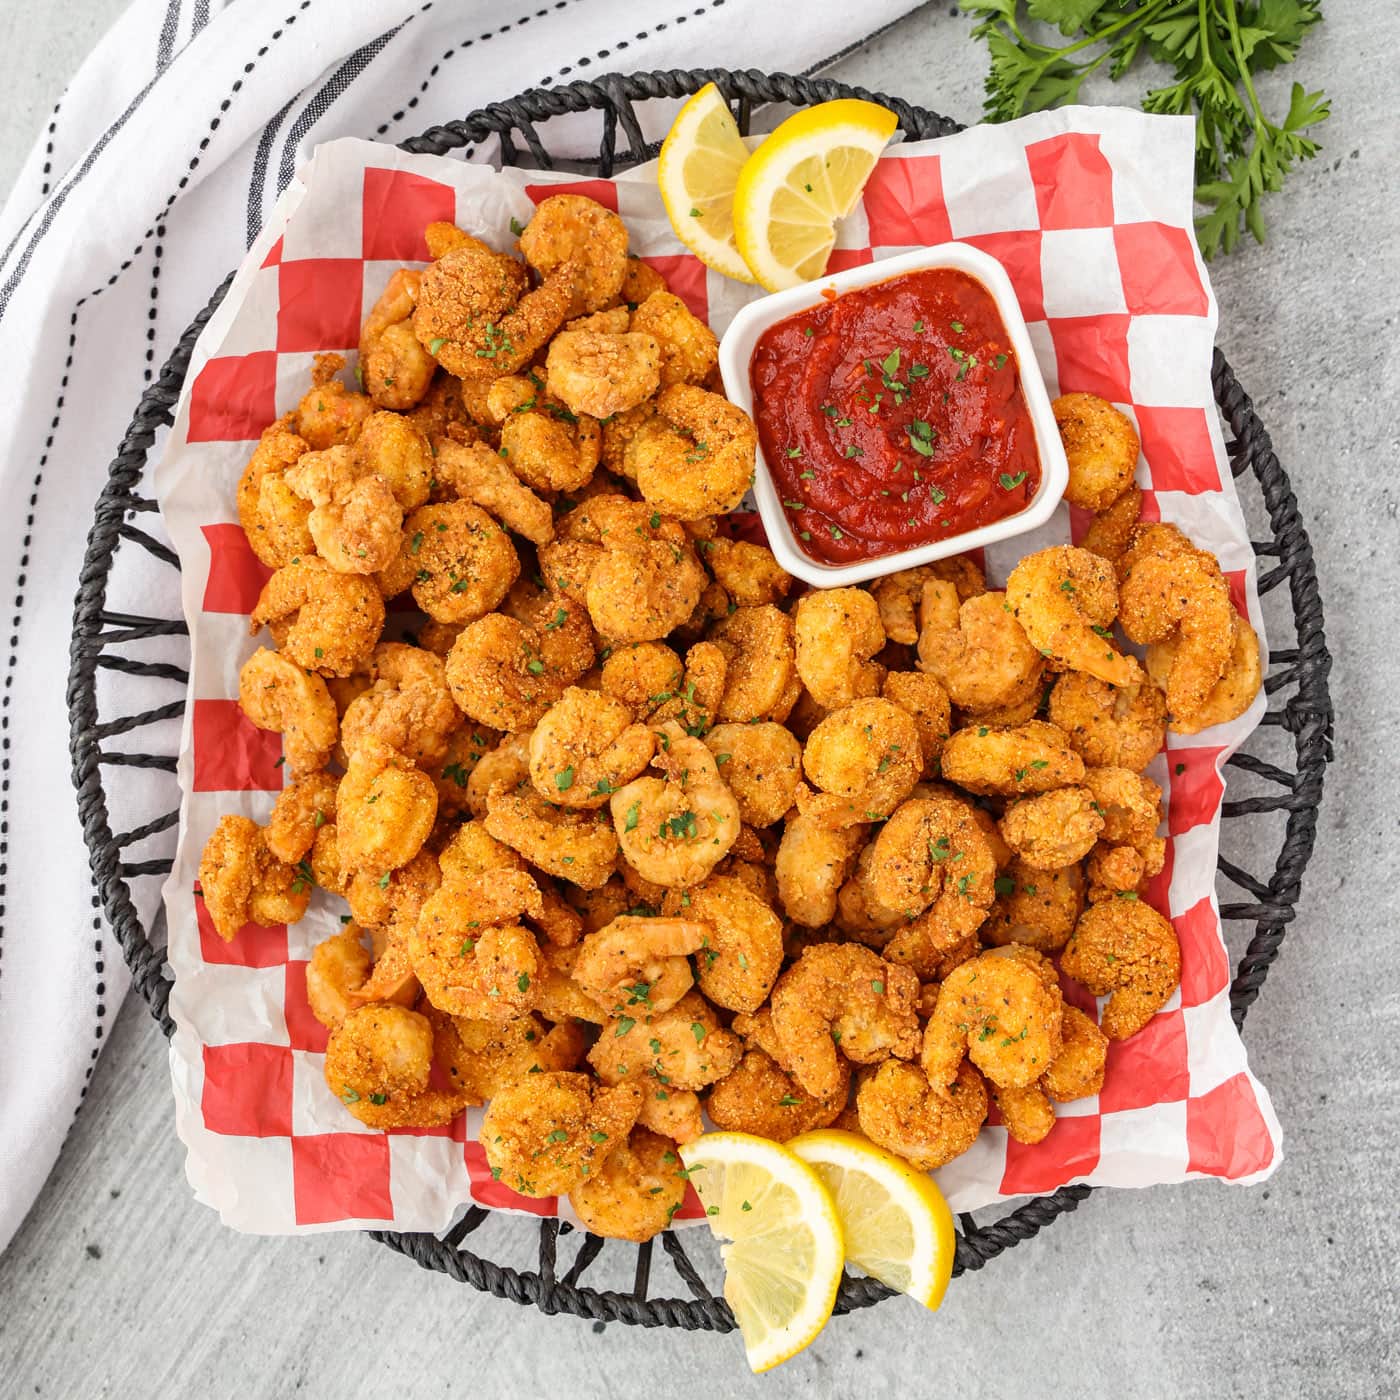
Popcorn shrimp are small, bite-size shrimp that are coated and cooked until crisp. The name comes from their small size and easy, snack-like shape. They are often served with cocktail sauce, ranch, remoulade, honey mustard, or spicy mayo.
The best popcorn shrimp have three clear qualities:
• A crisp coating that does not turn soggy
• Tender shrimp with a light, sweet flavor
• Enough seasoning to make each bite tasty without covering the shrimp flavor
You can make popcorn shrimp by deep-frying, air-frying, or baking. Deep-frying gives the most classic crunch, while an air fryer uses less oil and still creates a crisp coating.
Ingredients for Popcorn Shrimp
This popcorn shrimp recipe serves four people as an appetizer or two people as a main dish.
Main ingredients
• 1 pound small peeled and deveined shrimp
• 1 cup all-purpose flour
• 2 large eggs
• 1 tablespoon milk or water
• 1 cup panko breadcrumbs
• 1 teaspoon paprika
• 1 teaspoon garlic powder
• 1 teaspoon onion powder
• ½ teaspoon kosher salt
• ¼ teaspoon black pepper
• ¼ teaspoon cayenne pepper, optional
• Vegetable, canola, or peanut oil for frying
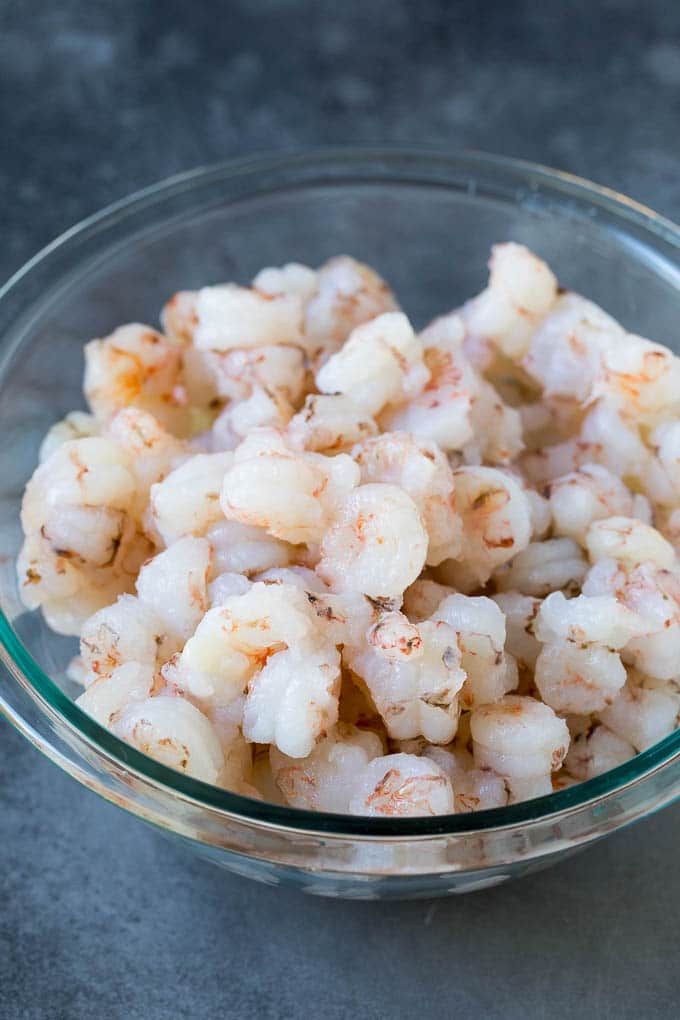
Small shrimp work best because they cook fast and fit neatly into one-bite portions. Choose shrimp labeled shrimp, such as shrimp, if possible. Large shrimp can work, but you may need to cut them into smaller pieces.
If you use frozen shrimp, thaw them fully in the refrigerator. Pat them very dry with paper towels before coating. Extra water is the enemy of crisp food because it creates steam and can make the breading slide off.

How to Make Popcorn Shrimp Step by Step
1. Prepare the shrimp
Peel and devein the shrimp if needed. Rinse them briefly under cold water, then dry them very well with paper towels.
Place the shrimp in a bowl and season them lightly with a pinch of salt and pepper. Do not add too much salt at this stage because the flour mixture will also be seasoned.
2. Set up the breading station
Use three shallow bowls:
-
Put the flour, paprika, garlic powder, onion powder, salt, black pepper, and cayenne in the first bowl.
-
Whisk the eggs with the milk or water in the second bowl.
-
Add the panko breadcrumbs to the third bowl.
This order keeps the process neat. Flour helps the egg stick, and the egg helps the breadcrumbs cling to the shrimp.
3. Coat each shrimp
Dip each shrimp into the seasoned flour. Shake off the extra flour, then dip it into the egg mixture.
Move the shrimp into the panko. Press the breadcrumbs gently around it so the coating sticks. Place the coated shrimp on a clean plate or wire rack.
Repeat until all the shrimp are coated. Let them rest for 5 to 10 minutes before cooking. This short rest helps the coating set.
4. Fry the shrimp
Pour about 2 inches of oil into a deep, heavy pot. Heat the oil to 350°F.
Add the shrimp in small batches. Do not crowd the pot, or the oil temperature will drop and the coating may become greasy.
Fry the shrimp for about 2 to 3 minutes, turning once if needed. They are ready when the coating is golden and the shrimp are opaque and firm.
Use a slotted spoon to transfer the shrimp to a wire rack or a plate lined with paper towels. A wire rack keeps the bottom crisp because air can move under the shrimp.
5. Check for doneness
Shrimp cook quickly, so watch them closely. Properly cooked shrimp should look opaque and curl into a loose “C” shape.
For food safety, seafood should reach 145°F, according to U.S. food safety guidance. If you use a thermometer, check the thickest shrimp in the batch.
When I first tested popcorn shrimp, I left the first batch in the oil too long because I was waiting for a deep brown color. The shrimp became rubbery. A pale golden crust is usually enough.

The Best Way to Make Popcorn Shrimp Extra Crispy
A crunchy coating depends on more than breadcrumbs. Small details make a big difference.
• Dry the shrimp completely before breading.
• Use panko for a lighter, louder crunch.
• Season the flour and the shrimp.
• Let the coated shrimp rest before cooking.
• Keep the oil close to 350°F.
• Cook in small batches.
• Drain the shrimp on a wire rack instead of stacking them.
For an even thicker crust, use a double coating. Dip the shrimp in flour, egg, panko, egg again, and panko again. This creates a more rugged crust, but it also makes the dish heavier.
Another useful trick is to mix 2 tablespoons of cornstarch into the flour. Cornstarch reduces moisture on the surface and can help create a crisp shell.
Avoid pressing too much breading onto the shrimp. A thick, loose coating can fall off in the oil. Press gently, then shake away the excess.
How to Make Popcorn Shrimp in an Air Fryer
Air-fryer popcorn shrimp is a good choice when you want less oil and easy cleanup.
Preheat the air fryer to 400°F. Arrange the coated shrimp in one layer, leaving space between each piece. Spray the tops lightly with cooking spray.
Air-fry for 8 to 10 minutes. Turn the shrimp halfway through cooking and spray the other side lightly if it looks dry.
The exact time depends on the size of the shrimp and the air fryer model. Start checking at 7 minutes. The shrimp should be golden, opaque, and cooked through.
Do not stack the shrimp. An air fryer works by moving hot air around the food, so crowding blocks the airflow. Cook in batches if needed.
How to Make Popcorn Shrimp in the Oven
Baking is simple, but it usually produces a little less crunch than frying or air-frying.
Heat the oven to 425°F. Place a wire rack on a baking sheet and lightly grease the rack. Arrange the breaded shrimp in one layer and spray them with a small amount of oil.
Bake for 10 to 14 minutes, turning halfway through. The coating should look golden, and the shrimp should be opaque in the center.
A preheated baking sheet can improve browning. Place the empty sheet in the oven while it heats, then carefully add the shrimp to the hot surface.
Sauces and Side Dishes for Popcorn Shrimp
The right sauce balances the crisp coating and mild shrimp flavor. Try one of these easy options:
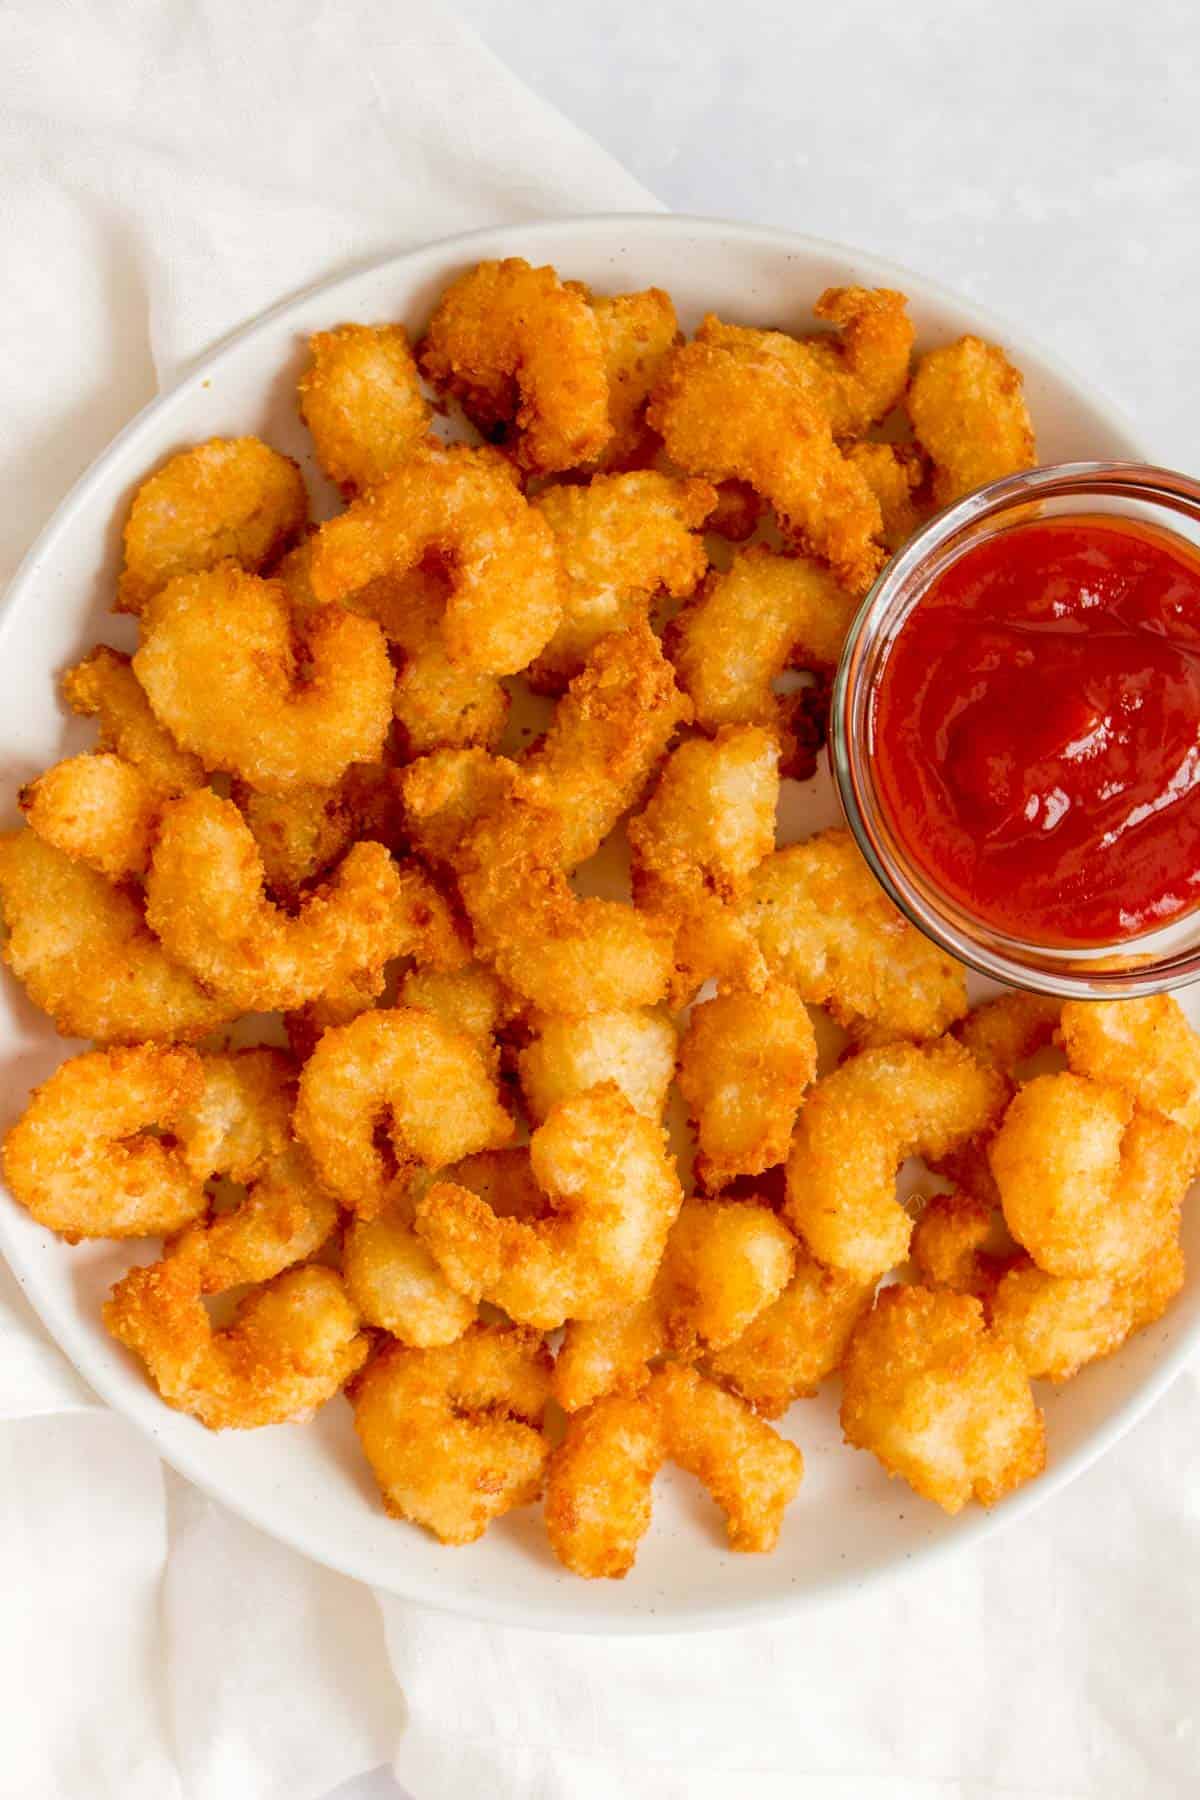
• Cocktail sauce for a bright, tangy bite
• Spicy mayo made with mayonnaise, lime juice, and hot sauce
• Remoulade with mayonnaise, mustard, pickle relish, and paprika
• Ranch dressing for a cool, creamy dip
• Honey mustard for a sweet and sharp contrast
• Garlic butter for a rich, savory finish
Serve popcorn shrimp with fries, coleslaw, corn, hush puppies, or a simple green salad. You can also place them in tacos with cabbage, lime crema, and fresh cilantro.
For a lighter meal, serve the shrimp over rice with cucumber, avocado, and a squeeze of lime. For a party, add toothpicks and three sauces so guests can choose their favorite.

Common Mistakes to Avoid
Using wet shrimp
Wet shrimp make the flour paste-like. That weak coating can break apart in the oil. Pat the shrimp dry, especially after thawing.
Starting with cold oil
Cold oil causes the coating to absorb fat. Use a thermometer when possible, and wait until the oil reaches about 350°F before cooking.
Overcrowding the pan
Too many shrimp at once lower the oil temperature. The shrimp then steam instead of fry. Leave space around each piece and cook in batches.
Overcooking the shrimp
Shrimp can go from tender to rubbery in less than a minute. Remove them as soon as they are opaque and lightly curled.
Skipping seasoning
A plain coating can taste flat. Add seasoning to the flour, and use a little salt on the shrimp before breading.
Letting cooked shrimp sit on paper towels
Paper towels absorb some oil, but they can also trap steam under the food. A wire rack is better for keeping popcorn shrimp crisp.
In my kitchen tests, the biggest improvement came from using a thermometer. Guessing the oil temperature often led to uneven batches, while steady heat produced a crisp coating each time.
How to Store and Reheat Popcorn Shrimp
Place leftover popcorn shrimp in a shallow, airtight container. Refrigerate them within two hours of cooking and use them within three to four days.
For the best texture, reheat them in an air fryer at 375°F for 3 to 5 minutes. You can also use a 400°F oven for about 6 to 8 minutes.
Avoid microwaving if possible. The microwave warms the shrimp quickly, but the coating often becomes soft and chewy.
You can freeze cooked popcorn shrimp, but the crust may not be as crisp after thawing. Freeze them in a single layer first, then transfer them to a freezer-safe bag. Reheat them from frozen in an air fryer or oven.
Nutrition and Food Safety Tips
Popcorn shrimp can be part of a balanced meal, but the nutrition depends on the cooking method and portion size. Deep-frying adds more fat than baking or air-frying, while sauces can add extra sodium, sugar, or calories.
Use separate plates and utensils for raw shrimp and cooked food. Wash your hands, cutting board, and work area with warm, soapy water after handling raw seafood.
Buy shrimp from a reliable source and keep them cold until you are ready to cook. Do not use shrimp with a strong ammonia-like smell, slimy texture, or unusual discoloration.
People with shellfish allergies should avoid shrimp and check labels on seasonings, sauces, and packaged breadcrumbs. Cross-contact can happen even when shrimp are not a main ingredient.
Frequently Asked Questions About How to Make Popcorn Shrimp
What kind of shrimp is best for popcorn shrimp?
Small peeled and deveined shrimp are the easiest choice. Shrimp labeled small or medium cook quickly and create a true bite-size portion.
Can I make popcorn shrimp without panko?
Yes. Regular breadcrumbs, crushed crackers, or cornmeal can work. Panko usually gives the lightest and crispest coating.
How long should I fry popcorn shrimp?
Most small shrimp need about 2 to 3 minutes in 350°F oil. Remove them when the coating is golden and the shrimp are opaque.
Can I cook frozen popcorn shrimp in an air fryer?
Yes, if the shrimp are already breaded and sold as a frozen prepared product. Follow the package directions, since cooking times vary; homemade breaded shrimp should be thawed first for more even cooking.
Why does my breading fall off the shrimp?
The shrimp may be too wet, or the coating may not have had time to set. Dry the shrimp well, follow the flour, egg, and breadcrumb order, and rest the coated shrimp for 5 to 10 minutes.
Is popcorn shrimp gluten-free?
Traditional popcorn shrimp is not gluten-free because it uses wheat flour and many breadcrumbs. Use gluten-free flour and certified gluten-free breadcrumbs for a gluten-free version, while checking all labels for cross-contact.
How do I know when popcorn shrimp are done?
Cooked shrimp look opaque and firm, with a loose “C” shape. For the most reliable safety check, use a thermometer and cook seafood to 145°F.
Conclusion
The best way to make popcorn shrimp is to use small, dry shrimp, a seasoned flour and panko coating, and steady cooking heat. Fry them at about 350°F for the classic crunch, or use an air fryer at 400°F for a lighter option.
Keep the shrimp in one layer, cook in batches, and remove them as soon as they turn opaque. These simple steps help prevent greasy breading and rubbery shrimp.
Try this popcorn shrimp recipe with your favorite dipping sauce, then adjust the spice level to suit your table. Share your results or explore more seafood recipes for your next easy meal.

Liora Pennings is a seasoned chef and kitchen enthusiast with a passion for turning everyday cooking into an effortless experience. With years of hands-on culinary expertise, she specializes in practical techniques, ingredient know-how, and smart kitchen solutions that help home cooks elevate their meals. At KitchFlair.com, Liora shares her best tips, time-saving tricks, and honest product reviews to guide readers toward a more efficient, enjoyable, and inspired cooking routine. Whether you’re a beginner or a seasoned home chef, Liora’s friendly, knowledge-packed insights make every visit to the kitchen a little easier—and a lot more delicious.