How To Repair Vacuum Motor Sparking Issue Safely: DIY Guide
Replace worn brushes, clean the commutator, fix wiring, and always power down before you start.
I’ve fixed dozens of vacuums and trained service techs on simple, safe motor repairs. This guide explains how to repair vacuum cleaner motor sparking issue safely with clear steps, safety checks, and real tips from hands-on experience. Read on to learn why motors spark, what to inspect first, and how to fix common causes without risking shock or damage.

Why vacuum motors spark and what that means
Sparking in a vacuum motor is a sign of electrical arcing. Arcing happens when current jumps gaps inside the motor. Small sparks at the brushes and commutator are normal. Large, continuous sparks mean wear, damage, or dirt.
Common causes
- Worn carbon brushes: Brushes wear down with use and lose contact.
- Damaged commutator: Grooves or burns make contact uneven.
- Carbon dust build-up: Dust from brushes acts like abrasive or conductive grit.
- Bad bearings or rotor wobble: Rotor tilt changes contact angle and causes sparks.
- Faulty wiring or loose connections: Loose wires make intermittent contact and arcs.
- Moisture or foreign debris: Water or non-conductive debris can short terminals.
PAA-style questions
- What does heavy sparking mean? Heavy sparking usually means worn brushes or a damaged commutator that needs repair or replacement.
- Can a small spark ruin a motor? A tiny spark is often normal, but persistent heavy sparking will cause heat and damage over time.
Why you must act promptly
- Sparks generate heat and carbon dust. Heat can melt insulation and cause shorts. Dust spreads inside the motor and wears parts faster. Fixing the issue early prevents larger failures.
Safety checklist before you begin
Never skip safety. Turn off power at the outlet and unplug the vacuum. If your plug is hardwired, turn off the correct breaker. Let the motor cool before touching it.
Essential safety steps
- Unplug the vacuum: Always disconnect from mains power first.
- Wear safety glasses: Protect eyes from dust and flying bits.
- Use gloves: Nitrile or mechanic gloves protect hands from grime and sharp edges.
- Work in a ventilated area: Carbon dust is messy and can irritate lungs.
- Keep a fire extinguisher nearby: For rare electrical fires.
Electrical safety tips
- Test for live voltage with a non-contact tester if you plan to touch wiring.
- Do not bypass safety switches or fuses.
- If you are not comfortable with mains wiring, consult a pro.

Tools and replacement parts you’ll need
Gather tools before starting. Working without the right tools increases risk and can cause damage.
Basic tools
- Multimeter: For continuity and voltage checks.
- Screwdriver set: For body and motor disassembly.
- Small wire brush: For gentle commutator cleaning.
- Soft cloths and isopropyl alcohol: For cleaning.
- Sandpaper (400–600 grit) or a commutator stone: For light resurfacing.
- Soldering iron: If wiring repairs are needed.
- Replacement carbon brushes: Match size and spec to your model.
- Bearing grease or new bearings: If bearings show wear.
Parts to buy
- Exact model brushes: Using wrong brushes can shorten life.
- Commutator replacement parts or rotor if badly damaged.
- OEM wiring loom or connectors if insulation is burned.

Step-by-step: how to repair vacuum cleaner motor sparking issue safely
Follow these steps. Read all steps first. Work slowly and keep parts organized.
- Power down and disassemble
- Unplug and remove the dust bin and filter. Remove the outer shell to access the motor.
- Note or photograph each step. Label screws and parts so reassembly is easy.
- Inspect brushes and holders
- Remove brush caps and pull out the carbon brushes.
- Check brush length and spring tension. Replace if shorter than manufacturer spec or if brittle.
- Clean the brush holders. Ensure the brushes move freely.
- Check the commutator
- Look for dark burns, deep grooves, or pitting.
- If dirty, clean with isopropyl alcohol first.
- For light glazing, use a commutator stone or very fine sandpaper to restore a smooth surface. Remove dust with a brush.
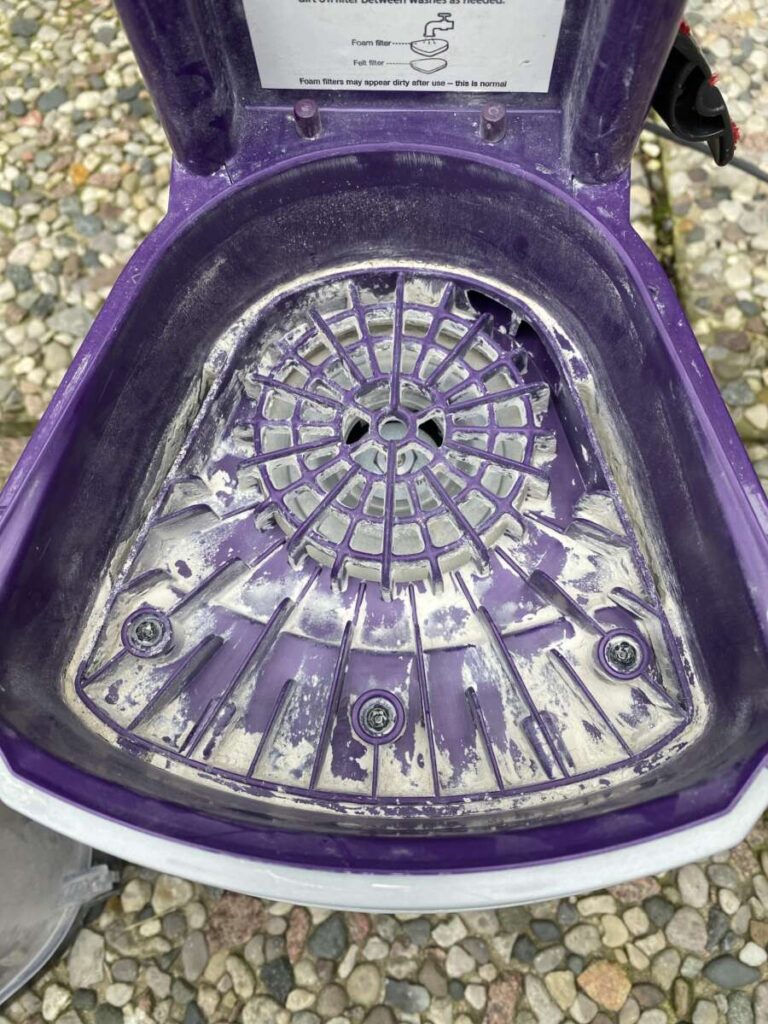
- Clean carbon dust and debris
- Use a vacuum outside or a shop vac on low to remove loose dust away from the motor interior.
- Wipe with a damp cloth and isopropyl alcohol. Avoid spraying solvents directly onto windings.
- Inspect bearings and rotor play
- Spin the rotor by hand. It should spin freely and silently.
- Wiggle the rotor side-to-side. Excess play means worn bearings. Replace bearings if needed.
- Check wiring and terminals
- Look for melted insulation or loose crimped terminals.
- Tighten screws and re-solder bad joints. Replace wires with proper gauge if insulation is damaged.
- Test with a multimeter
- Check brush holder continuity and rotor coil resistance. Values vary by model; consult specs.
- Look for shorted windings or open circuits.
- Reassemble and test carefully
- Reassemble with new brushes installed. Replace any seals or filters disturbed.
- Test briefly with the motor free of load. Listen for abnormal noise and watch for sparks.
- If sparks persist, stop and reassess.
Notes on testing
- Do not run the motor under heavy load on the first test.
- Use eye protection and keep hands clear.

Cleaning, maintenance, and prevention
Good maintenance prevents most sparking issues. Simple care extends motor life.
Routine maintenance tips
- Replace brushes at regular intervals or when worn. New brushes restore good contact.
- Clean filters and dust paths monthly to reduce dust entering the motor.
- Lubricate bearings if the design permits. Use light machine oil or proper grease.
- Avoid sucking up liquids and heavy debris that damage windings and bearings.
- Store the vacuum in a dry place to avoid moisture.
Seasonal checks
- Do a full motor inspection once a year if you use the vacuum heavily.
- Rotate preventative brush replacement with filter changes.
.png)
When to replace the motor or call a pro
Some problems need expert help or a motor swap.
Replace or get pro help if
- The commutator is deeply grooved, burnt, or pitted beyond light resurfacing.
- Rotor windings are visibly burnt or have an electrical short.
- Bearings are welded or require complex pressing tools to replace.
- You are not confident with mains wiring, soldering, or motor testing.
Cost vs. benefit
- Small, low-cost vacuums may cost more to repair than to replace.
- High-end models are often worth motor repair due to better parts and higher build cost.

Troubleshooting quick fixes and mistakes to avoid
Fast checks you can do in minutes and errors that lead to repeat visits.
Quick fixes
- Tighten loose brush caps and connectors.
- Replace brushes if they sit unevenly or bind.
- Clean the commutator and remove carbon dust.
Common mistakes
- Rushing sanding: Too aggressive sanding removes copper and ruins the commutator.
- Using improper replacement brushes: Wrong material or size increases sparking.
- Reassembling dirty: Leaving carbon dust increases wear and causes new problems.
- Skipping safety checks: Working on live circuits risks injury.
Personal note
I once repaired a family vacuum that had severe sparking. I replaced the brushes, cleaned the commutator lightly, and found a frayed wire touching the chassis. The fix took under an hour. The lesson: always inspect wiring after brush work. This saved a second repair.

Frequently Asked Questions of how to repair vacuum cleaner motor sparking issue safely
What causes a vacuum motor to spark when running?
Sparking is often brush wear or a dirty commutator. It can also come from loose wiring or bad bearings causing uneven contact.
How long do carbon brushes last?
Brush life varies by use. Light home use may last years. Heavy use or abrasive dust shortens life to months.
Can I sand the commutator myself?
Yes for light glazing. Use fine sandpaper or a commutator stone and clean off all dust. Deep damage needs a pro.
Is carbon dust dangerous?
Carbon dust is an irritant. Avoid inhaling it; clean in a ventilated area and wear a mask if needed.
Will replacing brushes stop all sparking?
Replacing brushes fixes many spark issues, but not all. If the commutator or wiring is damaged, sparks may persist.
Conclusion
Sparking in a vacuum motor is common, and you can often fix it safely with the right steps. Start with safety, inspect brushes and the commutator, clean carbon dust, and replace worn parts. If damage is severe or you are unsure, seek professional help. Tackle small repairs early to avoid bigger failures and save money.
Take action today: check your vacuum for worn brushes, and follow these safety steps to fix small sparks. If this guide helped, leave a comment or subscribe for more simple repair tips.

Liora Pennings is a seasoned chef and kitchen enthusiast with a passion for turning everyday cooking into an effortless experience. With years of hands-on culinary expertise, she specializes in practical techniques, ingredient know-how, and smart kitchen solutions that help home cooks elevate their meals. At KitchFlair.com, Liora shares her best tips, time-saving tricks, and honest product reviews to guide readers toward a more efficient, enjoyable, and inspired cooking routine. Whether you’re a beginner or a seasoned home chef, Liora’s friendly, knowledge-packed insights make every visit to the kitchen a little easier—and a lot more delicious.