

How To Repair A Keurig Coffee Maker: Easy Fixes
You can repair many Keurig coffee maker problems by cleaning, unclogging, resetting, or replacing a small part.
A Keurig coffee maker may stop brewing because of scale, a clogged needle, an air lock, or a failing water pump. This guide explains how to repair a Keurig coffee maker safely, using simple steps that work for many Keurig K-Mini, K-Compact, K-Elite, K-Supreme, and older models. You will also learn when a repair makes sense and when replacement is the better choice.
Start With Safety and a Quick Diagnosis
Before learning how to repair a Keurig coffee maker, unplug it and let it cool. Never open the electrical housing while the machine is connected to power. Water and electricity are a dangerous mix.
Check your owner’s manual before removing any part. Keurig models look similar, but their needles, reservoirs, filters, and internal parts can differ. Opening the machine may also cancel a remaining warranty.
Use this quick diagnosis:
• No lights or sounds: Check the outlet, power cord, and power button.
• Lights work, but no water comes out: Look for a clogged needle, blocked water line, air lock, or scale buildup.
• The machine leaks: Check the reservoir seal, overflow area, pod holder, and internal tubing.
• Coffee tastes weak: Clean the needles, wash the reservoir, and descale the brewer.
• The brewer stops during a cycle: Check the water level, lid sensor, scale buildup, and power connection.
• The display shows an error: Turn off the machine, unplug it for five minutes, and check the manual for the model-specific code.
A clear diagnosis saves time. Repairing the wrong part is like changing a car tire when the battery is dead.
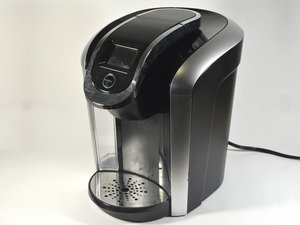
Tools and Supplies You May Need
Most basic Keurig repairs do not need advanced tools. Gather the following items before you begin:
• Clean water
• Dish soap
• A soft cloth or sponge
• A paper clip or Keurig needle-cleaning tool
• A mug or large bowl
• White vinegar or an approved descaling solution
• A soft toothbrush
• A Phillips screwdriver for some models
• A flashlight
• Food-safe silicone grease for certain removable seals
Do not use a knife, metal pick, or stiff wire inside the needle. These tools can damage the needle or push debris deeper into the brewer.
Avoid bleach, harsh drain cleaners, and abrasive powders. They can damage plastic, leave harmful residue, or affect the taste of your coffee.

How to Repair a Keurig Coffee Maker That Will Not Turn On
When a Keurig coffee maker has no lights, start with the simplest causes.
Check the outlet and power cord
Plug another device into the same outlet. If that device also fails, reset the circuit breaker or use another outlet. Avoid using a loose extension cord, especially with a high-wattage appliance.
Inspect the Keurig power cord for cuts, bent prongs, burn marks, or melted plastic. Do not use the brewer if the cord looks damaged.
Reset the brewer
Unplug the machine. Remove the water reservoir and the pod holder if they are removable. Wait five minutes, then reconnect the reservoir and plug the brewer directly into a wall outlet.
Press the power button once. Some models need the button held for a few seconds, while others turn on when you lift and close the lid.
Check the lid and water reservoir
many Keurig machines will not start a brew cycle unless the lid is fully closed. The reservoir must also sit correctly on its base. A misaligned reservoir may fail to press the water inlet valve.
If the screen stays blank after these checks, the problem may involve the power switch, control board, thermal fuse, or internal wiring. These repairs are not good beginner projects. A qualified appliance technician should test them.
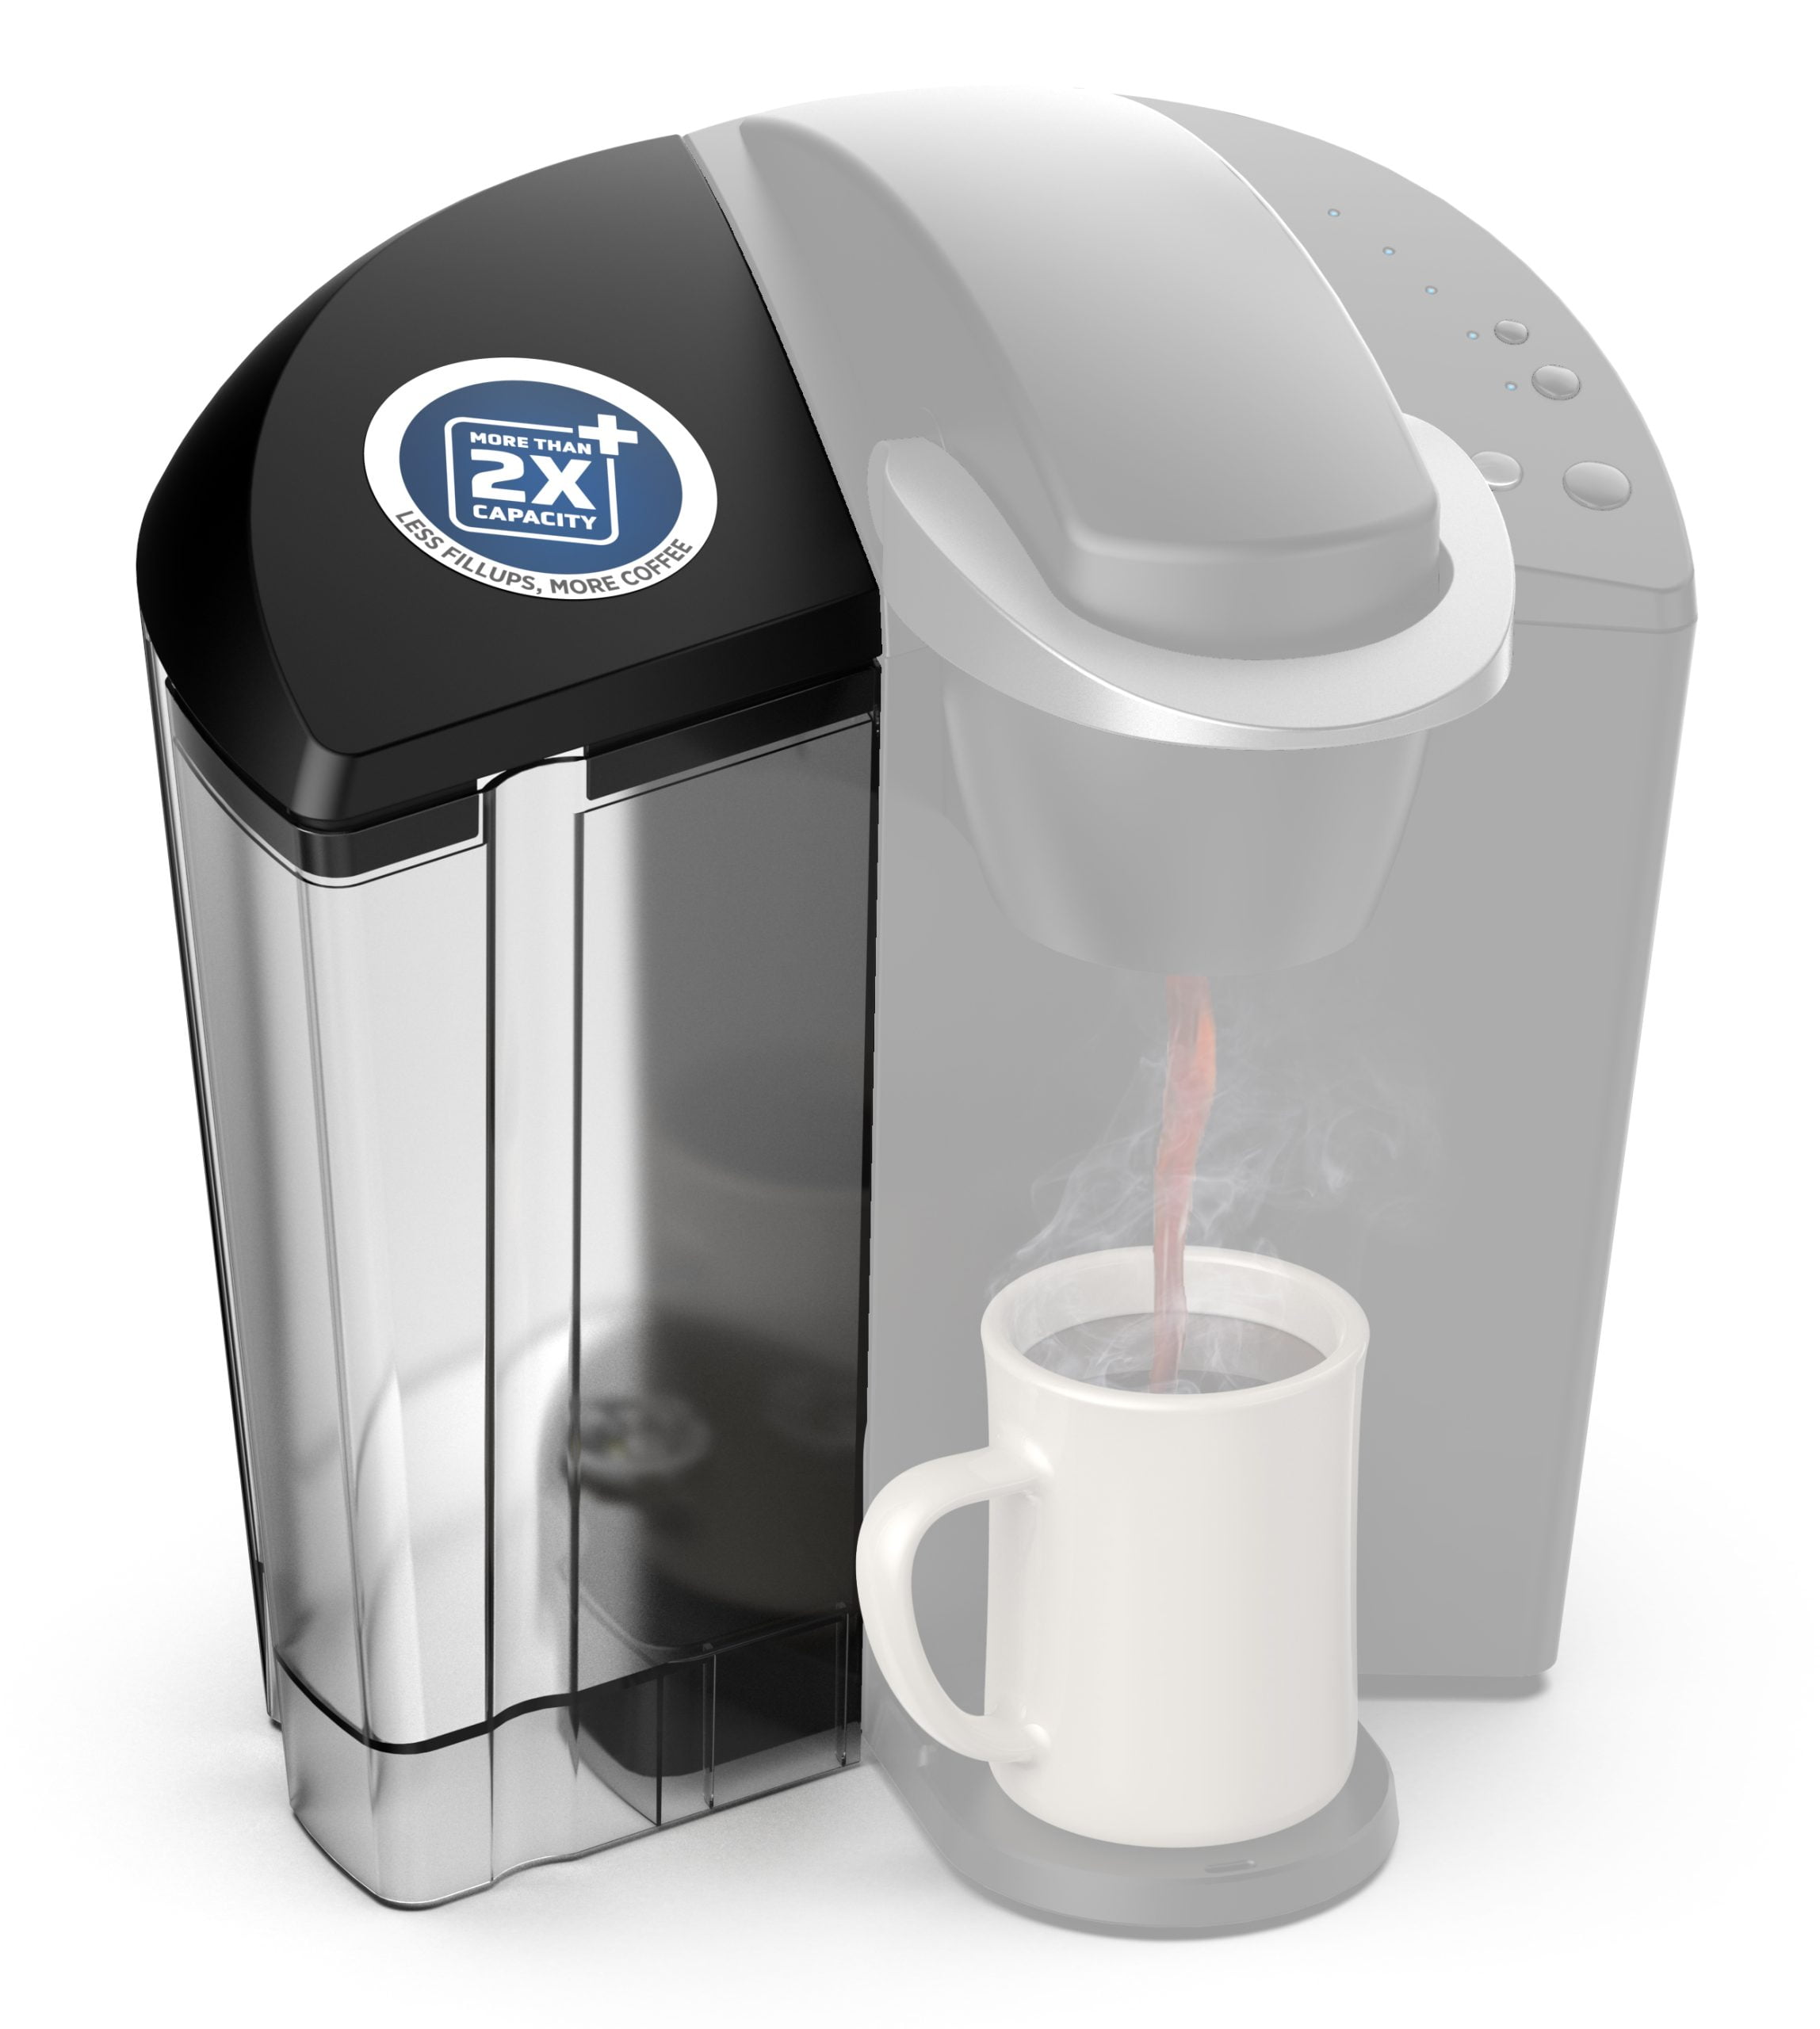
How to Repair a Keurig Coffee Maker That Will Not Brew
A Keurig that turns on but does not brew often has a blocked water path. Scale and coffee grounds can act like sand in a small pipe.
Clean the entrance needle
Unplug the brewer and open the lid. Remove the pod holder if your model allows it. Use a paper clip or the manufacturer’s cleaning tool to clear the small opening in the entrance needle.
Move the tool gently. Do not force it. Rinse the pod holder under warm water and brush away any trapped coffee grounds.
Clean the exit needle
The exit needle sits below the pod holder. It pierces the bottom of the K-Cup pod and can collect coffee particles.
Use a soft toothbrush and a small amount of warm water to clean around it. If the needle has a narrow opening, use the cleaning tool gently from the outside. Keep your fingers away from the sharp point.
Look for an air lock
An air lock can stop water from reaching the heating system. Remove the water reservoir and fill it with fresh water. Reinstall it firmly, then gently lift and reseat it several times.
Some users carefully tap the side of the machine while it is unplugged. This may help release trapped air, but never shake the brewer hard or operate it without the reservoir installed.
Run a water-only cycle
Place a large mug under the spout. Do not insert a pod. Start the largest water-only cycle available. Repeat it two or three times after cleaning the needles.
If the pump makes a buzzing sound but no water moves, scale or an internal blockage may be present. Descaling is the next step.
How to Descale a Keurig Coffee Maker
Descaling removes mineral deposits from the heater and water lines. Hard water creates these deposits faster, especially in areas with high mineral content.
Use a descaling solution
Follow the directions on an approved Keurig descaling product. In general, the process includes these steps:
-
Empty the water reservoir and remove any water filter.
-
Pour the recommended amount of descaling solution into the reservoir.
-
Place a large mug under the coffee outlet.
-
Run brewing cycles without a K-Cup pod.
-
Empty the mug as needed.
-
Let the brewer sit for the time stated in the product instructions.
-
Rinse the reservoir well.
-
Run several full reservoirs of fresh water through the machine.
Do not drink the liquid used during descaling. It may contain loosened scale and cleaning chemicals.
Vinegar and Keurig cleaning
Some people use diluted white vinegar as a low-cost cleaning method. However, vinegar may leave a strong smell and is not approved for every model. It can also affect seals over time if used too often.
An approved descaling solution is usually the safer choice. Follow the instructions for your specific brewer instead of guessing the mixture.
Descale when the brewer slows down, makes unusual noises, produces less coffee, or shows a descale warning. In a hard-water area, many households need to descale every three to six months. Your use level and water quality may change that schedule.

How to Repair a Keurig Coffee Maker That Leaks
A leaking Keurig can drip from the reservoir, pod holder, coffee outlet, or base. First, unplug the brewer and dry the outside so you can identify the source.
Reservoir leaks
Remove the water reservoir and inspect the bottom valve. Look for cracks, dirt, or a worn rubber seal. Press the valve gently over a sink. It should open when pressed and close when released.
Clean the valve with warm water. If the reservoir is cracked or the valve continues to leak, replace the reservoir. Gluing a cracked reservoir is not a reliable food-safe repair.
Pod holder leaks
A damaged or poorly seated pod can send hot water around the K-Cup instead of through it. Make sure the pod sits flat and the lid closes fully.
Clean the pod holder and both needles. Do not overfill a reusable pod. Extra coffee can block the needle and cause water to escape around the lid.
Water under the machine
Water under the brewer may indicate a cracked internal tube, loose connection, failed pump seal, or damaged heating assembly. If tightening the reservoir and cleaning the pod holder does not solve the problem, stop using the machine.
Internal leaks can reach electrical parts. This is a point where professional service is safer than trial and error.

How to Fix a Keurig That Brews Slowly or Makes Small Cups
Slow brewing usually points to restricted water flow. The most common causes are scale, clogged needles, a dirty reservoir screen, or an aging pump.
Clean the reservoir and inspect the small screen or filter area near the water outlet. Brush away visible debris with a soft toothbrush. Never scrape the screen with a sharp object.
Next, clean both needles and run water-only cycles. If the machine has a charcoal water filter, replace it according to the filter instructions. A clogged filter can reduce flow.
Descale the brewer if the problem continues. After descaling, run fresh-water rinse cycles until there is no cleaning smell.
If the pump sounds strained or the brew remains small after cleaning, the pump may be weak. Pump replacement requires disassembly and electrical testing. For many low-cost models, replacing the brewer may cost less than repairing the pump.
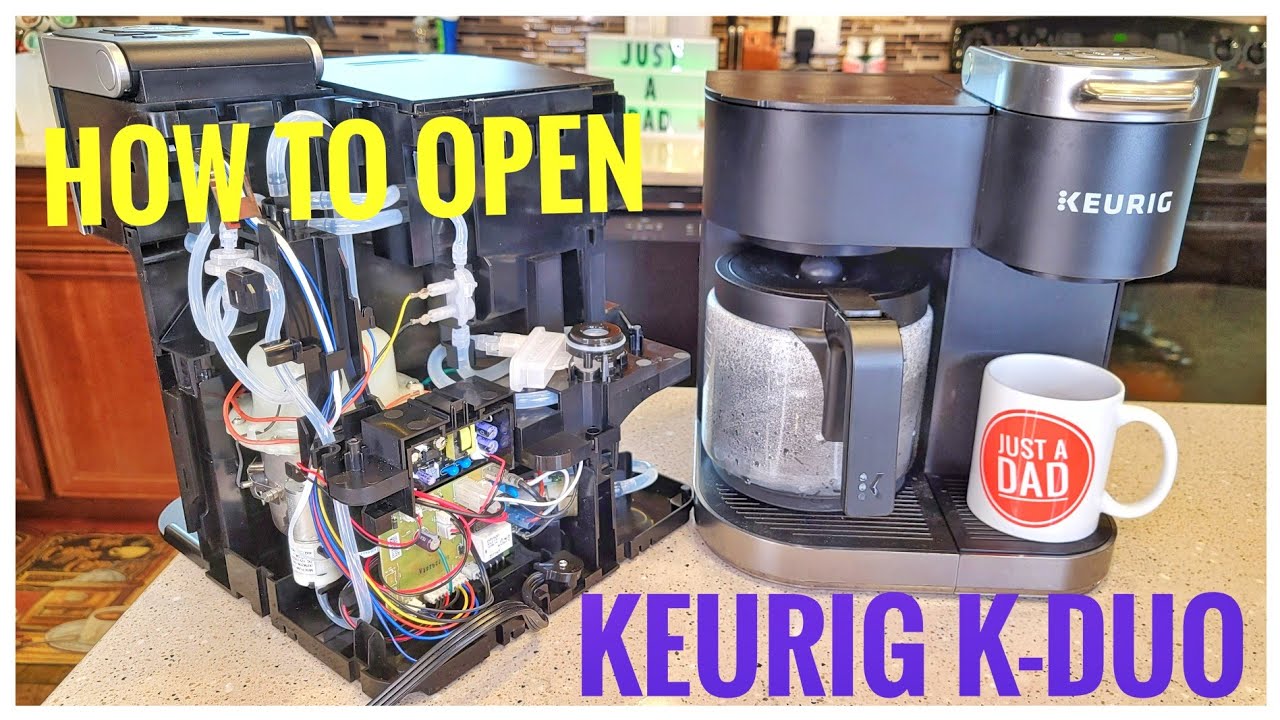
How to Fix a Keurig That Makes Weak or Bad-Tasting Coffee
Weak coffee does not always mean the brewer is broken. The pod, water temperature, brew size, and machine cleanliness all affect flavor.