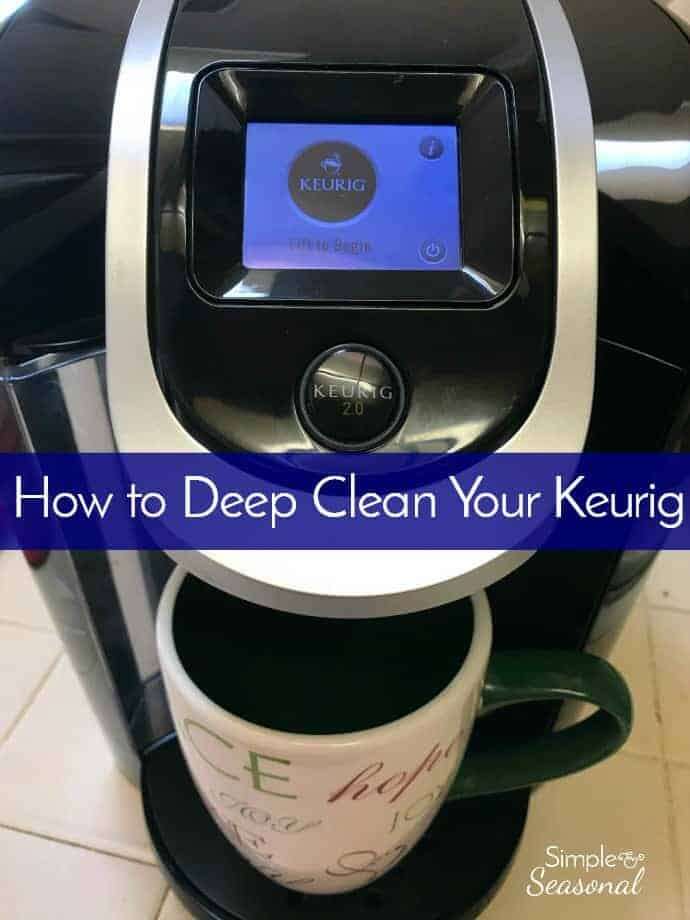
How To Descale Keurig Coffee Maker: Easy 5-Min Guide
Use a descaling solution or diluted vinegar and run Keurig's descale cycle.
I’ve worked on countertop brewers for years and tested many cleaning methods. This guide on how to descale Keurig coffee maker shows simple steps you can trust. I cover why descaling matters, what you need, a clear step-by-step process, common mistakes, and quick fixes. Read on to protect your brewer, improve flavor, and extend its life.

Why descaling matters
Mineral buildup from hard water forms limescale inside the machine. Limescale blocks water flow and raises brew time. If you skip descaling, coffee tastes off and parts wear faster. Regular descaling keeps performance steady and saves money on repairs.
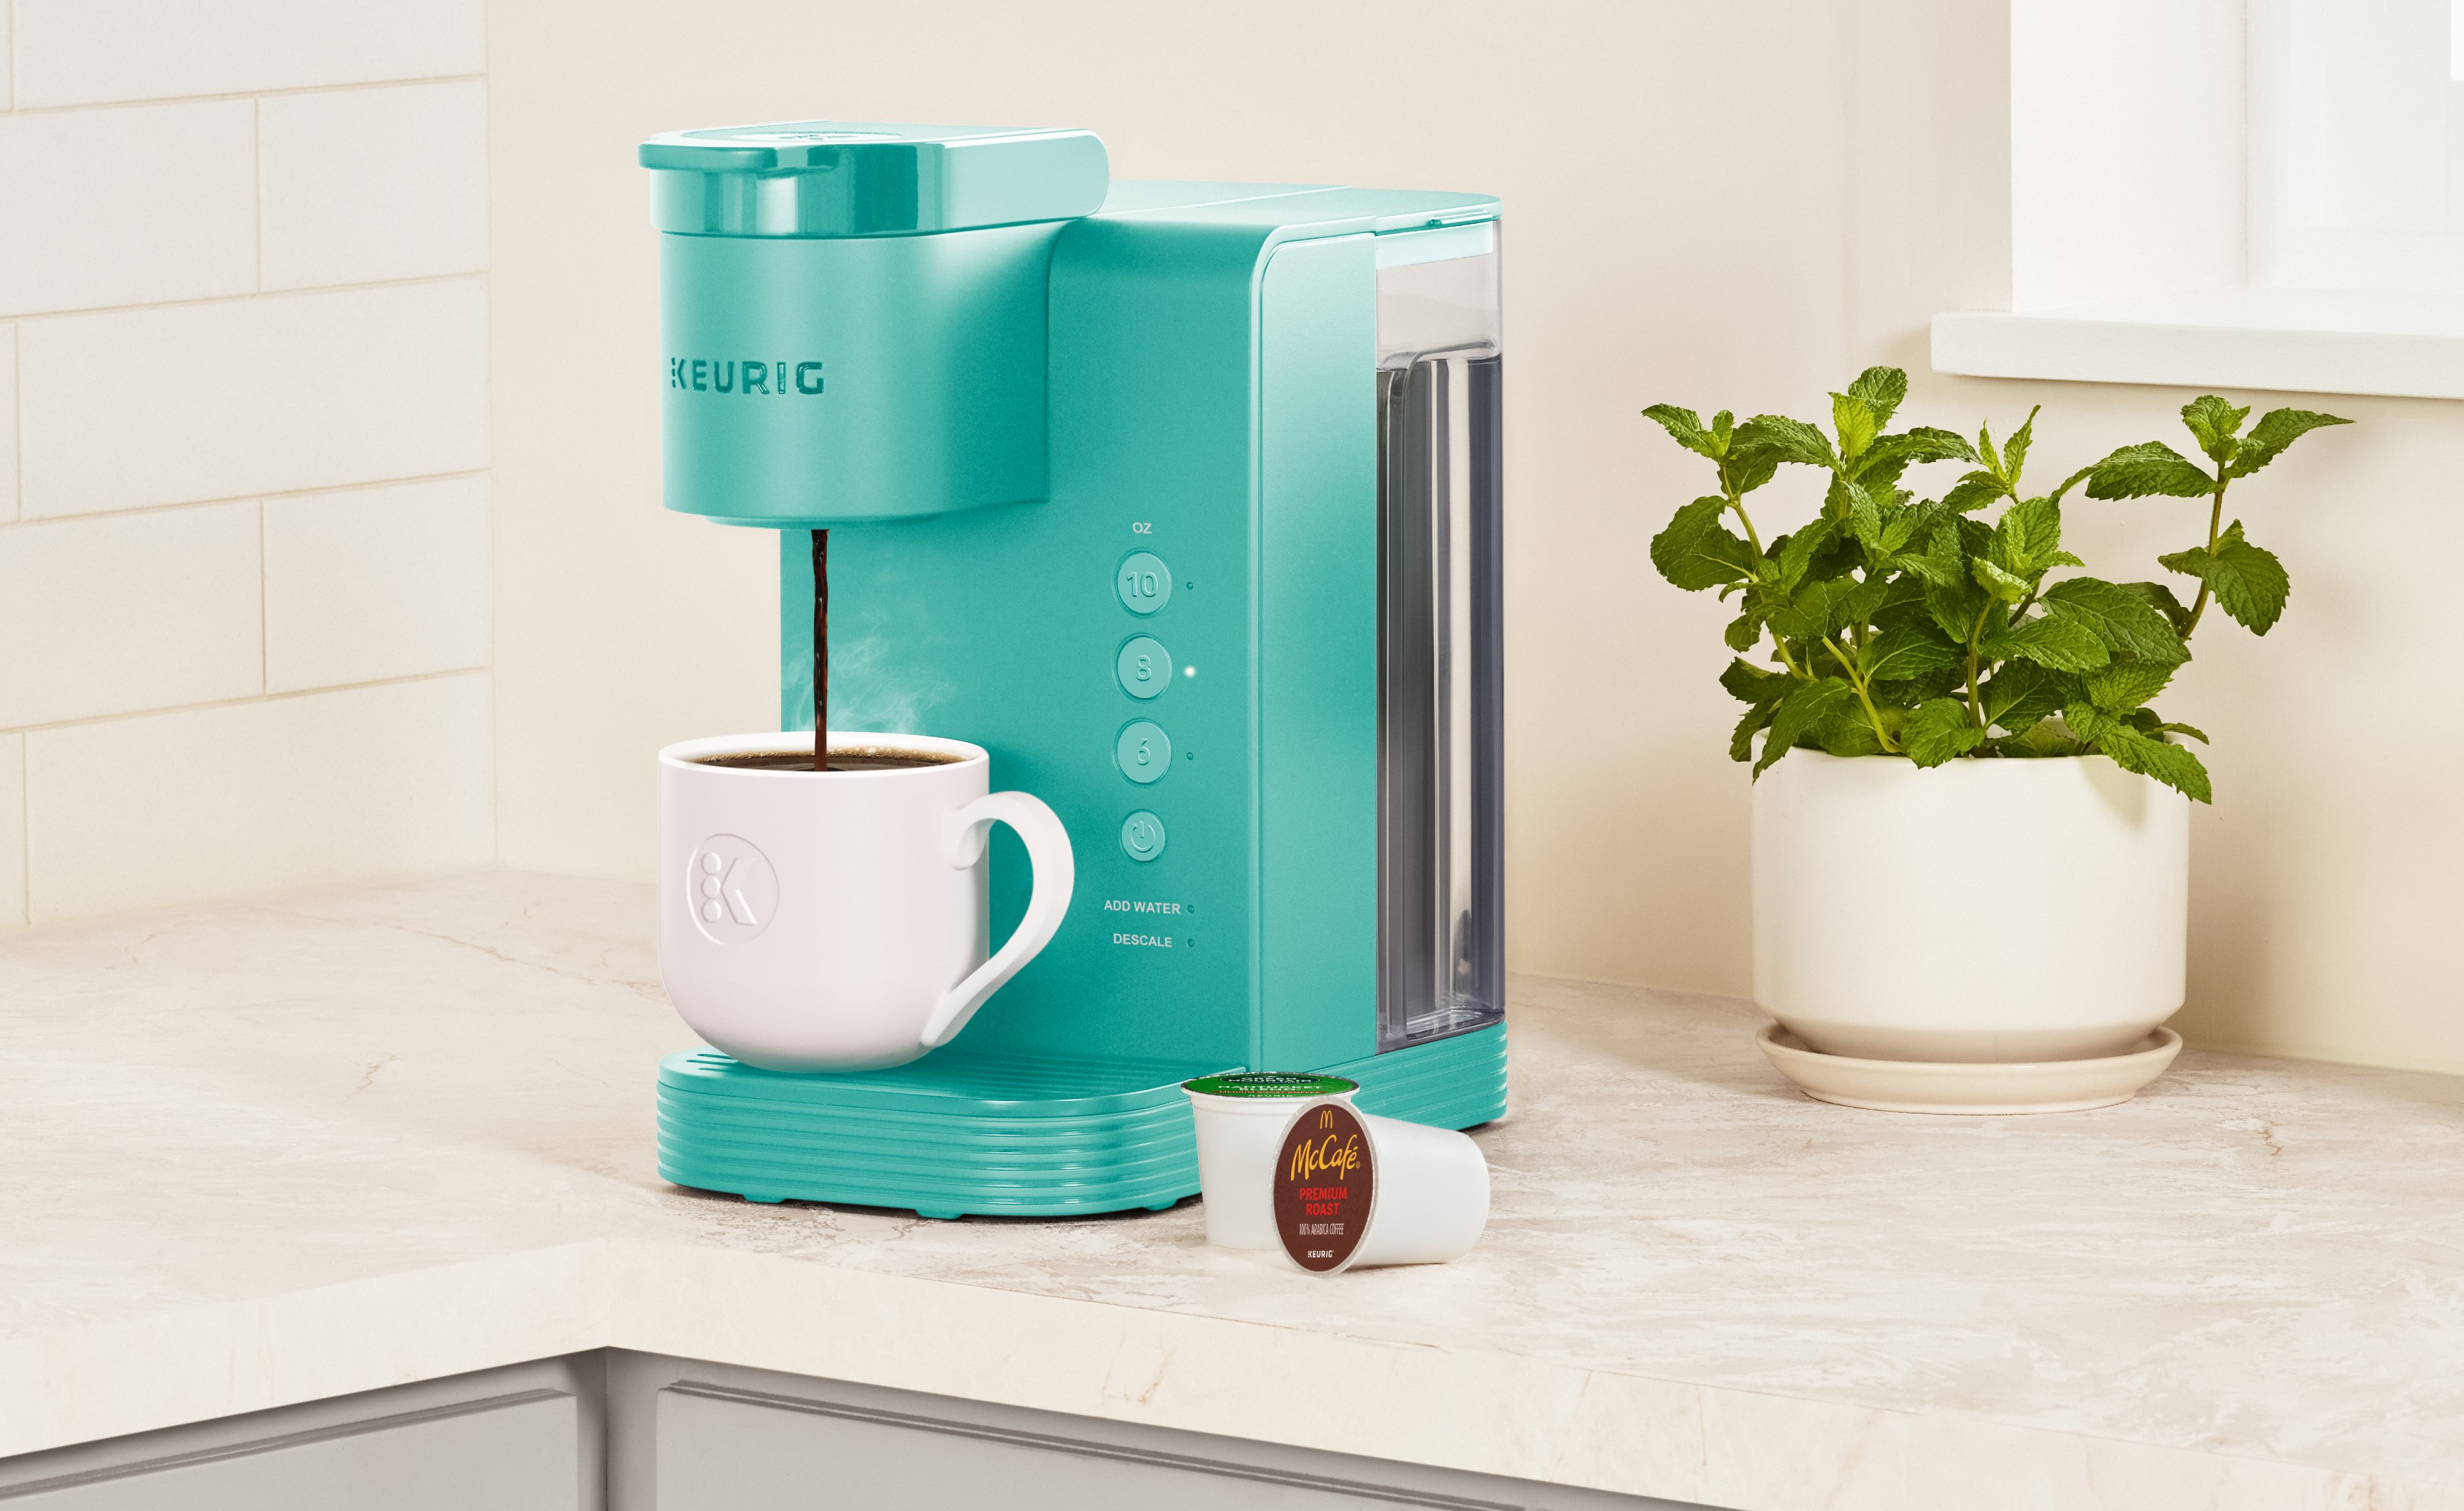
How often to descale your Keurig coffee maker
Frequency depends on water and use. If you use hard water or brew many cups daily, descale every 1–3 months. With filtered water and light use, once every 3–6 months can work. Check your brewer’s indicator light or owner manual for model-specific advice.
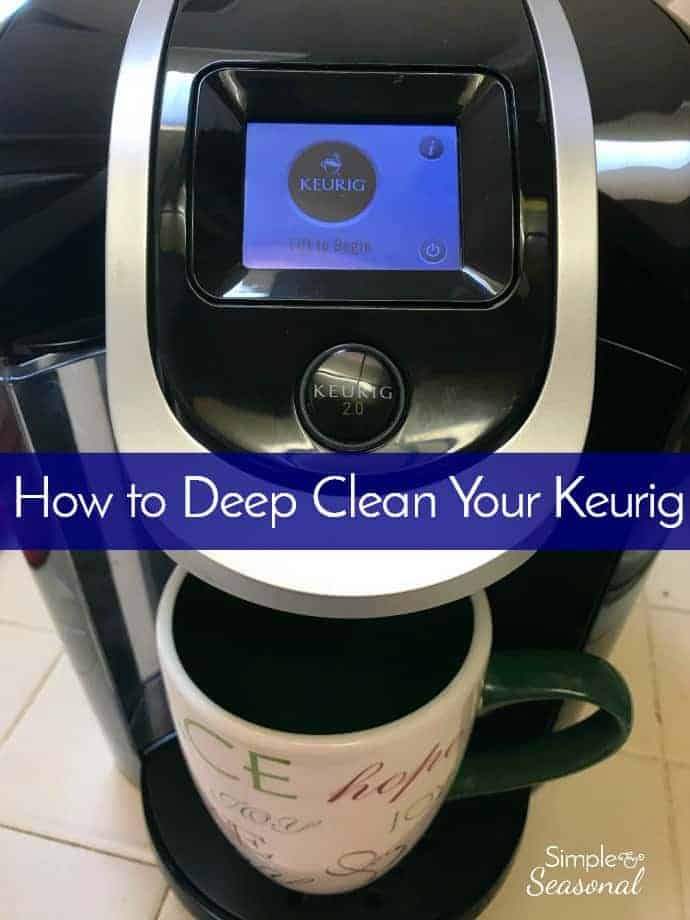
What you need to descale
Use one of these safe options to descale Keurig coffee maker:
- Keurig descaling solution in the bottle or tablet form
- White vinegar diluted 1:1 with water for older models (follow caution)
- Citric acid powder mixed per package instructions
- A clean cloth, a paper clip or tool to clear the exit needle, and a large ceramic mug
I prefer manufacturer descaler for speed and reliability. Vinegar works but can leave an odor if not fully flushed.
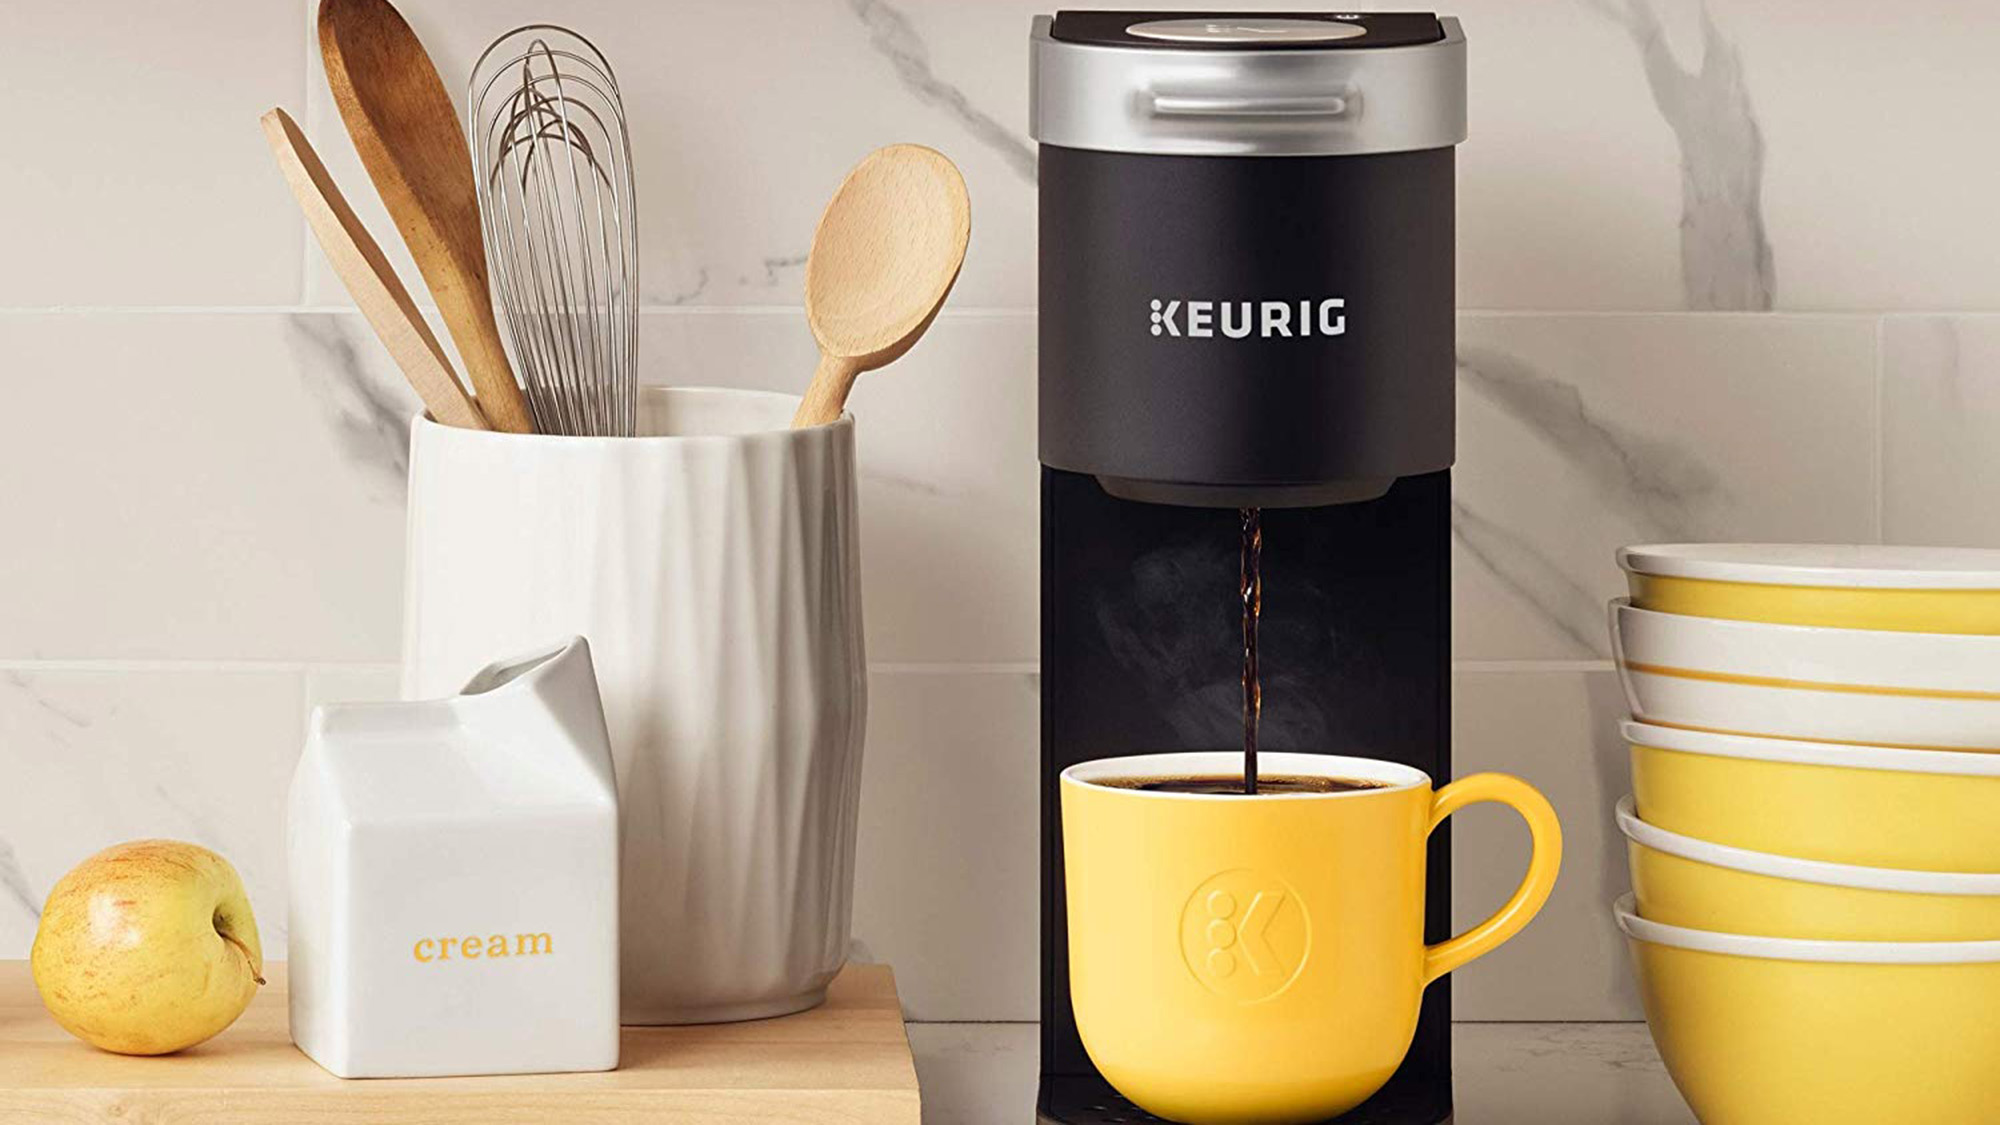
Step-by-step guide to descale Keurig coffee maker
Follow these steps to descale Keurig coffee maker safely. Read your model manual first. Keep steps short and methodical.
- Prepare
- Empty the water reservoir and remove any pods.
- Turn the brewer off and unplug it for safety.
- Add descaler or vinegar
- If using Keurig descaling solution, pour the full bottle into the reservoir and add water as directed.
- If using vinegar, mix equal parts white vinegar and water and fill the reservoir.
- Start the descale cycle
- Place a large mug on the drip tray.
- Plug in and power on. Run a brew without a K-Cup, using the largest cup setting.
- Discard the contents and repeat until the reservoir is empty.
- Let it sit
- Many models need a 30–60 minute soak after the reservoir empties.
- This helps the solution dissolve internal scale.
- Rinse thoroughly
- Fill the reservoir with fresh water and run multiple full cycles until any smell or taste is gone.
- I run five full reservoirs when using vinegar to be safe.
- Clean external parts
- Wipe the exterior, remove and wash the drip tray, and clean the pod holder.
- Use a paper clip to gently clear the exit needle if clogged.
After descaling, test brew plain hot water once. If flow is normal and no smell remains, your Keurig coffee maker is ready.

Tips, mistakes to avoid, and troubleshooting
I’ve fixed many machines after DIY attempts. These tips save time and frustration.
- Avoid using bleach or harsh cleaners. They damage seals and taste.
- Don’t run descaler with a K-Cup inside. That wastes solution and risks overflow.
- If the brewer still shows slow flow, check and clean the exit needle carefully.
- If persistent odor remains after vinegar, use a citric acid cycle and flush with water.
- Keep a maintenance log. Note date of each descale to stay on schedule.
Common questions I hear often: Will vinegar harm my Keurig coffee maker? Used in proper dilution and fully flushed, vinegar is safe for many models, though the manufacturer often recommends its own descaler. Can I use bottled water to avoid descaling? Bottled or filtered water reduces minerals and slows scale, but occasional descaling remains important.

Frequently Asked Questions of how to descale keurig coffee maker
How long does descaling a Keurig take?
A typical descaling cycle takes 30–60 minutes plus rinse time. Plan 1–2 hours to complete the full process and flushing.
Can I use white vinegar to descale my Keurig?
Yes, many users use a 1:1 mix of white vinegar and water. Rinse thoroughly afterward to remove odor and taste.
What happens if I don’t descale my Keurig?
Mineral buildup reduces water flow and coffee quality. Over time, it can cause breakdowns and costly repairs.
How do I clean the Keurig exit needle?
Unplug the machine, remove the pod holder, and use a paper clip to clear buildup gently. Run a water-only cycle after cleaning.
Is Keurig descaling solution better than vinegar?
Commercial descalers are formulated to work fast and leave no odor. Vinegar is an effective budget option but may need extra rinsing.
Will descaling remove mold or bacteria?
Descaling targets mineral scale, not microbial cleaning. Regular cleaning of removable parts and changing water helps control bacteria.
Conclusion
Descaling keeps your Keurig coffee maker brewing at peak flavor and prevents costly damage. Use a proper descaling solution or diluted vinegar, follow the step-by-step process, and rinse well. From my hands-on experience, a short descaling routine every few months saves time and improves every cup. Try it today, track the dates, and share your results or questions below — your next cup will taste better.

Liora Pennings is a seasoned chef and kitchen enthusiast with a passion for turning everyday cooking into an effortless experience. With years of hands-on culinary expertise, she specializes in practical techniques, ingredient know-how, and smart kitchen solutions that help home cooks elevate their meals. At KitchFlair.com, Liora shares her best tips, time-saving tricks, and honest product reviews to guide readers toward a more efficient, enjoyable, and inspired cooking routine. Whether you’re a beginner or a seasoned home chef, Liora’s friendly, knowledge-packed insights make every visit to the kitchen a little easier—and a lot more delicious.