How To Make Melted Plastic Popcorn Decorations: DIY Guide
Melt thermoplastic craft pellets into small, fluffy shapes, then paint and seal them as lightweight popcorn decorations.
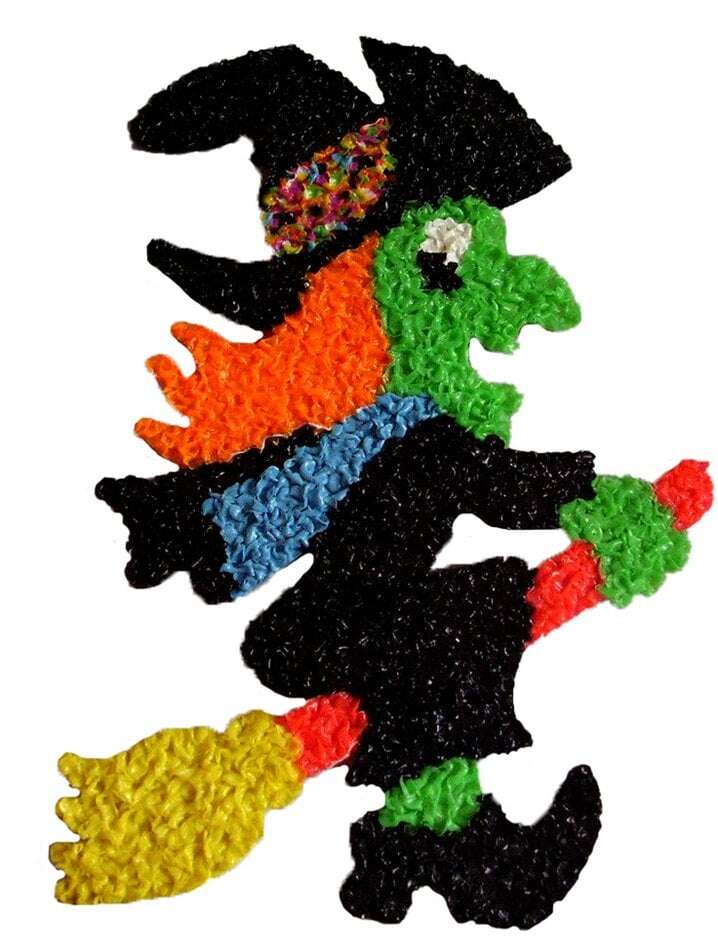
Melted plastic popcorn decorations add a playful movie-night look to wreaths, centerpieces, garlands, and party displays. The safest approach is to use labeled thermoplastic craft pellets or moldable plastic made for heating, rather than melting unknown plastic items. This guide explains the process, tools, safety steps, shaping tricks, and finishing methods that help the pieces look like real popcorn without creating harmful fumes.
What Are Melted Plastic Popcorn Decorations?
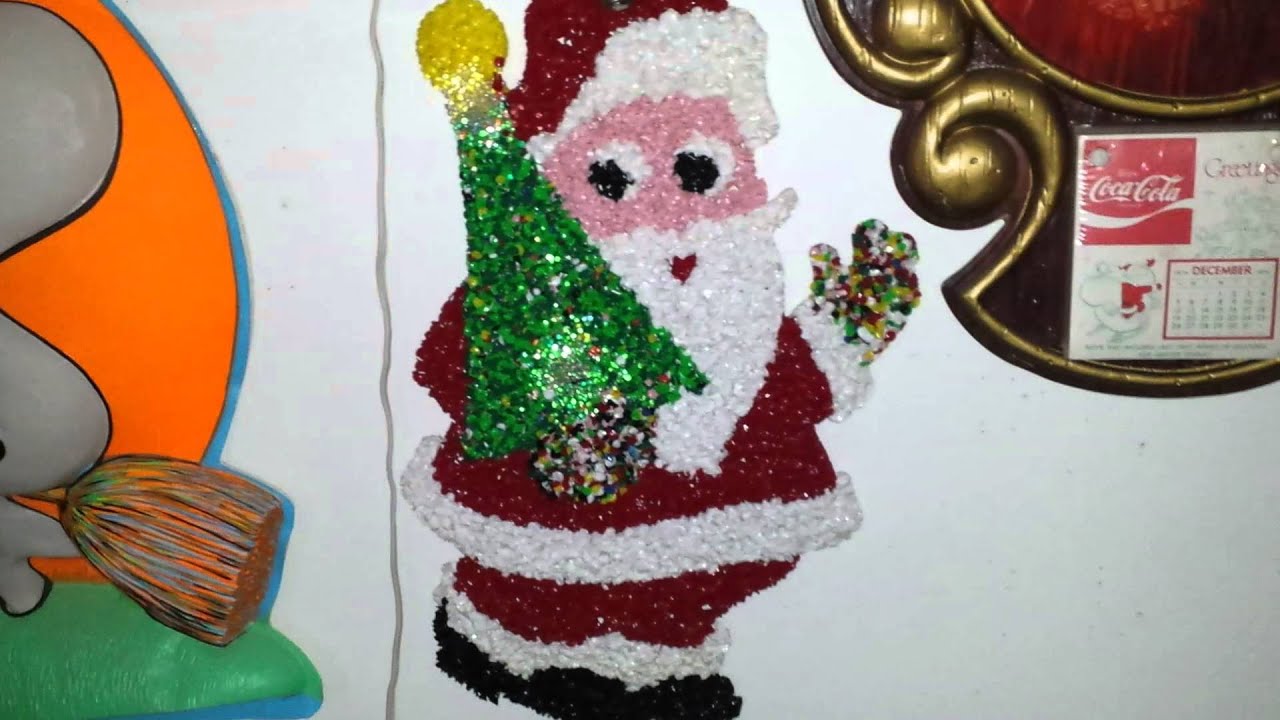
Melted plastic popcorn decorations are small craft pieces shaped to resemble popped corn. They are usually made from moldable thermoplastic pellets that soften in hot water or with controlled heat. Once shaped and cooled, the plastic becomes firm again.
This project does not use real popcorn coated in plastic. It also should not involve melting grocery bags, foam cups, food containers, or random plastic scraps. Unknown plastics may release harmful fumes, shrink in odd ways, or remain too soft for a lasting decoration.
The finished pieces can look like:
• Small popcorn clusters
• A full popcorn garland
• Popcorn accents for a wreath or sign
• Decorative pieces for a movie-night table
The goal is to create soft, uneven forms. Real popcorn is not perfectly round, so small dents, folds, and bumps make the craft more believable.
Materials and Tools You Need
Gather all your supplies before applying heat. This keeps the process smooth and helps you avoid handling hot plastic while searching for tools.
• White or pale-yellow thermoplastic craft pellets labeled for heating
• Heat-safe glass or stainless-steel bowl
• Hot water, if the product instructions allow water softening
• Silicone mat or parchment paper
• Wooden craft sticks or silicone tools
• Heat-resistant gloves
• Tweezers or small pliers for detail work
• Acrylic paint in white, cream, pale yellow, and light brown
• Small paintbrushes
• Water-based clear sealer
• Strong craft glue or clear-drying adhesive
• Jewelry wire, fishing line, ribbon, or string for hanging
• Scissors and a small hand drill or awl, if holes are needed
Use a silicone mat rather than a bare countertop. Soft plastic can stick to some surfaces, and a silicone mat makes cleanup much easier.
For a realistic finish, choose matte paint. Glossy paint can make the pieces look more like candy or hard plastic than popcorn.
Plastic Safety Rules to Follow
Safety matters more than speed when making melted plastic popcorn decorations. Plastic is not one single material. Each type softens at a different temperature, and some types can release irritating or toxic substances when overheated.
Follow these rules:
• Use only craft plastic with clear heating instructions.
• Do not melt PVC, vinyl, foam, plastic bags, or unknown household plastic.
• Never use a kitchen pan, spoon, or bowl that will later touch food.
• Work in a well-ventilated area.
• Keep children and pets away from hot water, tools, and softened plastic.
• Wear heat-resistant gloves when shaping warm material.
• Do not heat plastic until it smokes, darkens, or smells sharp.
• Stop immediately if the material gives off strong fumes.
• Keep a bowl of cool water nearby for minor heat exposure.
• Follow the temperature and heating time printed by the product maker.
The U.S. Consumer Product Safety Commission and fire-safety professionals consistently advise using craft materials as directed and keeping heat sources away from children and flammable items. Good ventilation is also important because even approved craft plastic can smell when heated.
A simple rule is helpful: if you cannot identify the plastic or find its heating instructions, do not melt it.
How to Make Melted Plastic Popcorn Decorations
The following method uses moldable thermoplastic pellets. Adjust the heating step to match the instructions for your specific product.
1. Plan the size and shape
Decide where you will use the decorations. Small pieces work well on garlands and gift tags. Larger clusters suit wreaths, signs, and table displays.
Sketch a few popcorn shapes first. Most pieces should have two or three rounded lobes with a wrinkled center. Making several sizes will give the final display a more natural look.
2. Soften the thermoplastic
Heat water to the temperature listed on the package. Many moldable plastic pellets soften in hot water, but the correct temperature varies by product.
Place a small amount of pellets in a heat-safe bowl. Pour in the hot water and wait until the pellets turn clear or become flexible, if that change is part of the product’s normal behavior.
Use a wooden stick to gather the softened pellets. Drain them carefully, then let them cool for a few seconds until they are safe to touch with gloved hands.
Do not place plastic pellets in boiling water unless the package specifically permits it. Excess heat can make the material stringy, sticky, or difficult to shape.
3. Combine the softened pieces
Press the softened pellets together into a small ball. Do not worry about making it smooth. Popcorn has a rough, folded surface, and a slightly uneven base helps it look more realistic.
For a larger piece, combine two or three small balls. Press them together firmly so the decoration does not split as it cools.
Keep the unused pellets away from the heat source. Work with small portions because thermoplastic becomes harder to shape as it cools.
4. Create the popcorn form
Pinch the ball in three or four places to form rounded lobes. Then press a shallow crease into the middle with a craft stick or silicone tool.
Try these shaping methods:
• Pinch the top into three soft points for a classic popped-kernel shape.
• Press a cross-shaped crease into the center.
• Pull one side outward to create a bent, irregular kernel.
• Add a second small piece to form a fuller cluster.
• Press tiny dents into the surface for extra texture.
Avoid making every piece identical. A movie-theater popcorn display looks more convincing when some kernels are tall, some are wide, and some are partly folded.
5. Cool the decorations
Place each piece on a silicone mat or parchment paper. Let it cool at room temperature until firm.
You can place the pieces in cool water if the product directions allow it, but rapid cooling may create stress in some plastics. Room-temperature cooling is usually the gentler option.
Do not bend the decorations until they are fully firm. A piece that feels cool on the outside may still be soft inside.
6. Add holes before the plastic fully hardens
If you plan to make a garland, create a small hole while the plastic is warm but no longer sticky. A wooden skewer, awl, or large needle can make a clean opening.
Another option is to glue the pieces to a ribbon or wire after they cool. This method works well for wreaths and signs because it avoids drilling holes through the decoration.
7. Check each piece
Inspect the cooled decorations. Remove sharp points with small scissors or a craft file made for plastic.
Discard any piece that smells strongly, has scorched marks, or feels brittle and cracked. A decorative project is not worth keeping a questionable piece.

How to Make the Plastic Look Like Real Popcorn
Shape does most of the work, but paint can add depth. Real popcorn often has warm cream tones, soft yellow areas, and light brown toasted spots.
Use a thin paint mixture rather than one thick coat. Start with cream or off-white paint, then add a small amount of pale yellow to the creases and lower areas.
For a natural look:
• Paint the raised areas a warm white.
• Add pale yellow to inner folds.
• Dab a little light brown on only a few edges.
• Dry-brush white over the high points.
• Leave some areas unpainted if the plastic already has a suitable color.
Let each layer dry before adding the next. Thick paint can fill the creases that make the piece look like popcorn.
I have found that restraint produces the best result. When every kernel receives the same yellow shading, the group looks painted rather than edible. A few toasted marks create contrast without taking over the design.
Adding a Protective Finish
A clear sealer can protect the paint from light dust and gentle handling. Choose a water-based acrylic sealer that is labeled for use on plastic or craft surfaces.
Apply two thin coats instead of one heavy coat. Let the first coat dry fully before adding the second.
Keep the following limits in mind:
• Do not use the decorations near candles or stovetops.
• Do not place them outdoors unless the paint and sealer are rated for outdoor use.
• Avoid soaking them in water.
• Do not use them as toys or food-contact items.
• Store them in a cool box away from direct sunlight.
A sealer may reduce chipping, but it will not make the decorations heatproof or food-safe. These pieces are decorative only.
Creative Ways to Use Melted Plastic Popcorn Decorations
Melted plastic popcorn decorations work well in many themed projects.
Movie-night garland
Thread small pieces onto ribbon or fishing line. Add ticket-shaped paper tags between the kernels for a simple cinema theme.
Popcorn wreath
Glue popcorn clusters around a foam wreath. Add red ribbon, black stars, or a small “Now Showing” sign.
Party centerpiece
Fill a shallow bowl with decorative pieces and place a battery-powered light nearby. Do not use real flames or hot bulbs close to the plastic.
Gift wrapping
Attach one or two small pieces to a movie gift basket. Remove them before the package reaches a small child.
Theater-style sign
Glue the decorations around a cardboard or wood sign. Paint the base black, red, or gold for a classic theater look.
Seasonal display
Use white popcorn forms with red and green accents for holidays, or add pastel colors for a birthday party. The same basic shapes can fit many themes.
For large displays, make a test cluster first. This lets you check the color, scale, and adhesive before making dozens of pieces.
Common Mistakes to Avoid
Many problems happen because the plastic is heated too much or shaped too evenly.
Melting unknown plastic
This is the biggest mistake. Household plastics may contain additives that are not intended for heating. Use only identified craft materials with clear instructions.
Using too much heat
Overheated plastic may smoke, discolor, or become sticky. Lower heat and shorter sessions give you better control.
Making smooth balls
Smooth balls look like beads. Add creases, lobes, and dents before the material cools.
Painting too heavily
Thick paint hides the texture. Use thin layers and let each coat dry.
Gluing too soon
Warm plastic can prevent adhesive from bonding well. Wait until each piece is fully cool and dry.
Making every piece the same
Variation creates realism. Make small, medium, narrow, and wide kernels.
Using the wrong adhesive
Some glues remain soft on plastic or peel away after drying. Test the adhesive on one spare piece first.
Skipping ventilation
Even safe craft products can produce an odor when heated. Ventilation makes the process more comfortable and reduces exposure to fumes.
In my own craft testing, the most useful lesson was to work in small batches. Large batches cool before they can be shaped, while small batches stay flexible long enough to form crisp folds.

How to Store and Clean the Decorations
Store the finished melted plastic popcorn decorations in a shallow box. Separate layers with tissue paper if the paint is delicate.
For cleaning, use a soft, dry brush or a microfiber cloth. If needed, wipe them with a slightly damp cloth and dry them at once.
Avoid:
• Alcohol-based cleaners
• Acetone or nail polish remover
• Abrasive sponges
• Long soaking
• Direct heat
Strong cleaners can damage acrylic paint, soften some plastics, or make the surface cloudy.
Before using the decorations again, check for cracks, loose paint, sharp edges, or weakened glue. Replace damaged pieces rather than trying to hide serious defects.

Frequently Asked Questions About How to Make Melted Plastic Popcorn Decorations
Can I melt regular plastic bags to make popcorn decorations?
No. Plastic bags are not a safe or reliable material for this craft. Use labeled thermoplastic craft pellets or another product that includes clear heating instructions.
What plastic is best for melted plastic popcorn decorations?
Moldable thermoplastic craft pellets are the simplest choice because they are designed to soften and harden again. Choose a product with a stated softening method, temperature range, and safety guidance.
Can I use an oven to make melted plastic popcorn decorations?
Only use an oven if the product instructions specifically approve it. An oven can heat plastic unevenly, and unknown materials may release harmful fumes or damage the appliance.
How do I make the decorations look more realistic?
Create uneven lobes, center creases, and small dents before the plastic cools. Then use thin layers of cream, pale yellow, and occasional light brown paint.
Are melted plastic popcorn decorations safe around food?
No. Treat them as decorative items only. Do not place them directly on food, inside a serving bowl, or where they could be mistaken for real popcorn.
Can children make this craft?
Children can help with planning, painting, and arranging cooled pieces, but an adult should handle hot water, heat tools, and softened plastic. Always follow the product’s age guidance.
How long do melted plastic popcorn decorations last?
They can last for years indoors when kept dry, cool, and away from sunlight. Their lifespan depends on the plastic, paint, adhesive, handling, and storage conditions.
Conclusion
Melted plastic popcorn decorations are easy to customize when you use the right material and control the heat. Start with labeled thermoplastic pellets, shape small uneven pieces, add light layers of paint, and allow everything to cool before assembly.
The safest and most attractive results come from patience. Test one piece first, keep the texture irregular, and never melt unknown plastic. Try making a small popcorn garland or wreath this week, then share your finished design or explore more movie-night craft ideas.

Liora Pennings is a seasoned chef and kitchen enthusiast with a passion for turning everyday cooking into an effortless experience. With years of hands-on culinary expertise, she specializes in practical techniques, ingredient know-how, and smart kitchen solutions that help home cooks elevate their meals. At KitchFlair.com, Liora shares her best tips, time-saving tricks, and honest product reviews to guide readers toward a more efficient, enjoyable, and inspired cooking routine. Whether you’re a beginner or a seasoned home chef, Liora’s friendly, knowledge-packed insights make every visit to the kitchen a little easier—and a lot more delicious.