How To Make Coffee On The Stove: Easy Stovetop Brewing Guide
Make coffee on the stove with water, ground coffee, gentle heat, and a few simple minutes.
Learning how to make coffee on the stove is useful when you do not have a coffee maker, travel often, or want a rich cup with basic tools. With the right water temperature, coffee ratio, and heat control, a small saucepan can produce smooth, flavorful coffee instead of a bitter brew.
What You Need to Make Coffee on the Stove
The simplest method uses a saucepan or small pot. You do not need special equipment, but fresh ingredients make a clear difference.
You will need:
• 1 cup of water
• 1 to 2 tablespoons of ground coffee
• A small saucepan
• A spoon
• A mug
• A fine-mesh strainer, paper filter, or clean cloth
Use medium-ground coffee for a smoother cup. Fine grounds can pass through a strainer and may make the coffee muddy. Coarse grounds are easier to filter, but they may need more steeping time.
Fresh, cold water usually gives the best taste. If your tap water tastes heavily of chlorine or minerals, use filtered water. Coffee is mostly water, so water quality can change the final flavor more than many people expect.
For a standard 8-ounce cup, start with 1 tablespoon of coffee. Use 2 tablespoons for a stronger cup. A common coffee brewing guideline is about 1 gram of coffee for every 15 to 18 grams of water, but you can adjust this ratio to suit your taste.

How to Make Coffee on the Stove Step by Step
This saucepan method is often called cowboy coffee. It is simple, quick, and useful when you have no drip machine or French press.
1. Measure the water
Pour 1 cup of cold water into a small saucepan. Add a little extra if you plan to lose some water during boiling or leave grounds behind in the pot.
2. Heat the water
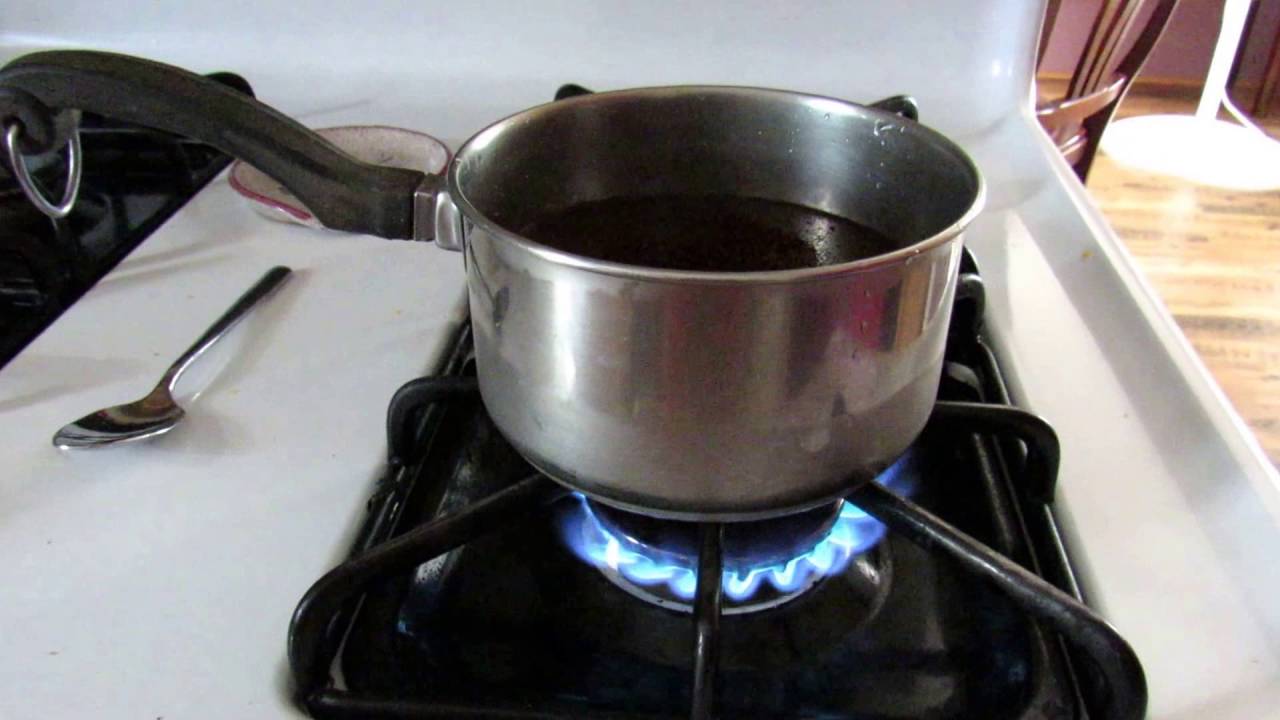
Place the pan on the stove over medium heat. Warm the water until it is hot and begins to form small bubbles around the edge.
Avoid a hard, rolling boil. Water that boils for too long can create a flat taste and may make delicate coffee flavors harder to notice. Coffee brewing guidance often places the ideal water range near 195°F to 205°F, which is just below boiling.
3. Add the ground coffee
Remove the pan from the heat for a few seconds. Add the coffee grounds, then stir gently so all the grounds become wet.
For one cup, use:
• 1 tablespoon for a lighter drink
• 1½ tablespoons for a balanced cup
• 2 tablespoons for a bold cup
4. Let the coffee steep
Return the pan to low heat, or leave it off the burner. Let the coffee steep for about 3 to 5 minutes.
Do not keep the coffee boiling. A gentle steep extracts flavor, while aggressive boiling can pull out more bitter compounds. If you like strong coffee, add time or a little more coffee instead of using high heat.
5. Settle the grounds
Remove the saucepan from the stove. Let it rest for 30 to 60 seconds. This gives the grounds time to sink toward the bottom.
You can also add a small splash of cold water. This may help the grounds settle, though it can slightly cool the coffee.
6. Strain and serve
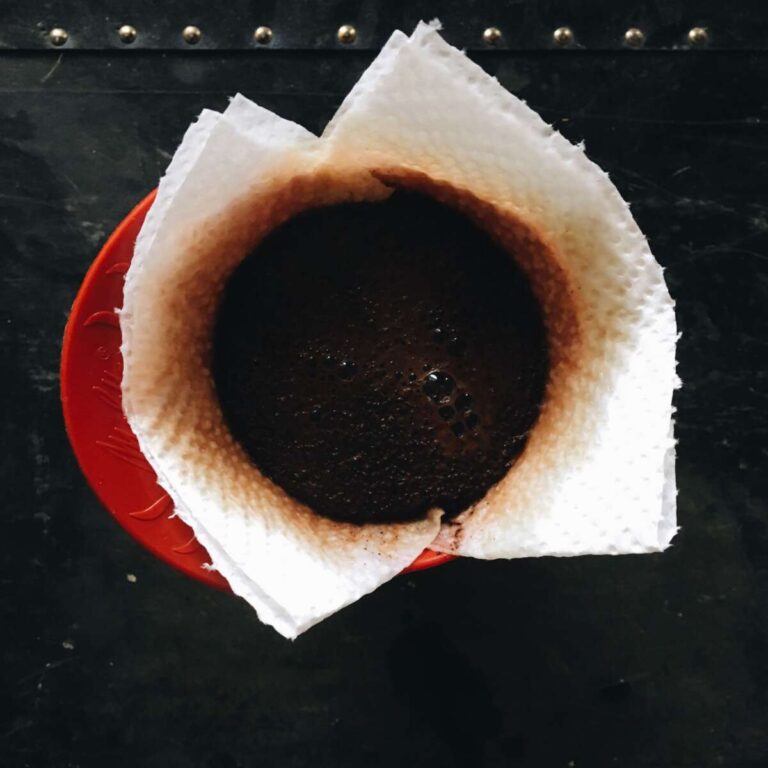
Slowly pour the coffee into your mug. Use a fine-mesh strainer, paper filter, or clean cloth to catch the grounds.
Pour gently. The last part of the coffee often contains more sediment. If you dislike grit, leave the final spoonful in the pan.

How Long Should You Boil Coffee on the Stove?
You should not boil coffee for a long time. Heat the water first, add the coffee, and steep it gently for 3 to 5 minutes.
A short boil can work in an emergency, but extended boiling often creates a harsh, burnt, or bitter flavor. The goal is to extract the coffee, not cook it.
Use this simple timing guide:
• 2 to 3 minutes for a lighter cup
• 3 to 4 minutes for a balanced cup
• 4 to 5 minutes for a stronger cup
Your grind size also affects the time. Fine coffee extracts quickly, while coarse coffee needs more time. If the drink tastes sharp and weak, steep it a little longer. If it tastes dry or bitter, reduce the time or lower the heat.
In my own stove-top tests, the biggest mistake was leaving the pan on high heat after adding the grounds. The coffee became much more bitter within a minute. Low heat and patience worked far better than trying to rush the process.
The Best Coffee-to-Water Ratio
The coffee-to-water ratio controls strength. Too little coffee creates a thin drink, while too much can make the cup heavy and intense.
A good starting point is:
• 1 tablespoon of coffee per 8 ounces of water
• 2 tablespoons of coffee per 8 ounces for a strong cup
For more precise brewing, weigh the ingredients. Try 15 grams of coffee with 250 grams of water. This makes about one standard mug and gives you an easy starting point for adjustments.
If your coffee tastes weak, try one of these changes:
• Add more coffee
• Use a slightly finer grind
• Steep for one extra minute
• Reduce the amount of water
If your coffee tastes bitter, try these changes:
• Use less coffee
• Lower the heat
• Shorten the steeping time
• Use a slightly coarser grind
Change only one thing at a time. This makes it easier to learn what works with your coffee.
How to Improve the Flavor
Making coffee on the stove can produce a rich cup, but small details matter. Fresh coffee, clean equipment, and gentle heat will give you a better result.
Use fresh coffee grounds
Coffee tastes best when the beans are freshly roasted and ground close to brewing time. Pre-ground coffee still works, but it loses aroma faster because more of its surface touches the air.
Store coffee in an airtight container away from heat, light, and moisture. Do not keep it beside the stove, where heat can damage its flavor.
Choose the right grind
Medium-ground coffee is a reliable choice for a saucepan. It is fine enough to extract well but coarse enough to filter.
Avoid espresso-fine coffee unless you want a very strong, sediment-heavy drink. Very coarse grounds can taste weak unless you steep them longer.
Control the heat
Medium heat is best for warming the water. After adding coffee, use low heat or turn the burner off.
A thick-bottomed pan helps spread heat evenly. Thin pans can create hot spots that scorch the coffee.
Warm the mug
Rinse your mug with hot water before pouring in the coffee. This keeps the drink warmer and makes the experience feel more like a café-style brew.
Add milk or sweetener carefully
Milk, cream, sugar, cinnamon, and maple syrup can balance a strong cup. Add them after straining so you can taste the coffee first.
For iced coffee, make a stronger brew and pour it over ice. Regular-strength coffee can taste watery as the ice melts.
Other Ways to Make Coffee on the Stove
A saucepan is not the only way to make coffee on the stove. Different methods create different textures and flavors.
Moka pot
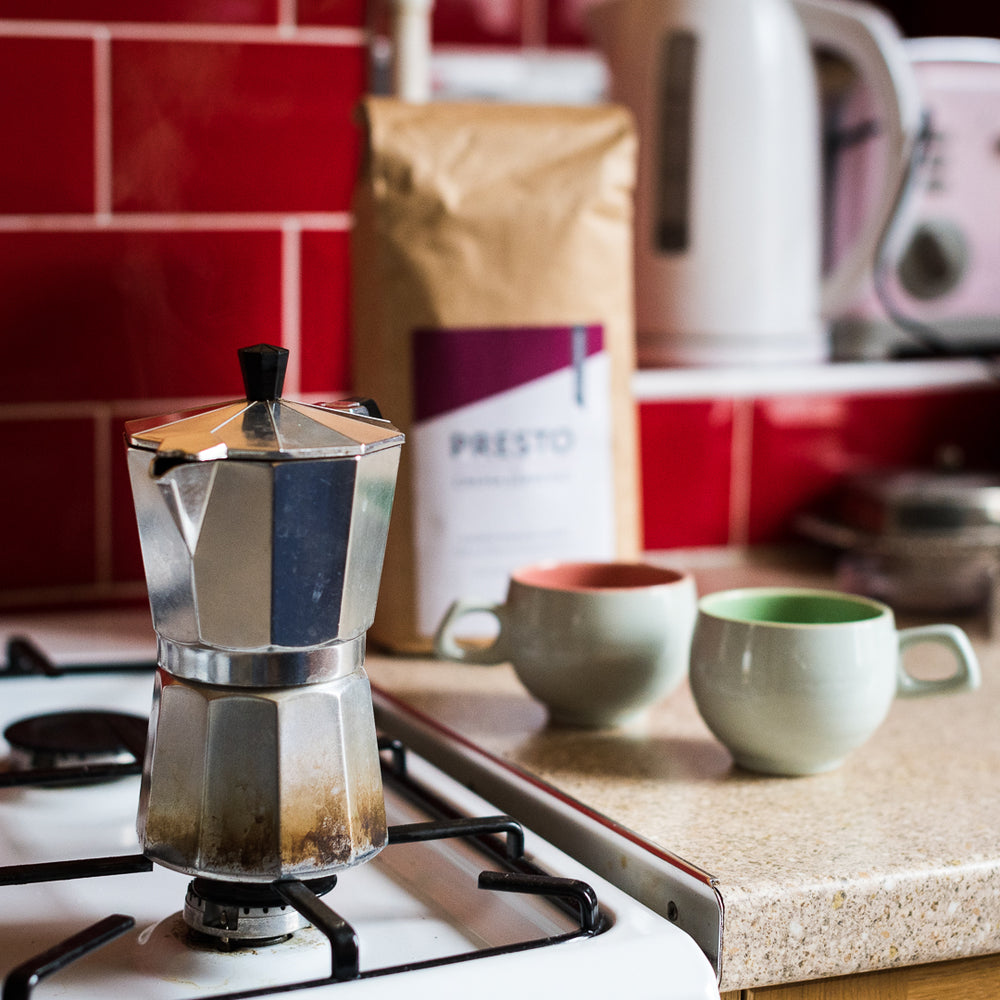
A moka pot uses steam pressure to push hot water through finely ground coffee. It makes a strong, concentrated drink that works well with milk.
To use one, fill the lower chamber with water, place coffee in the filter basket, assemble the pot, and heat it over medium-low heat. Remove it from the stove when the upper chamber fills and you hear a soft gurgling sound.
Do not pack the coffee grounds down. This can block water flow and create unsafe pressure.
Turkish-style coffee
Turkish-style coffee uses very fine grounds, water, and often sugar. The mixture is heated in a small pot called a cezve or ibrik.
The coffee is not filtered. Grounds settle in the cup, so this method creates a thick texture and bold taste. It is different from basic saucepan coffee, but it is another traditional way to make coffee on the stove.
Cowboy coffee
Cowboy coffee is the most basic approach. Water and coffee grounds are heated together in a pot, then poured carefully after the grounds settle.
This method is practical for camping, power outages, and travel. It may leave some sediment, but careful pouring and a simple strainer can solve most of the problem.

Common Mistakes to Avoid
Even a simple stove-top method can go wrong. These mistakes are common, but they are easy to fix.
• Boiling the coffee for too long: This often creates a bitter taste. Remove the pot from high heat once the coffee is fully steeped.
• Using too many grounds: More coffee does not always mean better coffee. Start with 1 tablespoon per cup and adjust slowly.
• Using old coffee: Stale grounds produce a flat cup with little aroma.
• Grinding too fine: Fine grounds can create sludge and over-extract quickly.
• Pouring too fast: A fast pour can send settled grounds into your mug.
• Leaving coffee on the burner: Heat continues to change the flavor and can make the coffee taste burnt.
• Using a dirty pan: Oils from old food can transfer unpleasant flavors. Keep one small pot for coffee if possible.
• Ignoring stove safety: Never leave a hot pan unattended. Use a stable burner and a heat-safe handle.
One lesson I learned early was to treat the saucepan like a gentle cooking tool, not a kettle for boiling soup. Coffee needs control. Once I lowered the heat and watched the bubbles, the taste became smoother and more consistent.
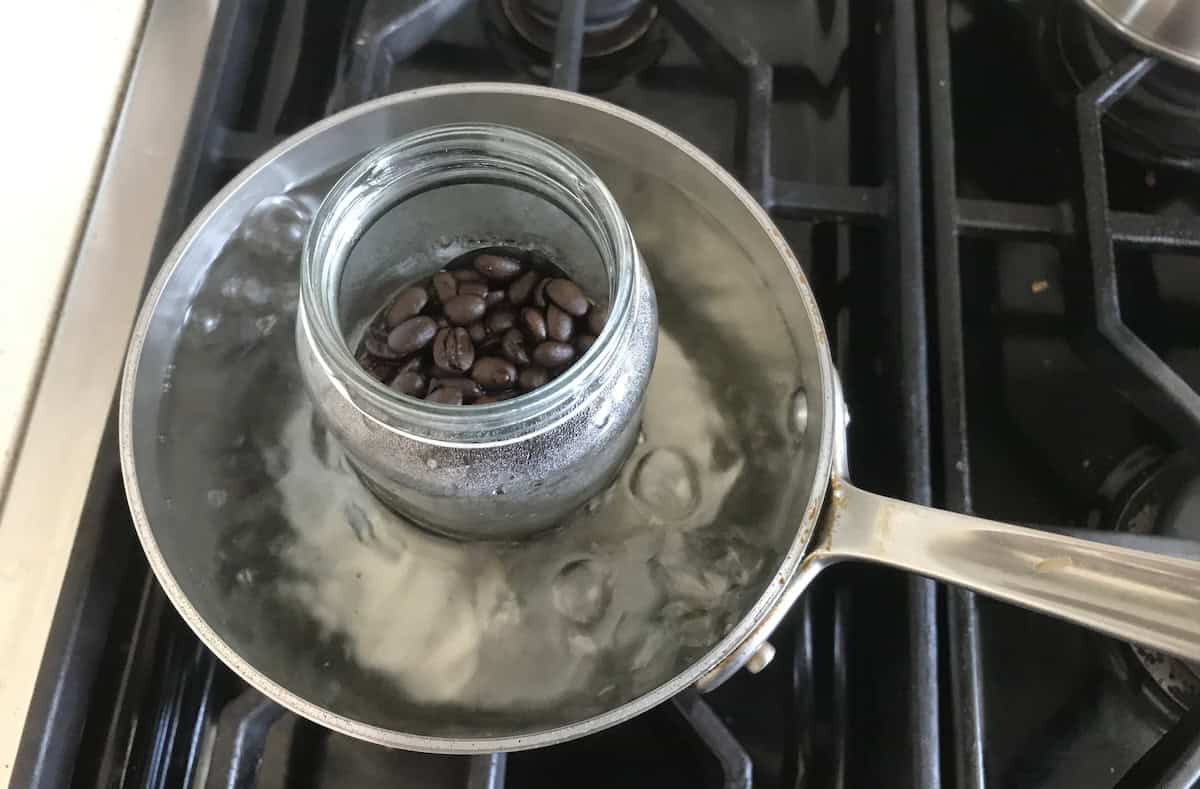
How to Make Coffee on the Stove Without a Strainer
You can make coffee without a strainer, but you must pour slowly. After steeping, let the pot sit for about a minute so the grounds sink.
Pour the coffee into the mug in one steady motion. Stop before the grounds at the bottom reach the rim of the pan.
Another option is to place a clean paper towel, cloth, or coffee filter over the mug. Secure it carefully and pour the coffee through it. Make sure the filter can handle hot liquid and does not touch an open flame.