How To Make Coffee In A Moka Pot: Easy Home Guide
To make coffee in a moka pot, add water and coffee, then brew gently until rich coffee rises.
Learning how to make coffee in a moka pot is simple, but small details shape the final cup. Water temperature, grind size, heat, and timing all matter. After testing different moka pots, coffees, and brewing methods, I have found that gentle heat and fresh coffee prevent most bitter results. This guide explains each step, common mistakes, serving ideas, and practical ways to make a smooth moka pot coffee at home.

What Is a Moka Pot?
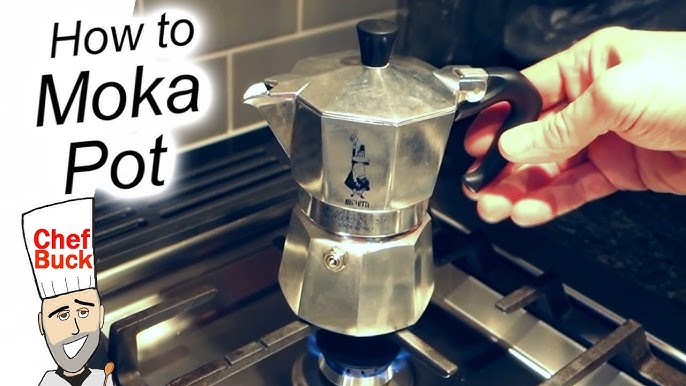
A moka pot is a stovetop coffee maker with three main parts:
• The lower chamber holds water.
• The middle basket holds ground coffee.
• The upper chamber collects the brewed coffee.
When the water heats, pressure pushes hot water through the coffee grounds and into the upper chamber. This process creates a strong, concentrated drink that sits between drip coffee and espresso in texture and flavor.
A moka pot does not make true espresso. Espresso requires much higher pressure and specialized equipment. Still, a good moka pot can produce a bold coffee with a rich aroma, light body, and pleasant intensity.
Most moka pots are made from aluminum or stainless steel. Aluminum models heat quickly and are common in traditional designs. Stainless steel models are more durable and often work on induction stoves, but always check the product details before buying.

What You Need to Make Moka Pot Coffee
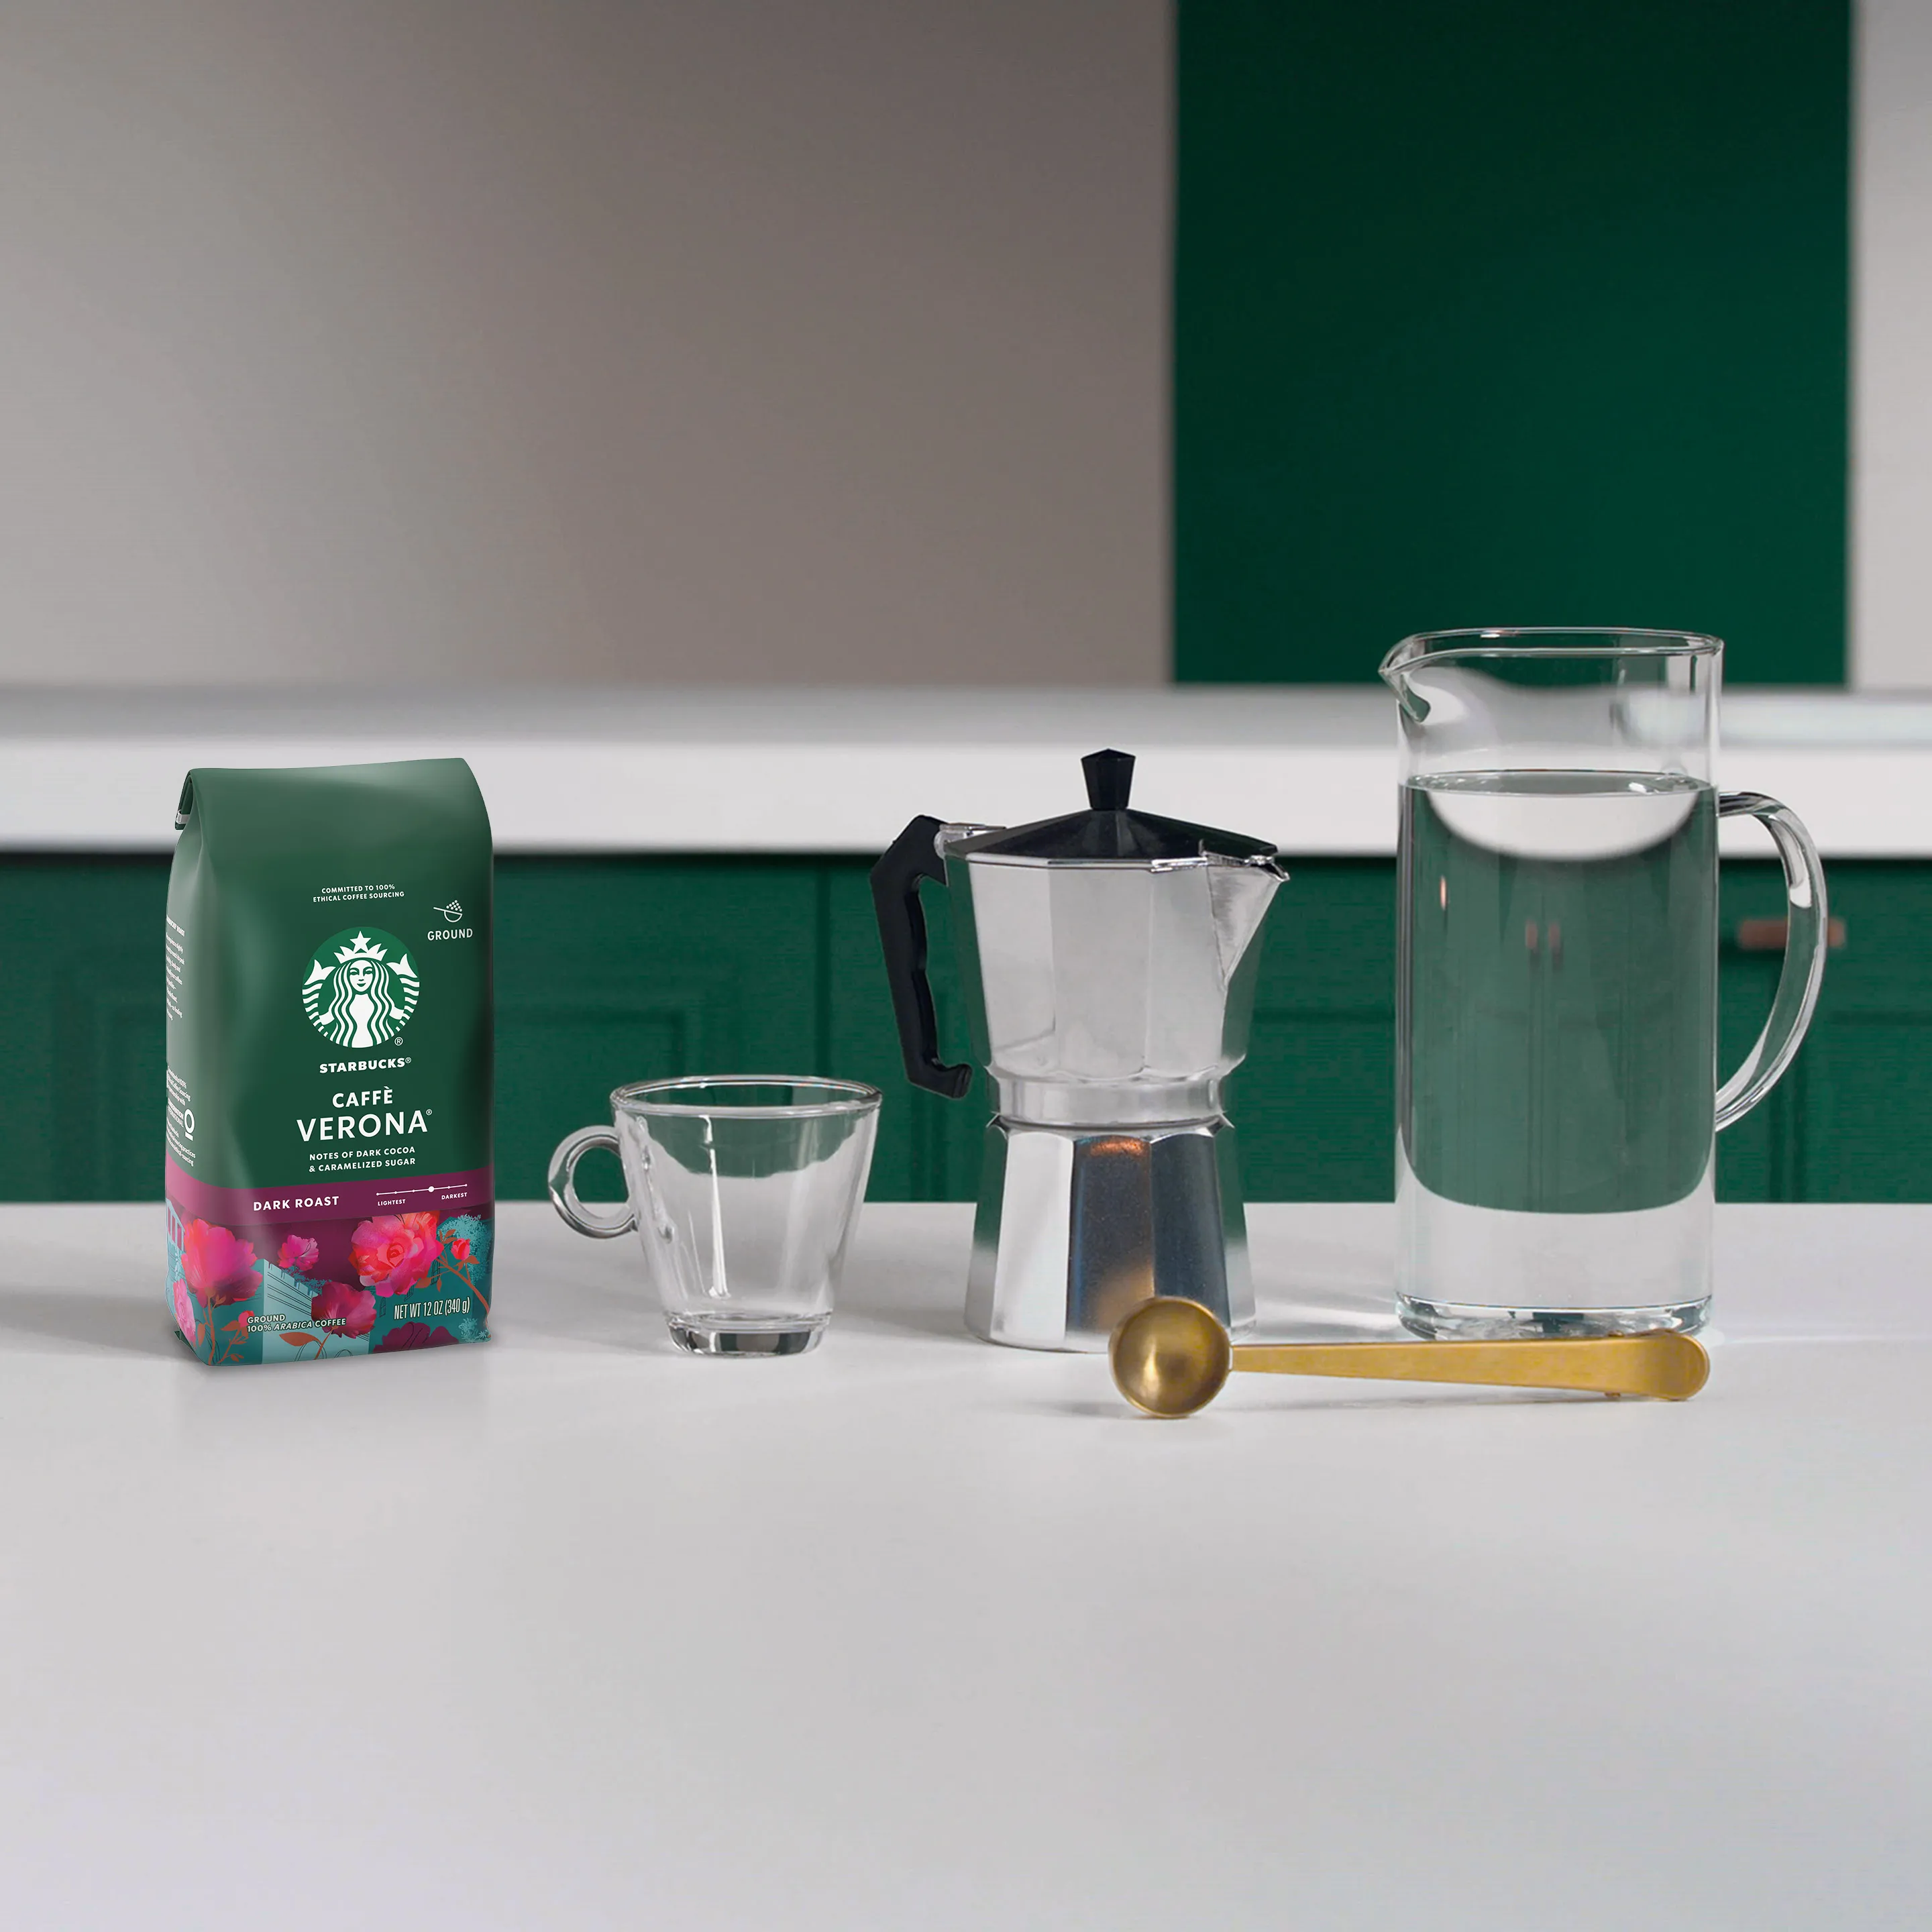
You need only a few items to make coffee in a moka pot:
• A clean moka pot
• Fresh coffee beans
• A burr grinder or ground coffee
• Fresh water
• A stove
• A spoon or small towel
Coffee scale is optional, but it helps you repeat a recipe. A kitchen timer is also useful when you are learning how to make coffee in a moka pot.
Choosing the Right Coffee
Medium or medium-dark roasted coffee works well in a moka pot. These roasts can create rich chocolate, nut, caramel, and spice notes. Light roasts may taste bright and sharp, while very dark roasts can become bitter or smoky.
Choose beans that match your taste. Central American coffees often offer clean, sweet notes. Brazilian coffees may taste nutty and smooth. African coffees can bring fruit and floral flavors, though they may need careful brewing to avoid excess acidity.
Use coffee that was roasted recently and store it in an airtight container away from heat and sunlight. Whole beans usually keep their aroma longer than pre-ground coffee.
Choosing the Right Grind
Use a medium-fine grind. It should be finer than drip coffee but slightly coarser than espresso.
A grind that is too fine can slow the water and create harsh, bitter coffee. It may also increase pressure in the pot. A grind that is too coarse can produce weak, thin coffee.
Do not use espresso-fine coffee in a standard moka pot. The basket may become blocked, and the coffee can taste over-extracted.
Choosing the Water
Use clean, fresh water. Filtered water often gives better results if your tap water has a strong mineral taste or odor.
Some experienced brewers begin with hot water in the lower chamber. This shortens the time the coffee grounds sit over heat and may reduce bitterness. If you use hot water, handle the lower chamber with care because the metal can become hot quickly.

How to Make Coffee in a Moka Pot Step by Step
Follow these steps to make coffee in a moka pot with a balanced flavor.
1. Fill the Lower Chamber With Water
Unscrew the moka pot and remove the coffee basket. Fill the lower chamber with water until it reaches the safety valve.
Do not cover the valve with water. The valve helps release pressure if the pot becomes blocked. Water above the valve can also create unsafe pressure during brewing.
For a smoother taste, use water that is hot but not boiling. Room-temperature water also works, but the pot will stay on the stove longer.
2. Fill the Basket With Coffee
Place the coffee basket into the lower chamber. Add ground coffee until the basket is full.
Level the coffee with your finger or the back of a spoon. Do not press or tamp it down. A moka pot needs water to move through the grounds with low pressure.
For a 3-cup moka pot, start with about 15 to 18 grams of coffee, depending on the basket size. The best amount is the amount that fills the basket without forcing extra coffee into it.
3. Assemble the Moka Pot
Check the rubber gasket and the metal filter plate. Both should be clean and seated correctly.
Screw the upper and lower chambers together firmly. Do not force the handle or use tools to tighten the pot. A secure hand-tight seal is enough.
If the gasket looks cracked, stiff, or loose, replace it. A worn gasket can cause leaks and prevent the moka pot from brewing correctly.
4. Heat the Pot Gently
Place the moka pot on a burner set to low or medium-low heat. Keep the handle away from the flame or heating element.
Leave the lid open if you want to watch the coffee flow. This helps you notice problems before the coffee becomes scorched.
The brewing time varies by pot size and stove. It often takes about four to eight minutes. Avoid high heat because it can force water through the coffee too quickly.
5. Watch the Coffee Flow
Coffee should begin to rise into the upper chamber in a steady stream. At first, the flow may look dark and slow. It will then become lighter and faster.
When the stream turns pale and begins to sputter, remove the moka pot from the heat. This sound means the water is nearly gone. Continuing to heat the pot can burn the coffee.
6. Stop the Brewing
Place the base of the moka pot under a cool tap for a few seconds, or set it on a cool, wet towel. This stops the brewing process.
Use care when handling the pot. The metal may be very hot, and steam can escape from the upper chamber.
7. Stir and Serve
Stir the coffee in the upper chamber before pouring. The first coffee that rises can be stronger than the final coffee, so stirring blends the flavors.
Pour the coffee into small cups. You can drink it black or dilute it with hot water, milk, or steamed milk.
This process is the basic answer to how to make coffee in a moka pot. The main goal is gentle heat, an even coffee bed, and a quick stop at the end.

A Reliable Moka Pot Coffee Recipe
Use this simple recipe as a starting point:
• Water: Fill to just below the safety valve.
• Coffee: Fill the basket level, without tamping.
• Grind: Medium-fine.
• Heat: Low to medium-low.
• Brew time: About four to eight minutes.
• Finish: Remove the pot when the coffee turns pale and starts to sputter.
Moka pots are commonly labeled by “cups.” These cups are small European-style servings, not standard 8-ounce American mugs. A 3-cup moka pot may produce roughly 4 to 5 fluid ounces of coffee, while a 6-cup model may produce about 8 to 10 fluid ounces.
Do not underfill or overfill the basket. Moka pots are designed to work with the basket size supplied by the manufacturer. If you want less coffee, use a smaller pot rather than using less coffee in a large basket.

How to Improve the Flavor
Once you know how to make coffee in a moka pot, small adjustments can improve the cup.
Use Freshly Ground Coffee
Fresh grinding preserves the coffee’s aroma. Grind the beans just before brewing when possible.
If you use pre-ground coffee, close the package well and use it soon after opening. Stale coffee often tastes flat, dry, or papery, even when the brewing method is correct.
Control the Heat
High heat is one of the most common causes of bitter moka pot coffee. Fast brewing does not mean better brewing.
Think of the burner as a volume control. Low heat gives the water time to move through the grounds and extract flavor more evenly.
Avoid Tamping
Espresso uses a firm tamp because it needs a controlled resistance at high pressure. A moka pot does not work the same way.
Tamping can restrict water flow and increase pressure. It can also make the coffee taste harsh. Level the grounds gently instead.
Brew With Hot Water
Starting with hot water can reduce the time the coffee basket sits on the hot stove. This method may produce a cleaner and less bitter flavor.
However, the lower chamber becomes hot quickly. Use an oven mitt or towel when assembling the pot, and avoid touching the metal.
Use the Correct Pot Size
A moka pot works best when filled to its designed capacity. A 6-cup pot will not usually brew well with only enough coffee for one cup.
If you usually drink one small serving, choose a 1-cup or 3-cup model. Matching the pot size to your routine makes it easier to make coffee in a moka pot consistently.
Common Moka Pot Mistakes
Many brewing problems come from a few simple errors.
Using High Heat
High heat can create a burnt smell and bitter taste. It may also cause coffee to rush into the upper chamber.
Use low or medium-low heat. Remove the pot as soon as the coffee becomes pale and begins to sputter.
Packing the Coffee
Do not press the grounds into the basket. Packed coffee can block the flow and increase pressure.
A level, loose coffee bed is safer and usually tastes better.
Letting the Coffee Boil
Coffee should not boil in the upper chamber. Boiling damages delicate aromas and creates a cooked flavor.
If the coffee erupts or sprays, lower the heat. A steady, quiet stream is a better sign.
Ignoring the Gasket
The rubber gasket forms the seal between the chambers. If it is dirty or worn, steam and water may leak from the sides.
Inspect it often. Replace it when it becomes hard, cracked, or discolored.
Leaving Coffee in the Pot
Do not store brewed coffee in the moka pot. Acids and oils can leave a stale taste, and the metal may develop residue.
Pour the coffee into a cup right away. Clean the pot after it cools.
Using Soap on Some Aluminum Pots
Many traditional aluminum moka pots are best rinsed with warm water and dried fully. Strong soap may leave a smell or affect the surface.
Follow the care instructions for your specific model. Stainless steel pots usually tolerate mild dish soap, but the gasket and filter still need gentle handling.
How to Clean and Maintain a Moka Pot
Good cleaning keeps moka pot coffee fresh and helps the pot last for years.
-
Let the moka pot cool before taking it apart.
-
Remove the coffee basket and used grounds.
-
Rinse each part with warm water.
-
Wipe away coffee oils from the filter and gasket.
-
Let every part dry completely before reassembling.
-
Store the pot with the lid open or slightly loose.
Do not scrape the inside with a sharp tool. Avoid abrasive pads that can damage the metal. If mineral scale builds up, use a cleaning method approved for your pot’s material.
Check the safety valve from time to time. It should remain clear and free from coffee residue. If the valve appears damaged, stop using the pot until it is replaced or inspected.
In my own brewing tests, a clean filter made a bigger difference than changing the coffee brand. Old oils can make even fresh beans taste dull and bitter.
:max_bytes(150000):strip_icc()/Moka-Pots-FT-MAG-0425-d2d0736377564f59963ed25fd1d0e2b0.jpg)
How to Make Different Moka Pot Drinks
Moka pot coffee is strong enough to serve as a base for several popular drinks.
Moka Pot Americano
Combine one part moka pot coffee with one or two parts hot water. Add the water slowly until the drink reaches your preferred strength.
This creates a longer, smoother drink without adding more coffee to the brew.
Moka Pot Latte
Add warm milk to moka pot coffee. Use about two parts milk for one part coffee, or adjust the ratio to taste.
A milk frother can create a soft foam, but a small whisk also works. Avoid boiling the milk because very high heat can make it taste flat.
Moka Pot Cappuccino-Style Drink
Use equal parts moka pot coffee, warm milk, and milk foam. The result will not be identical to a café cappuccino, but it can be rich and satisfying.
Choose a smaller serving if you want the coffee flavor to remain strong.
Iced Moka Pot Coffee
Brew the coffee, let it cool briefly, and pour it over ice. Add cold milk or water if needed.
Do not leave the moka pot sitting on the burner to cool. Transfer the coffee to another container so it does not continue cooking.
Moka Pot Coffee Compared With Other Brewing Methods
Moka pot coffee has a distinct place among home brewing methods.
• Drip coffee is usually lighter and produces a larger serving.
• French press coffee has more body because the grounds steep in water.
• AeroPress coffee is flexible and can produce clean or strong cups.
• Espresso is more concentrated and uses much higher pressure.
• Cold brew is smoother and less acidic because it extracts slowly with cool water.
A moka pot is a strong choice for people who want bold coffee without buying an espresso machine. It is affordable, compact, and does not need paper filters or electricity beyond the stove.
Its main limitation is consistency. Stove power, pot size, grind, water, and coffee freshness all affect the result. Once you keep those factors steady, it becomes much easier to make coffee in a moka pot that tastes the same each morning.
Safety Tips for Using a Moka Pot
A moka pot is simple, but it uses heat and pressure. Use it carefully.
• Never cover the safety valve with water.
• Never tamp the coffee grounds.
• Do not use a damaged gasket, filter, handle, or valve.
• Keep the handle away from the burner flame.
• Do not open the pot while it is under pressure.
• Let the pot cool before cleaning it.
• Use an induction-compatible model on an induction cooktop.
If the pot leaks from the sides, makes an unusual hissing sound, or fails to release coffee normally, turn off the heat. Let it cool fully before checking the seal, filter, and coffee basket.
These steps are basic, but they matter. Safe brewing protects you and helps the moka pot work as designed.
Frequently Asked Questions About How to Make Coffee in a Moka Pot
How much coffee do you put in a moka pot?
Fill the coffee basket until it is level with the top, but do not tamp the grounds. The exact weight depends on the pot size, but a 3-cup moka pot often uses about 15 to 18 grams.
What grind size is best for a moka pot?
Use a medium-fine grind. It should be finer than drip coffee and coarser than espresso to support steady flow without blocking the filter.
Why does my moka pot coffee taste bitter?
Bitter coffee often comes from high heat, a very fine grind, old coffee, or brewing past the sputtering stage. Use gentler heat and remove the pot when the coffee turns pale.
Should you use hot or cold water in a moka pot?
Both can work, but hot water may reduce the time the coffee sits over heat. If you use hot water, handle the lower chamber carefully because it heats quickly.
Can you make espresso in a moka pot?
A moka pot does not make true espresso because it produces less pressure. It makes concentrated coffee that works well in drinks such as Americanos, lattes, and cappuccino-style beverages.
How long does moka pot coffee take to brew?
Most moka pots take about four to eight minutes, depending on the size, stove, heat level, and starting water temperature. Remove the pot when the coffee becomes pale and begins to sputter.
How often should you clean a moka pot?
Rinse the pot after every use and dry it completely. Inspect the gasket and filter regularly, and replace the gasket when it becomes cracked, hard, or loose.
Conclusion
Learning how to make coffee in a moka pot comes down to a few clear habits: use fresh coffee, choose a medium-fine grind, fill the basket without tamping, heat the pot gently, and stop brewing when the coffee begins to sputter.
The best method is the one you can repeat. Start with the basic recipe, then adjust the grind, heat, and coffee amount in small steps. Try the method tomorrow morning, and share your favorite moka pot recipe or brewing tip in the comments.

Liora Pennings is a seasoned chef and kitchen enthusiast with a passion for turning everyday cooking into an effortless experience. With years of hands-on culinary expertise, she specializes in practical techniques, ingredient know-how, and smart kitchen solutions that help home cooks elevate their meals. At KitchFlair.com, Liora shares her best tips, time-saving tricks, and honest product reviews to guide readers toward a more efficient, enjoyable, and inspired cooking routine. Whether you’re a beginner or a seasoned home chef, Liora’s friendly, knowledge-packed insights make every visit to the kitchen a little easier—and a lot more delicious.