
How To Make Coffee Foamy: Easy Frothy Coffee Guide
The easiest way to make coffee foamy is to add air to milk, cream, or a coffee mixture with a whisk, handheld frother, French press, or steam wand. For smooth café-style foam, warm milk to about 140–150°F and froth it until it looks glossy. For cold foam, use cold milk and a frother.
At home in the United States, you can make foamy coffee with basic kitchen tools. You do not need an espresso machine. The best method depends on the drink you want: light froth for a latte, thick foam for a cappuccino, cold foam for iced coffee, or whipped coffee made with instant coffee.
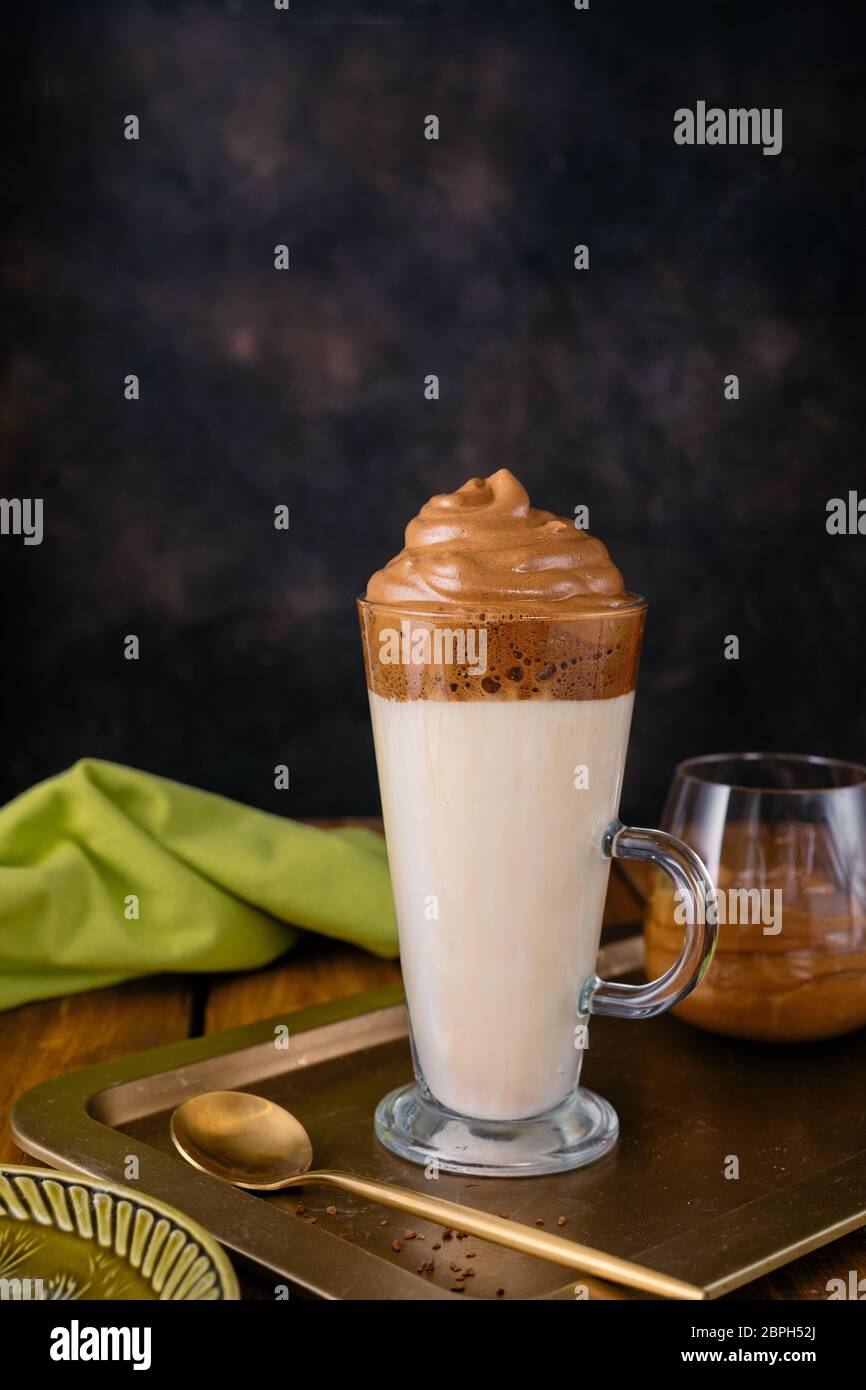
What Makes Coffee Foamy?
Coffee becomes foamy when air gets trapped in liquid. Milk proteins help hold small air bubbles in place, while coffee, sugar, and instant coffee can also help create a stable foam.
The word “foam” can describe several different things:
- Milk froth: Airy milk foam made with a whisk, frother, French press, or steam wand.
- Microfoam: Very fine, smooth bubbles used in lattes and cappuccinos.
- Cold foam: Chilled, airy milk or cream placed on iced coffee.
- Coffee foam: A whipped mixture made from instant coffee, sugar, and water.
- Crema: The tan layer that forms on top of espresso. It comes from brewed coffee oils and dissolved gases, not frothed milk.
Foam is mostly a texture choice. It does not automatically make coffee stronger or better. The tool, liquid temperature, fat level, and amount of air all affect the result.
Foam, froth, and crema are not the same
Froth usually has larger bubbles and a lighter texture. Microfoam has smaller bubbles and feels smooth on the tongue. Crema forms during espresso extraction and cannot be created by simply whisking regular brewed coffee.
This distinction helps you choose the right method. If you want a latte, froth milk. If you want whipped coffee, whip instant coffee. If you want espresso crema, you need properly brewed espresso.

How to Make Hot Foamy Coffee With Milk
For most home coffee drinks, a handheld milk frother is the quickest option. A whisk also works, but it usually creates larger bubbles.
What you need
- 8–12 ounces of brewed coffee
- ¼–½ cup milk
- A small saucepan or microwave-safe cup
- A handheld frother, whisk, French press, or steam wand
- A thermometer, if available
Whole milk makes rich, stable foam. Low-fat milk often creates lighter foam with more volume. Many oat, soy, and almond milks also foam well, but results vary by brand. Products labeled barista blend are often designed to steam and froth more easily.
Step-by-step method
-
Brew the coffee first.
Use regular brewed coffee, espresso, or strong cold brew concentrate. Leave enough room in the mug for the milk and foam. -
Warm the milk gently.
Heat the milk until it is hot but not boiling. Aim for about 140–150°F for a warm, sweet-tasting foam. Without a thermometer, stop when the milk is steaming and hot to the touch, but not bubbling. -
Add air near the surface.
Place the frother just below the milk’s surface. Run it for about 15–30 seconds, or until the milk grows in volume and looks creamy. -
Blend the foam.
Move the frother slightly deeper for a few seconds. This helps combine the larger bubbles with the warm milk. -
Tap and swirl.
Tap the cup gently on the counter and swirl it. This can break large bubbles and create a smoother texture. -
Pour the milk into the coffee.
Pour the liquid milk first. Spoon the thicker foam over the top, or pour slowly for a latte-style drink.
How much foam should you make?
Use less air for a latte and more air for a cappuccino.
| Drink style | Milk texture | Approximate foam |
|---|---|---|
| Latte | Thin, smooth microfoam | ¼–½ inch |
| Cappuccino | Thick, airy foam | ½–1 inch |
| Macchiato-style drink | Dense foam on top | 1 inch or more |
| Café au lait | Mostly warm milk | Very little |
These amounts are practical home guidelines, not fixed rules. Coffee shops may use different recipes and cup sizes.
How to make foam without a frother
A whisk can make good foam. Warm the milk in a saucepan, then whisk quickly for 30–60 seconds. A French press can create more uniform froth: add warm milk, fill the press no more than one-third full, and pump the plunger up and down until the milk expands.
Do not fill a French press high with hot liquid. The milk can rise quickly and spill.

How to Make Coffee Foam With a Steam Wand
A steam wand makes the smoothest foam when used correctly. It injects steam into milk while also heating it.
Start with cold milk in a stainless-steel pitcher. Fill the pitcher no more than one-third full because the milk will expand. Purge the wand briefly before steaming and again after steaming, following the espresso machine’s instructions.
Place the wand tip just below the milk’s surface. You should hear a soft paper-tearing sound. This adds air. Once the milk expands slightly, lower the pitcher so the steam creates a whirlpool. The whirlpool breaks up large bubbles and makes the foam glossy.
Stop heating near 140–150°F. If the milk becomes too hot, it may taste cooked and produce a rougher texture. Wipe and purge the steam wand immediately after use. Dried milk can block the wand and create a hygiene problem.
Signs of good microfoam
Good microfoam:
- Looks shiny rather than dry
- Has very small bubbles
- Pours like wet paint
- Blends into coffee instead of sitting in a stiff mound
- Feels smooth, not bubbly, on the tongue
If the foam looks like soap suds, too much air entered the milk. If it looks flat, the wand may have stayed too deep or the milk may have been overheated.
Steam wands can cause burns. Keep the wand tip below the liquid while steaming, and do not touch the metal pitcher without checking its temperature.

How to Make Cold Foam for Iced Coffee
Cold foam is a light topping for iced coffee, cold brew, and iced lattes. It works best with cold milk or a milk-and-cream mixture.
Basic cold foam recipe
- ¼ cup cold milk
- 1–2 teaspoons simple syrup or sweetener
- Optional: a splash of half-and-half for a richer texture
- Ice coffee or cold brew
Add the milk and sweetener to a tall cup. Froth with a handheld frother for 20–40 seconds, until the mixture becomes thick and airy. Pour it over iced coffee.
For a richer cold foam, use equal parts milk and half-and-half. For a lighter foam, use skim milk or a low-fat milk. Plant-based milk may need more time or a barista-style formula.
A French press also works well. Add the cold milk, pump the plunger rapidly, and stop when the foam doubles in volume. Keep the press below its maximum fill line.
Vanilla cold foam
Add ¼ teaspoon of vanilla extract or a small amount of vanilla syrup to the milk before frothing. Add sweetener in small amounts. Too much syrup can make the foam heavy and cause it to collapse faster.
Cold foam does not stay stable forever. Add it just before serving for the best texture.

How to Make Whipped Coffee Foam
Whipped coffee, also called dalgona coffee, uses instant coffee rather than frothed milk. The foam forms when instant coffee, sugar, and hot water are beaten together.
Ingredients
- 1 tablespoon instant coffee
- 1 tablespoon sugar
- 1 tablespoon hot water
- 6–8 ounces milk, hot or cold
Method
- Add the instant coffee, sugar, and hot water to a bowl.
- Whisk by hand for several minutes, or use a hand mixer.
- Stop when the mixture becomes pale, thick, and fluffy.
- Spoon it over milk.
- Stir before drinking if the coffee layer is too strong.
A 1:1:1 ratio is a useful starting point, but you can adjust the sweetness and strength. Instant espresso powder may work, but regular ground coffee will not dissolve and whip in the same way.
Use hot water, not boiling water. Boiling water can make the mixture harder to handle and may create a bitter taste.

Why Your Coffee Foam Falls Flat
Flat foam usually comes from the wrong temperature, too little air, unsuitable milk, or large bubbles.
| Problem | Likely cause | Fix |
|---|---|---|
| Foam disappears at once | Milk was not aerated enough | Keep frothing near the surface |
| Large bubbles form | Frother was too close to the surface | Move it slightly deeper and swirl |
| Foam tastes cooked | Milk was overheated | Stop near 140–150°F |
| Plant milk will not foam | Formula varies by brand | Try a barista-style version |
| Foam feels dry | Too much air entered | Add less air and mix the milk |
| Cold foam stays thin | Milk is too warm or too low in protein | Chill the milk and froth longer |
| Whipped coffee stays runny | Wrong coffee or too much water | Use instant coffee and equal parts ingredients |
| Foam separates | It sat too long | Serve it soon after frothing |
Start with one change at a time. For example, if the milk tastes burnt, lower the temperature before changing the frother.
Coffee foam also collapses when mixed with very hot or acidic liquids. This is normal. Foam is a temporary structure made of bubbles, not a permanent ingredient.

Which Milk Is Best for Foamy Coffee?
There is no single best milk for every coffee drink. Choose based on the foam texture and flavor you want.
Dairy milk
- Whole milk: Creamy, rich, and easy to steam. It makes smooth foam but may not expand as much as skim milk.
- 2% milk: A balanced choice for lattes and cappuccinos.
- Skim milk: Often creates more airy foam, but the texture can feel less rich.
- Half-and-half: Rich and flavorful, but it may be harder to turn into light foam.
Plant-based milk
- Oat milk: Often gives creamy foam and a mild flavor.
- Soy milk: Can create good foam because of its protein content.
- Almond milk: Usually makes lighter foam and may separate in hot coffee.
- Coconut milk: Adds a strong flavor and may foam less consistently.
The exact result depends on the brand, protein content, fat level, stabilizers, and temperature. If one carton performs poorly, another version of the same milk may work better.

Common Mistakes to Avoid
Do not boil the milk. Boiling can damage the taste and make the foam coarse. It can also cause the milk to spill quickly.
Do not fill a sealed jar with hot liquid and shake it. Pressure can build inside the jar and cause burns when the lid is opened. If you use a jar for cold foam, leave plenty of room and use cold liquid only.
Do not use a standard blender with hot coffee unless the blender maker specifically permits it. Hot liquid can create pressure and force the lid off. Use an immersion blender only in a deep container, and protect your hands from splashes.
Do not expect brewed ground coffee to whip like instant coffee. Ground coffee contains insoluble particles and oils. Instant coffee dissolves, which lets it form a more uniform whipped mixture.
Clean frothers, steam wands, whisks, and French presses after use. Milk residue can spoil and may block small openings in a steam wand or frother.

A Simple Decision Guide
Choose the method that matches the coffee you want:
- Fast hot foam: Use a handheld frother.
- Smooth latte foam: Use a steam wand or froth warm milk gently.
- Thick cappuccino foam: Add more air near the milk’s surface.
- Cold foam: Use cold milk and a frother.
- Whipped coffee: Use instant coffee, sugar, and hot water.
- No special tool: Use a whisk or French press.
- Plant-based coffee: Try a barista-style oat or soy milk if standard versions collapse.
For most beginners, the best starting point is warm 2% or whole milk with a handheld frother. It is simple, quick, and easy to adjust.

Key Takeaways
- Warm milk to about 140–150°F for smooth hot foam.
- Use a handheld frother for the easiest home method.
- Keep the frother near the surface at first, then move it deeper to blend the foam.
- Use cold milk for cold foam and serve it soon after making it.
- Use instant coffee for whipped coffee; regular ground coffee will not whip the same way.
- Avoid boiling milk and handle hot liquids with care.
- Clean milk-contact tools after every use.
FAQs About Foamy Coffee
Can I make coffee foamy without milk?
Yes. Whipped coffee uses instant coffee, sugar, and hot water. You can also whisk brewed coffee, but it will usually produce a short-lived layer of bubbles rather than thick foam.
Can I froth coffee creamer?
Yes. Many liquid creamers can be frothed, especially when chilled or gently warmed. The result depends on the creamer’s fat, sugar, and stabilizers. Add the creamer to coffee after frothing for the best texture.
Why does my foam disappear when I pour it into coffee?
Hot coffee, acidity, and stirring can break foam bubbles. Make the foam just before serving, and pour the liquid milk into the coffee before adding the thicker foam on top.
Is a French press good for frothing milk?
Yes. A French press can create a large amount of foam quickly. Use warm milk, keep the press no more than one-third full, and pump the plunger carefully to prevent spills.
Can I make foamy iced coffee with regular milk?
Yes. Chill the milk first, then froth it with a handheld frother or French press. Cold foam is usually thicker when made with cold milk and served immediately.
Does sugar help coffee foam?
Sugar can help whipped instant coffee hold its shape. In milk foam, too much sugar can make the liquid heavier and may reduce the volume. Add sweetener after frothing when possible.
Conclusion
To make coffee foamy, add air to the right liquid with the right tool. Warm milk creates latte and cappuccino foam, cold milk creates iced coffee foam, and instant coffee creates whipped coffee foam.
Start with a small amount of milk, use gentle heat, and watch the texture rather than relying only on time. If the bubbles are large, blend the foam more. If it tastes cooked, lower the heat. With a few adjustments, a whisk or handheld frother can turn ordinary coffee into a smooth, foamy drink at home.

Liora Pennings is a seasoned chef and kitchen enthusiast with a passion for turning everyday cooking into an effortless experience. With years of hands-on culinary expertise, she specializes in practical techniques, ingredient know-how, and smart kitchen solutions that help home cooks elevate their meals. At KitchFlair.com, Liora shares her best tips, time-saving tricks, and honest product reviews to guide readers toward a more efficient, enjoyable, and inspired cooking routine. Whether you’re a beginner or a seasoned home chef, Liora’s friendly, knowledge-packed insights make every visit to the kitchen a little easier—and a lot more delicious.