How To Make Coffee Less Foamy During Brewing: Simple Tips
Use fresher beans, cut agitation, adjust grind and water to reduce foam quickly.
I’ve brewed hundreds of pots and pulled many shots, so I know how annoying excess foam can be. This guide on how to make coffee less foamy during brewing brings clear reasons, step-by-step fixes for different brewers, and real tips you can test today. Read on to learn practical tweaks that cut foam while keeping taste bright and clean.
Why coffee foams and what causes it
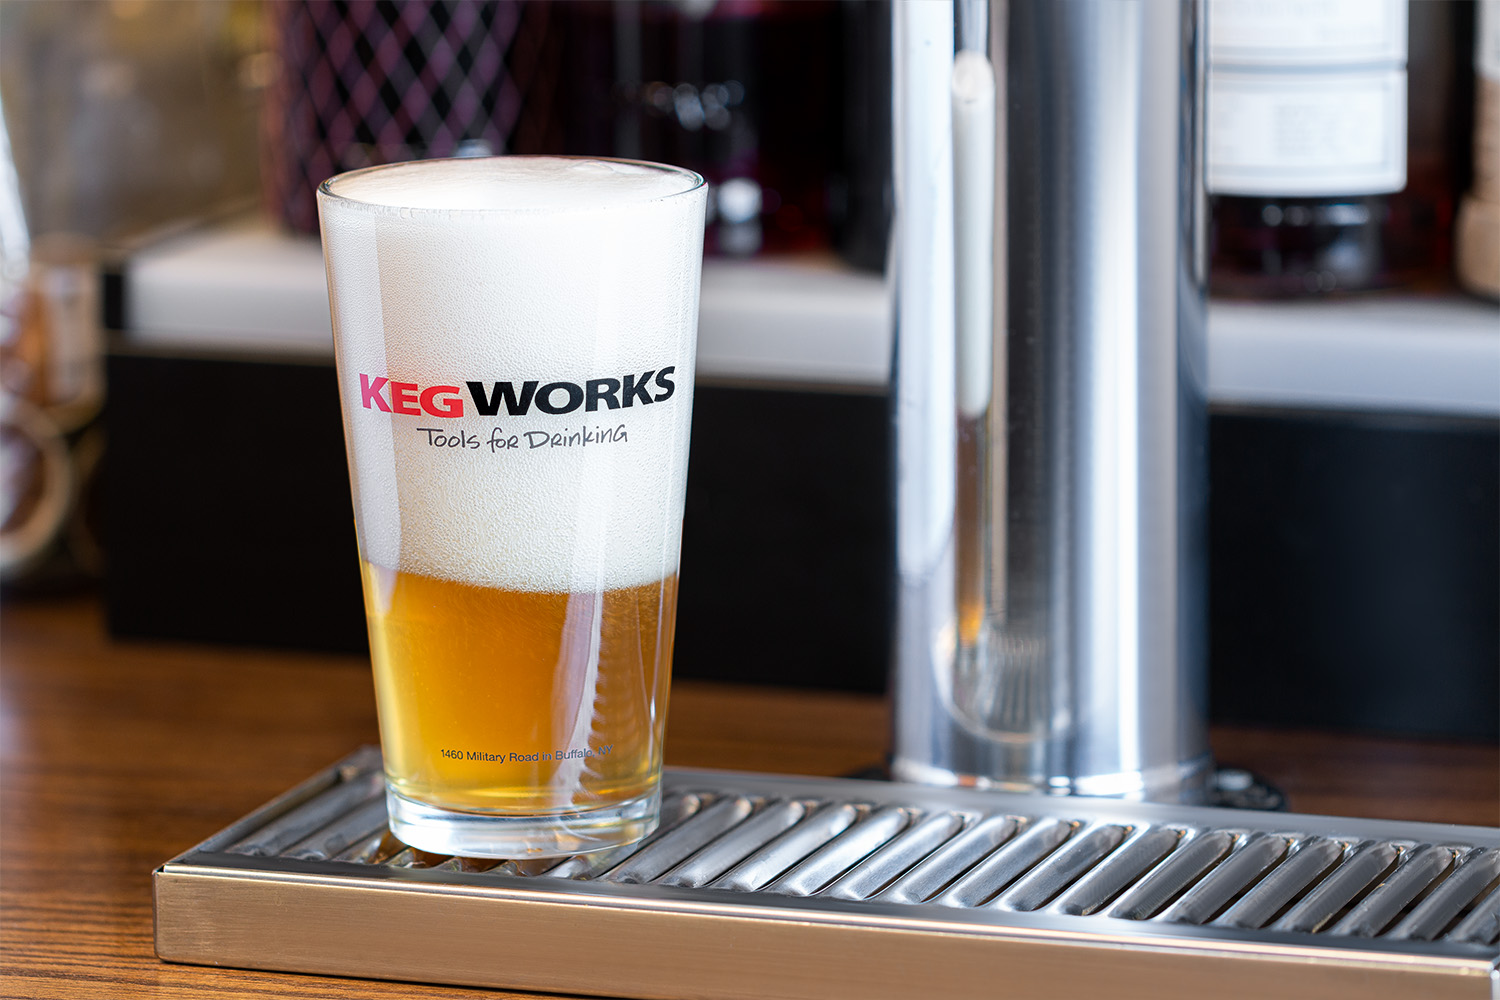
Coffee foam comes from tiny gas bubbles and oils released during brewing. Fresh-roasted beans contain trapped CO2. When hot water hits them, the gas escapes fast and forms bubbles. Agitation, fine grind, and high-pressure brewing all make more foam. Paper filters trap oils and stop foam. Metal filters and immersion methods let oils and fines pass, adding foam and crema. Understanding these basics helps when you decide how to make coffee less foamy during brewing.
Quick principles to use every time
- Let beans degas for 24 to 48 hours after roasting to reduce CO2 release.
- Use a coarser grind for immersion methods to reduce fines that trap bubbles.
- Lower brew pressure or pour gently to avoid extra agitation.
- Rinse paper filters with hot water to reduce papery taste and help oil capture.
- Reduce dose slightly if foam persists; less coffee means less surface area for bubbles.
How to make coffee less foamy during brewing: method-by-method fixes
Below are clear steps for popular brew methods. Each step is short and easy to follow.
French press
- Use beans rested 24–48 hours after roast.
- Grind a bit coarser than usual.
- Pour gently during bloom and rest for 30–45 seconds.
- Stir once gently, then wait. Excess stirring traps gas and increases foam.
Pour-over (V60, Chemex)
- Start with a short bloom: 30–45 seconds to let gas escape.
- Pour slowly and steadily with a low stream.
- Rinse and preheat the paper filter to help trap oils.
- If foam remains, use a slightly coarser grind.
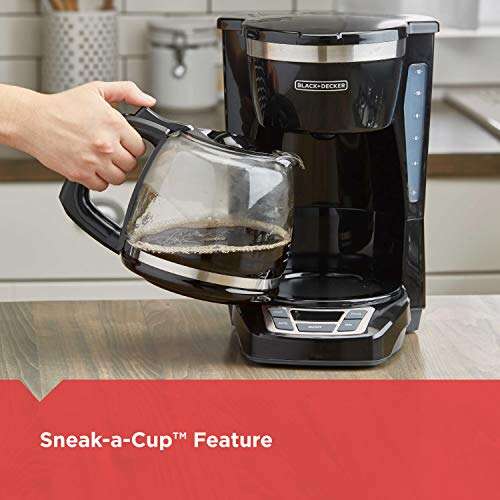
Drip machines
- Use a medium grind and a rinsed paper filter.
- Avoid overfilling the basket or compacting grounds.
- Clean the machine regularly to remove trapped oils that boost foam.
AeroPress
- Try inverted vs. standard methods to see which gives less foam.
- Use shorter plunge and gentler motion.
- Consider a paper microfilter to cut oils.
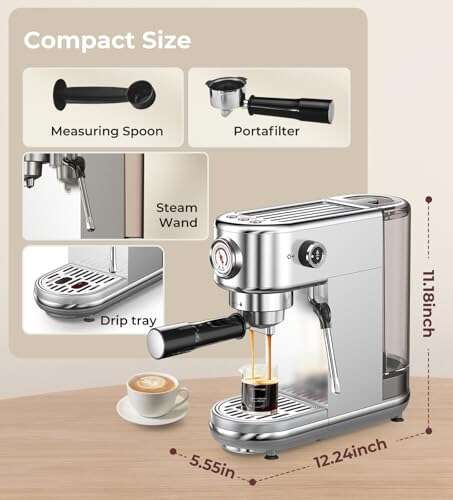
Espresso
- Use slightly darker roast or beans rested a week for less aggressive degassing.
- Adjust dose and distribution to avoid channeling.
- Lower extraction pressure slightly if your machine allows it.
Practical tweaks that work fast
- Cool your water by a few degrees for pour-over to calm foam.
- Tap the side of the brewer gently after pouring to break large bubbles.
- Use a spoon to skim excess foam before serving.
- Try paper filters in cone or basket systems to remove oils.
- Store beans in a cool, dark place to control roast freshness and gas levels.

PAA-style questions (short answers)
Why does fresh coffee make so much foam?
Fresh coffee holds CO2 from roasting. Hot water releases that gas fast and forms bubbles, so fresher = foamy.
Will a paper filter stop crema or foam?
Paper filters trap oils and fines, so they greatly reduce foam and crema. The cup will be cleaner but less oily.
Does grind size affect foam?
Yes. Finer grinds release more fines and trap more gas, which makes more foam. Coarser grind usually means less foam.
Troubleshooting: common mistakes and fixes
- Mistake: Using ultra-fine grind in an immersion brew. Fix: Go coarser.
- Mistake: Over-agitating during bloom. Fix: Stir once gently or skip stirring.
- Mistake: Brewing with brand-new roast immediately. Fix: Wait 24–48 hours or longer.
- Mistake: Dirty equipment. Fix: Clean machine parts and filters regularly.
- Mistake: Too high dose. Fix: Reduce grounds by 5–10% and test taste.
My real-world tests and lessons learned
I once brewed a French press with beans roasted two days earlier. The foam was thick and bitter. I tried these changes: rested the next batch for 48 hours, coarsened the grind, and poured gently. The foam dropped and the cup opened up. I learned to balance freshness and foam by testing small dose changes. Keep notes on each tweak so you can repeat the best result.

Extra notes on flavor, crema, and trade-offs
Reducing foam often reduces crema and some mouthfeel. Paper filters remove oils and clarify taste but can strip body. If you love crema, accept a little foam. If you prefer a clean cup, use paper filters, coarser grinds, and rested beans. The goal is a cup that matches your taste, not zero foam at any cost.
Frequently Asked Questions of how to make coffee less foamy during brewing
How long should I let beans rest to reduce foam?
Let beans rest 24 to 72 hours after roast for most methods. For espresso, some roasts do better after a week.
Will lowering water temperature help reduce foam?
Yes. Lowering water by about 5–10°F (3–6°C) can calm foam without harming extraction much.
Does stirring always increase foam?
Stirring can trap more gas and create foam. Gentle stirring or no stirring is better if foam is a problem.
Can I remove foam after brewing?
You can skim foam with a spoon, tap the vessel to break bubbles, or pour through a paper filter into a second cup.
Are certain beans more likely to foam?
Yes. Very fresh beans and lighter roasts often foam more due to higher gas retention and acidity.
Conclusion
You can control foam by managing freshness, grind, agitation, and filtration. Small, simple changes make a big difference. Try one tweak at a time, taste the result, and keep notes to find what works for you. If you enjoyed these tips, try them this week and share your results or questions in the comments.

Liora Pennings is a seasoned chef and kitchen enthusiast with a passion for turning everyday cooking into an effortless experience. With years of hands-on culinary expertise, she specializes in practical techniques, ingredient know-how, and smart kitchen solutions that help home cooks elevate their meals. At KitchFlair.com, Liora shares her best tips, time-saving tricks, and honest product reviews to guide readers toward a more efficient, enjoyable, and inspired cooking routine. Whether you’re a beginner or a seasoned home chef, Liora’s friendly, knowledge-packed insights make every visit to the kitchen a little easier—and a lot more delicious.