
How To Fix The Keurig Coffee Maker: Easy Repair Guide
Most Keurig coffee maker problems come from clogs, air locks, scale buildup, or a dirty needle.
When your Keurig stops brewing, leaks, makes weak coffee, or shows a strange error, the fix is often simple. I have worked through many of these issues, and the best approach is to start with safe cleaning and basic checks before replacing parts. This guide explains how to fix the Keurig coffee maker step by step, with clear advice for common Keurig models and honest limits on what you can repair at home.
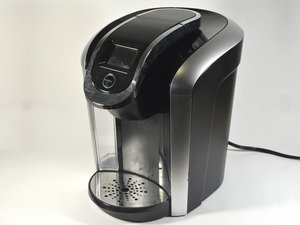
Start With Safe Basic Checks
Before learning how to fix the Keurig coffee maker, unplug the machine and let it cool. Never place the brewer in water or open its electrical case. Water, electricity, and rushed repairs are a bad mix.
Check the following items first:
- Confirm that the power cord is firmly plugged into a working outlet.
- Make sure the water reservoir is seated correctly.
- Remove the drip tray if it is full.
- Check that the pod holder is locked in place.
- Close the lid fully before pressing the brew button.
- Remove any used coffee pod left inside the machine.
- Allow the brewer to cool for at least 30 minutes if it recently overheated.
A simple power reset can also help. Unplug the Keurig for five minutes, then plug it back in and try a small brew cycle without a pod. This clears some temporary control errors, although it will not repair a damaged pump, heater, or circuit board.
Keurig models vary. A K Mini, K Slim, K Elite, and K Supreme may have different buttons and internal parts. Always check the model number on the brewer before ordering a replacement part or following model-specific instructions.

How to Fix a Keurig That Will Not Turn On
If your Keurig has no lights and makes no sound, begin with the outlet. Plug in a lamp or phone charger to confirm that the outlet works. If the outlet is controlled by a wall switch or ground-fault circuit interrupter, reset the switch.
Next, inspect the power cord. Do not use the machine if the cord is cracked, melted, loose, or unusually hot. A damaged cord needs professional replacement.
Try this reset process:
- Turn off the brewer if possible.
- Unplug it from the wall.
- Remove the water reservoir and drip tray.
- Wait five to ten minutes.
- Reinstall the reservoir and drip tray.
- Plug the brewer directly into a wall outlet.
- Turn it on and wait for the normal startup screen or light.
If the display turns on but the machine will not brew, the issue may be the lid sensor, water sensor, or control system. If nothing happens at all, the internal fuse, power board, or wiring may have failed. These repairs are not ideal for most home users because opening the unit can create shock and fire risks.
In my experience, many “dead” Keurig brewers were not truly broken. The outlet had tripped, the reservoir was not seated, or the brewer needed a full power reset. These checks take less than ten minutes and should always come before buying a new machine.
How to Fix a Keurig That Will Not Brew
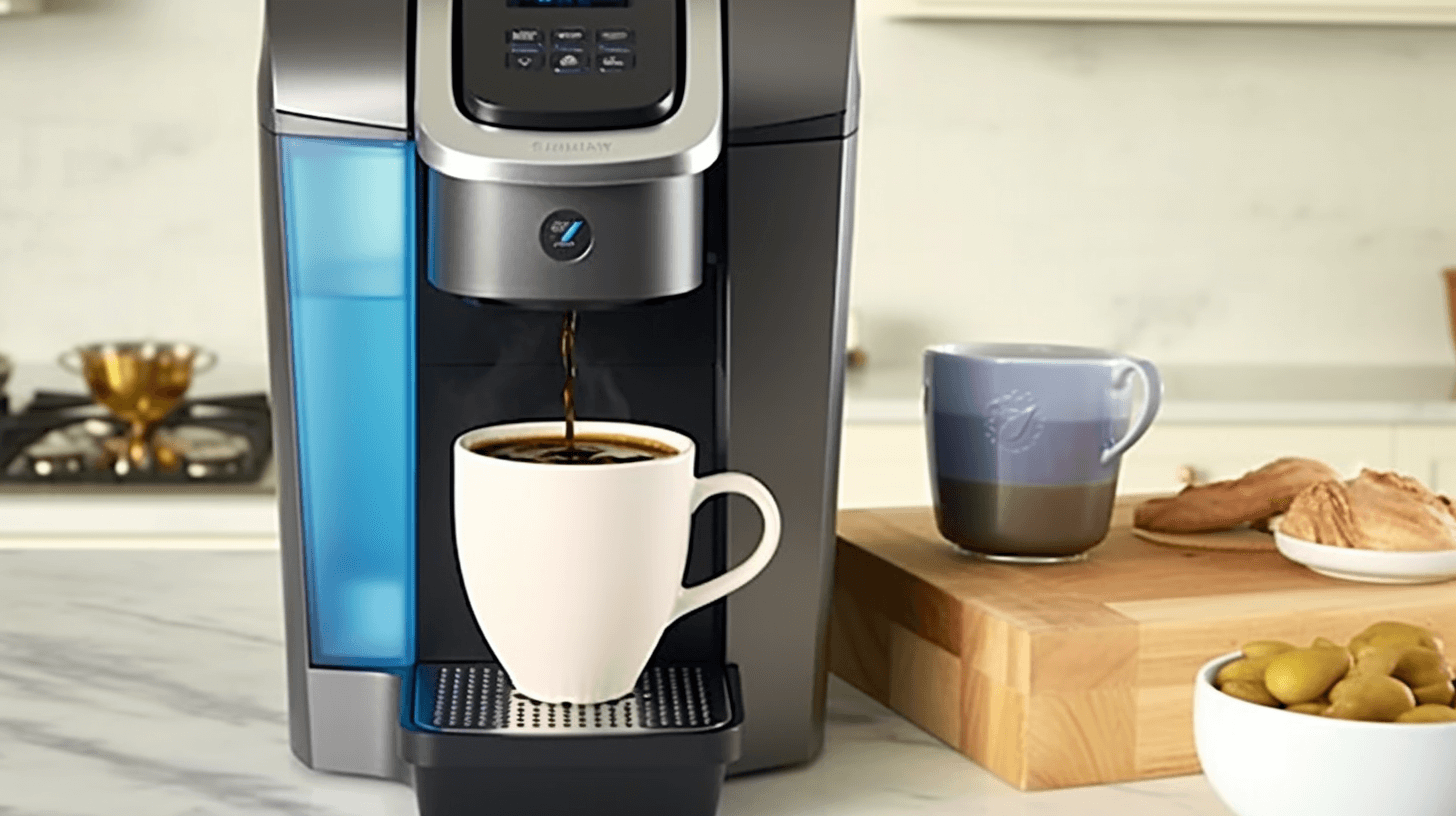
A Keurig that turns on but does not brew usually has a water flow problem. The pump must move water through narrow tubes, so even a small amount of coffee residue or mineral scale can slow it down.
Use this process:
- Remove the pod and empty the pod holder.
- Fill the reservoir with fresh water.
- Place a large mug under the brew outlet.
- Close the lid without inserting a pod.
- Run a water-only brew cycle.
- Repeat the cycle two or three times if water begins to flow.
If the brewer makes a humming sound but no water comes out, an air lock may be blocking the pump. Remove and refill the reservoir, then gently lift and reseat it several times. On some models, running several water-only cycles helps the pump regain its prime.
Do not shake the machine hard or hit it against a counter. That can damage the pump and internal fittings. If you see water leaking from the bottom, stop using the brewer until you identify the source.
A clogged entrance needle is another common cause. The entrance needle pierces the top of the pod and can collect coffee grounds. Turn off and unplug the machine, then clean the needle area with a suitable cleaning tool or a straightened paper clip. Work carefully, since the needle is sharp.

How to Fix a Keurig With a Clogged Needle
The entrance needle and exit needle work together to puncture the pod and let coffee pass into your cup. When either needle clogs, the brewer may produce only a few drops, spray coffee, or stop brewing.
Follow these steps:
- Unplug the Keurig and let it cool.
- Remove the pod holder from the brew chamber.
- Rinse the pod holder under warm water.
- Clear the exit needle beneath the pod holder.
- Wipe the entrance needle under the lid.
- Rinse all loose coffee grounds away.
- Reassemble the pod holder.
- Run two water-only cycles.
Use a Keurig needle-cleaning tool if your model includes one. A paper clip can work in an emergency, but it may scratch plastic or push debris deeper. Never force a thick object into the needle.
If coffee sprays from the top of the pod, the lid may not seal well. Check for a damaged pod, a warped pod holder, or coffee grounds around the rim. Some reusable pods also cause leaks when they sit too high or are filled beyond the recommended level.
One mistake I often see is cleaning only the visible needle. The lower exit needle can hold a compact plug of wet grounds. Cleaning both needles usually gives better results than cleaning the top needle alone.
How to Fix a Keurig That Brews Slowly
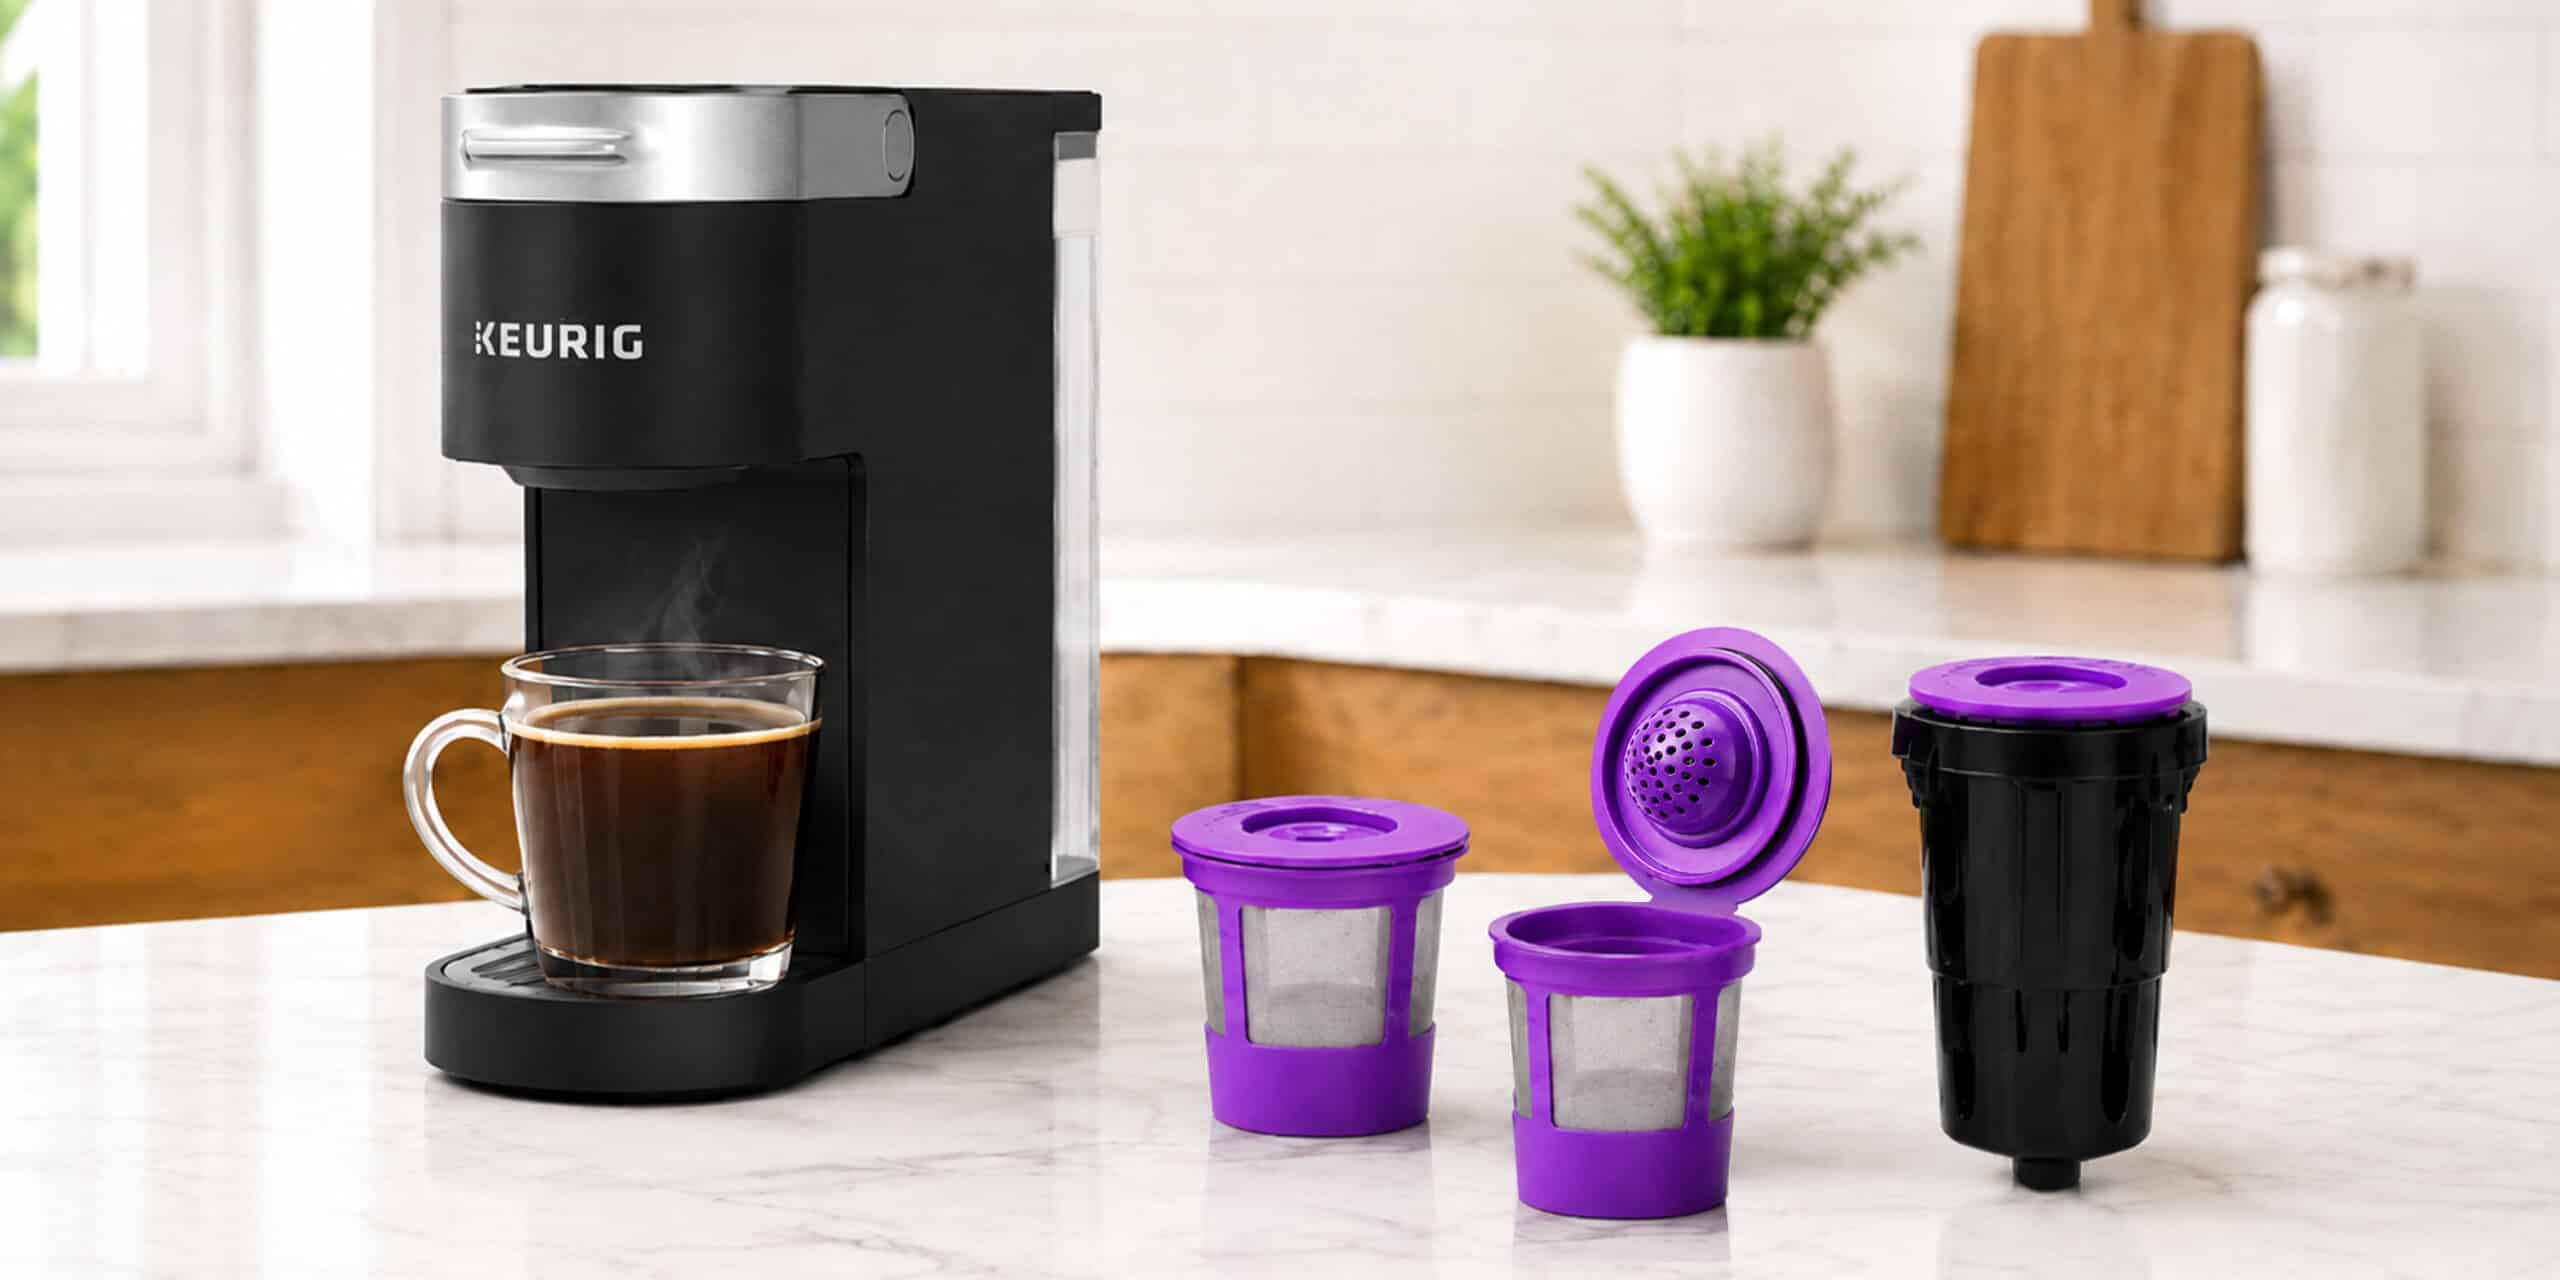
Slow brewing often points to mineral scale, a dirty needle, or a restricted water path. Hard water leaves calcium deposits inside the heating system. Over time, these deposits act like grit in a narrow pipe.
Start by cleaning the pod holder and needles. Then run a full descaling cycle according to your model’s instructions. Keurig-approved descaling solution is the safest choice because it is designed for the brewer’s water path.
A basic descaling process usually looks like this:
- Remove any pod from the brewer.
- Empty the water reservoir.
- Add the recommended descaling solution and water.
- Place a large container under the brew outlet.
- Run the descale setting or repeated water cycles.
- Pause when the machine instructs you to pause.
- Rinse the reservoir well.
- Run several full reservoirs of clean water through the brewer.
Do not use dish soap inside the water reservoir or internal water path. Soap can leave residue and may create foam during brewing. Also, do not mix descaling solution with bleach or other cleaners.
Keurig recommends regular descaling because mineral deposits can affect flow and heating. The right schedule depends on water hardness and how often you brew. Homes with hard water may need more frequent cleaning than homes with filtered or softened water.

How to Fix a Keurig That Says “Add Water”
If the reservoir is full but the screen still says “Add Water,” the water sensor may not be detecting the reservoir correctly. Remove the reservoir and inspect the bottom valve. It should move freely and release water when pressed over a sink.
Clean the reservoir and the area where it sits. A small piece of debris can prevent the tank from sitting flat. Then fill the reservoir to a level below the maximum line and press it firmly into place.
For models with a magnetic water-level sensor, confirm that the small float inside the tank moves freely. Mineral deposits can make the float stick. Rinse the tank with warm water and gently move the float without using sharp tools.
Try these additional checks:
- Do not fill above the maximum line.
- Make sure the reservoir lid is properly positioned.
- Confirm that the tank is designed for your exact model.
- Wipe the sensor area with a soft, damp cloth.
- Restart the machine after reseating the reservoir.
If the message remains after cleaning, the sensor or control board may be defective. At that point, replacing the reservoir may be easier and safer than opening the brewer.
How to Fix Weak, Watery, or Bad-Tasting Coffee
Weak coffee does not always mean the Keurig is broken. The pod, cup size, water temperature, and brew setting all affect flavor. A large cup setting uses the same amount of coffee over more water, so the drink may taste thin.
For stronger coffee, try these steps:
- Choose a smaller cup size.
- Use the strong brew setting if your model has one.
- Use a fresh, properly stored pod.
- Avoid using a damaged or swollen pod.
- Clean the needles and pod holder.
- Descale the brewer.
- Use fresh filtered water.
- Preheat your cup with warm water.
A stale taste may come from old water sitting in the reservoir. Empty the tank each day or two, rinse it, and refill it with fresh water. Avoid storing water in the brewer for long periods, especially in a warm kitchen.
A plastic or chemical taste can appear after descaling. Run several full reservoirs of clean water through the machine until the smell and taste disappear. If the taste continues, stop brewing and contact the manufacturer.
Coffee strength also depends on the pod itself. A dark roast pod may taste stronger, but it does not always contain more coffee. For a stronger drink, use a smaller setting or brew a concentrated cup over ice or milk.
How to Fix a Leaking Keurig
A leaking Keurig can leak from the pod area, water reservoir, drip tray, or bottom of the machine. The location matters because each area suggests a different cause.
If water leaks around the pod holder:
- Remove the pod and inspect it for damage.
- Clean coffee grounds from the pod rim.
- Check that the pod holder is seated correctly.
- Clean the entrance and exit needles.
- Avoid overfilled reusable pods.
If water leaks from the reservoir, inspect the tank for cracks. Check the rubber valve on the bottom for dirt or damage. A cracked tank usually needs replacement rather than glue, since adhesive may not hold under repeated pressure and heat.
If water leaks from the bottom, unplug the machine immediately. Internal tubing, seals, or the boiler may be damaged. Do not continue using it on a countertop near appliances or electrical outlets.
A little water in the drip tray is normal. The tray collects overflow and small drips after brewing. Empty it often so it does not spill and create the impression of a larger leak.
How to Fix a Keurig That Stops Before Filling the Cup
When a Keurig stops early, the water path may be partly blocked, the reservoir may be low, or the machine may detect an internal problem. First, run a water-only cycle and observe the flow.
Clean the pod holder and needles. Then check whether the reservoir valve releases water. If the pump sounds strained, descale the brewer before trying repeated brew cycles.
A temporary stop can also happen when the machine overheats. Turn it off, unplug it, and let it cool for at least 30 minutes. Keep the air vents clear, and do not place the brewer directly against a wall or under a crowded cabinet.
If the brewer stops at the same point every time, the problem may involve the pump, flow meter, heater, or control board. These parts are difficult to test without electrical tools and technical training. Manufacturer service or replacement may be more practical.
How to Fix a Keurig After Descaling
A Keurig may behave differently after descaling because loosened scale can move through the water path. The machine may brew slowly, display a water warning, or leave a mild odor for a short time.
Run clean-water cycles until the water is clear and odor-free. Use at least two full reservoirs if needed. Never drink the first cup after descaling unless the machine has been thoroughly rinsed.
If the descale light stays on, your model may require a special reset sequence. Some brewers clear the light only after completing the full descale program, including its pause stages. Follow the instructions for your exact model rather than pressing random buttons.
If the machine still will not brew after cleaning, check the needles again. Descaling can loosen deposits that later collect near a narrow opening. This is one reason a final needle rinse is useful.
Prevent Future Keurig Problems
Preventive care is the easiest way to avoid learning how to fix the Keurig coffee maker every few weeks. Think of it like brushing your teeth: small, regular care prevents a bigger problem later.
Use this simple maintenance plan:
- Rinse the water reservoir several times each week.
- Empty standing water when the brewer will sit unused.
- Clean the pod holder and drip tray weekly.
- Clear the needles when coffee flow slows.
- Descale on the schedule recommended for your model.
- Use fresh water and avoid overfilling the tank.
- Keep the brewer on a level, dry surface.
- Do not brew with a damaged pod.
- Avoid forcing the lid closed.
- Store reusable pods clean and dry.
Filtered water can reduce mineral buildup, but it does not eliminate the need for descaling. Bottled water may also contain minerals. The most useful choice depends on your local water quality.
In my own kitchen tests, the biggest improvement came from combining needle cleaning with descaling. Either task alone helped for a short time, but doing both restored a steady flow. The lesson is simple: clean the place where coffee enters and the path where water travels.
When to Replace or Professionally Repair the Brewer
Not every Keurig problem is worth repairing. A clogged needle or dirty reservoir is a simple home fix. A failed heater, burned circuit board, damaged power cord, or internal leak is a different matter.
Consider professional service or replacement when:
- The brewer trips the circuit repeatedly.
- The power cord becomes hot or damaged.
- Water leaks from the bottom.
- The machine smells like burning plastic.
- The display is damaged or constantly resets.
- The pump runs but never moves water after cleaning.
- The brewer makes loud grinding or clicking sounds.
- A replacement part costs close to the price of a new machine.
Never bypass a safety switch or remove electrical parts unless you are trained to work safely with appliances. A coffee maker contains heating components that can remain dangerous even after unplugging.
Check the warranty before opening the unit. Unauthorized repairs may end warranty coverage. Keep the model number, purchase date, and a short description of the fault ready when contacting support.
How to Fix the Keurig Coffee Maker: A Quick Diagnostic Guide
Use this short guide when you are unsure where to begin:
- No power: Test the outlet, reset the brewer, and inspect the cord.
- No water flow: Clean the needles, reseat the reservoir, and run a water-only cycle.
- Slow brewing: Descale the machine and clear the pod holder.
- Add Water message: Clean the tank valve and check the water-level float.
- Weak coffee: Use a smaller cup setting, fresh pods, and clean water.
- Pod-area leak: Check the pod rim, needles, and pod holder.
- Bottom leak: Unplug the brewer and seek service.
- Bad taste: Rinse the system and replace old water.
- Stops early: Let the brewer cool, then check for scale and flow problems.
- Burning smell: Stop using the machine and disconnect power.
This method keeps troubleshooting logical. Start with the safest, simplest cause before moving toward expensive or technical repairs.
Frequently Asked Questions About How to Fix the Keurig Coffee Maker
Why is my Keurig not pumping water?
A clogged needle, mineral scale, low water level, or air lock can stop water flow. Clean the pod holder, reseat the reservoir, and run several water-only cycles before attempting a descale.
How often should I descale my Keurig?
Descale when the brewer shows a warning or when flow becomes slow. Many homes need descaling every three to six months, but hard water and frequent use may require a shorter interval.
Can I use vinegar to clean my Keurig?
Some people use diluted white vinegar, but it may leave a strong smell and is not the preferred option for every model. A manufacturer-approved descaling solution is generally the safer choice, and the brewer should always be rinsed thoroughly afterward.
Why does my Keurig say “Add Water” when the tank is full?
The reservoir may not be seated, the bottom valve may be dirty, or the internal water-level sensor may be stuck. Remove the tank, clean its base and sensor area, then reinstall it firmly below the maximum fill line.
Why is my Keurig leaking from the bottom?
A bottom leak can indicate damaged tubing, seals, or an internal tank. Unplug the brewer and stop using it until it has been inspected or replaced.
Can a clogged Keurig needle be cleaned with a paper clip?
A straightened paper clip may clear light debris, but use care because the needle is sharp and delicate. A model-specific cleaning tool is better because it reduces the chance of bending or damaging the needle.
Why does my Keurig brew a smaller cup than selected?
Scale buildup, a clogged needle, a low reservoir, or a blocked water path can reduce the amount brewed. Clean the needles, run water-only cycles, and descale the machine if the issue continues.
Conclusion
The best way to fix the Keurig coffee maker is to work from simple causes to complex ones. Check the power, reseat the reservoir, clean both needles, run water-only cycles, and descale the brewer when mineral buildup affects flow. Always unplug the machine before cleaning sharp needles, and treat bottom leaks, burning smells, and damaged cords as safety concerns.
With regular rinsing and timely descaling, most Keurig brewers can deliver steady coffee for years. Try the diagnostic steps above, check your model’s care instructions, and share your results or questions in the comments.

Liora Pennings is a seasoned chef and kitchen enthusiast with a passion for turning everyday cooking into an effortless experience. With years of hands-on culinary expertise, she specializes in practical techniques, ingredient know-how, and smart kitchen solutions that help home cooks elevate their meals. At KitchFlair.com, Liora shares her best tips, time-saving tricks, and honest product reviews to guide readers toward a more efficient, enjoyable, and inspired cooking routine. Whether you’re a beginner or a seasoned home chef, Liora’s friendly, knowledge-packed insights make every visit to the kitchen a little easier—and a lot more delicious.