How To Fix Coffee Grinder Blades Not Spinning Properly: Now
Clean, unjam, and test motor coupling to restore blade rotation quickly and safely.
I’ve fixed dozens of small kitchen appliances, and I know how frustrating it is when your morning routine grinds to a halt because the blades in your coffee grinder won’t spin. This guide shows step-by-step solutions for how to fix coffee grinder blades not spinning properly, walking you through causes, safety checks, precise fixes, and maintenance tips so you can get consistent grinds again. Read on for hands-on advice, common mistakes to avoid, and clear troubleshooting that anyone can follow.
Why coffee grinder blades stop spinning
Most blade grinders stop spinning because of simple clogs, worn mechanical parts, or electrical issues. Grounds build up, blade shafts get stuck, couplings wear, or the motor or switch can fail. Understanding the root cause makes how to fix coffee grinder blades not spinning properly faster and safer.
Common causes
- Blocked chamber or stuck grounds that bind the blade assembly.
- Worn or broken drive coupling between motor and blade.
- Overheating, tripped thermal cutout, or a dead motor.
- Faulty power switch or damaged cord that prevents power flow.
- Bent or stripped blade mount or loose fasteners.
Why diagnosis matters
- Fixing the wrong part wastes time and money.
- Simple cleaning often solves the issue.
- Mechanical failures may need parts or a technician.

Safety first before you start
Always unplug your grinder before touching blades or internal parts. Unplugging prevents shocks and accidental starts. Use gloves and eye protection when handling sharp blades or metal parts.
Additional precautions
- Work on a stable, well-lit surface.
- Take photos while you disassemble to make reassembly easier.
- Keep small screws in a bowl so they don’t get lost.

Tools and parts you’ll need
You don’t need a full toolbox. A few basic items usually do the job. Having the right replacement part saves trips to the store.
Essential tools
- Soft brush or toothbrush to clean grounds.
- Compressed air can or small vacuum to clear debris.
- Screwdrivers (Phillips and flat-head).
- Needle-nose pliers.
- Replacement drive coupling or blade assembly if needed.
- Multimeter to test power and continuity (optional but helpful).
Helpful extras
- Isopropyl alcohol and cotton swabs for sticky residue.
- Lubricant rated for small appliances (only when recommended by manufacturer).

Step-by-step fixes for blade grinders
Below are clear, ordered steps for how to fix coffee grinder blades not spinning properly. Start with the simplest fixes and move to the complex ones. Test after each step.
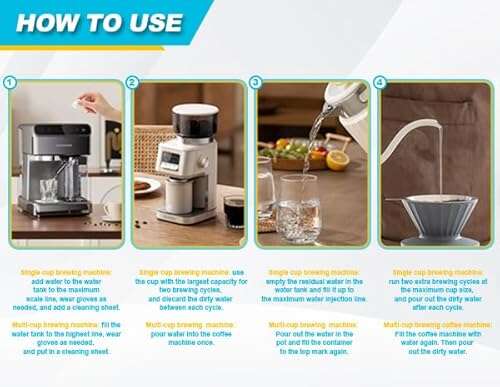
- Clean and clear the chamber
- Unplug the grinder and remove the hopper or lid.
- Use a brush and compressed air to remove loose grounds.
- Wipe inside with a slightly damp cloth; allow to dry before testing.
- Free a jammed blade
- Remove the blade assembly only if your model allows it.
- Check the blade shaft for grounds or sticky oils.
- Manually turn the shaft with pliers to free it. If it turns freely, reassemble and test.
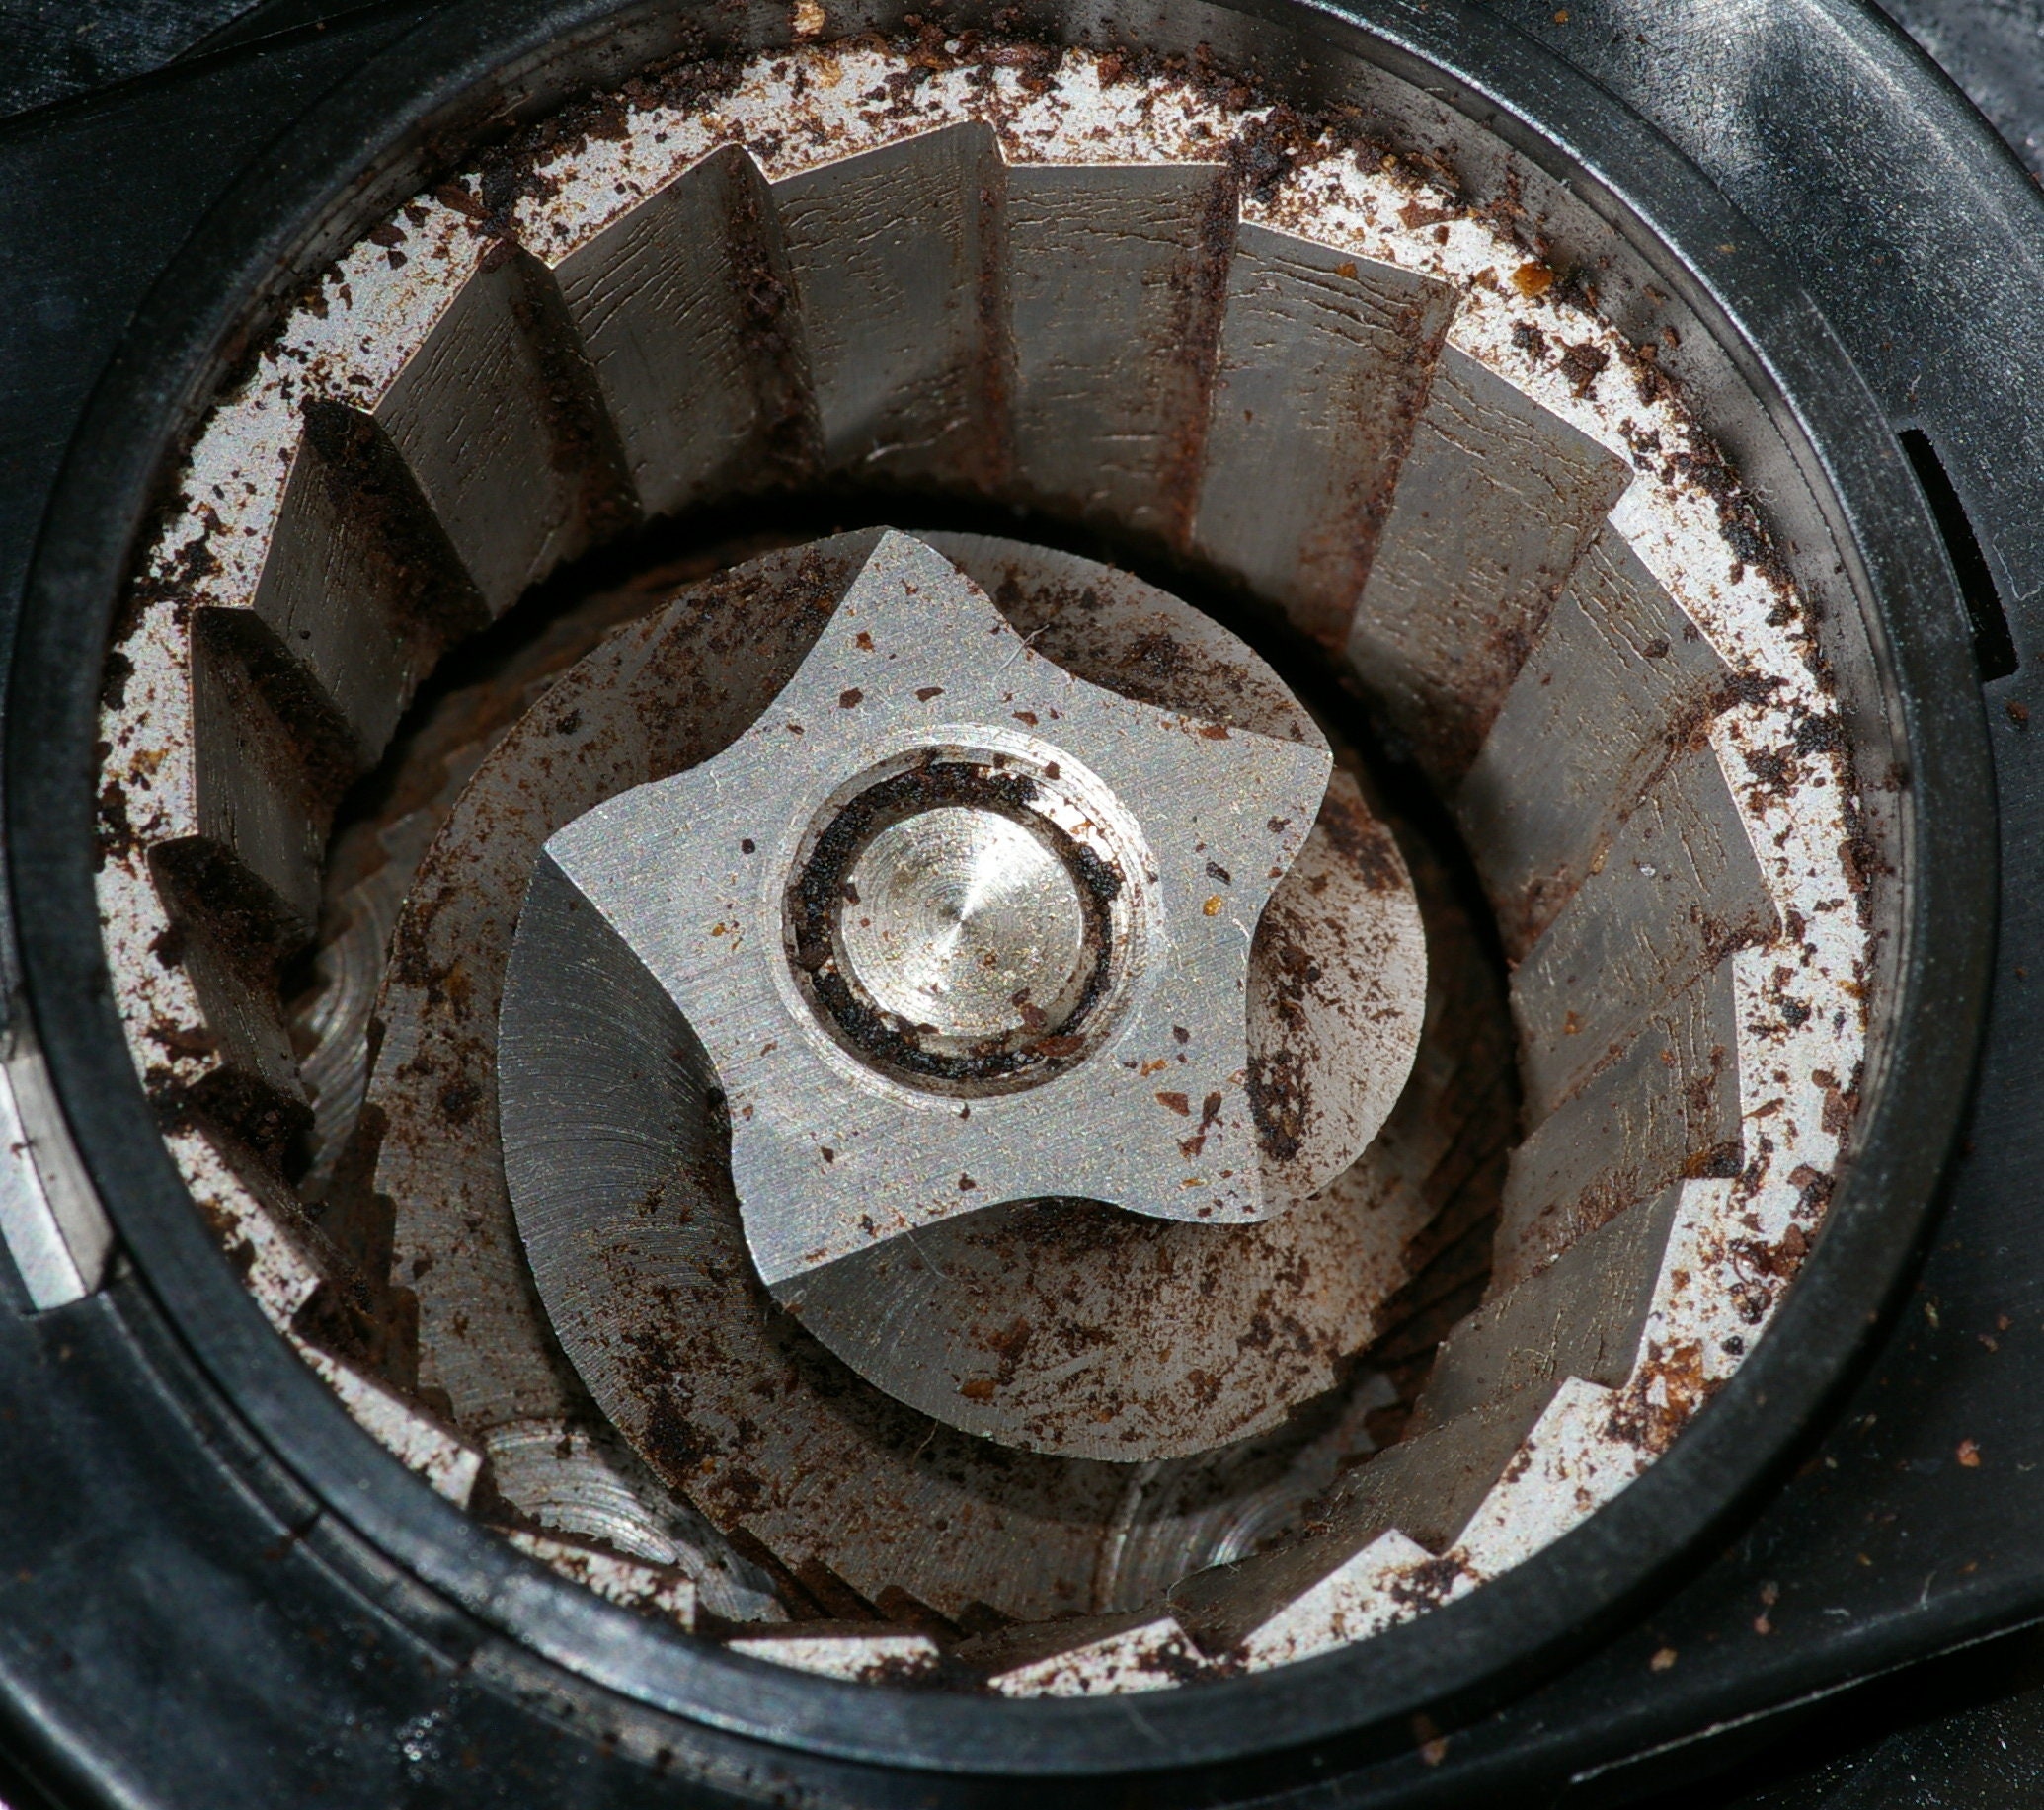
- Check the drive coupling and mount
- Inspect the plastic or rubber coupling that joins motor shaft to blade.
- Look for cracks, wear, or missing teeth. A worn coupling often stops blade rotation.
- Replace the coupling if it’s damaged; they are inexpensive and easy to fit.
- Test the motor and electrical parts
- With the grinder unplugged, open the housing to access wiring only if you’re comfortable.
- Check the power cord and switch for visible damage.
- Use a multimeter to test continuity on the switch and motor terminals. No continuity may indicate a failed part.
- If the motor hums but blades don’t turn, the coupling or blade mount is likely at fault.
- Address overheating and thermal cutouts
- If the motor stopped after heavy use, let it cool 15–30 minutes.
- Some grinders have thermal fuses that reset; others need replacement.
- If the grinder runs briefly then stops, an intermittent thermal issue may be present.
- Replace the blade or motor when needed
- If blades are bent, replace them for safe, even grinding.
- If the motor is dead and parts are costly, compare repair cost to replacement grinder price.
- When replacing parts, use manufacturer-approved components for safety.
Personal tip from experience
- I once fixed a grinder by replacing a tiny rubber coupling the size of a pea. It cost a few dollars and worked perfectly. Always check that small coupling first; it fails a lot.

Maintenance to prevent future problems
A small routine keeps blades spinning and flavor high. These steps reduce the need to learn how to fix coffee grinder blades not spinning properly again.
Daily and weekly habits
- Knock or brush out grounds after each use.
- Avoid oily beans that gum up blades; clean more often if you use them.
- Run rice or a cleaning tablet occasionally in blade grinders to absorb oils (follow manufacturer guidelines).
Monthly care
- Deep clean: disassemble as allowed, brush, vacuum, and wipe all parts.
- Inspect coupling and blade mounts for wear.
- Test the switch and cord for secure connections.
Storage and usage tips
- Store the grinder in a dry place.
- Don’t overload the hopper; grind in short bursts for consistency and motor longevity.

When to repair vs replace
Deciding whether to repair or replace is practical and reduces risk. Consider these points when evaluating how to fix coffee grinder blades not spinning properly.
Repair when
- The fault is a small part like the coupling, blade, or switch.
- Replacement parts are available and inexpensive.
- You enjoy DIY fixes and have basic tools.
Replace when
- The motor is burned out and repair costs approach a new grinder price.
- Internal damage is extensive or rusted wiring exists.
- The grinder is very old and lacks replacement parts.
Cost guide
- Coupling or blade: low cost, easy fix.
- Motor or PCB repair: often high cost and may not be worth it.
- New budget grinder often costs less than a motor repair.
Frequently Asked Questions of how to fix coffee grinder blades not spinning properly
Why won’t my coffee grinder blades spin after cleaning?
If blades won’t spin after cleaning, debris may still be stuck in the blade shaft or coupling. Recheck the shaft and coupling and manually rotate the blade to free any residue.
How do I know if the motor or coupling is broken?
If the motor hums but blades don’t turn, the coupling or blade mount is likely broken. If there is no hum and no power, test the switch and cord for continuity.
Can I use lubricant to free a stuck blade?
Only use lubricant recommended by the manufacturer and in tiny amounts. Excess oil attracts coffee dust and can cause more sticking or affect flavor.
Is it safe to disassemble my grinder to fix the blades?
You can safely disassemble many models for cleaning and simple repairs, but unplug the unit first and follow the manual. If you’re unsure about electrical parts, consult a technician.
How often should I clean the grinder to avoid jams?
For light use, wipe and brush after each use and deep clean monthly. For oily beans or heavy use, clean more often to prevent buildup.
What replacement parts fail most often on blade grinders?
The drive coupling and the blade assembly are the most common failures. They are small, affordable parts and simple to replace.
Conclusion
You can save time and money by following clear steps to diagnose and repair blade grinders. Start with cleaning and checking the coupling, then move to electrical checks and part replacement if needed. With steady maintenance, you’ll avoid many common jams and keep your grinder spinning smoothly.
Try these fixes this weekend and see how your grinder performs. If you found this guide helpful, leave a comment with your model and problem, or subscribe for more appliance repair tips.

Liora Pennings is a seasoned chef and kitchen enthusiast with a passion for turning everyday cooking into an effortless experience. With years of hands-on culinary expertise, she specializes in practical techniques, ingredient know-how, and smart kitchen solutions that help home cooks elevate their meals. At KitchFlair.com, Liora shares her best tips, time-saving tricks, and honest product reviews to guide readers toward a more efficient, enjoyable, and inspired cooking routine. Whether you’re a beginner or a seasoned home chef, Liora’s friendly, knowledge-packed insights make every visit to the kitchen a little easier—and a lot more delicious.