How To Reset A Keurig Coffee Maker: Quick Easy Guide
To reset a Keurig coffee maker, unplug it, remove the water tank, wait, and restart it.
When a Keurig freezes, stops brewing, or shows odd behavior, a reset can often clear the fault in minutes. I have found that the best approach is to start with a soft reset, then use model-specific steps only if needed. This guide explains how to reset a Keurig coffee maker safely, what each reset changes, and when cleaning or service is the better fix.
Why reset a Keurig coffee maker?
A reset restarts the brewer’s control system. It is similar to restarting a phone that has become slow or stuck. The process may clear a temporary software fault, restore normal button response, or help the machine recognize its water reservoir.
You may need to reset a Keurig coffee maker when:
• The brewer will not turn on
• The display is frozen
• The machine stops during a brew cycle
• The “Add Water” light stays on
• The brewer will not recognize the reservoir
• Buttons respond slowly or not at all
• The machine makes noise but does not brew
• A recent cleaning does not solve the problem
A reset will not repair every issue. It cannot remove mineral buildup, fix a broken pump, or repair a damaged power cord. Think of it as clearing a traffic jam in the brewer’s controls, not rebuilding the road.
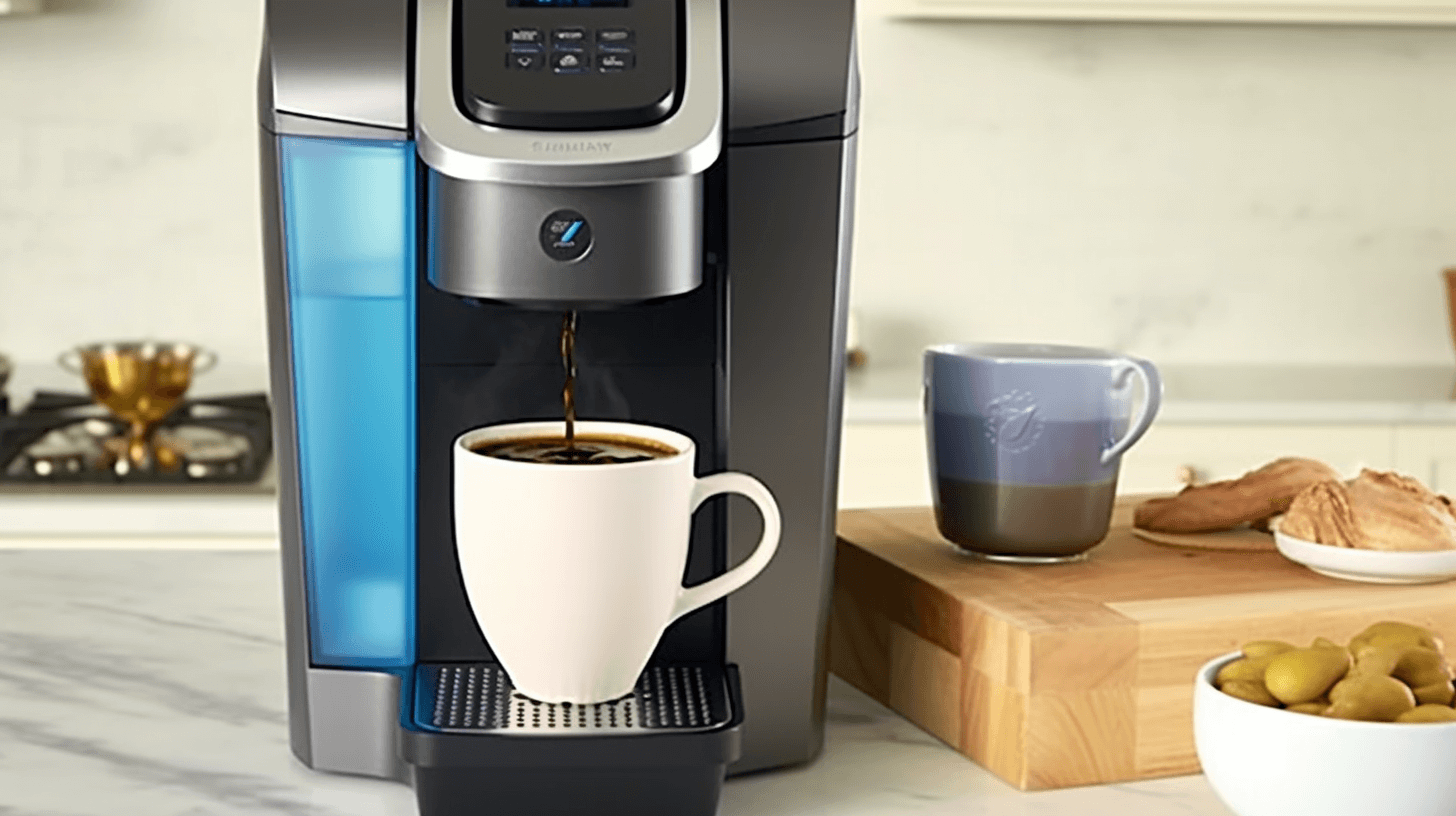
How to reset a Keurig coffee maker with a soft reset
A soft reset is the safest method for most Keurig models. It does not erase your preferred settings on many machines, although exact results can vary by model.
Follow these steps:
- Turn the Keurig brewer off using the power button, if it responds.
- Unplug the power cord from the wall outlet.
- Remove the water reservoir and its lid.
- Wait at least 30 seconds. Waiting for two to five minutes is better if the display is frozen.
- Plug the brewer directly into a wall outlet.
- Reinstall the water reservoir.
- Turn the machine on.
- Wait for the heating cycle to finish.
- Run a water-only brew cycle without a K-Cup pod.
The water-only cycle helps flush air from the internal line. It also confirms whether the brewer can draw water and heat it normally.
When I troubleshoot a Keurig, I avoid plugging it into a busy power strip during the reset. A direct wall outlet removes one possible cause of weak or unstable power. Also, never reset the brewer while water is spilling or while the machine is visibly damaged.

How to reset a Keurig coffee maker with removable parts
Some Keurig machines need more than a simple power cycle. Removing the reservoir and pod holder can help the brewer reset its sensors and release trapped air.
Use this method:
- Power off and unplug the brewer.
- Remove the water reservoir.
- Remove the drip tray if it slides out easily.
- Lift out the pod holder, if your model allows it.
- Check for a stuck K-Cup pod or loose coffee grounds.
- Reinstall the pod holder and drip tray.
- Replace the reservoir with fresh water.
- Plug the brewer into a wall outlet.
- Turn it on and wait for the ready screen or indicator light.
- Brew one or two cycles with water only.
Do not force a part that does not come out. Keurig designs differ, and some components are not meant to be removed by the user. Your model’s manual is the final authority.
This method often helps when the Keurig says “Add Water” even though the tank is full. Make sure the reservoir sits flat and that its outlet valve is not blocked by scale or debris.

How to factory reset a Keurig coffee maker
A factory reset is different from a soft reset. It may erase clock settings, brew preferences, temperature choices, and other saved options. Use it only when a normal power reset does not solve the problem.
Touchscreen Keurig models may offer a factory reset in the settings menu. The wording can vary, but the path often looks like this:
- Turn on the brewer.
- Open Settings or Menu.
- Look for Factory Reset, Reset, or Restore Defaults.
- Read the confirmation message.
- Confirm the reset.
- Wait for the brewer to restart.
- Set the clock and other preferences again.
- Run a water-only brew cycle.
Some models do not include a factory reset option. Other models use different menu names or button combinations. Do not use a button sequence from a different Keurig model unless the instructions match your exact brewer.
A factory reset is useful when settings are corrupted or the touchscreen behaves strangely. It will not remove mineral deposits from the needle, water line, or heating system.

Model-specific ways to reset a Keurig coffee maker
Keurig brewers share basic functions, but their reset controls are not identical. The safest plan is to identify the model number before using advanced steps.
Keurig Classic and K-Classic
For many Classic models, use the standard soft reset:
• Turn the brewer off.
• Unplug it for 30 seconds to five minutes.
• Remove and replace the water reservoir.
• Plug it in and power it on.
• Run a cleansing brew with no pod.
If the brewer still does not work, clean the entrance and exit needles. A clogged needle can look like an electronic problem.
Keurig K-Elite
The K-Elite usually responds well to a full power cycle. Turn it off, unplug it, remove the reservoir, wait, and restart it. If the display remains locked, check the manual for the correct control-panel reset process rather than trying random button combinations.
The K-Elite also has settings for temperature, strong brew, and auto-on. A reset may return some choices to their default state, so check the settings after the brewer restarts.
Keurig K-Select
To reset a Keurig coffee maker in the K-Select family, start with the soft reset. Remove the reservoir during the unplugged period, then reinstall it firmly before turning the brewer on.
If the “Add Water” light remains on, clean the tank’s outlet area and confirm that the magnetic float inside the reservoir moves freely. Do not add soap to the water tank unless the manufacturer specifically permits it.
Keurig K-Cafe
The K-Cafe has extra functions for coffee, lattes, and cappuccinos. Begin with the normal unplugged reset. After restarting, test the coffee function first, then test the milk frother separately.
If only the frother fails, resetting the entire coffee maker may not help. Clean and dry the frother whisk, cup, and base according to the care instructions.
Keurig 2.0 and touchscreen models
Some Keurig 2.0 and touchscreen brewers provide reset choices through the menu. Look under Settings, Advanced Settings, or System options. Since menus vary, use the instructions for the exact model number printed on the brewer.
If the screen is frozen, perform a soft reset before attempting a menu reset. A touchscreen cannot open its settings if the control system has stopped responding.
What to do if a reset does not fix your Keurig
When a reset fails, the cause may be a blockage, air lock, scale buildup, or a hardware fault. Work through the simple checks below before assuming the brewer is permanently broken.
Check the power supply
Try a different wall outlet. Confirm that the power cord is fully inserted and that the circuit breaker has not tripped.
Do not use the brewer if the cord is frayed, the plug is hot, or the housing shows signs of water damage. Electrical faults require professional attention.
Clean the entrance and exit needles
Coffee grounds can block the needles that puncture the K-Cup pod. Unplug the machine first, then follow the manufacturer’s cleaning instructions.
A straightened paper clip is sometimes recommended for clearing a needle, but use care. The needle is sharp, and forcing debris deeper can make the blockage worse. A Keurig needle-cleaning tool is a safer option when your model supports one.
Descale the brewer
Minerals from hard water can build up inside the heating system. Signs include slow brewing, a smaller cup, loud pumping, and repeated “Add Water” messages.
Use the approved descaling method for your model. Descaling solution is usually more suitable than vinegar because it is designed for the brewer and may leave less odor. Always rinse with fresh water after descaling.
Clear an air lock
An air lock can prevent water from reaching the pump. Remove and refill the reservoir, place it firmly on the base, and run several water-only cycles.
Never shake the brewer aggressively or turn it upside down. Those actions can move water into areas that should remain dry.
Test the brew cycle without a pod
Place a large cup under the spout and run a water-only cycle. If water flows normally, the issue may involve the pod, needle, or pod holder.
If the pump runs but no water comes out after cleaning and descaling, stop repeated attempts. Running the pump while the system is blocked may place extra strain on it.

Common mistakes when resetting a Keurig coffee maker
A reset is simple, but a few common mistakes can create new problems.
• Using a random reset sequence from another model: Keurig controls differ widely.
• Skipping the unplugged wait: The machine may retain a small electrical charge for a short time.
• Leaving the reservoir in place: Removing it can help clear sensor errors.
• Forgetting the water-only cycle: This leaves air or cleaning fluid in the line.
• Resetting instead of descaling: A software restart cannot dissolve mineral buildup.
• Forcing the pod holder: Plastic parts can crack or lose alignment.
• Using a power strip with many devices: Unstable power can cause startup problems.
• Brewing immediately after descaling: Rinse the system well before making coffee.
One mistake I see often is repeating the reset over and over. If the same fault returns after one proper reset, look for a physical cause. A reset should be a diagnostic step, not a substitute for maintenance.

How to prevent future Keurig problems
Good care reduces the need to reset a Keurig coffee maker. Simple habits also help the brewer make a more consistent cup.
Use filtered water if your local water is hard or has a strong mineral taste. Empty the reservoir if the machine will sit unused for several days. Wash removable parts with mild dish soap and rinse them well.
Keep the pod holder and needles free from loose grounds. Do not overfill the reservoir, and do not operate the brewer without enough water.
A useful routine is:
• Wipe the exterior and drip tray each week.
• Wash the reservoir regularly.
• Inspect the pod holder when coffee flow slows.
• Descale when the brewer indicates it or when performance drops.
• Run a water-only cycle after cleaning.
• Store the brewer dry if it will not be used for a long period.
Keurig’s care guidance varies by model, so follow the schedule in your owner’s manual. Water quality, daily use, and brewer age all affect how often descaling is needed.
When to contact Keurig support or a technician
Contact support when the brewer will not power on after testing a known working outlet and checking the cord. You should also seek help if the machine leaks from its base, smells like burnt plastic, trips a breaker, or shows an error that returns after a reset.
A brewer that heats but does not pump water may have a blocked line or failed pump. A screen that remains blank may indicate a control-board or power problem. These issues are not good candidates for home repair.
Have the model number, purchase date, and a short description of the fault ready. Avoid opening the housing while the brewer is plugged in. Internal electrical parts can remain hazardous even when the display is off.
Frequently asked questions about how to reset a Keurig coffee maker
How long should I unplug my Keurig to reset it?
Unplug the brewer for at least 30 seconds. If the display is frozen or the machine acts unusual, wait two to five minutes before plugging it back in.
Will resetting a Keurig erase my settings?
A basic power reset usually does not erase all settings. A factory reset may remove clock times, temperature choices, brew preferences, and other saved options.
Why does my Keurig still say “Add Water” after a reset?
The reservoir may not be seated correctly, or its float and outlet valve may be blocked by scale. Remove the tank, clean it, refill it, and place it firmly back on the brewer.
Can I reset a Keurig without unplugging it?
Some touchscreen models include a reset option in the settings menu. If the controls are frozen, unplugging the brewer is usually the most reliable first step.
Why is my Keurig making noise but not brewing?
The pump may be trying to move water through an air lock or mineral blockage. Try a reservoir check, needle cleaning, descaling, and several water-only cycles before seeking service.
Does resetting a Keurig fix a slow brew?
It may clear a temporary control error, but slow brewing is often caused by scale or a clogged needle. If the problem returns, clean and descale the brewer.
Conclusion
Resetting a Keurig coffee maker usually starts with a simple power cycle: turn it off, unplug it, remove the reservoir, wait, and restart it. If that does not work, check the water tank, clean the needles, clear possible air locks, and descale the machine.
Use model-specific factory reset steps only when necessary, and never ignore leaks, electrical damage, or repeated faults. Try the safe steps today, then consult your model manual or Keurig support for further help.

Liora Pennings is a seasoned chef and kitchen enthusiast with a passion for turning everyday cooking into an effortless experience. With years of hands-on culinary expertise, she specializes in practical techniques, ingredient know-how, and smart kitchen solutions that help home cooks elevate their meals. At KitchFlair.com, Liora shares her best tips, time-saving tricks, and honest product reviews to guide readers toward a more efficient, enjoyable, and inspired cooking routine. Whether you’re a beginner or a seasoned home chef, Liora’s friendly, knowledge-packed insights make every visit to the kitchen a little easier—and a lot more delicious.