How To Operate Keurig Coffee Maker: Easy User Guide
To operate a Keurig coffee maker, add water, insert a pod, choose a cup size, and press brew.
Learning how to operate a Keurig coffee maker is simple, but small steps affect taste, safety, and machine life. This guide explains the full process, from first setup and daily brewing to cleaning, troubleshooting, and smart maintenance. The steps fit most Keurig models, though button names and features can vary.
What You Need Before Brewing
Before you learn how to operate a Keurig coffee maker, gather a few basic items. You need fresh drinking water, a compatible K-Cup pod, and a mug that fits beneath the brew outlet.
Place the machine on a flat, dry counter near a grounded electrical outlet. Leave space above it so you can lift the handle fully. Avoid placing the brewer beside a stove or sink, where heat and splashes may cause problems.
Check these items before you begin:
• Fresh, cold water
• A sealed K-Cup pod
• A clean mug
• A working power outlet
• An empty drip tray if it is full
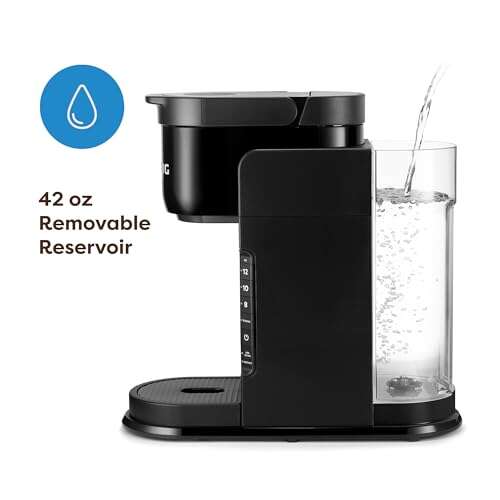
Many Keurig brewers have a removable water reservoir. Others connect to a water line or use a small tank. Look at the markings inside the reservoir, such as “MIN” and “MAX,” and never fill above the maximum line.

How to Operate a Keurig Coffee Maker Step by Step
The basic brewing process takes only a few minutes. Follow these steps in order for a smooth first cup.
1. Fill the Water Reservoir
Remove the water tank if your model allows it. Fill it with cold, clean water up to the marked line. Reattach the tank firmly so the machine can draw water correctly.
Do not use hot water in the reservoir. The brewer heats the water on its own. Hot water may affect the pump or create a burn risk.
For the best flavor, use filtered tap water if your tap water has a strong taste or high mineral content. Bottled water also works, but distilled water is usually not ideal unless the manufacturer specifically permits it. Some coffee makers rely on minerals to sense water levels.
2. Turn On the Brewer
Press the power button. Some models turn on when you lift the handle, while others have a clear power switch.
The brewer may display “Heating” or flash its buttons. Wait until the machine finishes heating. Starting the brew cycle too soon may produce a weak cup or stop the process.
3. Place a Mug Under the Spout
Set your mug on the drip tray. Choose a mug that is large enough for the selected cup size.
For example, do not select a 12-ounce brew size if your mug holds only 8 ounces. A small mug can overflow and create a hot, sticky mess.
4. Insert the K-Cup Pod
Lift the handle all the way. Place the K-Cup pod into the pod holder with the flat lid facing up.
Do not remove the foil lid. The brewer punctures the pod during brewing. Close the handle firmly until it locks into place.
Never use a damaged, swollen, or leaking pod. It may not seal correctly and could send hot water or coffee grounds into the wrong area.
5. Select the Cup Size
Choose the cup size shown on the control panel. Common choices include 6, 8, 10, and 12 ounces, but the options depend on the model.
A smaller size often produces stronger coffee because the same amount of coffee grounds meets less water. A larger size gives you more volume but can taste lighter.
6. Press Brew
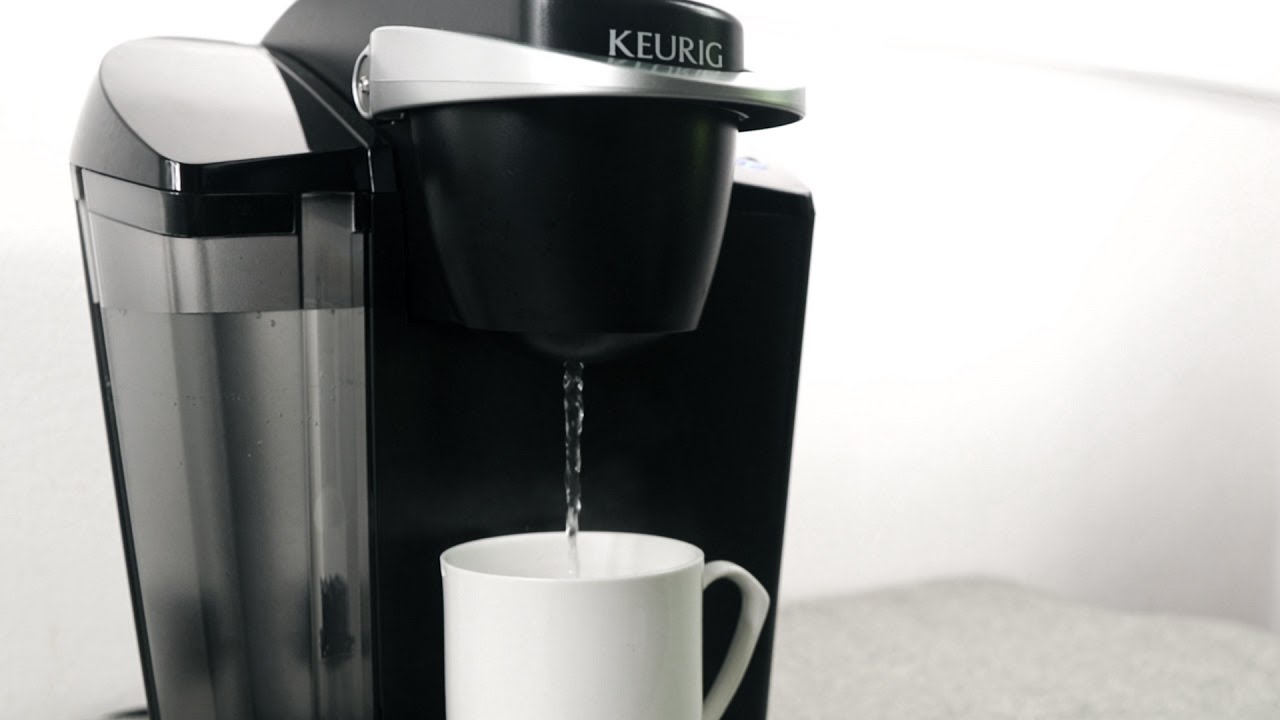
Press the Brew, Start, or similar button. The machine may make a short pumping sound. This is normal.
Wait until the stream stops before removing the mug or opening the handle. The last drops can be very hot, and the pod may still contain pressurized water.
7. Remove the Used Pod
When brewing ends, lift the handle carefully. Allow a few seconds for excess water to drain into the pod holder.
Remove the used pod and place it in the trash or a suitable recycling system. Recycling rules vary by location and pod type. Do not leave a used pod inside the brewer for hours, since it can encourage stale smells and mold growth.
This basic process explains how to operate a Keurig coffee maker for most daily cups.

How to Use Different Keurig Settings
Modern Keurig machines may include features beyond simple brewing. These can include Strong Brew, iced coffee, temperature control, programmable start times, and a hot water function.
Strong Brew
The Strong Brew option usually slows or changes the water flow. This gives the coffee grounds more contact time with water.
Use Strong Brew when you choose a larger cup size or prefer a bolder taste. It cannot make an old or low-quality pod taste fresh, but it can improve body and strength.
Iced Coffee
Some models have an “Iced” button. Fill a heat-safe cup with ice, place it under the spout, insert a pod, and select the iced setting.
Do not fill the cup completely with ice before brewing unless there is enough room to prevent splashing. Hot coffee melts some ice, so a full cup may overflow.
Hot Water
Many Keurig brewers can dispense hot water without a pod. Remove any used pod, place a mug under the spout, and select the hot water option if your model has one.
Run one water-only cycle after flavored coffee pods. This helps reduce leftover flavor in the next cup.
Brew Temperature
Some advanced models let you adjust temperature. A hotter setting may help bring out flavor, but it can also make coffee taste bitter if the pod is dark roasted.
A moderate setting is a good starting point. Change only one setting at a time so you can tell what improves the cup.

How to Get Better-Tasting Coffee
Knowing how to operate a Keurig coffee maker is only part of making a good cup. Water quality, pod freshness, brew size, and cleaning all matter.
Use fresh pods that have been stored in a cool, dry place. Keep them away from direct sunlight, steam, and strong odors. Coffee absorbs smells, so storing pods beside spices may change their flavor.
Match the pod to the cup size. A pod designed for a small serving may taste thin when brewed into a large travel mug. If you want more coffee, use a larger pod, brew two smaller cups, or select a pod labeled for a larger serving.
Try these simple improvements:
• Use filtered water when tap water tastes harsh.
• Preheat your mug with hot water before brewing.
• Choose a smaller cup size for stronger flavor.
• Use Strong Brew when available.
• Stir the coffee before adding cream or sugar.
• Drink the coffee soon after brewing.
A common mistake is using the biggest cup button every time. This is convenient, but it pushes more water through a small amount of grounds. The result can taste like colored water rather than coffee.
Another mistake is judging the machine by one old pod. If coffee tastes weak, test a fresh pod at a smaller size before assuming the brewer is broken.
How to Clean and Maintain a Keurig Coffee Maker
Regular cleaning helps protect flavor and keeps the brewer working well. Keurig guidance commonly recommends cleaning removable parts often and descaling when mineral buildup develops.
Unplug the machine before cleaning the outside. Remove the drip tray and water reservoir if the manual allows it. Wash these parts with warm water and mild dish soap, then rinse them well.
Do not immerse the electrical base in water. Wipe it with a damp cloth and dry it before plugging the brewer back in.
Clean the Pod Holder and Needle
Coffee grounds can collect around the pod holder and entrance needle. This may cause slow brewing, leaking, or a short cup.
Follow your model’s instructions for removing the pod holder. Use a soft brush or a tool approved by the manufacturer to clear debris. Avoid forcing a sharp object into the needle, since this can damage the brewer or cause injury.
Descale the Brewer
Descaling removes mineral deposits from the internal water path. Hard water creates more buildup, so homes with hard water may need more frequent descaling.
Use a manufacturer-approved descaling solution and follow the instructions for your specific model. The process usually involves running the solution through the brewer, allowing it to sit, and then running several fresh-water cycles.
Never mix cleaning chemicals. Do not use bleach inside the water system. Rinse thoroughly after descaling so no cleaning taste remains.
Create a Simple Cleaning Routine
Use this practical schedule:
• After each use: Remove the pod and wipe spills.
• Weekly: Wash the drip tray and rinse the water reservoir.
• Monthly: Inspect the pod holder and needles.
• As needed: Descale when the machine shows a warning, brews slowly, or develops a sour taste.
The correct schedule depends on water hardness and use. A busy office brewer may need care more often than a machine used once each morning.

Common Keurig Problems and Solutions
Even when you know how to operate a Keurig coffee maker, small problems can occur. Most are linked to water flow, pod placement, mineral buildup, or an incorrect setting.
The Keurig Will Not Turn On
Check that the power cord is fully connected. Test the outlet with another device, but do not use a damaged cord or loose power strip.
If the brewer still does not turn on, unplug it for several minutes and reconnect it. Read the manual before trying any internal repair. Do not open the machine while it is plugged in.
The Brewer Makes a Short Cup
A short cup may result from low water, a blocked needle, mineral buildup, or an incorrectly seated reservoir.
Try these steps:
• Fill the reservoir above the minimum line.