How To Make Homemade Popcorn: Easy Stovetop Guide
Make homemade popcorn with kernels, oil, and a covered pot in about 10 minutes.
Learning how to make homemade popcorn is simple, affordable, and far better than many microwave options. With the right heat, a little oil, and fresh kernels, you can make crisp, fluffy popcorn on the stove without burnt spots or soggy pieces. This guide explains each step, shares tested kitchen tips, and helps you fix the most common popcorn problems.
Why Make Homemade Popcorn?
Homemade popcorn gives you control over every ingredient. You can choose the oil, adjust the salt, and add flavors that suit your taste. It also costs less than ready-to-eat snack bags and creates less packaging waste.
Popcorn is a whole-grain food when it is not covered in heavy butter, sugar, or salt. Air-popped popcorn is naturally low in calories, while stovetop popcorn gains flavor from a small amount of oil. The final nutrition depends on your toppings and serving size.
Another benefit is freshness. Freshly popped kernels have a warm, toasted flavor and a light crunch. Store-bought popcorn can taste stale, while homemade popcorn goes from pot to bowl in minutes.
In my own kitchen tests, the biggest improvement came from using medium heat instead of high heat. High heat may pop the kernels quickly, but it can burn the oil and leave many unpopped kernels behind.
:max_bytes(150000):strip_icc()/Simply-Recipes-Perfect-Popcorn-LEAD-31-3af0091610534688987ea45b0efa472a.JPG)
Ingredients and Equipment for Homemade Popcorn
You need only a few basic items to make homemade popcorn. The quality of the kernels and the size of your pot matter more than expensive equipment.
Ingredients
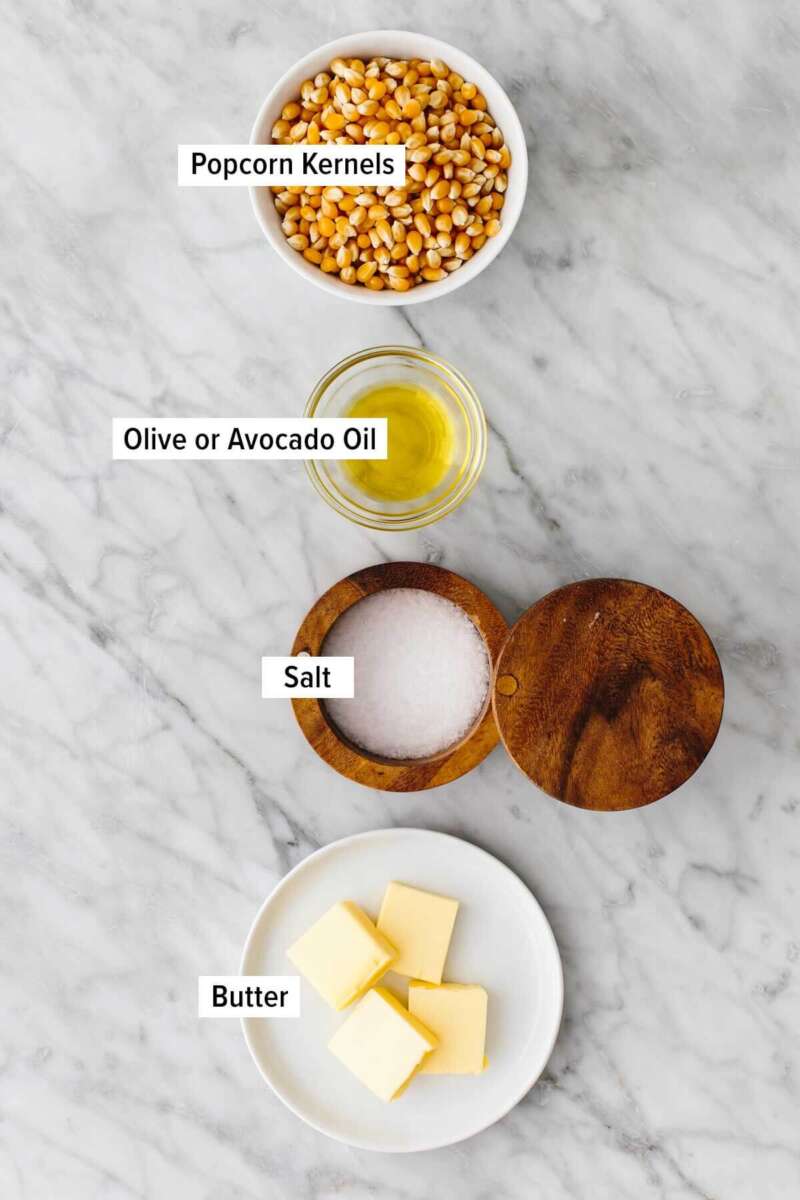
For about 8 cups of popped popcorn, gather:
• ½ cup popcorn kernels
• 2 tablespoons neutral cooking oil
• ¼ to ½ teaspoon fine salt, or more to taste
• 1 to 2 tablespoons melted butter, optional
Good oil choices include canola, vegetable, avocado, grapeseed, and refined coconut oil. Choose an oil with a suitable smoke point so it can handle steady stovetop heat without smoking.
Equipment
Use:
• A heavy pot or saucepan with a lid
• A large bowl
• A long spoon or heat-safe spatula
• Measuring spoons
• Oven mitts
A heavy pot spreads heat more evenly. This helps prevent the kernels at the bottom from burning before the rest of the batch pops. The lid must fit well, but it should allow a little steam to escape if possible.
How to Make Homemade Popcorn on the Stove
This stovetop method is reliable and easy to adjust. Keep the pot covered, listen closely, and remove it from the heat when the popping slows.
Step 1: Warm the oil
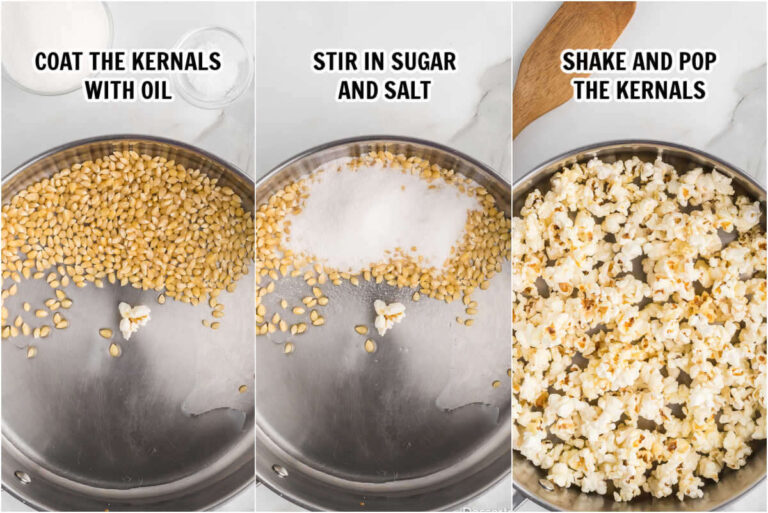
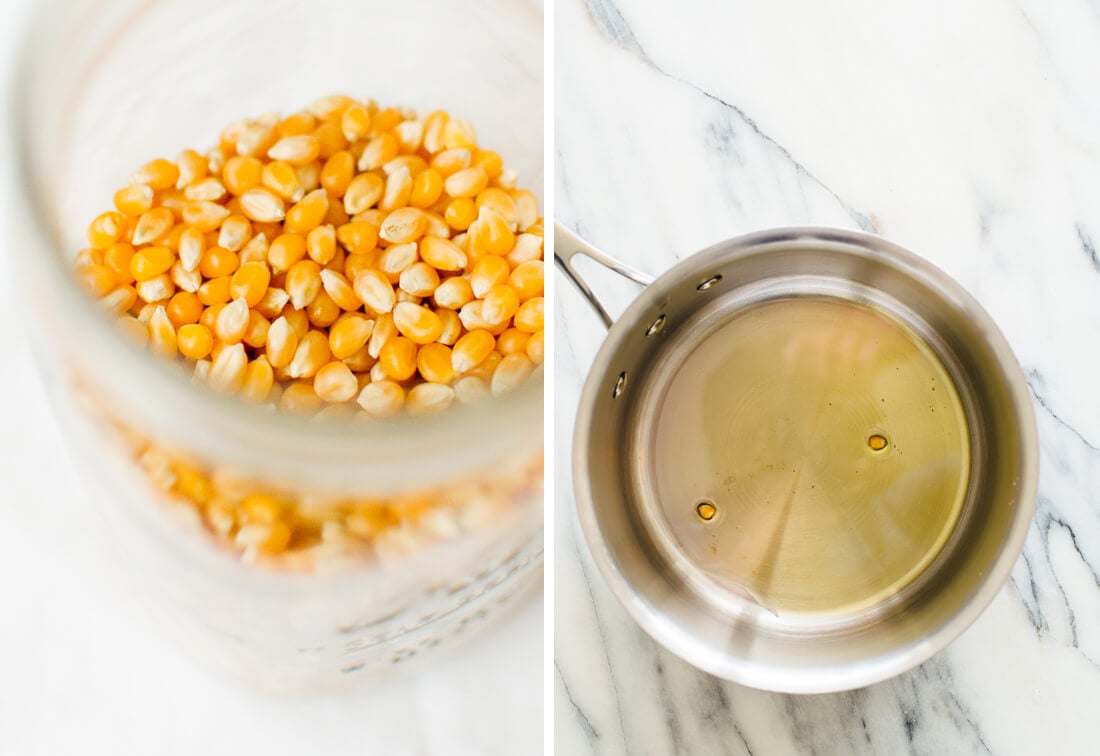
Pour the oil into a large, heavy pot. Add two or three popcorn kernels and place the pot over medium heat.
Cover the pot and wait until the test kernels pop. This tells you that the oil is hot enough for the main batch. It also reduces the chance of adding kernels to oil that is still cold.
Step 2: Add the remaining kernels
Remove the pot from the heat for about 30 seconds. Add the remaining kernels and gently shake the pot to coat them with oil.
This short pause helps the kernels heat more evenly. It is a small trick, but it can reduce the number of unpopped kernels.
Step 3: Return the pot to medium heat
Place the pot back on the burner and keep the lid on. Leave the lid slightly open if your pot design allows it, or lift it very carefully for a moment to release steam.
Steam is the enemy of crisp homemade popcorn. If it stays trapped inside, the popcorn can become soft instead of crunchy.
Step 4: Shake the pot
As the kernels begin to pop, gently shake the pot from side to side. Keep one hand on the handle and use an oven mitt if the handle becomes hot.
Shaking moves the unpopped kernels toward the hot surface. It also helps prevent popped pieces from sitting on the bottom and scorching.
Step 5: Stop at the right time
When the popping slows to about one pop every two seconds, move the pot off the heat. Wait a few seconds before removing the lid.
Do not wait for every kernel to pop. A few unpopped kernels are normal, and waiting too long can turn a golden batch into a smoky one.
Step 6: Season and serve
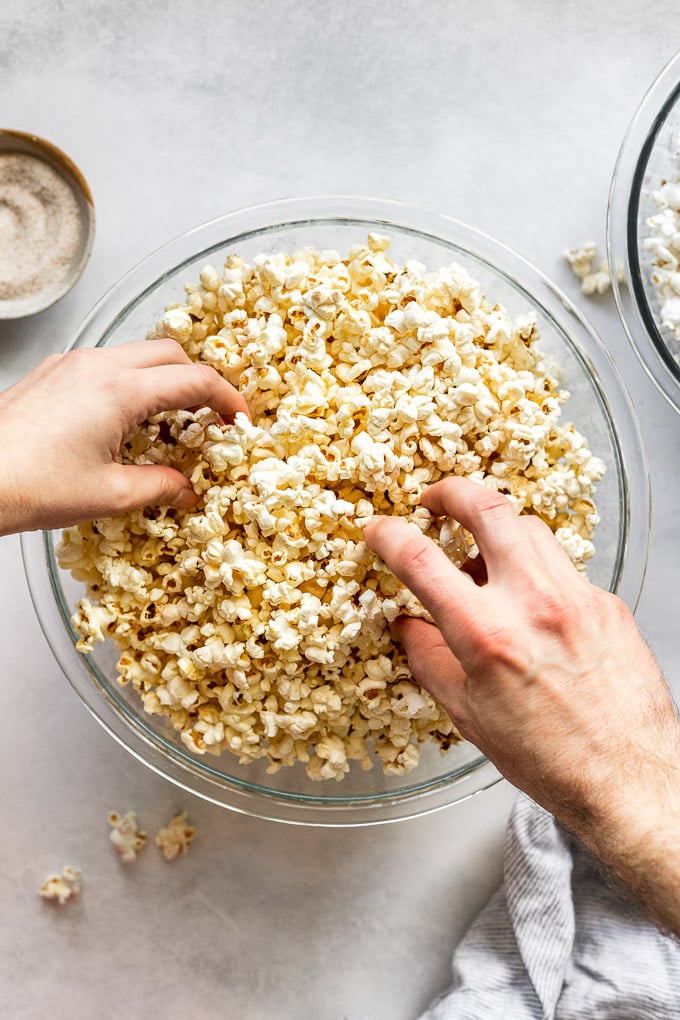
Pour the popcorn into a large bowl. Add salt while the popcorn is still warm, then toss well.
If using butter, melt it first and drizzle it slowly over the popcorn while tossing. This spreads the butter more evenly and helps prevent a few pieces from becoming soaked.

How to Make Homemade Popcorn in an Air Popper
An air popper uses hot air instead of oil. It is a useful choice when you want a lighter snack or prefer to add your own amount of fat later.
Place the air popper near a large bowl. Add the recommended amount of kernels, turn on the machine, and let the popcorn fall into the bowl. Do not add oil or butter to the popping chamber unless the manufacturer specifically says it is safe.
Air-popped homemade popcorn can taste plain without seasoning. Add melted butter, olive oil spray, nutritional yeast, cinnamon, smoked paprika, or a small amount of finely ground salt.
Air-popped popcorn is often less rich than stovetop popcorn. However, it gives you more control over calories and added fat. Both methods can make excellent homemade popcorn when the kernels are fresh and the seasoning is balanced.

Best Oils and Seasonings for Homemade Popcorn
Oil affects the taste, texture, and aroma of homemade popcorn. A neutral oil lets the corn flavor stand out, while coconut or olive oil adds a stronger taste.
Oil choices
• Canola oil: Mild, affordable, and dependable for stovetop cooking.
• Avocado oil: Neutral and suitable for higher cooking temperatures.
• Refined coconut oil: Adds a light movie-theater-style flavor.
• Grapeseed oil: Mild and light, with a clean taste.
• Olive oil: Best used over finished popcorn or with gentle heat, depending on the type.
Avoid using butter as the main popping oil. Butter contains water and milk solids, which can burn before the kernels finish popping. Use clarified butter or add regular melted butter after popping.
Seasoning ideas
Try these flavor combinations:
• Classic: Fine salt and melted butter
• Cheesy: Nutritional yeast, garlic powder, and a pinch of salt
• Smoky: Smoked paprika, onion powder, and black pepper
• Sweet and warm: Cinnamon, a little sugar, and a small pinch of salt
• Spicy: Chili powder, lime zest, and salt
• Herb: Dried rosemary, oregano, garlic powder, and olive oil
Fine salt sticks to popcorn better than coarse salt. You can also pulse regular salt in a spice grinder for a few seconds to make it finer.
:max_bytes(150000):strip_icc()/__opt__aboutcom__coeus__resources__content_migration__simply_recipes__uploads__2015__01__perfect-popcorn-method-3-8a1253234a1f4e70880745127ea08fd5.jpg)
Common Homemade Popcorn Mistakes
Even a simple recipe can fail when heat, moisture, or timing is off. These common mistakes are easy to fix.
Using too much heat
High heat may seem faster, but it raises the risk of burnt oil and scorched kernels. Medium heat gives the kernels time to warm through and pop at a steady pace.
Overfilling the pot
Kernels need room to expand. Use a pot large enough to hold at least three times the volume of the unpopped kernels.
If the pot is too small, the popcorn may press against the lid and cook unevenly. It may also spill over before the last kernels pop.
Keeping steam trapped
A tightly sealed lid can create soft popcorn. Letting some steam escape helps the finished pieces stay crisp.
Be careful when lifting the lid because hot steam can burn skin. Tilt the lid away from your face and hands.
Adding seasoning too late
Salt and dry spices stick best when the popcorn is warm. If the popcorn cools first, the seasoning may collect at the bottom of the bowl.
Toss the popcorn in stages. Add a little seasoning, toss, add more, and toss again.
Using old kernels
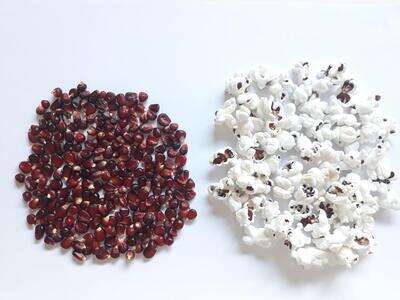
Popcorn pops because a small amount of water inside each kernel turns into steam. Very dry kernels may not create enough pressure to pop well.
Store kernels in an airtight container at room temperature. Do not store them in the refrigerator, where moisture and temperature changes can affect quality.
Forgetting the pot
Popcorn can go from golden to burned in less than a minute. Stay near the stove and listen to the popping pattern.
The moment the pops slow down, remove the pot from the heat. This simple habit improves homemade popcorn more than almost any special ingredient.
How to Store Popcorn Kernels and Popped Popcorn
Keep unpopped kernels in a sealed jar or container. Store them in a cool, dry pantry away from direct sunlight and heat. Proper storage helps the kernels retain the moisture needed for popping.
Popped homemade popcorn is best right away. If you have leftovers, let them cool completely before storing them in an airtight container or resealable bag.
Avoid adding butter before storage. Butter and other wet toppings can make popcorn stale and chewy. Store plain popcorn separately, then season individual portions when you are ready to eat them.
If your popcorn becomes soft, spread it on a baking sheet and warm it in a low oven for a few minutes. Watch it closely, because excess heat can brown the popcorn or burn the seasoning.

Homemade Popcorn Safety Tips
Use a pot with a secure handle and keep the lid on while the kernels pop. Never place your face directly over the pot when opening it.
Hot oil and steam can cause burns. Keep children away from the stove during popping, and let the popcorn cool briefly before serving it to young children.
Food safety also matters with toppings. Refrigerate leftover butter-based sauces and discard toppings that have stayed at room temperature for too long. Plain popcorn is shelf-stable for a short period, but its quality declines as it absorbs moisture.
For people with dental problems, swallowing difficulties, or certain digestive conditions, whole popcorn pieces and hard kernels may be unsafe. Remove unpopped kernels before serving, especially to children and older adults.
How to Make Homemade Popcorn for Different Occasions
Homemade popcorn can fit almost any snack plan. The method stays the same, but the flavor and serving style can change.
For movie night, use refined coconut oil, fine salt, and a small amount of melted butter. For a lighter afternoon snack, use an air popper and season the popcorn with herbs or nutritional yeast.
For parties, set up a simple popcorn bar. Offer small bowls of toppings such as:
• Parmesan cheese
• Cinnamon sugar
• Chili powder
• Ranch seasoning
• Crushed pretzels
• Toasted sesame seeds