How Do You Use A Mr Coffee Espresso Maker: Easy Guide
Use a Mr. Coffee espresso maker by filling the water tank, adding ground coffee, locking the portafilter, and brewing.
Learning how do you use a Mr. Coffee espresso maker is simple once you understand the water tank, portafilter, filter basket, and steam wand. This guide explains the full process for popular Mr. Coffee manual and semi automatic models, including setup, brewing, milk steaming, cleaning, safety, and common mistakes. With a few careful habits, you can make smooth espresso, cappuccinos, and lattes at home.
What You Need Before Using a Mr. Coffee Espresso Maker
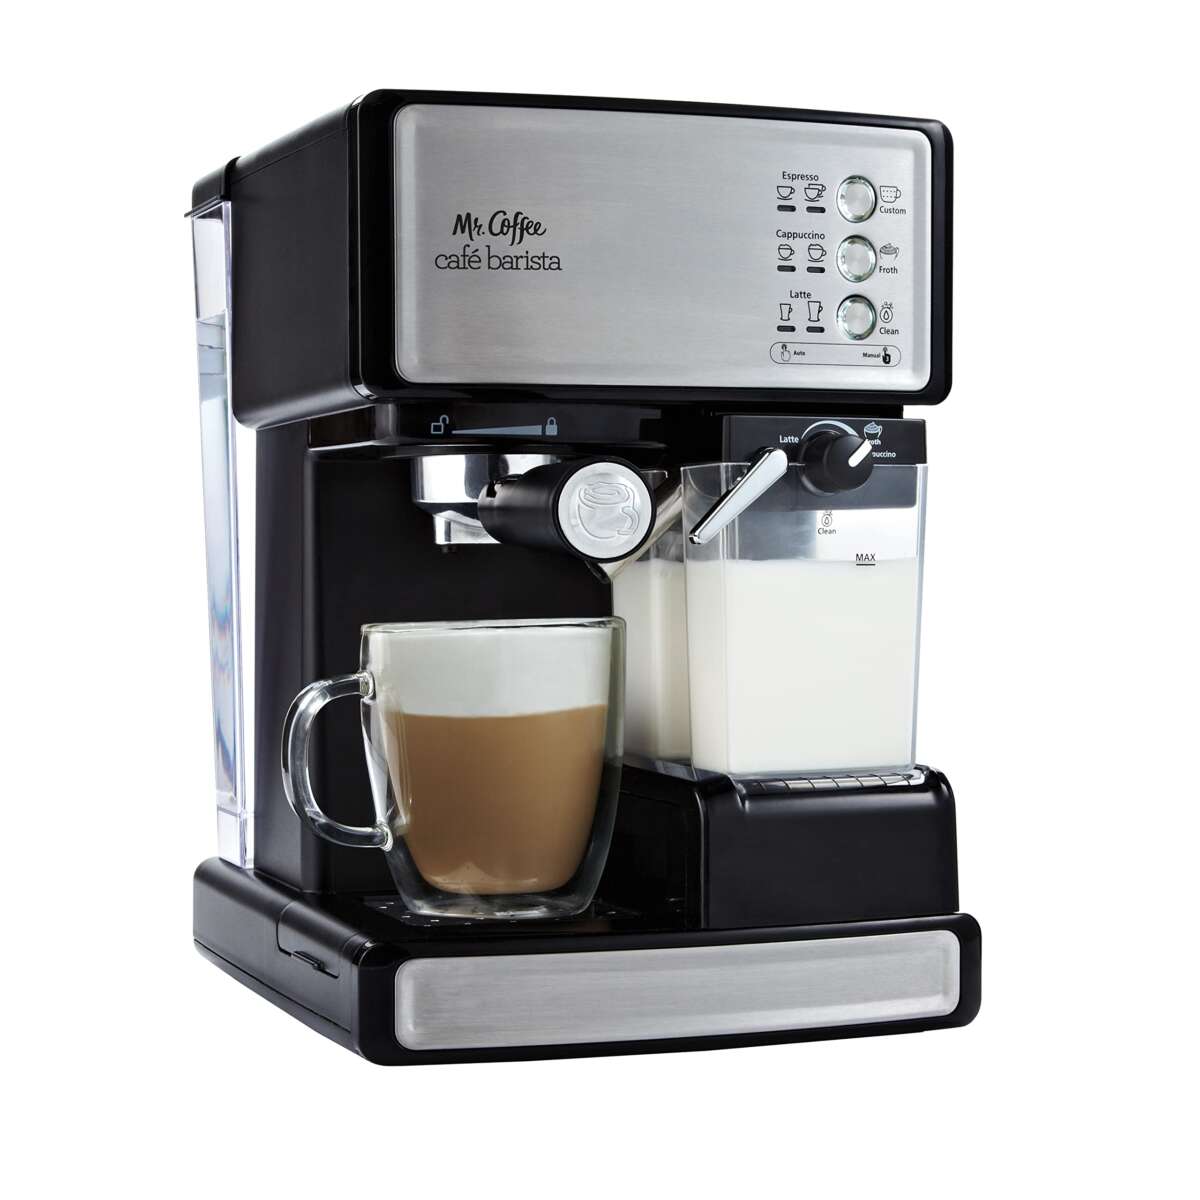
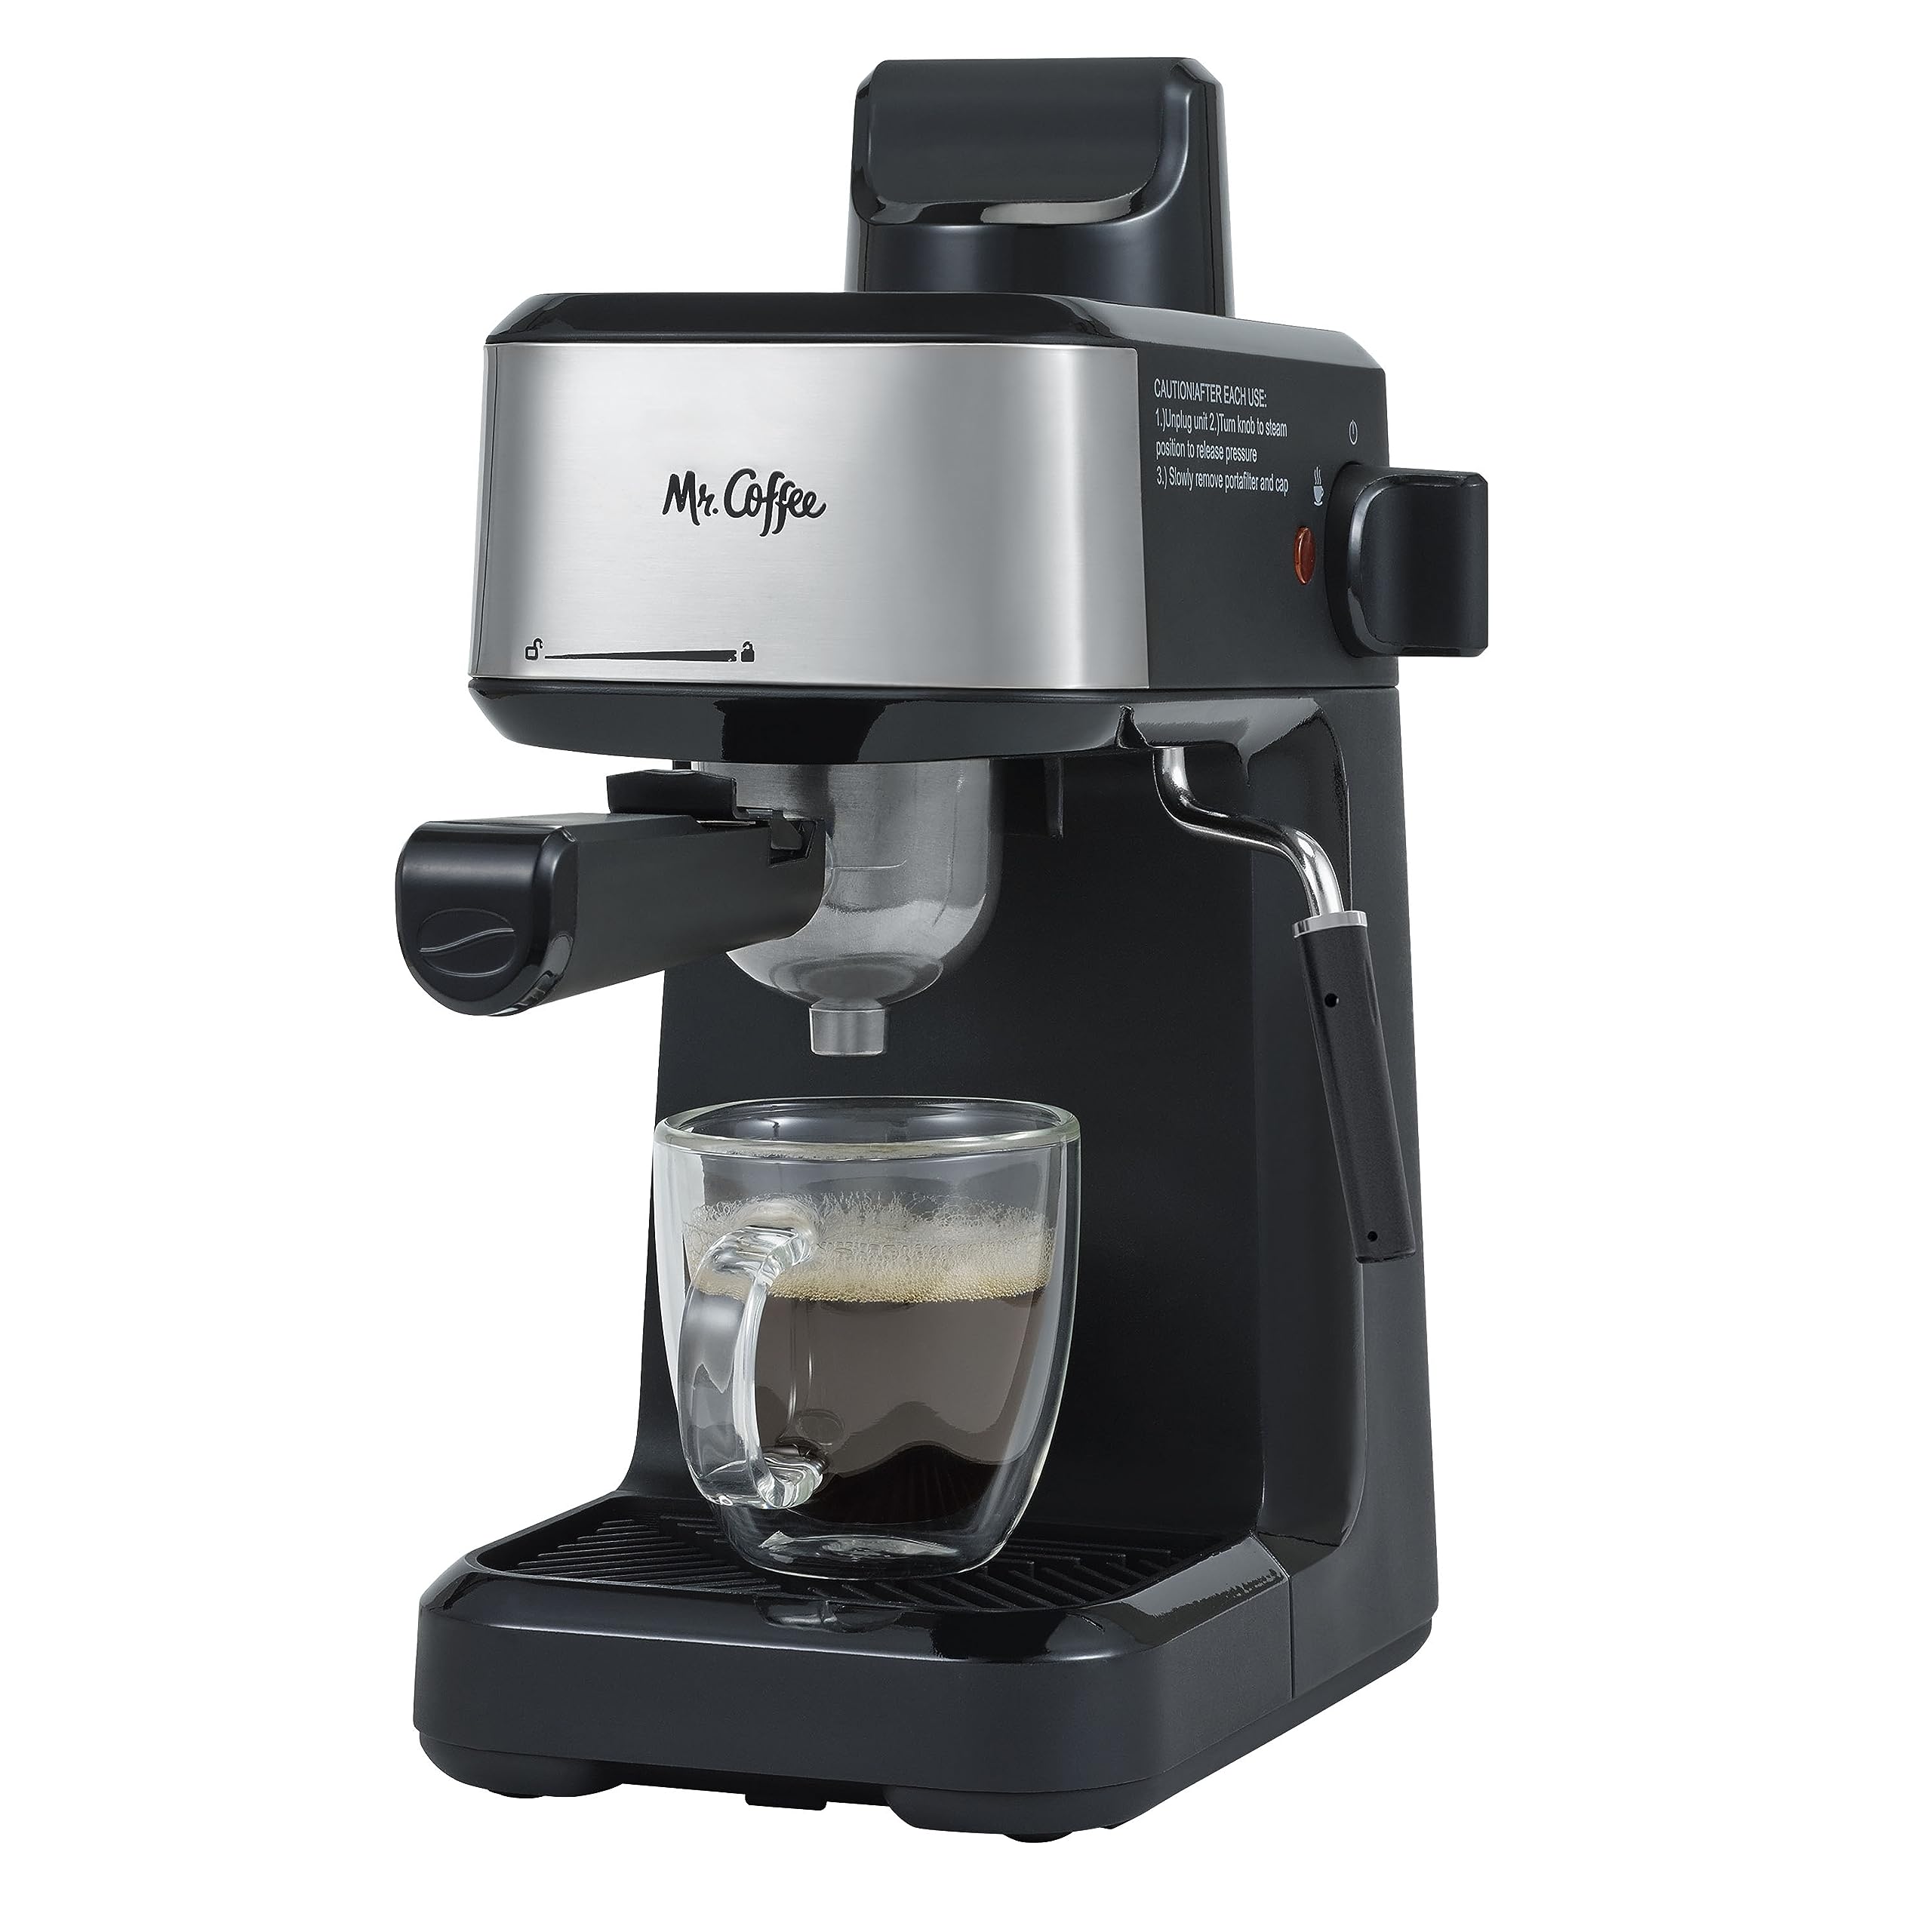
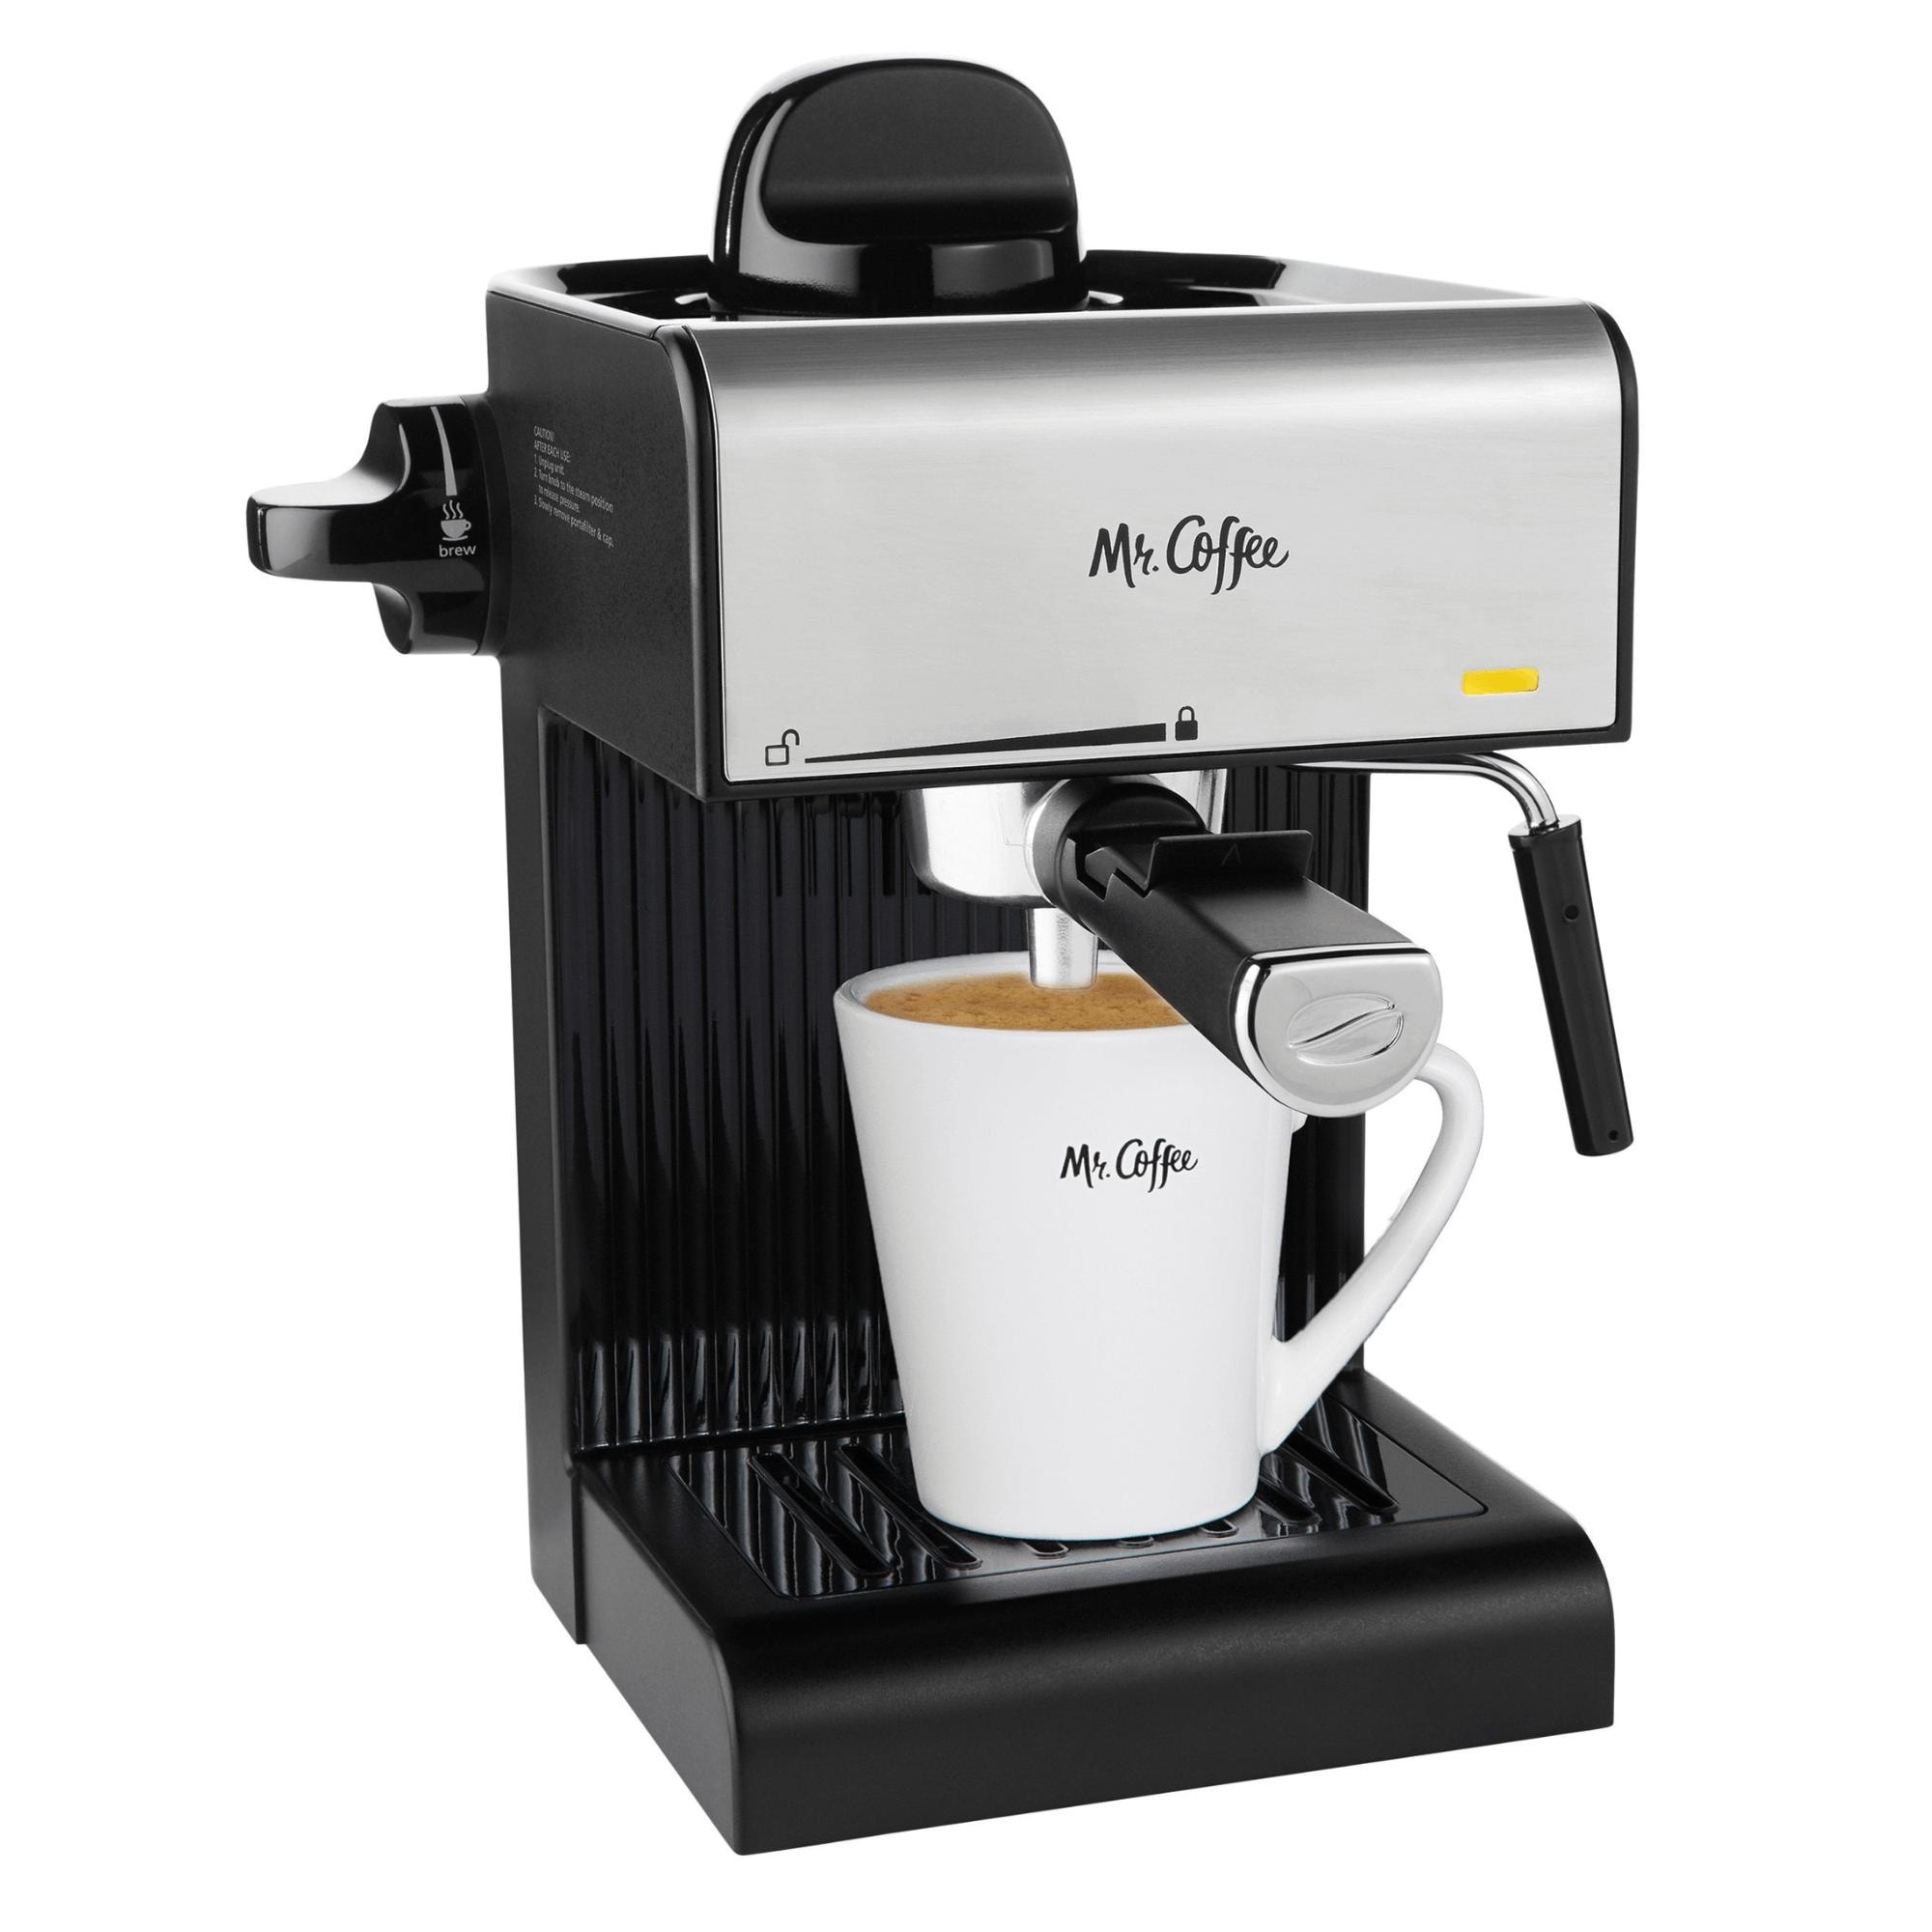
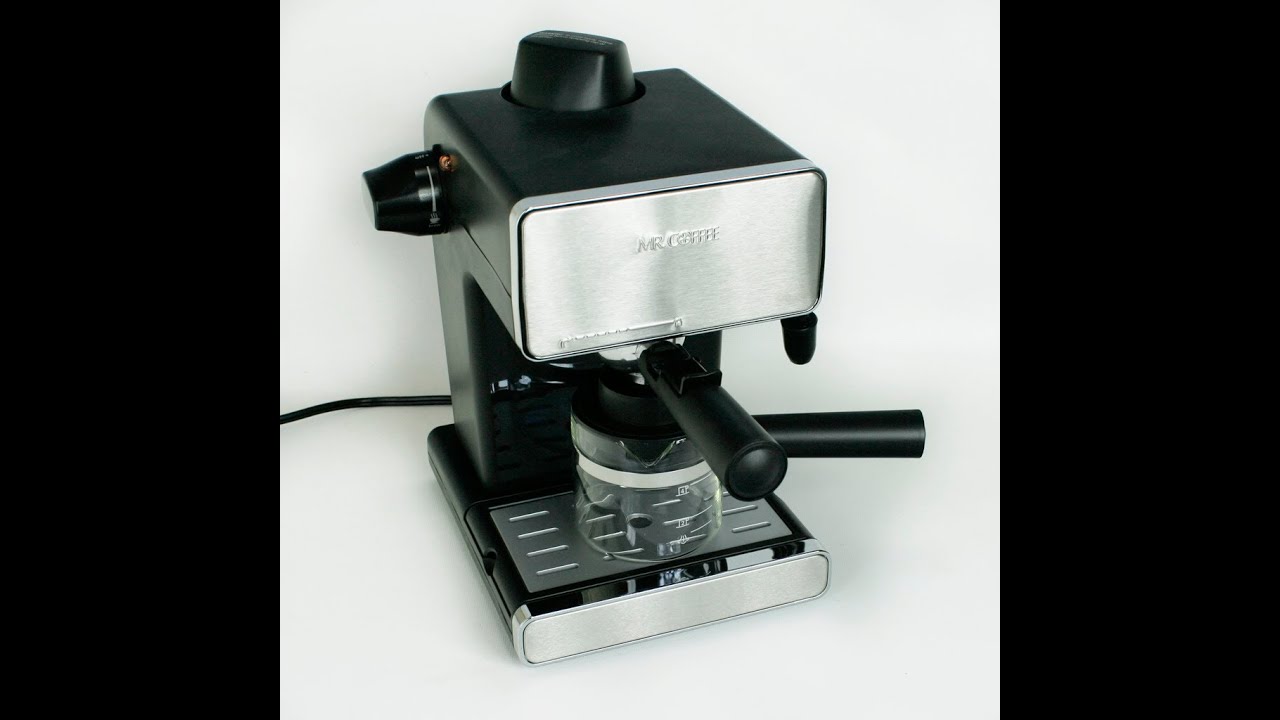
Before asking how do you use a Mr. Coffee espresso maker, identify the parts of your machine. Most models use the same basic system, but buttons and controls can vary.
Look for these parts:
- Water reservoir
- Portafilter
- Single shot and double shot filter baskets
- Measuring scoop and tamper
- Brew switch or control panel
- Steam wand
- Drip tray
- Cup warming tray
- Pressure indicator, if included
You also need fresh, finely ground coffee. Espresso grind is finer than drip coffee but should not feel like flour. If the grind is too coarse, water flows too fast and creates weak espresso. If it is too fine, water may barely pass through the coffee.
Use fresh, cold drinking water. Avoid distilled water unless your manual allows it, because some espresso machines need minerals to sense water levels and operate correctly. Filtered water often gives better taste and can reduce mineral buildup.
Check the label on your model before the first use. A Mr. Coffee Cafe Barista may work differently from a basic pump espresso machine. The safest rule is simple: follow the controls in your model’s manual, while using the brewing method below as a general guide.

How Do You Use a Mr. Coffee Espresso Maker for the First Time?
The first use should include unpacking, rinsing, and a water-only cycle. This removes dust, packaging residue, and the flat taste that can come from a new machine.
Follow these steps:
- Remove all packaging, stickers, and protective materials.
- Wash the water tank, portafilter, filter baskets, drip tray, and milk container with warm water.
- Fill the reservoir with cold water up to the maximum line.
- Place the reservoir firmly into the machine.
- Turn the machine on and let it heat.
- Run one or two water-only brewing cycles.
- Run a short steam cycle if your model has a steam wand.
- Empty and rinse the drip tray.
Do not add coffee during this first rinse. The goal is to flush the internal water path. Some models may need a few minutes to heat, while others show a ready light when they reach brewing temperature.
When learning how do you use a Mr. Coffee espresso maker, remember that the machine must be on a stable, dry surface. Keep it away from the edge of the counter. Hot water and steam can cause burns, so never touch the metal parts of the portafilter or steam wand right after use.

How Do You Use a Mr. Coffee Espresso Maker to Make Espresso?
Once the machine is clean and warm, you can prepare a shot. The steps below work for most Mr. Coffee pump espresso makers.
1. Fill the water tank
Remove the reservoir or open its lid, depending on the model. Fill it with cold water between the minimum and maximum marks.
Never run the pump with an empty tank. This can introduce air into the system and may prevent the machine from drawing water.
2. Choose the right filter basket
Use the single basket for one shot and the double basket for two shots. A double basket often gives more balanced results because it holds more coffee and allows better control.
Place the basket into the portafilter. Make sure it sits flat and does not wobble.
3. Add ground coffee
Add about 7 to 9 grams of coffee for a single shot or 14 to 18 grams for a double shot. These amounts are common starting points, but your Mr. Coffee manual may recommend a different dose.
Use the included scoop if you do not have a coffee scale. A scale gives more consistent results, especially when you are learning how do you use a Mr. Coffee espresso maker.
4. Tamp the coffee
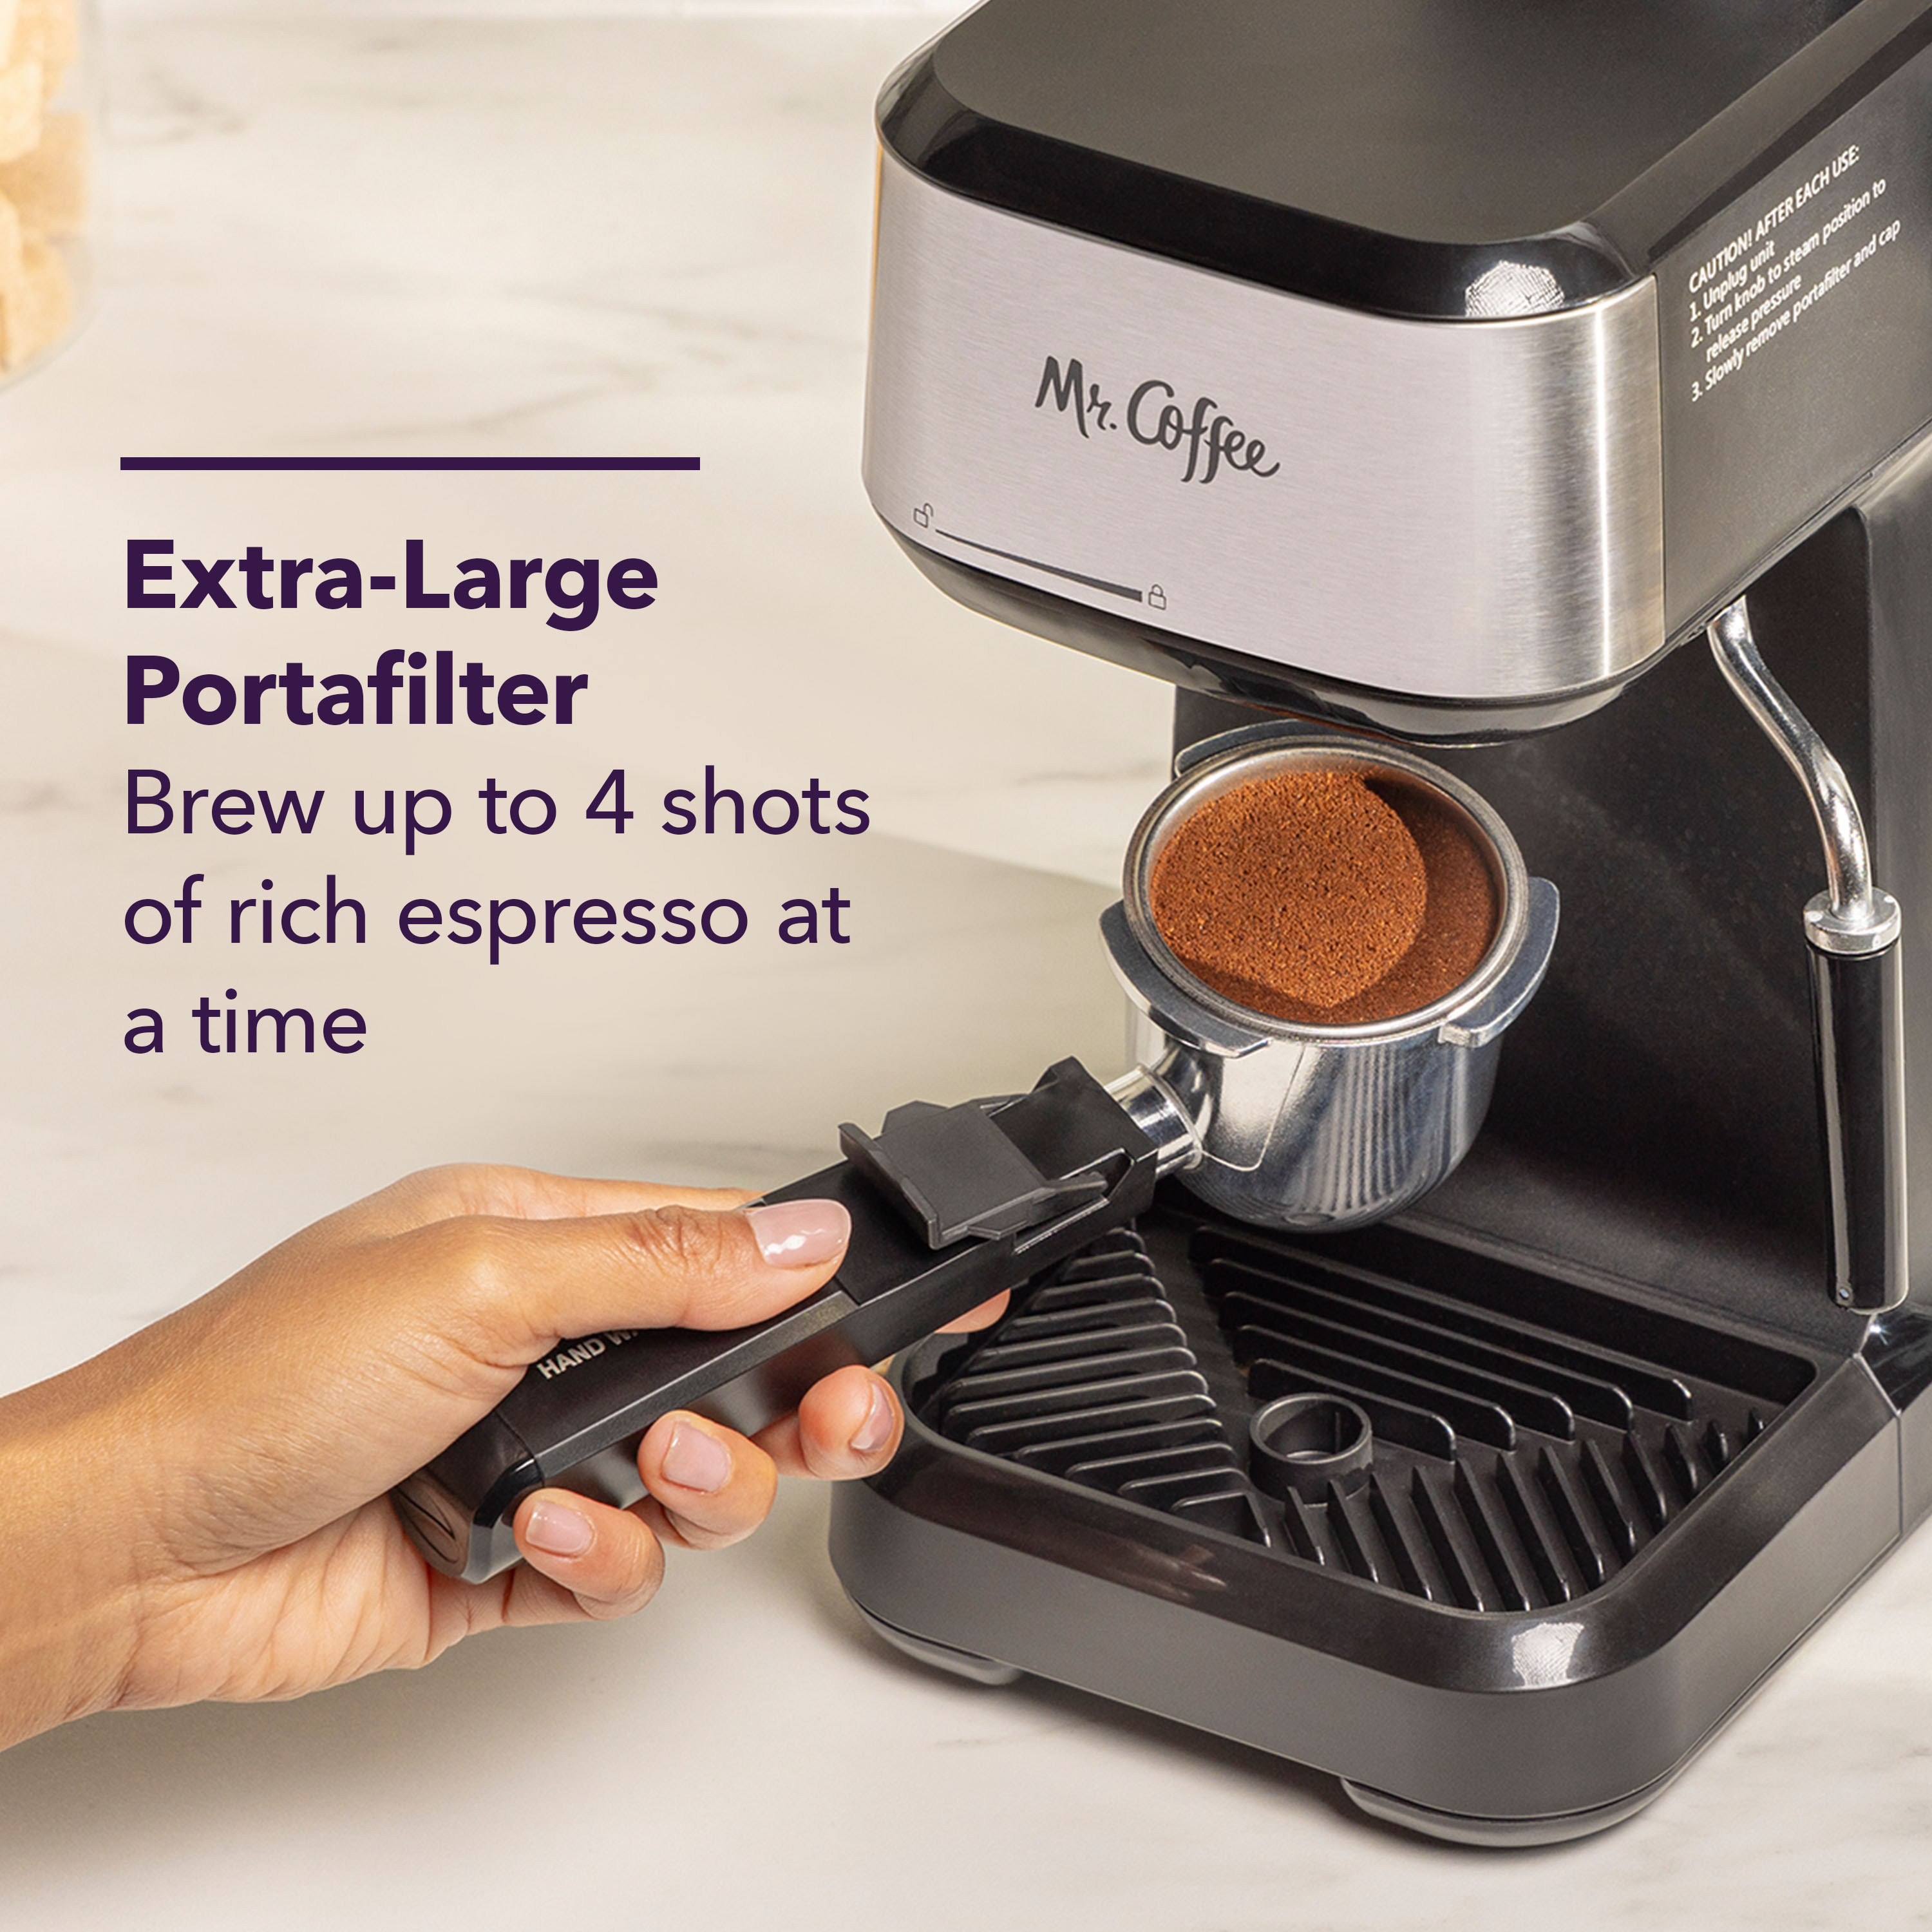
Place the portafilter on a flat surface or use the machine’s support area. Press the tamper straight down with steady pressure.
The coffee should be level and firm. Do not twist the tamper with great force. An uneven coffee bed can cause water to rush through one side, leaving the shot thin and bitter.
5. Lock in the portafilter
Insert the portafilter into the brew head. Turn it to the right until it feels secure.
Do not force it beyond the locking point. If it will not lock, the basket may be overfilled. Remove a little coffee and try again.
6. Place a cup under the spout
Use a small espresso cup or heatproof glass. Warming the cup with hot water first can help the espresso stay hot.
7. Start brewing
Select the brew function or press the single or double shot button. Let the machine finish its cycle unless your model requires manual stopping.
A typical espresso shot may take about 20 to 30 seconds once extraction begins. Timing can vary by model, coffee dose, grind, and pressure.
8. Check the result
Good espresso usually has a rich aroma, a dark body, and a light brown foam called crema. Crema alone does not prove that the shot is perfect, but it can offer a useful visual clue.
If the espresso tastes sour and runs very quickly, use a finer grind or add slightly more coffee. If it tastes bitter and drips slowly, use a slightly coarser grind or less coffee.
This is one of the most useful lessons in how do you use a Mr. Coffee espresso maker: change only one factor at a time. Adjusting the grind, dose, tamp, and brewing time all at once makes it hard to know what improved the shot.
How Do You Use a Mr. Coffee Espresso Maker to Steam Milk?
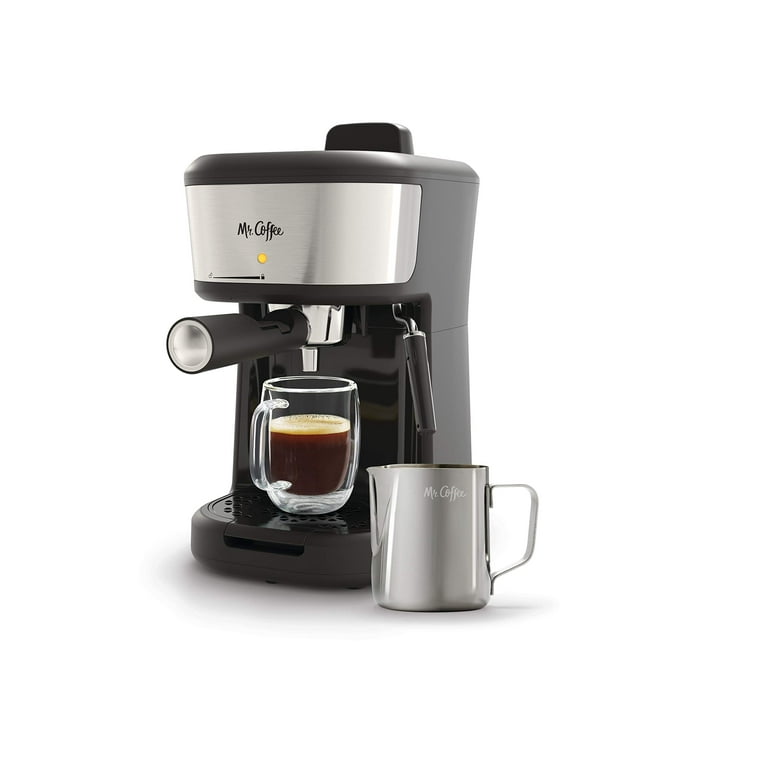
Many Mr. Coffee espresso machines include a steam wand for cappuccinos and lattes. Steaming milk takes practice because the wand adds both heat and air.
Use cold milk in a small stainless steel pitcher. Whole milk creates a rich, smooth texture, but low fat and many plant-based milks can also work. Oat milk made for barista use often produces better foam than standard oat milk.
Follow these steps:
- Pour milk into the pitcher until it reaches about one third of the way up.
- Turn the selector to steam mode.
- Wait for the steam-ready light or signal.
- Place the wand tip just below the milk surface.
- Open the steam control slowly.
- Keep the pitcher slightly tilted so the milk spins.
- Add air for a few seconds, then lower the tip slightly.
- Stop steaming when the pitcher feels hot but not painfully hot.
- Close the steam control before removing the wand from the milk.
- Wipe and purge the wand immediately.
Aim for milk around 140 to 150°F for a sweet, smooth taste. Without a thermometer, stop when the pitcher becomes too hot to hold comfortably for more than a few seconds. Do not boil the milk. Very hot milk can taste flat and may lose its smooth texture.
The key idea in how do you use a Mr. Coffee espresso maker for milk drinks is to create a gentle whirlpool. The milk should move like wet paint. Large bubbles mean the wand is too high. No foam means the wand is too deep or the steam function is not ready.
For a cappuccino, use more foam. For a latte, use less foam and more silky steamed milk. Pour the milk slowly into the espresso and finish with the foam.

How Do You Use a Mr. Coffee Espresso Maker for a Latte or Cappuccino?
A latte usually contains espresso and a larger amount of steamed milk. A cappuccino contains espresso, steamed milk, and more foam.
For a simple latte:
- Brew one double shot of espresso.
- Steam about 6 to 8 ounces of milk.
- Swirl the pitcher to mix the milk and foam.
- Pour the milk slowly into the espresso.
- Spoon a small layer of foam on top.
For a cappuccino:
- Brew one double shot of espresso.
- Steam about 4 to 6 ounces of milk.
- Add more air during the early steaming stage.
- Pour the warm milk into the espresso.
- Finish with a thicker foam layer.
You can also make an Americano by adding hot water to espresso. This gives you a larger, milder drink without using milk.
When learning how do you use a Mr. Coffee espresso maker, avoid filling a large mug with extra water before brewing. That can weaken the espresso and make it taste dull. Brew the espresso first, then add water or milk to control the final flavor.
Common Problems and How to Fix Them
Even when you know how do you use a Mr. Coffee espresso maker, small errors can affect the result. Most problems come from grind size, coffee quantity, water flow, or cleaning.
Espresso flows too fast
The coffee may be too coarse, underfilled, or lightly tamped. Use a finer grind, add a little more coffee, or tamp more evenly.
Espresso barely flows
The coffee may be too fine, overfilled, or tamped too hard. Reduce the dose, use a coarser grind, and apply moderate pressure.
Espresso tastes sour
Sour espresso often indicates under extraction. The water moved through the coffee too quickly, so try a finer grind or a slightly longer brew.
Espresso tastes bitter
Bitter espresso may be over extracted or overheated. Try a coarser grind, less coffee, or a shorter brew time. Very dark roasted beans can also taste bitter even when the brewing process is correct.
The pump makes noise but no water comes out
Check the water level and make sure the tank is seated correctly. An air lock may also be present. Run a water-only cycle and consult the manual if the pump still does not draw water.
The milk has large bubbles
The steam wand is probably too high above the milk. Lower the tip slightly and keep the milk moving in a smooth circle.
The portafilter leaks
The portafilter may not be locked fully, or coffee grounds may be blocking the seal. Remove it, clean the rim, wipe the brew head, and lock it in again.
A practical lesson from using machines in this class is that consistency matters more than force. Pressing the tamper harder rarely fixes a poor grind. Clean equipment and a repeatable dose usually make a bigger difference.

Cleaning and Maintaining a Mr. Coffee Espresso Maker
Cleaning is a major part of how do you use a Mr. Coffee espresso maker safely and effectively. Coffee oils become rancid, and milk residue can harden inside a steam wand.
Clean these parts after every use:
- Rinse the portafilter and filter basket.
- Wipe the brew head with a damp cloth.
- Purge the steam wand for several seconds.
- Wipe the outside of the steam wand.
- Empty and rinse the drip tray.
- Rinse the milk container if your model has one.
Run a plain water cycle after making several drinks. This helps flush loose coffee residue from the internal path.
Descale the machine when the manual recommends it or when you notice slower flow, unusual noise, or mineral deposits. Water hardness affects how often descaling is needed. A machine used daily with hard tap water may need attention more often than one used occasionally with filtered water.
Use a descaling product approved for espresso machines. Do not use household bleach, abrasive cleaners, or unapproved chemicals. They can damage internal parts or leave unsafe residue.
Always unplug the machine before deep cleaning. Never place the electrical base in water. The manufacturer’s manual should take priority if it gives different cleaning instructions.
Safety Tips for Using a Mr. Coffee Espresso Maker
Espresso machines use hot water, pressure, and steam. Safe habits protect both you and the machine.
Keep these points in mind:
- Do not remove the portafilter while coffee is still under pressure.
- Wait for the brewing cycle to stop before unlocking it.
- Do not touch the metal steam wand during or right after steaming.
- Keep children away from the machine while it is operating.
- Use heatproof cups and a stable counter.
- Never operate the machine without enough water.
- Unplug it before cleaning or moving it.
- Do not use a damaged power cord.
- Keep the water tank and electrical parts dry on the outside.
- Follow the model’s pressure and descaling instructions.
Pressure can remain inside the portafilter after brewing. If the handle feels stuck, wait a moment and release pressure according to the manual. Never force it.
Learning how do you use a Mr. Coffee espresso maker includes knowing when not to use it. If the machine leaks near electrical parts, smells burnt, or makes unusual sounds, stop using it and seek qualified service.
Tips for Better Espresso at Home
Good espresso depends on several linked details. Think of the process like baking bread: water, coffee, time, and temperature must work together.
Use these habits:
- Buy coffee beans in small amounts so they stay fresh.
- Grind the beans just before brewing when possible.
- Use a consistent dose.
- Warm the machine before brewing.
- Rinse the cup with hot water.
- Tamp the coffee level, not aggressively.
- Keep the brew head and basket clean.
- Adjust one variable at a time.
- Write down changes when testing a new coffee.
A scale is one of the best low-cost upgrades. It helps you repeat a recipe and compare results. A basic starting recipe is 18 grams of ground coffee for about 36 grams of espresso, but your machine and coffee may need different settings.
Do not expect every Mr. Coffee model to produce café-level pressure control. Entry-level machines are convenient and affordable, but they may offer less temperature stability and fewer adjustments than professional equipment. Even so, fresh coffee, clean parts, and careful technique can produce a pleasant drink.
The best answer to how do you use a Mr. Coffee espresso maker is not simply to press a button. It is to create a repeatable routine and make small changes based on taste.
Frequently Asked Questions About How Do You Use a Mr. Coffee Espresso Maker
How much coffee do you put in a Mr. Coffee espresso maker?
Use about 7 to 9 grams for a single shot or 14 to 18 grams for a double shot as a starting point. The correct amount depends on the filter basket and the instructions for your specific model.
Do you use regular coffee or espresso coffee in a Mr. Coffee machine?
You can use any coffee beans, but they should be ground fine enough for espresso brewing. Coffee labeled “espresso roast” refers to the roast style, while grind size has the biggest effect on water flow.
How long does a Mr. Coffee espresso maker take to heat up?
Many models heat in a few minutes, but the exact time varies. Wait for the ready light or the signal shown in your manual before brewing or steaming.
Why is my Mr. Coffee espresso maker not making crema?
Old coffee, a coarse grind, low coffee volume, or a dirty basket can reduce crema. Use fresh coffee, grind it finer, fill the basket correctly, and clean the brewing parts.
Can you make regular coffee with a Mr. Coffee espresso maker?
You can make an Americano by combining espresso with hot water. It will taste different from drip coffee because the brewing method and coffee-to-water ratio are different.
How often should you clean a Mr. Coffee espresso maker?
Rinse the portafilter, basket, steam wand, and drip tray after each use. Descale the machine as directed by the manual, with frequency based on water hardness and how often you use it.
Why does my Mr. Coffee espresso maker leak water?
A loose portafilter, blocked seal, excess coffee, or damaged gasket can cause leaks. Clean the contact area, reduce the coffee dose, lock the portafilter correctly, and replace worn parts if needed.
Conclusion
Using a Mr. Coffee espresso maker becomes easy when you follow a steady routine: fill the tank, use the right grind and dose, tamp evenly, lock the portafilter, brew, and clean the machine after each drink. Steam milk slowly, protect yourself from hot pressure, and adjust only one brewing factor at a time.
Start with a simple double shot and take notes as you refine the flavor. With practice, your Mr. Coffee espresso maker can become a reliable part of your morning routine. Try these steps with your model today, then explore your manual for more drink recipes and maintenance guidance.

Liora Pennings is a seasoned chef and kitchen enthusiast with a passion for turning everyday cooking into an effortless experience. With years of hands-on culinary expertise, she specializes in practical techniques, ingredient know-how, and smart kitchen solutions that help home cooks elevate their meals. At KitchFlair.com, Liora shares her best tips, time-saving tricks, and honest product reviews to guide readers toward a more efficient, enjoyable, and inspired cooking routine. Whether you’re a beginner or a seasoned home chef, Liora’s friendly, knowledge-packed insights make every visit to the kitchen a little easier—and a lot more delicious.