How To Make Ice Coffee: Quick Creamy Iced Coffee Recipe
Use strong coffee brewed hot or cold, chilled or steeped, then poured over ice for best results.
I’ve spent years testing coffee at home and in cafes, dialing in textures and flavors so you can learn how to make ice coffee that tastes great every time. This guide gives clear methods, step-by-step recipes, and practical tips from my experience so you can pick the right technique for your time, gear, and taste. Read on to master how to make ice coffee that’s bright, balanced, and never watered down.

Why learn how to make ice coffee
Making your own iced coffee saves money and lets you control strength, sweetness, and milk choices. Learning how to make ice coffee also helps you avoid watery cups and disappointing flavors.
I bring hands-on experience from experimenting with different beans, grind sizes, and brew times. You’ll get tested approaches that work at home. Expect clear steps and fixes for common problems so your iced coffee stays flavorful.
Essential ingredients and tools for how to make ice coffee
Good iced coffee starts with a few simple things. Focus on quality and ratios more than fancy gear.
- Fresh coffee beans, roasted within the past month. Use medium to dark roasts for classic iced coffee, or medium for brighter cold brews.
- Clean, cold water. Water quality affects extraction.
- Ice—large cubes melt slower and dilute less.
- A grinder. Grind fresh for best flavor.
- A French press, drip brewer, pour-over, espresso machine, or jar for cold brew.
- A scale and a timer for consistent results.
Small tools that help
- Fine sieve or paper filters for clarity.
- Milk frother if you like foamed milk.
- Reusable ice molds for coffee ice cubes.
From my tests, fresh beans and good water beat expensive gear every time. If you only make iced coffee now and then, a simple pour-over or cold-brew jar will do.
Methods to make ice coffee
There are a few main ways to make iced coffee. Choose one by time, flavor, and equipment. Each method below explains how to make ice coffee step by step.
1. Classic iced coffee (hot brew, quick-chill)
This is fast and familiar. Brew stronger than usual and chill quickly.
- Use a 1:12 coffee-to-water ratio (by weight) for drip; increase to 1:10 for iced strength.
- Brew hot coffee as usual.
- Immediately pour over a glass filled with ice. Stir to chill.
- Add milk or sweetener as desired.
Tips
- Pouring hot coffee straight over ice both chills it fast and reduces dilution if you use ice made from brewed coffee.
- I prefer using a 1:11 ratio for a balanced cup when iced.
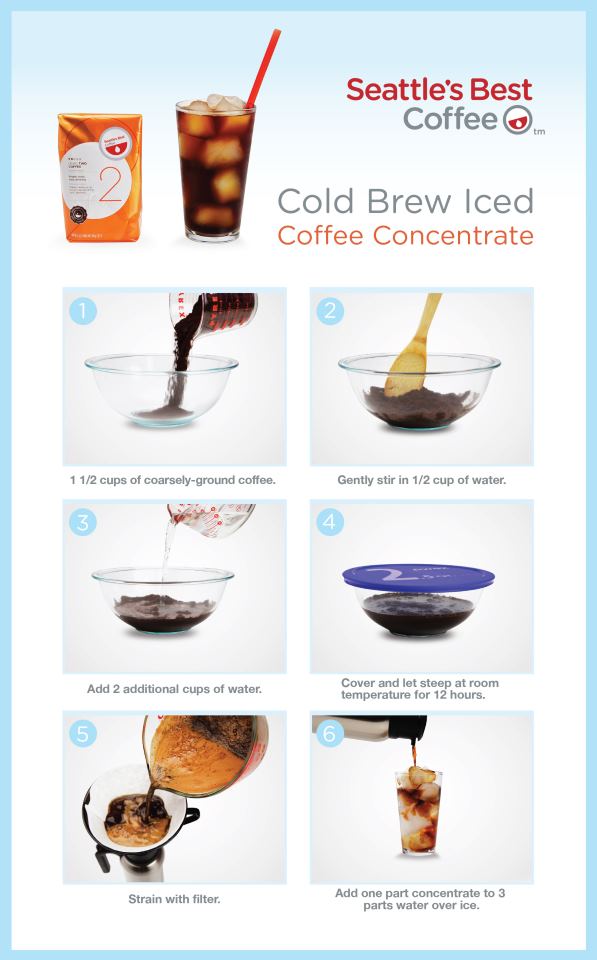
2. Cold brew (smooth, low-acid)
Cold brew is steeped in cold water for hours and yields a mellow, less acidic cup. It’s ideal for make-ahead iced coffee.
- Use a 1:8 to 1:5 coffee-to-water ratio depending on desired strength. 1:8 is a common starting point.
- Coarse grind your beans.
- Combine coffee and cold water in a jar or pitcher. Stir.
- Steep 12–20 hours in the fridge.
- Strain through a fine mesh or paper filter.
- Dilute concentrate with water or milk to taste and pour over ice.
I usually steep 16 hours for smooth results. Cold brew keeps well for 5–7 days in a sealed container.
3. Japanese iced coffee (flash-chilled pour-over)
This method brews hot directly onto ice, capturing aroma and clarity. It’s a great middle ground between cold brew and classic iced.
- Make enough ice to fill your carafe or serving vessel to half full.
- Use a slightly stronger ratio: about 1:12 by weight.
- Pour hot water slowly over a medium-fine grind into the ice. The melting ice quickly cools the coffee.
- Serve immediately over fresh ice.
This preserves bright acids and nuanced flavors. I use it when I want a crisp, aromatic iced coffee.
4. Espresso over ice (iced latte or Americano)
For espresso lovers, this is a fast, bold option.
- Iced Americano: Pull a double shot of espresso and pour over a glass of ice, then add cold water to taste.
- Iced latte: Pull espresso, add milk, then pour over ice.
Espresso over ice makes a concentrated, vivid iced coffee. Use coffee ice cubes to cut dilution.

Step-by-step recipes for how to make ice coffee
Below are clear recipes you can try today. Each one is easy to scale.
Classic Iced Coffee (serves 1)
- Grind 18 g coffee medium.
- Brew with 200 g hot water.
- Fill a glass with ice.
- Pour coffee over ice. Stir.
- Add milk or syrup to taste.
Cold Brew (makes 1 liter concentrate)
- Coarse grind 120 g coffee.
- Mix with 1 liter cold water in a jar.
- Steep 16 hours.
- Strain into a clean container.
- Dilute concentrate 1:1 with water or milk, serve over ice.
Japanese Iced (serves 1)
- Fill carafe with 200 g ice.
- Measure 15 g medium-fine coffee.
- Pour 170 g hot water over grounds slowly.
- Stir, then serve over fresh ice.
I recommend weighing ingredients for repeatable results. Using a scale removes guesswork.

Flavor variations and add-ins when learning how to make ice coffee
Make iced coffee your own. Here are popular customizations.
- Sweeteners: simple syrup, honey, maple syrup. Simple syrup dissolves quickly.
- Milk options: whole, oat, almond, soy. Try cold foamed milk for texture.
- Flavors: vanilla extract, chocolate syrup, cinnamon, salted caramel.
- Spices: cardamom or star anise for a warm twist.
- Coffee ice cubes: freeze leftover coffee in trays to reduce dilution.
From experience, simple syrup made at home (1:1 sugar to water) keeps your drink smooth and consistent.

Tips, troubleshooting, and common mistakes when you try how to make ice coffee
A few common errors can ruin an iced coffee. Here’s how to avoid them.
- Problem: Watery coffee. Fix: Brew stronger or use coffee ice cubes.
- Problem: Bitter or over-extracted flavor. Fix: Coarser grind or shorter brew time.
- Problem: Flat taste. Fix: Use fresher beans and clean equipment.
- Problem: Too acidic. Fix: Try cold brew or dark roast.
My practical tip: make a small test batch when trying a new bean or ratio. Adjust one variable at a time to learn its effect.
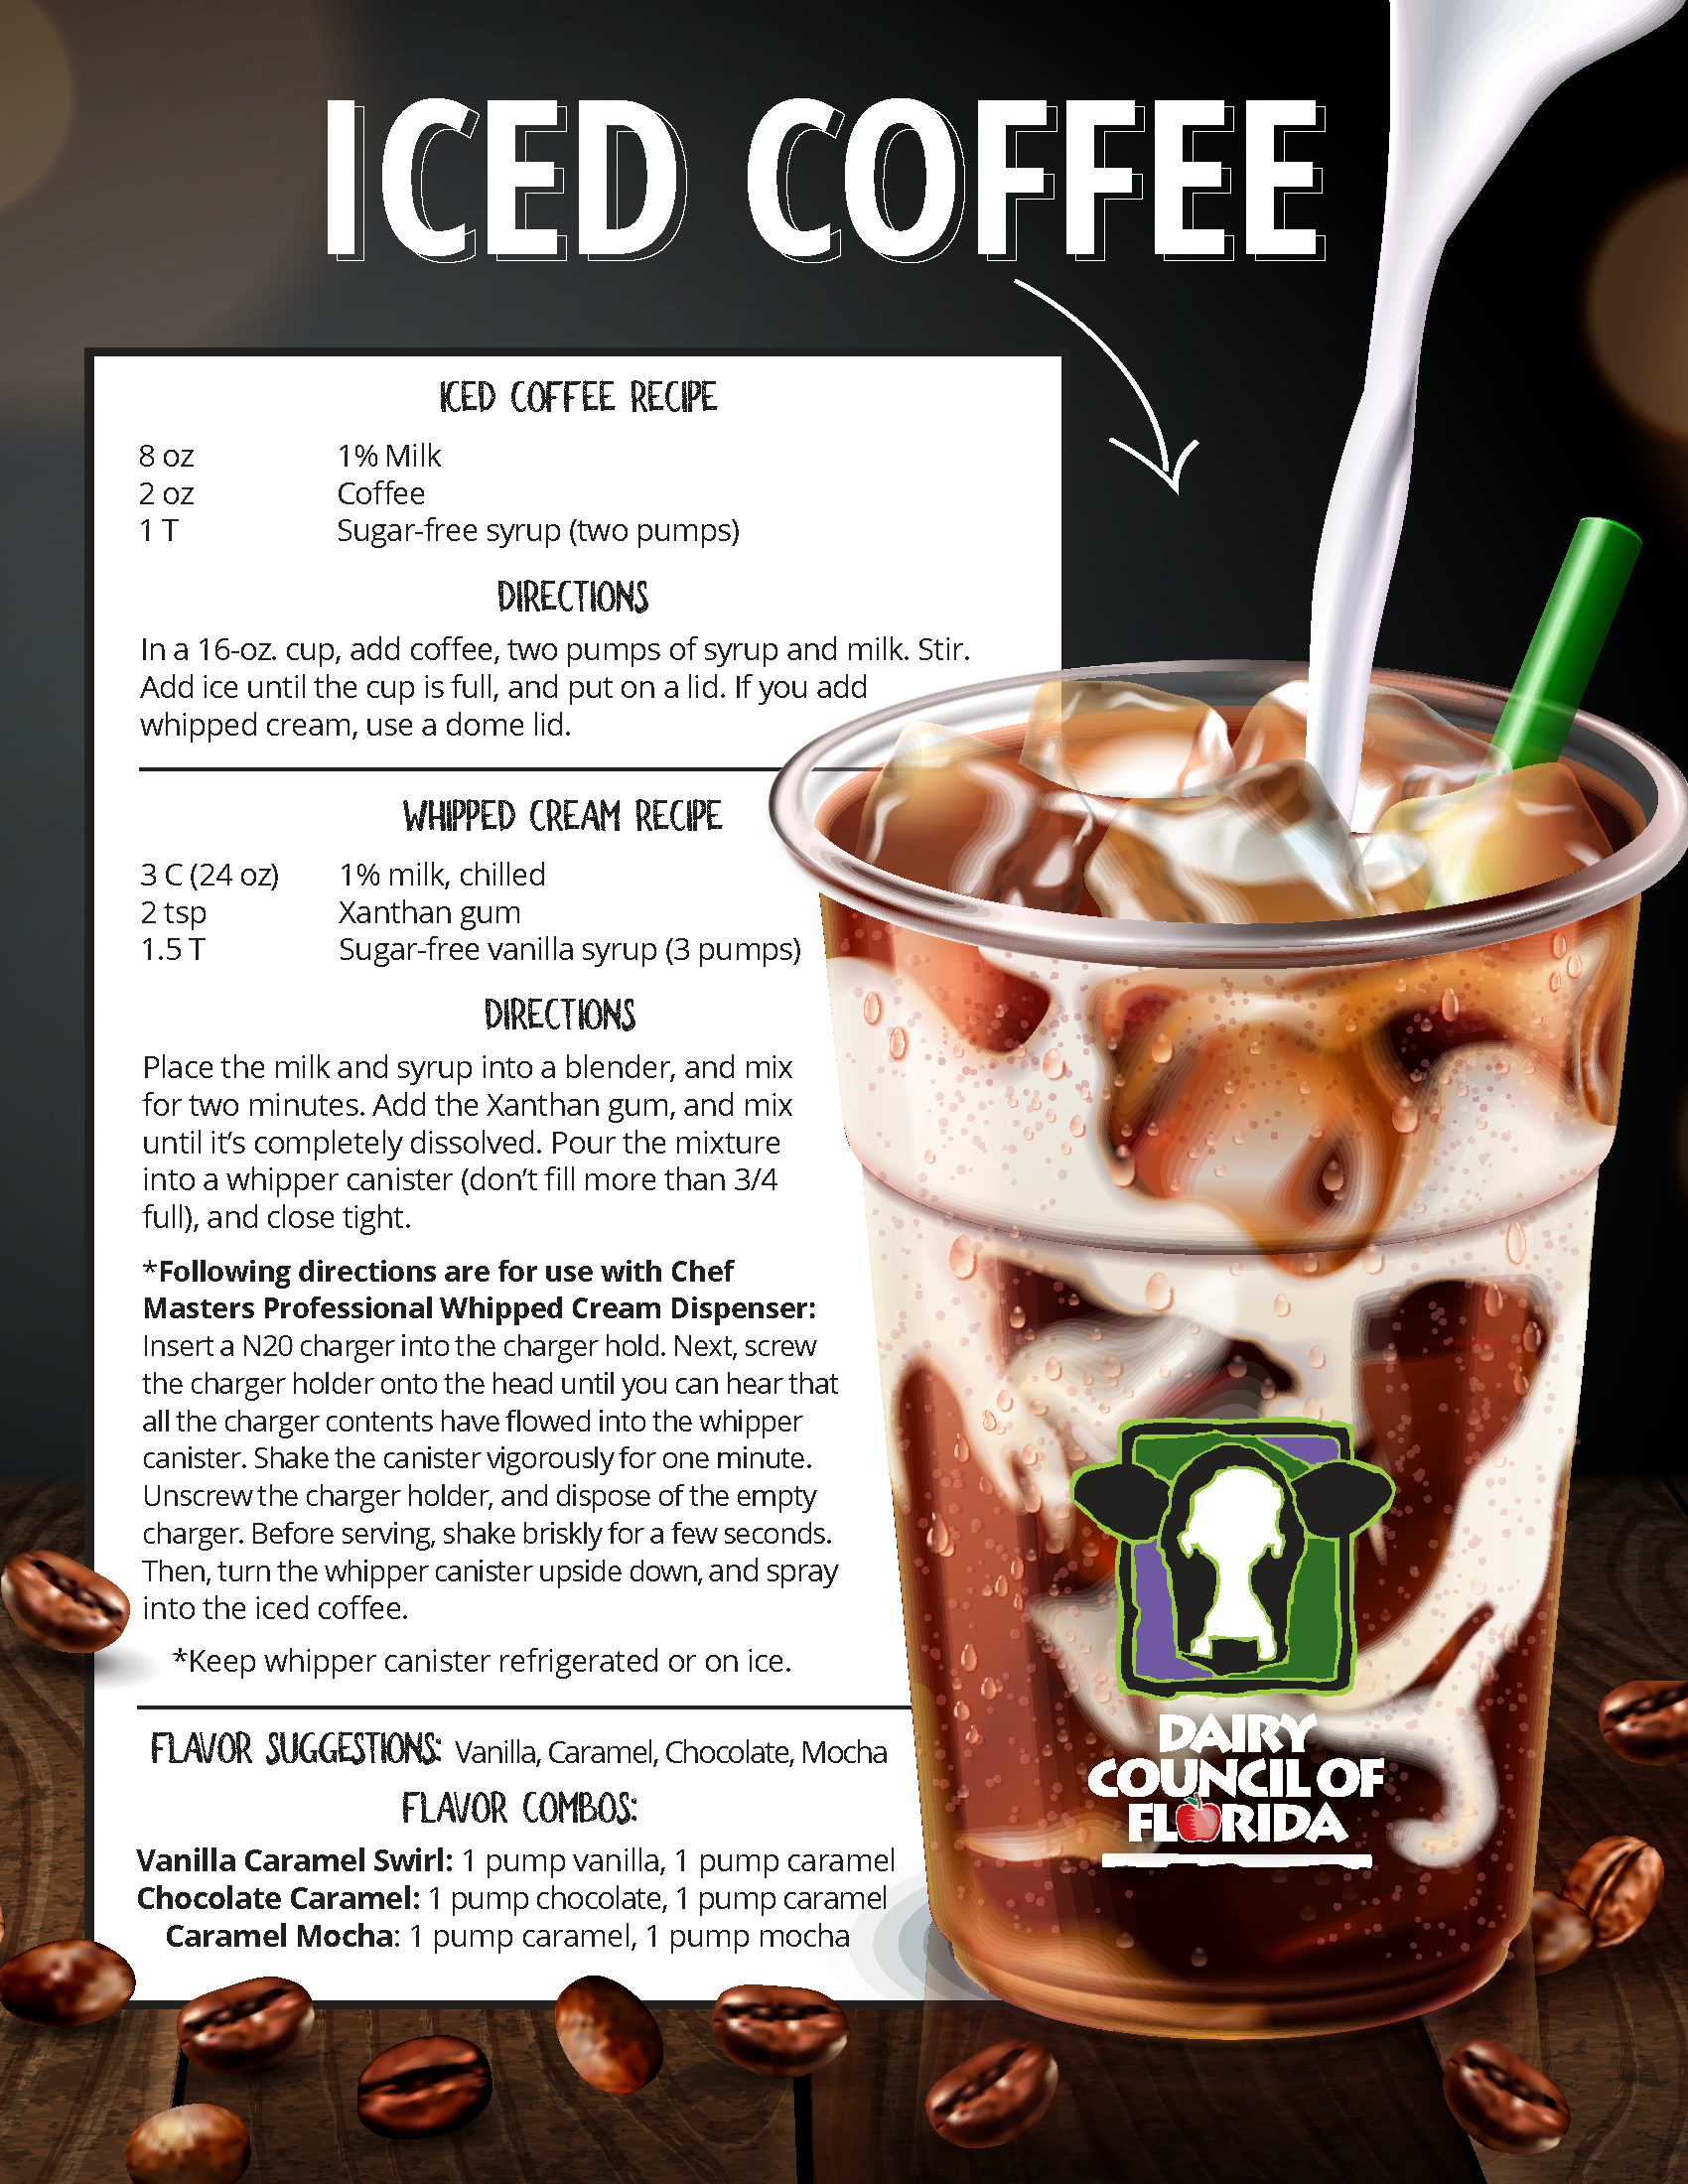
Serving, storage, and scaling advice for how to make ice coffee
Serving
- Use a tall glass and fresh large ice cubes.
- Add milk last and stir gently.
Storage
- Store cold brew concentrate in a sealed jar for up to 7 days.
- Brewed hot coffee chilled quickly lasts 24–48 hours in the fridge.
Scaling
- Double or triple recipes on a scale for batch prep.
- Keep concentrate ratios consistent for even flavor when diluting.
I make a liter of cold brew on Sundays and dilute it during the week. It saves time and keeps my morning routine simple.

Frequently Asked Questions of how to make ice coffee(make it h2 tag)
How is iced coffee different from cold brew?
Iced coffee is typically brewed hot and chilled or poured over ice, while cold brew is steeped in cold water for many hours. Cold brew is smoother and less acidic than hot-brewed iced coffee.
Can I use regular roasted beans for iced coffee?
Yes. Any roast can work. Darker roasts give a richer cup, while lighter roasts offer brighter fruit and floral notes.
How do I stop my iced coffee from getting watered down?
Use coffee ice cubes, brew stronger coffee, or chill coffee quickly before serving. Cold brew concentrate is also a low-dilution option.
How long does cold brew last in the fridge?
Cold brew concentrate can last 5–7 days if stored in a sealed container. Flavor tends to change after several days, so use sooner for best taste.
Is it better to grind coffee fresh for iced coffee?
Yes. Grinding right before brewing preserves aroma and flavor. Pre-ground coffee loses richness faster.
Conclusion
You now have simple, tested ways to learn how to make ice coffee that suits your taste and schedule. Try one method, tweak the ratio, and take notes. Small changes to grind, brew time, or ice will change the cup, and that experimentation is part of the fun.
Make a batch this week, share the results, and tweak based on what you like most. If you enjoyed these tips, try a different bean or method next time and leave a comment about your favorite iced coffee trick.

Liora Pennings is a seasoned chef and kitchen enthusiast with a passion for turning everyday cooking into an effortless experience. With years of hands-on culinary expertise, she specializes in practical techniques, ingredient know-how, and smart kitchen solutions that help home cooks elevate their meals. At KitchFlair.com, Liora shares her best tips, time-saving tricks, and honest product reviews to guide readers toward a more efficient, enjoyable, and inspired cooking routine. Whether you’re a beginner or a seasoned home chef, Liora’s friendly, knowledge-packed insights make every visit to the kitchen a little easier—and a lot more delicious.