How To Repair Vacuum Cleaner Suction Motor Worn Brushes:Fix
Replace the worn carbon brushes quickly—measure, match, and swap with correct replacements.
I’ve fixed dozens of cleaners and know exactly how to approach how to repair vacuum cleaner suction motor worn brushes with safety and skill. Read on for clear steps, common pitfalls, and tips I use in my workshop to get suction back to full strength without guesswork.

How vacuum motor brushes work and why they wear
Carbon brushes press against the motor commutator to carry current. Over time they wear down like pencil tips, causing poor contact, arcing, and weak suction. Knowing this basic part makes diagnosing how to repair vacuum cleaner suction motor worn brushes much simpler and faster.
Brush wear is normal. Heavy use, dusty motors, and poor brush fit speed wear. Some motors have replaceable brush holders; others require more work, so checking the manual helps before you begin.

Signs your motor brushes are worn (diagnosis)
Look for low or intermittent suction, a burning smell, or visible sparking at the motor vents. If the motor hums but the vacuum doesn’t pull, worn brushes are a common cause.
Quick tests you can do at home:
- Turn off and unplug the vacuum. Remove the brush caps and inspect the brushes visually.
- Measure brush length against the minimum spec in the manual or use a ruler; replace if under spec.
- Use a multimeter to check for continuity across the motor and to test brush spring pressure indirectly by movement.
When you inspect, note uneven wear or metal dust. These are clues that brushes or the commutator need attention rather than other parts. Diagnosing correctly is the first step in how to repair vacuum cleaner suction motor worn brushes.

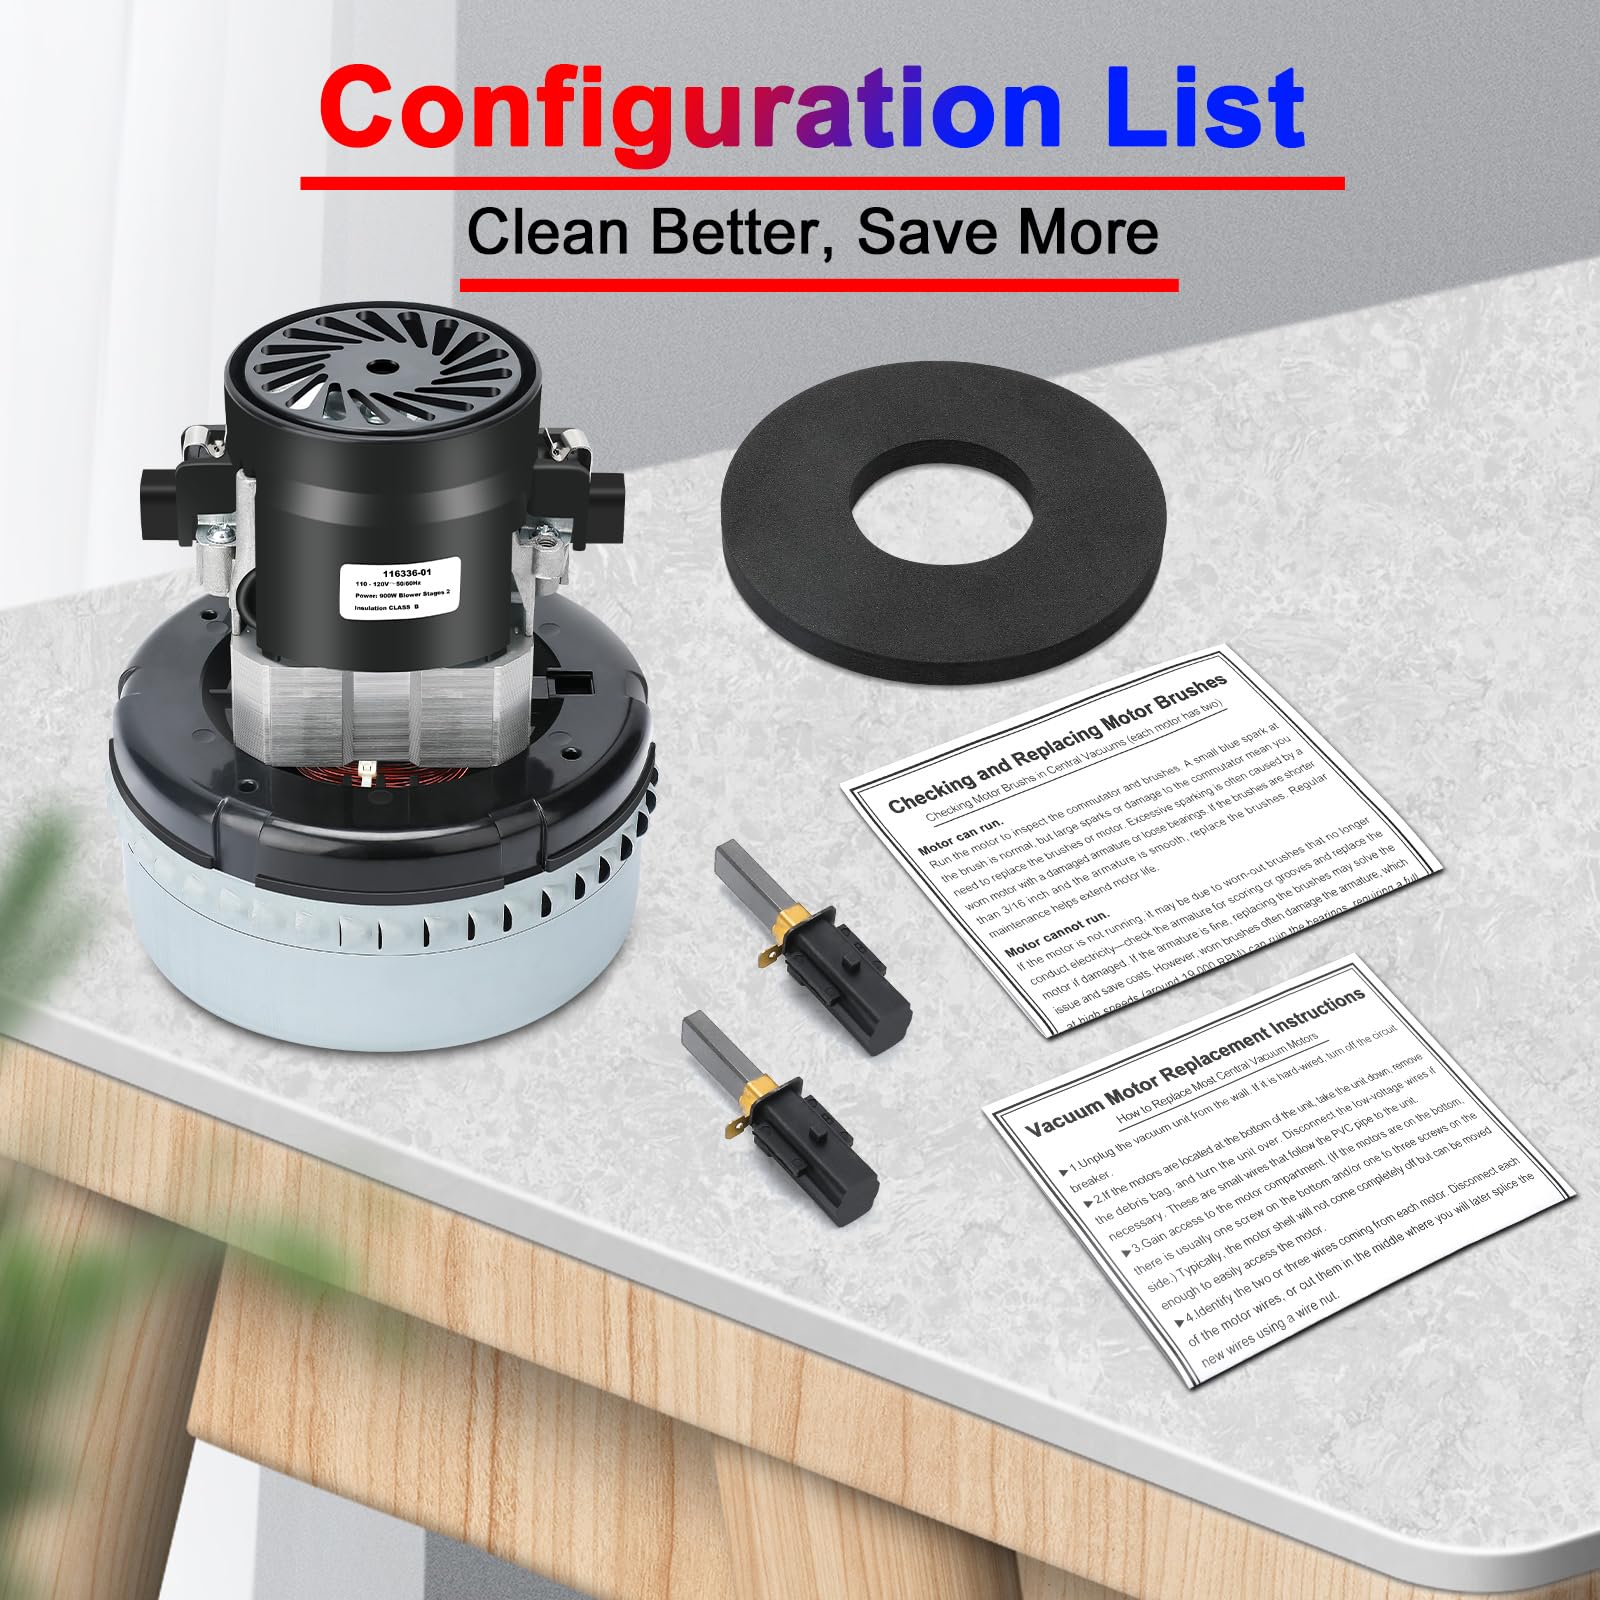
Tools and parts you need
Gather these before you start so the job goes smoothly:
- Multimeter for continuity and simple voltage checks.
- Small screwdrivers, nut drivers, and pliers to open housings.
- Replacement carbon brushes that match size and type for your exact model.
- Contact cleaner and a soft brush for commutator cleaning.
- Safety gear: gloves and eye protection.
Buying exact-match brushes matters. Generic brushes can fit, but correct size and grade protect the commutator and ensure long life. This prep reduces mistakes when you learn how to repair vacuum cleaner suction motor worn brushes.

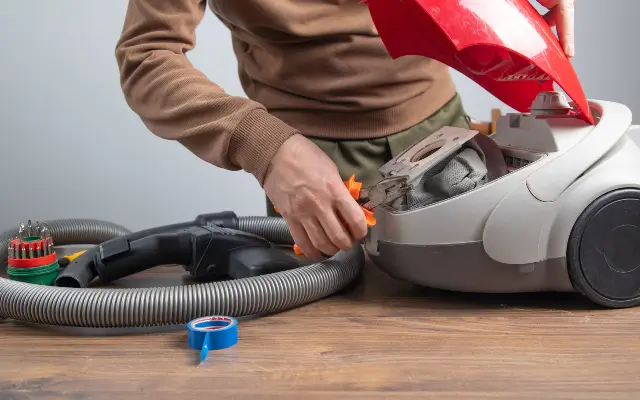
Step-by-step: how to repair vacuum cleaner suction motor worn brushes
Follow these steps in order. Keep each action slow and safe.
-
Safety and preparation
- Unplug the vacuum and remove the dust bin or bag. Let the motor cool if recently used.
- Work on a clean, flat table with good light. Keep screws in a small tray so you don’t lose them.
-
Access the motor and brush holders
- Remove the outer shell or base plate per the service manual. Keep photos on your phone to track reassembly.
- Locate brush caps—usually plastic or metal covers near the motor ends—and remove them carefully.
-
Inspect and measure brushes
- Pull out the brushes and note their length, shape, and spring condition.
- Compare length to the service spec. If brushes are below spec, replacement is needed.
-
Clean the commutator and holder area
- Use a soft brush and contact cleaner to remove carbon dust. Avoid soaking bearings or windings.
- If the commutator has mild pitting, a gentle polish with a very fine abrasive or commutator stone may help. Don’t overdo it.
-
Install new brushes
- Match part numbers or precise dimensions. Insert new brushes, ensuring smooth travel in the holder and correct spring tension.
- Reinstall brush caps and secure the housing. Make sure wires and clips are properly seated.
-
Test run
- Reassemble the vacuum and run it briefly while listening for noise and watching for smoke or heavy sparking.
- Check suction and motor smoothness. If problems persist, the commutator or motor bearings may need professional attention.
These steps show how to repair vacuum cleaner suction motor worn brushes without skipping vital checks. Take your time and refer to the model’s manual as needed.

Safety tips and common troubleshooting after replacement
Safety first. Never run a vacuum with open housings or without brushes seated correctly. If you smell burning or see heavy sparking after replacement, shut the unit off immediately.
Troubleshooting quick guide:
- Persistent sparking: check brush seating, spring tension, and commutator condition.
- No improvement in suction: inspect belts, clogs, and filters; worn brushes may not be the only issue.
- Overheating: confirm correct brush type and that ventilation is clear.
I once reinstalled brushes backward on an older canister. The motor ran, but sparking rose. Rechecking orientation and seating fixed it—small details matter when you learn how to repair vacuum cleaner suction motor worn brushes.
Maintenance tips to extend brush life
Preventive care saves money and time. Do these regularly:
- Replace bags and filters on schedule to reduce motor load.
- Empty dustbins frequently and avoid vacuuming large debris that can enter the motor chamber.
- Periodically open the motor housing to blow out carbon dust when safe to do so.
Use genuine parts when possible and record brush replacement dates. Good maintenance makes future how to repair vacuum cleaner suction motor worn brushes jobs rarer and easier.
Costs, when to replace the motor, and limitations
Brushes are inexpensive; labor or complex commutator damage raises costs. Expect parts to range low, with shop labor adding more if you don’t DIY. If the commutator is scored deeply or bearings fail, replacing the motor may be more economical.
Limitations to know:
- Not all motors are serviceable—some modern vacuums use sealed or brushless motors.
- Improper brush fit can damage the commutator quickly.
- DIY repairs can void warranties; check coverage before opening the unit.
Weigh cost and risk. If unsure, a trusted repair shop or manufacturer support can advise on whether a motor rebuild or replacement is best after learning how to repair vacuum cleaner suction motor worn brushes.
Frequently Asked Questions of how to repair vacuum cleaner suction motor worn brushes
How do I know if the brushes are the problem?
If the motor runs but suction is weak, or you see sparking or a burning smell, brushes are a likely cause. Visual inspection of short, crumbly carbon brushes confirms it.
Can I use generic brushes for my vacuum?
You can, but exact size and carbon grade matter to avoid commutator damage. Using proper-match brushes is safer and often lasts longer.
How long do vacuum motor brushes typically last?
Brush life varies with use, from 1 to 5 years in household use. Heavy commercial work shortens that span considerably.
Is it safe to clean the commutator myself?
Yes, if you follow safety steps: unplug the unit, avoid solvents on bearings or windings, and use light contact cleaner and a soft brush. For deep machining, seek a pro.
Will replacing brushes fix all motor problems?
No. Brushes fix contact-related issues. Bearings, windings, or the commutator itself can cause motor failure and may need separate repairs.
Conclusion
Replacing worn carbon brushes is a cost-effective fix that restores suction and extends motor life when done right. Follow safety steps, use the correct parts, and test thoroughly to avoid repeat issues. Try the steps here on your next repair, subscribe for more DIY appliance guides, or leave a comment with your model so I can offer tailored advice.

Liora Pennings is a seasoned chef and kitchen enthusiast with a passion for turning everyday cooking into an effortless experience. With years of hands-on culinary expertise, she specializes in practical techniques, ingredient know-how, and smart kitchen solutions that help home cooks elevate their meals. At KitchFlair.com, Liora shares her best tips, time-saving tricks, and honest product reviews to guide readers toward a more efficient, enjoyable, and inspired cooking routine. Whether you’re a beginner or a seasoned home chef, Liora’s friendly, knowledge-packed insights make every visit to the kitchen a little easier—and a lot more delicious.