How To Repair Vacuum Cleaner Handle Wiring Issue: Quick Fix
Fix the handle wiring by isolating the break, rejoining wires with proper connectors, and testing safely.
I’ve spent years fixing small appliances and I know the frustration of a dead vacuum handle. This guide on how to repair vacuum cleaner handle electrical wiring issue walks you through simple, safe steps. I explain why the handle wiring fails, list the tools you need, and give a clear step-by-step repair method you can trust. Read on for practical tips, troubleshooting checks, and real-world lessons I picked up while repairing dozens of vacuums.

Why handle wiring fails and what to expect
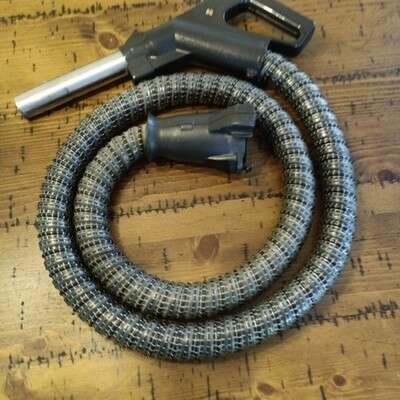
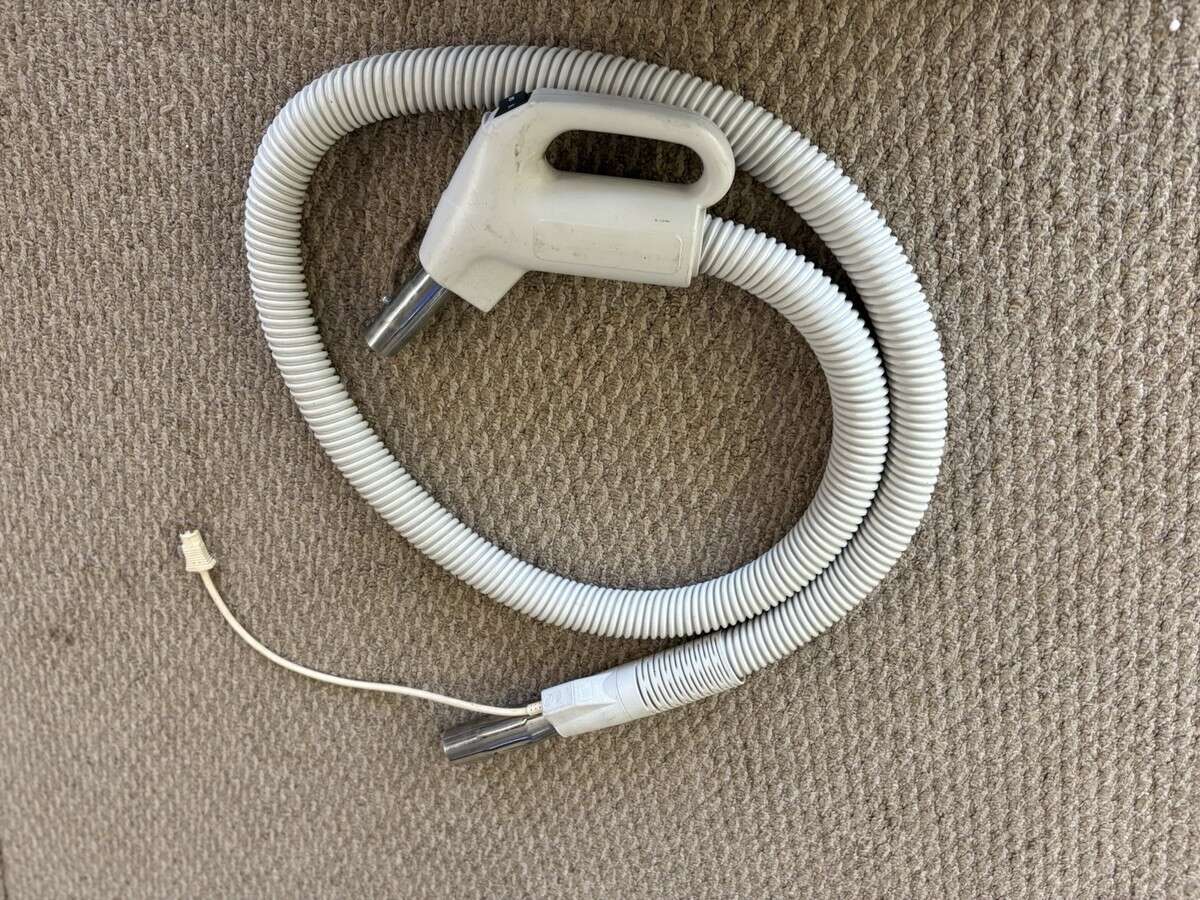
Handle wiring is a short, flexible harness that runs through the wand or handle to the switch. It carries power to the motor or to lights and sensors. Repeated flexing, corrosion, poor strain relief, or crushed wire are common causes.
Common signs of a handle wiring issue:
- The vacuum cuts out when you bend the handle.
- The switch or lights in the handle stop working.
- Visible frayed wire or melted insulation inside the handle.
Understanding these causes helps when you learn how to repair vacuum cleaner handle electrical wiring issue. Expect small parts, tight spaces, and the need for basic electrical testing. Most repairs take 30–90 minutes depending on access and model.

Safety first: tools, parts, and precautions
Safety is the top priority. Work with the unit unplugged and use insulated tools.
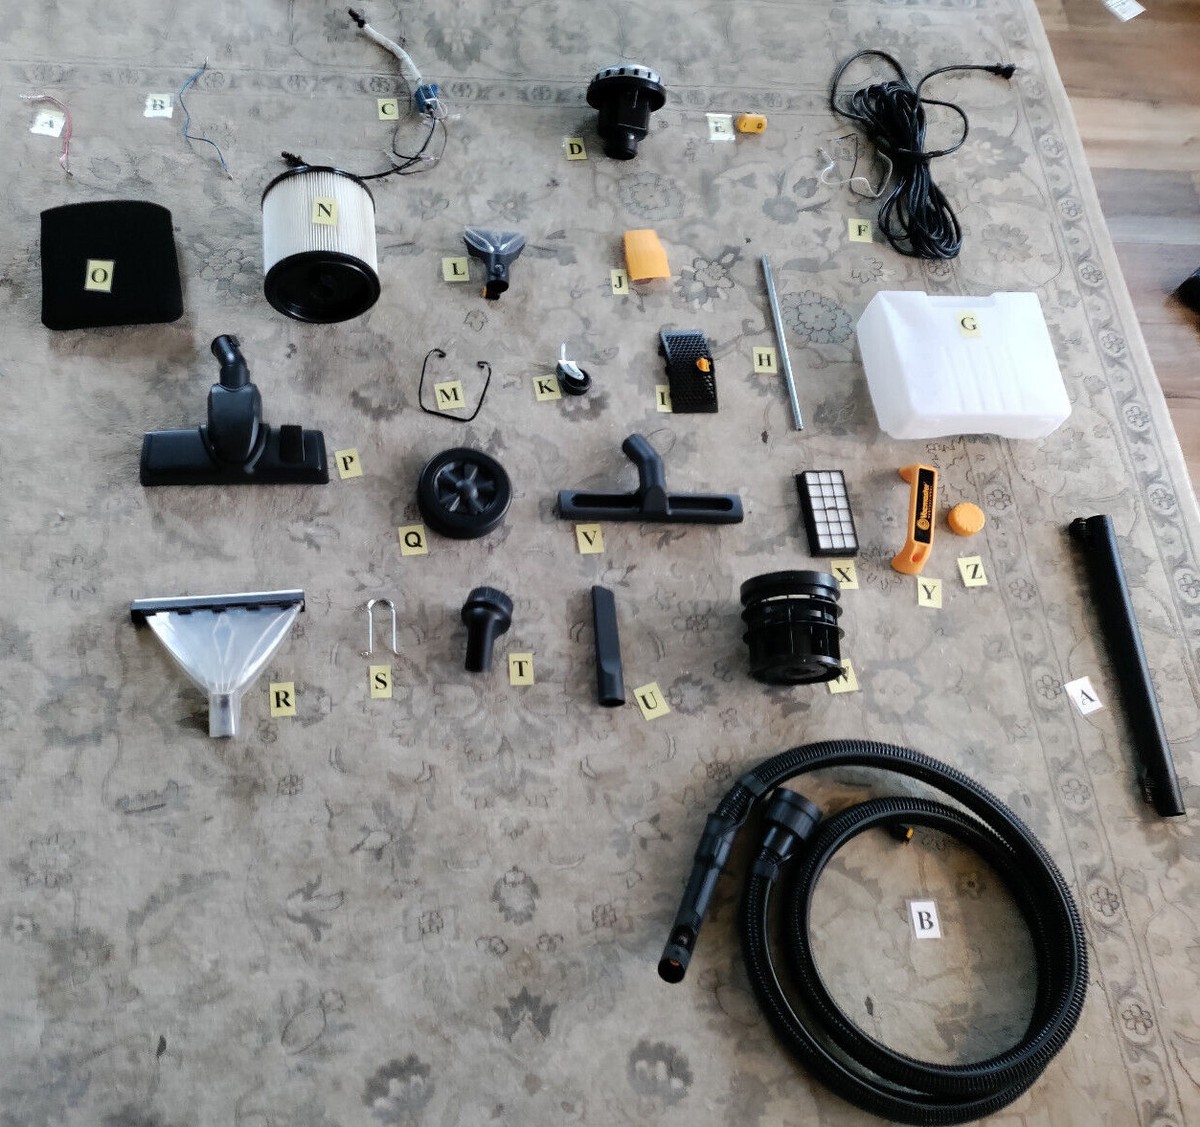
Essential tools and parts:
- Multimeter for continuity and voltage checks.
- Wire strippers and small pliers.
- Soldering iron and rosin-core solder or quality crimp connectors.
- Heat-shrink tubing or electrical tape.
- Replacement wire or a wire harness if the original is damaged.
- Small screwdrivers and a flashlight.
Safety steps to follow:
- Unplug the vacuum before opening anything.
- Discharge any capacitors by waiting and checking with a meter.
- Mark where screws and parts belong to avoid reassembly mistakes.
- Wear safety glasses and keep fingers clear of hot solder.
Following these safety steps makes it easier to learn how to repair vacuum cleaner handle electrical wiring issue without harm.

Step-by-step repair guide
These steps cover most handheld and upright vacuum handles. Read them first, then follow them methodically.
- Inspect and access the wiring
- Unplug the vacuum and remove the wand or handle cover screws.
- Open the handle carefully to expose wiring and the switch.
- Look for obvious breaks, pinched wires, or loose connectors.
- Test for continuity and shorts
- Use a multimeter set to continuity.
- Test from the plug end to the switch to find where continuity stops.
- If continuity fails when bending the handle, the break is inside the handle.
- Prepare the repair area
- Cut out the damaged section of wire if it’s frayed or brittle.
- Strip about 1/4 inch of insulation from each wire end.
- Slide heat-shrink tubing on the wire before you join them.
- Rejoin wires securely
- Preferred: solder the wires together and cover with heat-shrink tubing.
- Alternative: use crimp connectors rated for appliance use and then insulate.
- Ensure color or terminal-matching follows the original wiring.
- Rebuild strain relief and routing
- Ensure the wire has slack and is routed away from sharp edges.
- Replace or repair strain relief so normal bending doesn’t stress the splice.
- Reassemble and test
- Close the handle enough to test electrical function with the vacuum unplugged from the wall but plugged into power for testing only.
- Check continuity and then power on briefly to confirm operation.
- Finish reassembly once tests pass.
Practical tip: keep a small roll of appropriate wire and universal connectors in your toolkit. This speeds up repairs and reduces the chance of poor temporary fixes.

Testing and troubleshooting after repair
Testing proves the repair and spots lingering issues.
Basic tests:
- Continuity across the repaired section with the handle in various positions.
- Voltage at the motor or switch while the unit is powered, using caution.
- Functional test for the trigger, lights, and motor startup.
Troubleshooting if it still fails:
- Reopen and check for cold solder joints or loose crimps.
- Look for hidden breaks in the harness inside the wand.
- Verify the switch itself is not faulty by testing its contacts.
These checks help you finalize how to repair vacuum cleaner handle electrical wiring issue and confirm a lasting fix.
When to replace the handle or call a pro
Some situations call for a full replacement or professional help.
Replace or call a pro if:
- The wire bundle is inside a sealed molded handle you cannot open.
- The switch or motor shows signs of major damage.
- You find multiple failing points or burned components.
- You’re uncomfortable working with mains voltage.
A technician can rewire complex models, replace molded parts, or handle warranty issues. It’s often cheaper and safer to call a pro when the repair is beyond basic splices.

Common mistakes and tips from my experience
I’ve repaired many vacuum handles. Here are mistakes I learned from and tips to avoid them.
Mistakes to avoid:
- Using poor connectors that fail under flex.
- Leaving no strain relief, causing the splice to re-break.
- Skipping continuity tests before reassembly.
Tips that work:
- Always use heat-shrink tubing over tape for a cleaner and stronger insulator.
- Test the handle through its range of motion before finishing.
- Keep a repair log: model number, date, and what you fixed — it helps with repeat issues.
These lessons make future how to repair vacuum cleaner handle electrical wiring issue tasks faster and more reliable.

Common quick questions (PAA-style)
How long does a typical handle wiring repair take?
Most simple splices take 30–60 minutes. Complex cases or replacement harnesses can take up to two hours.
Can I solder wires inside plastic handle parts?
Yes, but work quickly and avoid melting plastic. Use proper ventilation and protect nearby parts from heat.
Is crimping as good as soldering for flexible wires?
A quality crimp with the right crimp tool can be equal or better for flexible wires because it resists breakage under movement.

Frequently Asked Questions of how to repair vacuum cleaner handle electrical wiring issue
What if the handle switch is the real problem?
Test the switch with a multimeter. If it fails continuity when toggled, replace the switch rather than just the wiring.
Can I use any wire for the repair?
Use wire of the same gauge and insulation rating as the original. Appliance-grade wire reduces fire risk.
How do I find the break if I can’t open the handle easily?
Use a multimeter and wiggle the handle while probing from one end to the other to locate where continuity drops.
Will tape alone hold a repair?
No. Tape can come loose and does not protect against wear. Use heat-shrink tubing or proper connectors.
Is it safe to test while the vacuum is plugged in?
Only test live voltage cautiously and briefly. Keep hands dry and tools insulated. Prefer bench testing with the unit unplugged when possible.
Are replacement harnesses available for common models?
Yes, many manufacturers sell harnesses or OEM handles. If available, they simplify the repair and restore factory reliability.
How can I avoid breaking the handle wiring again?
Ensure good strain relief, avoid tight bends, and route the wire away from moving parts. Regular checks help catch wear early.
Conclusion
You can fix most handle wiring problems by inspecting, testing, and making a solid splice with proper strain relief. Start with safety, use the right tools, and follow the step-by-step method here to get reliable results. If the repair is beyond your comfort, a pro can save time and ensure safety. Try these steps, learn from each repair, and leave a comment with your model or question — I’ll help troubleshoot further.

Liora Pennings is a seasoned chef and kitchen enthusiast with a passion for turning everyday cooking into an effortless experience. With years of hands-on culinary expertise, she specializes in practical techniques, ingredient know-how, and smart kitchen solutions that help home cooks elevate their meals. At KitchFlair.com, Liora shares her best tips, time-saving tricks, and honest product reviews to guide readers toward a more efficient, enjoyable, and inspired cooking routine. Whether you’re a beginner or a seasoned home chef, Liora’s friendly, knowledge-packed insights make every visit to the kitchen a little easier—and a lot more delicious.