How To Clean Vacuum Cleaner For Allergy Prevention: Guide
Regularly empty, clean, and replace filters — and clean all parts to cut allergens fast.
I’ve spent years testing vacuums in homes with allergy sufferers, so I know what works. This guide shows exactly how to clean vacuum cleaner for allergy prevention at home, step by step. You’ll learn what to clean, when to do it, which filters to use, and simple habits that lower pollen, dust mite, and pet dander levels. Read on for practical, tested tips you can start using today to make indoor air healthier.
Why cleaning your vacuum matters for allergy prevention at home
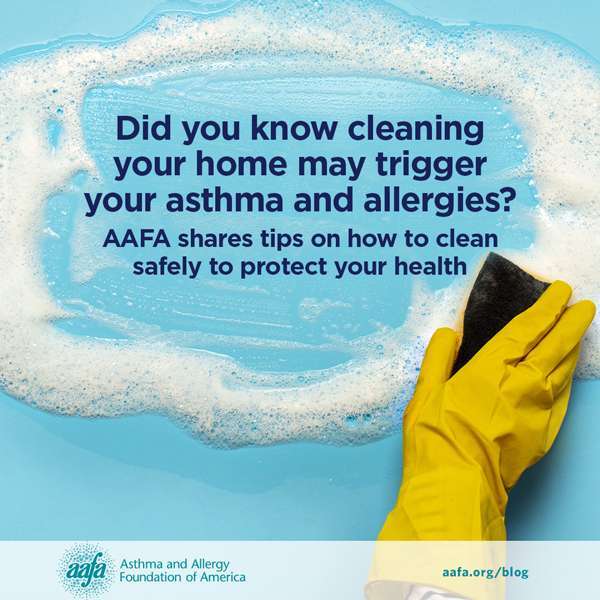
A dirty vacuum spreads allergens instead of trapping them. When dirt builds up in the canister, brush roll, hose, or filters, spores and dander can escape back into the air during use. Clean vacuums trap and hold particles. They keep allergens out of the breathing zone and reduce symptoms for people with allergies or asthma. Regular cleaning also keeps the machine working well and extends its life.

How often to clean vacuum cleaner for allergy prevention at home
Set a routine to stay ahead of allergens. Frequency depends on use and home conditions.
- Daily
- Empty canister after cleaning high-traffic rooms or if you have pets. This prevents stale dust from re-entering the air.
- Weekly
- Check and clean brush roll, attachments, and exterior filters. Quick checks catch hair and blockages.
- Monthly
- Deep-clean the canister, wash non-HEPA filters (if washable), and inspect hoses for clogs.
- Every 6–12 months
- Replace HEPA and other disposable filters per manufacturer guidance. A worn filter won’t trap fine allergens.
Following this schedule keeps the vacuum doing the job it should: removing allergens, not spreading them.
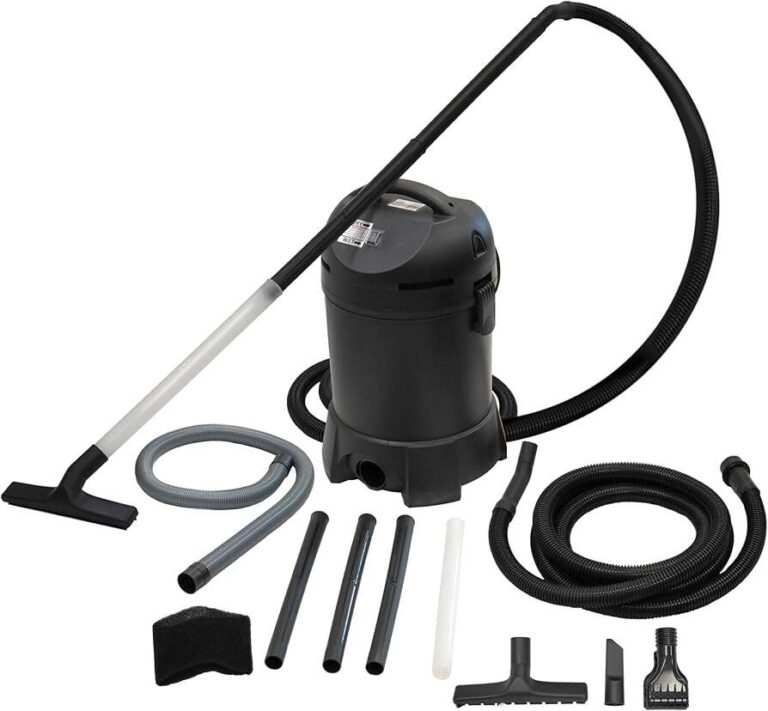
Tools and supplies you’ll need
Have these items ready before you start cleaning your machine.
- Soft brush or old toothbrush
- Microfiber cloths
- Mild dish soap
- Warm water
- Compressed air can or small hand pump (for crevices)
- Replacement HEPA filter or other filters
- Disposable gloves and a mask if you are allergy-prone
- Scissors or seam ripper (for cutting hair from brush roll)
- Bucket and towel for drying parts
Use gentle cleaners and avoid strong chemicals that can damage seals or leave residues that trap allergens.

Step-by-step guide: how to clean vacuum cleaner for allergy prevention at home
Below are clear steps for bagless and bagged vacuums. Follow them in order for best results.
- Prepare and unplug
- Turn off and unplug the vacuum. Remove attachments.
- Empty the canister or replace the bag
- For bagless models: Take the canister outside. Dump contents into a trash bag. Tap the canister gently to release trapped dust. Wipe the inside with a damp microfiber cloth and mild soap. Let it air dry completely before reassembly.
- For bagged models: Replace the bag when it is two-thirds full. Seal and dispose of the bag immediately outdoors.
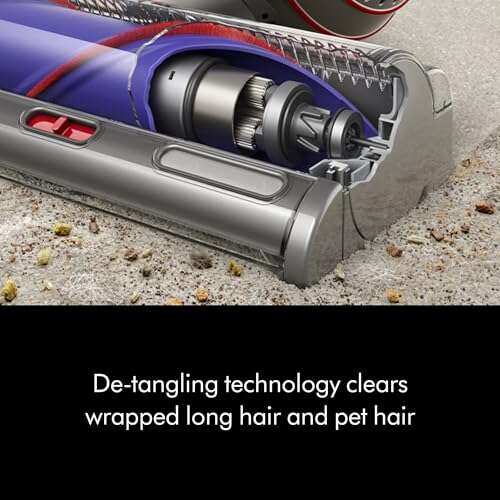
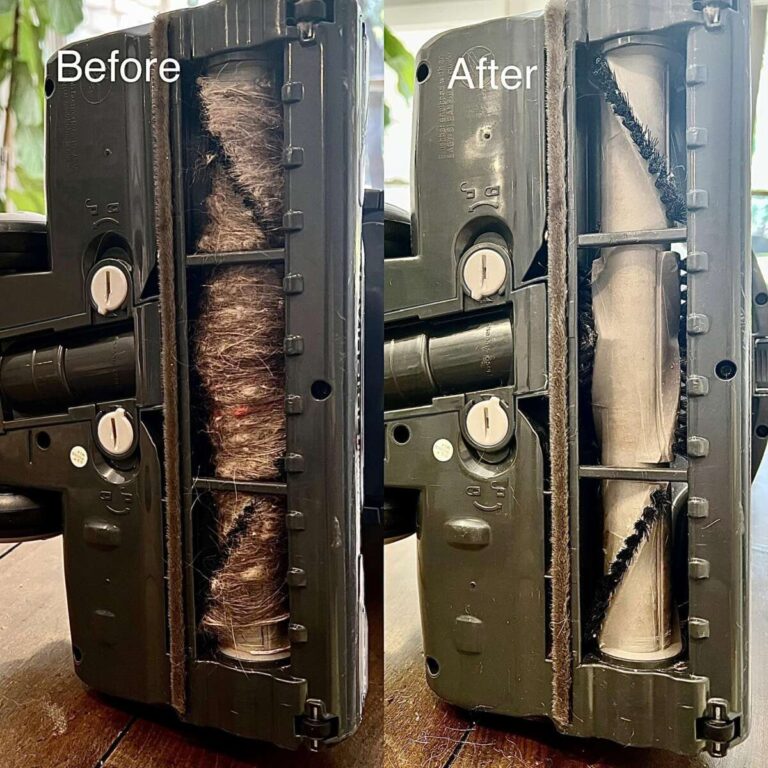
- Clean the brush roll and belt
- Remove the brush cover. Cut and pull away hair and fibers from the brush. Use a soft brush to remove trapped dust. Check the belt for wear and replace if cracked or stretched.
- Clear the hose and pathways
– Detach the hose and look through it. Use a broom handle or similar long tool gently to push out clogs. Rinse detachable hoses with water if allowed, then dry fully. - Clean attachments and crevice tools
- Wash plastic attachments in warm, soapy water. Dry completely to prevent mold.
- Wash or replace filters
- Washable filters: Rinse until water runs clear. Squeeze out excess water and let air dry 24–48 hours.
- Disposable/HEPA filters: Replace per manufacturer instructions. Never wash non-washable filters.
- Sanitize exteriors and seals
- Wipe down exterior surfaces and seals with a damp cloth and mild soap. Avoid soaking electronic components.
- Reassemble and test
- Reinsert dry filters, replace the bag or canister, and run the vacuum briefly to check suction.
Repeat these steps on a consistent schedule to keep allergen capture effective. If you are asking how to clean vacuum cleaner for allergy prevention at home, follow these steps each month for bagless models and as directed for bagged ones.

Filters, HEPA, and sealing: the heart of allergy control
Choosing the right filter is crucial when learning how to clean vacuum cleaner for allergy prevention at home.
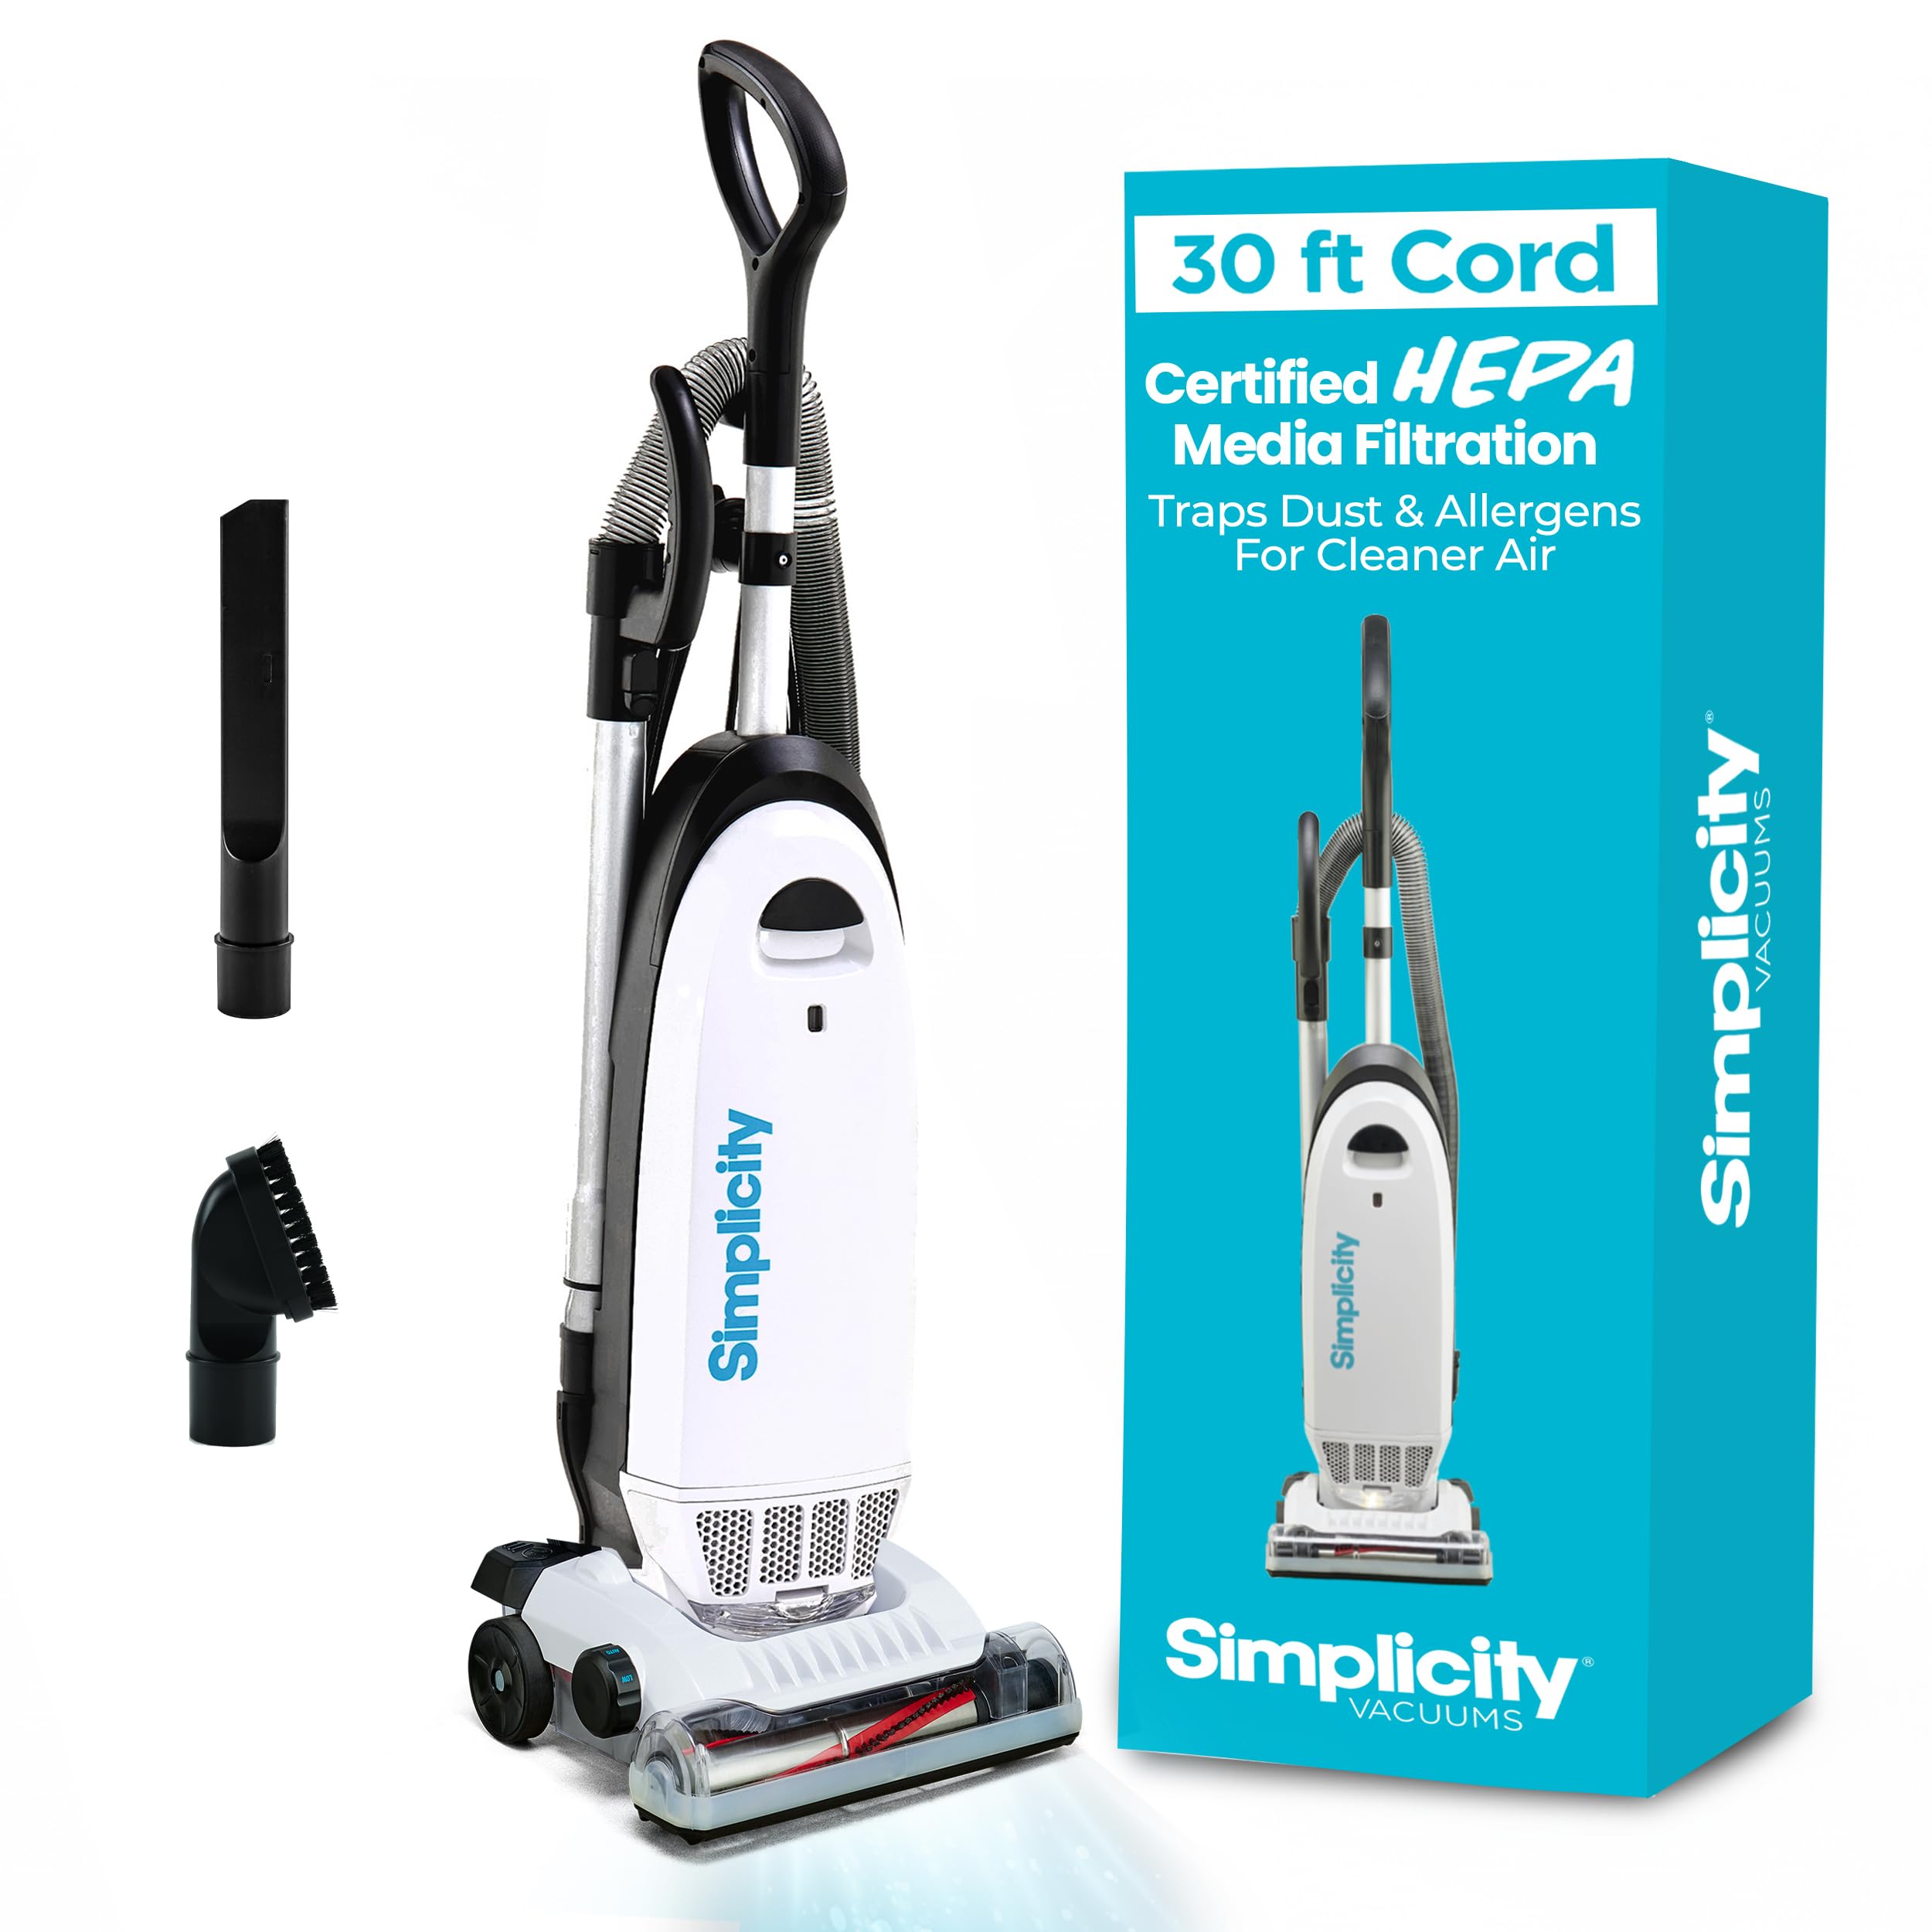
- HEPA filters
- HEPA filters trap 99.97% of particles 0.3 microns or larger. They are best for people with allergies.
- Sealed systems
- A fully sealed vacuum prevents leaks that let dust bypass filters. Look for machines with sealed HEPA systems.
- Filter maintenance
- Replace non-washable filters every 6–12 months or sooner with heavy use. Wash washable pre-filters monthly and dry fully before reassembly.
Proper filter care is as important as the physical cleaning of the vacuum. A fresh HEPA filter plus regular cleaning dramatically lowers allergen recirculation.

Additional habits that amplify allergy prevention at home
Your vacuum routine pairs well with simple home habits to reduce allergens.
- Vacuum high-traffic and fabric-heavy areas at least twice a week if you have pets or allergies.
- Use a vacuum with adjustable suction; lower settings can protect delicate rugs while keeping dust removal effective.
- Wash bedding, curtains, and pet bedding weekly in hot water to kill dust mites.
- Reduce clutter where dust collects, and use doormats to trap outdoor pollutants.
- Consider an air purifier with a HEPA filter in bedrooms to cut airborne allergens between vacuuming sessions.
Small, consistent habits help your vacuum’s work make a bigger difference.

Personal experience and common mistakes to avoid
I used to empty my canister over the sink. Big mistake. Wet dust made a cloud and triggered sneezes. Now I always empty outdoors and wear a simple mask if I’m sensitive.
Common mistakes I’ve seen and fixed:
- Leaving filters damp when reassembling. This can cause mold and bad odors.
- Waiting until bags are full. A full bag lowers suction and increases emissions.
- Forgetting the hose. Most clogs and smells start in the hose or brush roll.
Learn from my errors: clean outside, let parts dry, and replace filters on time. These habits prevent allergy flare-ups and extend your vacuum’s life.
Troubleshooting common issues
Simple fixes solve most problems when cleaning vacuums for allergy prevention.
- Low suction
- Check for clogs in the hose, full bag/canister, or a worn belt. Clean filters and empty the canister.
- Bad smell
- Wash removable parts, check for trapped wet debris, and replace filters. Let parts dry fully.
- Brush roll not spinning
- Remove hair and fibers, inspect the belt, and replace the belt if cracked.
If problems persist after cleaning, contact a certified repair service. Ongoing issues may be a sign of motor or seal damage that affects allergen control.
Frequently Asked Questions of how to clean vacuum cleaner for allergy prevention at home
How often should I replace a HEPA filter in my vacuum?
Replace HEPA filters every 6–12 months, or sooner if you vacuum daily or have pets. A clogged HEPA filter reduces efficiency and allows more particles to escape.
Can I wash all vacuum filters to remove allergens?
No. Only wash filters labeled washable. Washable pre-filters can be rinsed and air-dried; true HEPA filters are often non-washable and must be replaced.
Is it better to empty the canister inside or outside?
Empty canisters outdoors to avoid releasing dust and allergens indoors. If you must empty inside, close windows and use a mask to reduce exposure.
Will a new vacuum reduce my allergies immediately?
A vacuum with a sealed HEPA system helps quickly, but full relief depends on overall cleaning habits and other allergen sources. Combine vacuum care with washing fabrics and using purifiers for best results.
How do I remove pet hair from the brush roll?
Cut hair away with scissors and pull out fibers by hand or with pliers. Regular removal prevents matting and keeps the brush rolling freely.
Conclusion
Regular, careful cleaning of your vacuum is one of the most effective things you can do to reduce indoor allergens. Clean the canister, brush roll, hoses, and filters on a schedule. Use HEPA filters and sealed systems for best results. Start with small steps today: empty the canister outside, replace filters when needed, and make a monthly deep-clean routine. Your home will feel cleaner, and allergy symptoms will likely improve. Try these tips this week, and share your results or questions below — I’d love to hear what works for you.

Liora Pennings is a seasoned chef and kitchen enthusiast with a passion for turning everyday cooking into an effortless experience. With years of hands-on culinary expertise, she specializes in practical techniques, ingredient know-how, and smart kitchen solutions that help home cooks elevate their meals. At KitchFlair.com, Liora shares her best tips, time-saving tricks, and honest product reviews to guide readers toward a more efficient, enjoyable, and inspired cooking routine. Whether you’re a beginner or a seasoned home chef, Liora’s friendly, knowledge-packed insights make every visit to the kitchen a little easier—and a lot more delicious.