How To Make Coffee In A Percolator: Easy Step-By-Step
Making coffee in a percolator is simple: use fresh medium-coarse grounds, the right water ratio, and 7–10 minutes of percolation.
I’ve brewed hundreds of pots with camp and countertop percolators, so I know what works. This guide on how to make coffee in a percolator explains every step. You’ll get gear choices, grind and ratio rules, a clear step-by-step method, flavor tips, cleaning advice, and troubleshooting. Read on to brew better percolator coffee with confidence.
How a percolator works
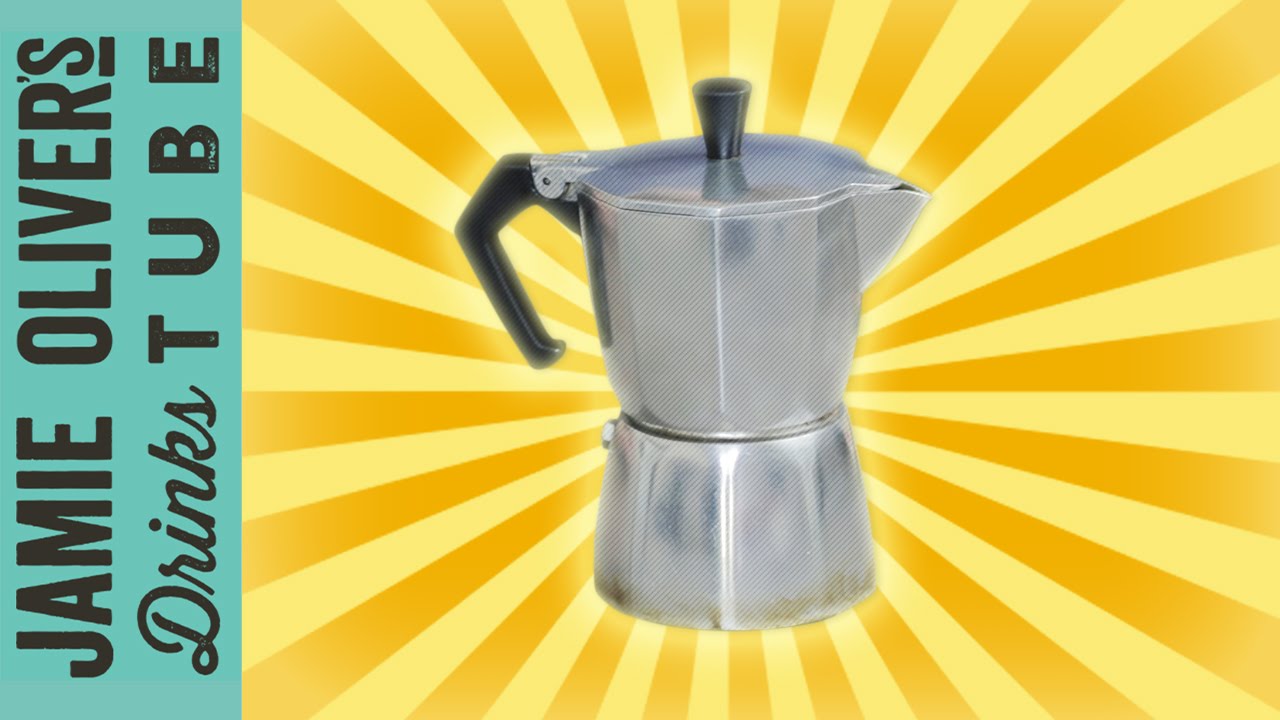
A percolator brews by cycling hot water up a central tube and letting it drip through coffee grounds. The water collects and repeats this motion until you stop the process. This recirculation extracts flavor faster than drip machines, so timing and grind size matter more. Understanding this helps avoid bitter, over-extracted coffee when you learn how to make coffee in a percolator.

What you’ll need
- Percolator, stovetop or electric, clean and in good condition.
- Fresh whole-bean coffee and a grinder for consistent grind.
- Clean, cold water—filtered if possible.
- Kitchen scale or measuring spoons for accurate ratios.
- Heat source (stove, campfire, or electric outlet).
- A timer and a spoon for small adjustments.
Step-by-step: how to make coffee in a percolator
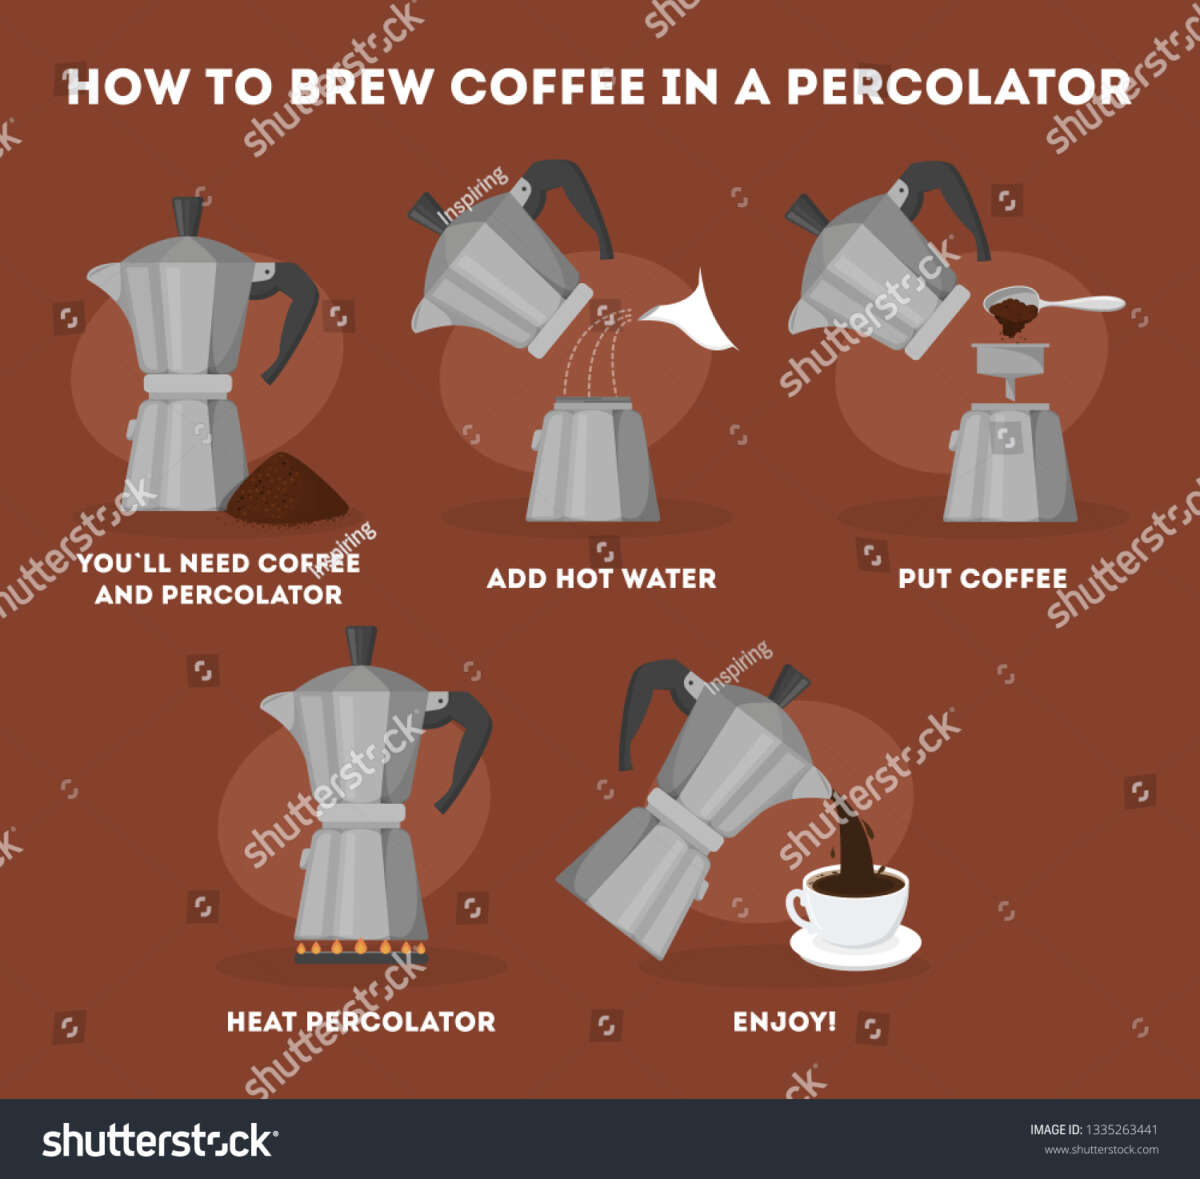
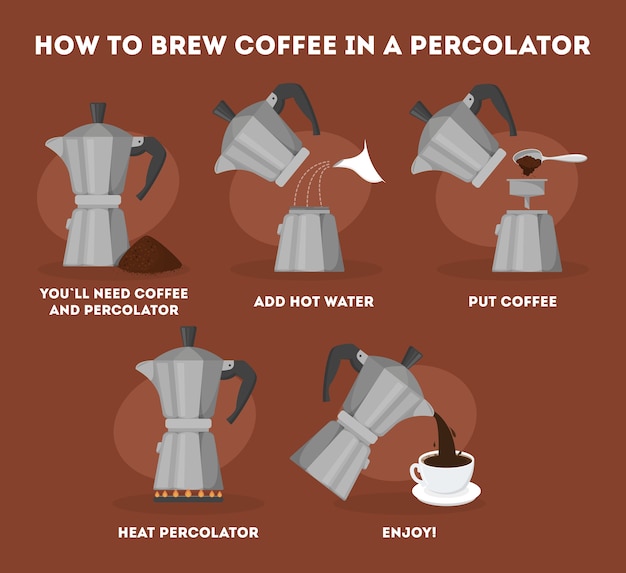
- Measure water. Fill the percolator pot with cold water to the level that matches how many cups you want.
- Add ground coffee. Use a medium-coarse grind and place it in the basket. Avoid very fine grounds that will muddy the brew.
- Assemble the percolator. Lock the lid and ensure the stem and basket sit straight.
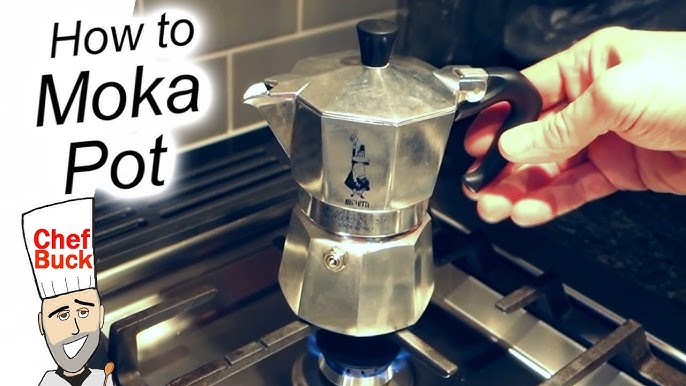
- Heat gently. For stovetop percolators, put it on medium heat. For electric models, plug in and switch on.
- Watch the first cycle. When the water first boils and you see a steady flow of coffee-colored water in the glass knob, start the timer.
- Time the percolation. Brew 7–10 minutes for a balanced cup. Shorten to 5–6 minutes for milder coffee, extend to 10–12 for stronger coffee, but be careful not to overdo it.
- Remove from heat. Turn off the heat or unplug and let the percolator sit a minute to settle grounds.
- Serve promptly. Pour into cups and enjoy. Avoid leaving coffee in the percolator on heat; it will continue extracting and become bitter.
This step-by-step routine is the backbone of how to make coffee in a percolator. Small tweaks to time and grind change your result, so note what you like.
Grind size, ratios, and water tips
- Grind size: medium-coarse is best. Think coarse sand or sea salt. Too fine and the coffee gets muddy and bitter.
- Ratio: use roughly 1 tablespoon of ground coffee per 6 fluid ounces of water. For metric, try a 1:15 coffee-to-water ratio by weight (1 g coffee to 15 g water).
- Water quality: use clean, filtered water. Bad-tasting water makes bad coffee no matter how well you follow how to make coffee in a percolator.
- Temperature: do not boil aggressively. A steady simmer produces a gentle cycle and cleaner flavor.
- Adjusting strength: increase coffee or brew time slightly for stronger coffee, and reduce both for a lighter cup.
These simple rules make it easy to replicate a great percolator brew. Small experiments help you find your sweet spot.

Tips for best flavor and common mistakes
- Always use fresh beans. Coffee loses flavor fast after grinding.
- Pre-heat the water? I prefer starting with cold water for consistent extraction. Pre-heating shortens brew time but can lead to uneven flavor.
- Avoid over-extraction. Watch the 7–10 minute window closely. Over-brewing causes bitterness.
- Avoid too-fine grinds. They slip through the basket and cloud the coffee.
- Stirring? Don’t stir during brewing. It speeds extraction unevenly.
- Degassing time for fresh-roasted beans: wait 3–7 days after roast for best results.
- Use a cloth or fine mesh filter liner if your basket lets grounds through.
PAA-style questions (concise answers):
- How fine should the grind be for a percolator? Use medium-coarse; too fine causes bitterness and mud.
- How long should you percolate? Aim for 7–10 minutes after the first strong pulse in the glass for balanced flavor.
- Can you use pre-ground coffee? Yes, but fresh-ground whole beans consistently taste better.
These tips come from hands-on brewing and testing, and they address the most common percolator pitfalls.
Cleaning and maintenance
- Empty grounds right away. Rinse the basket and basket stem after each use.
- Wash with warm, soapy water. Clean the pot, stem, and basket thoroughly.
- Remove scale: once a month, soak parts in a solution of equal parts water and white vinegar for 30 minutes, then rinse well.
- Check seals and glass knob for cracks. Replace worn parts to prevent leaks and odd tastes.
- Store dry. Moisture left inside can cause mold and off-flavors.
A clean percolator brews better coffee and lasts longer. Regular maintenance is an easy habit that pays off in taste and reliability.

Personal experience, lessons learned, and pro tips
I started with an old stovetop percolator on weekend camping trips. Early attempts produced bitter, dark brews. Over time I learned three key lessons. Use medium-coarse grind, watch brew time closely, and keep the heat low. One memorable fix was switching to filtered water on a trip; flavor improved immediately. Another lesson: small beans-to-water tweaks mattered more than I expected—adding just half a tablespoon per pot made coffee feel fuller without increasing bitterness. Try keeping a small brewing log to record grind, ratio, and time; you’ll improve fast.
Pro tips from practice:
- Label a scooper with your preferred ratio for quick repeatable results.
- When camping, pre-measure beans in zip bags for consistent results.
- If you want a smoother cup, pour the brewed coffee through a paper filter into a thermos to catch fine particulates.
These practical actions come from repeated use and honest trial and error. They help anyone learn how to make coffee in a percolator quickly and reliably.

Frequently Asked Questions of how to make coffee in a percolator
What grind size is best for a percolator?
Use a medium-coarse grind similar to coarse sand. Finer grinds will over-extract and create muddy, bitter coffee.
How long should I percolate for the best flavor?
Brew 7–10 minutes after the first steady cycle in the glass knob. Adjust a minute or two for strength, but avoid over-brewing.
Can I use pre-ground coffee in a percolator?
Yes, but fresh-ground whole beans produce cleaner, brighter flavors. If using pre-ground, pick a medium-coarse grind labeled for percolators or drip.
Will a percolator make stronger coffee than a drip maker?
A percolator can make stronger coffee if brewed longer or with more coffee. It tends to extract faster due to recirculation, so control time to avoid bitterness.
How do I stop my percolator coffee from tasting bitter?
Use medium-coarse grind, shorten brew time, reduce heat, and use fresh beans. Also ensure the percolator is clean and free of old residues.
Is a percolator good for camping?
Yes. Percolators are sturdy and simple, ideal for camping. Use a gentle heat source and pre-measured grounds for consistent results.
Do I need special filters for my percolator?
Most percolators have a built-in basket and do not need paper filters. If your model lets grounds through, a mesh or paper liner can help clarify the cup.
Conclusion
Percolators are a straightforward and satisfying way to brew coffee when you know the rules. Use fresh beans, a medium-coarse grind, the right water ratio, and a 7–10 minute percolation window to get a clean, flavorful cup. Keep your percolator clean, start with gentle heat, and tweak one variable at a time to dial in your perfect brew. Try these tips on your next pot, keep notes, and share what worked—then subscribe or leave a comment with your favorite percolator trick.

Liora Pennings is a seasoned chef and kitchen enthusiast with a passion for turning everyday cooking into an effortless experience. With years of hands-on culinary expertise, she specializes in practical techniques, ingredient know-how, and smart kitchen solutions that help home cooks elevate their meals. At KitchFlair.com, Liora shares her best tips, time-saving tricks, and honest product reviews to guide readers toward a more efficient, enjoyable, and inspired cooking routine. Whether you’re a beginner or a seasoned home chef, Liora’s friendly, knowledge-packed insights make every visit to the kitchen a little easier—and a lot more delicious.