How To Clean Vacuum Cleaner Attachments Effectively: Tips
Wipe, rinse, soak, and air-dry attachments to remove hair, dust, mold, and grime safely.
I have cleaned hundreds of vacuum attachments for homes and rental units. In this guide I will walk you through exactly how to clean vacuum cleaner attachment tools effectively. You’ll get simple steps, the right supplies, safety tips, and real-world troubleshooting. Read on to cut cleaning time and keep your vacuum working at peak performance.
Why cleaning vacuum attachments matters
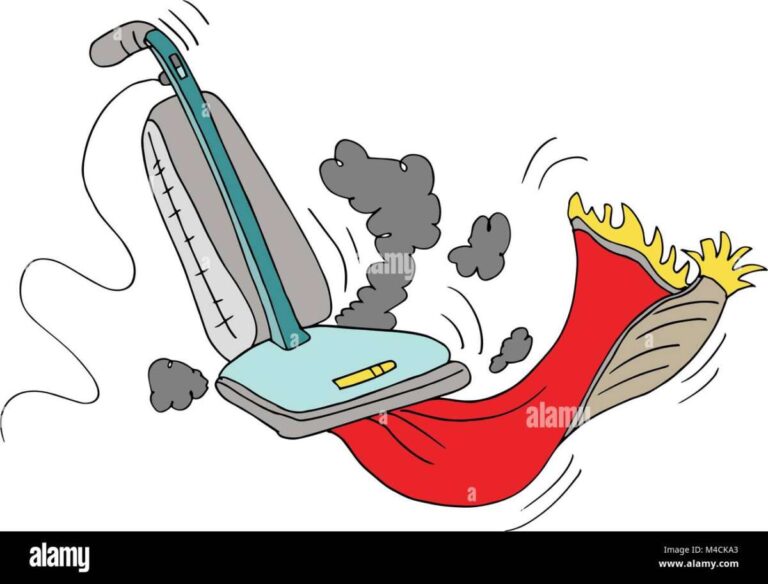
Dirty attachments reduce suction and spread dust. They can harbor hair, dust mites, mold, and bacteria. Regular cleaning protects your air quality and extends the life of your vacuum.
Keeping to a simple routine helps you avoid clogs and costly repairs. Learning how to clean vacuum cleaner attachment tools effectively saves time and money. It also keeps fabrics and floors cleaner after each use.
Tools and supplies you’ll need
Use the right supplies to clean attachments fast and safely. Below are the basic items I always keep on hand.
- Soft microfiber cloth — for wiping dust and grime.
- Warm water and mild dish soap — gentle and effective for most debris.
- Small scrub brush or old toothbrush — for bristles and crevices.
- Long flexible brush or plumber’s snake — for hoses and long tubes.
- White vinegar or mild disinfectant — for deep cleaning and odor removal.
- Compressed air can or small hand pump — for loose debris in tight spots.
- Rubber gloves and a towel — to protect hands and speed drying.
Having these ready makes how to clean vacuum cleaner attachment tools effectively quick and predictable.

Step-by-step cleaning for different attachment types
Below are clear steps for major attachment types. Follow the matching section for the tool you have.
Crevice tool
- Remove large debris by hand or with a paper towel.
- Rinse under warm water and run a toothbrush along edges.
- Soak for 10 minutes in warm, soapy water if grimy, then rinse and air dry.
Tips: Use a pipe cleaner for tight edges. Repeat these steps to know how to clean vacuum cleaner attachment tools effectively every time.
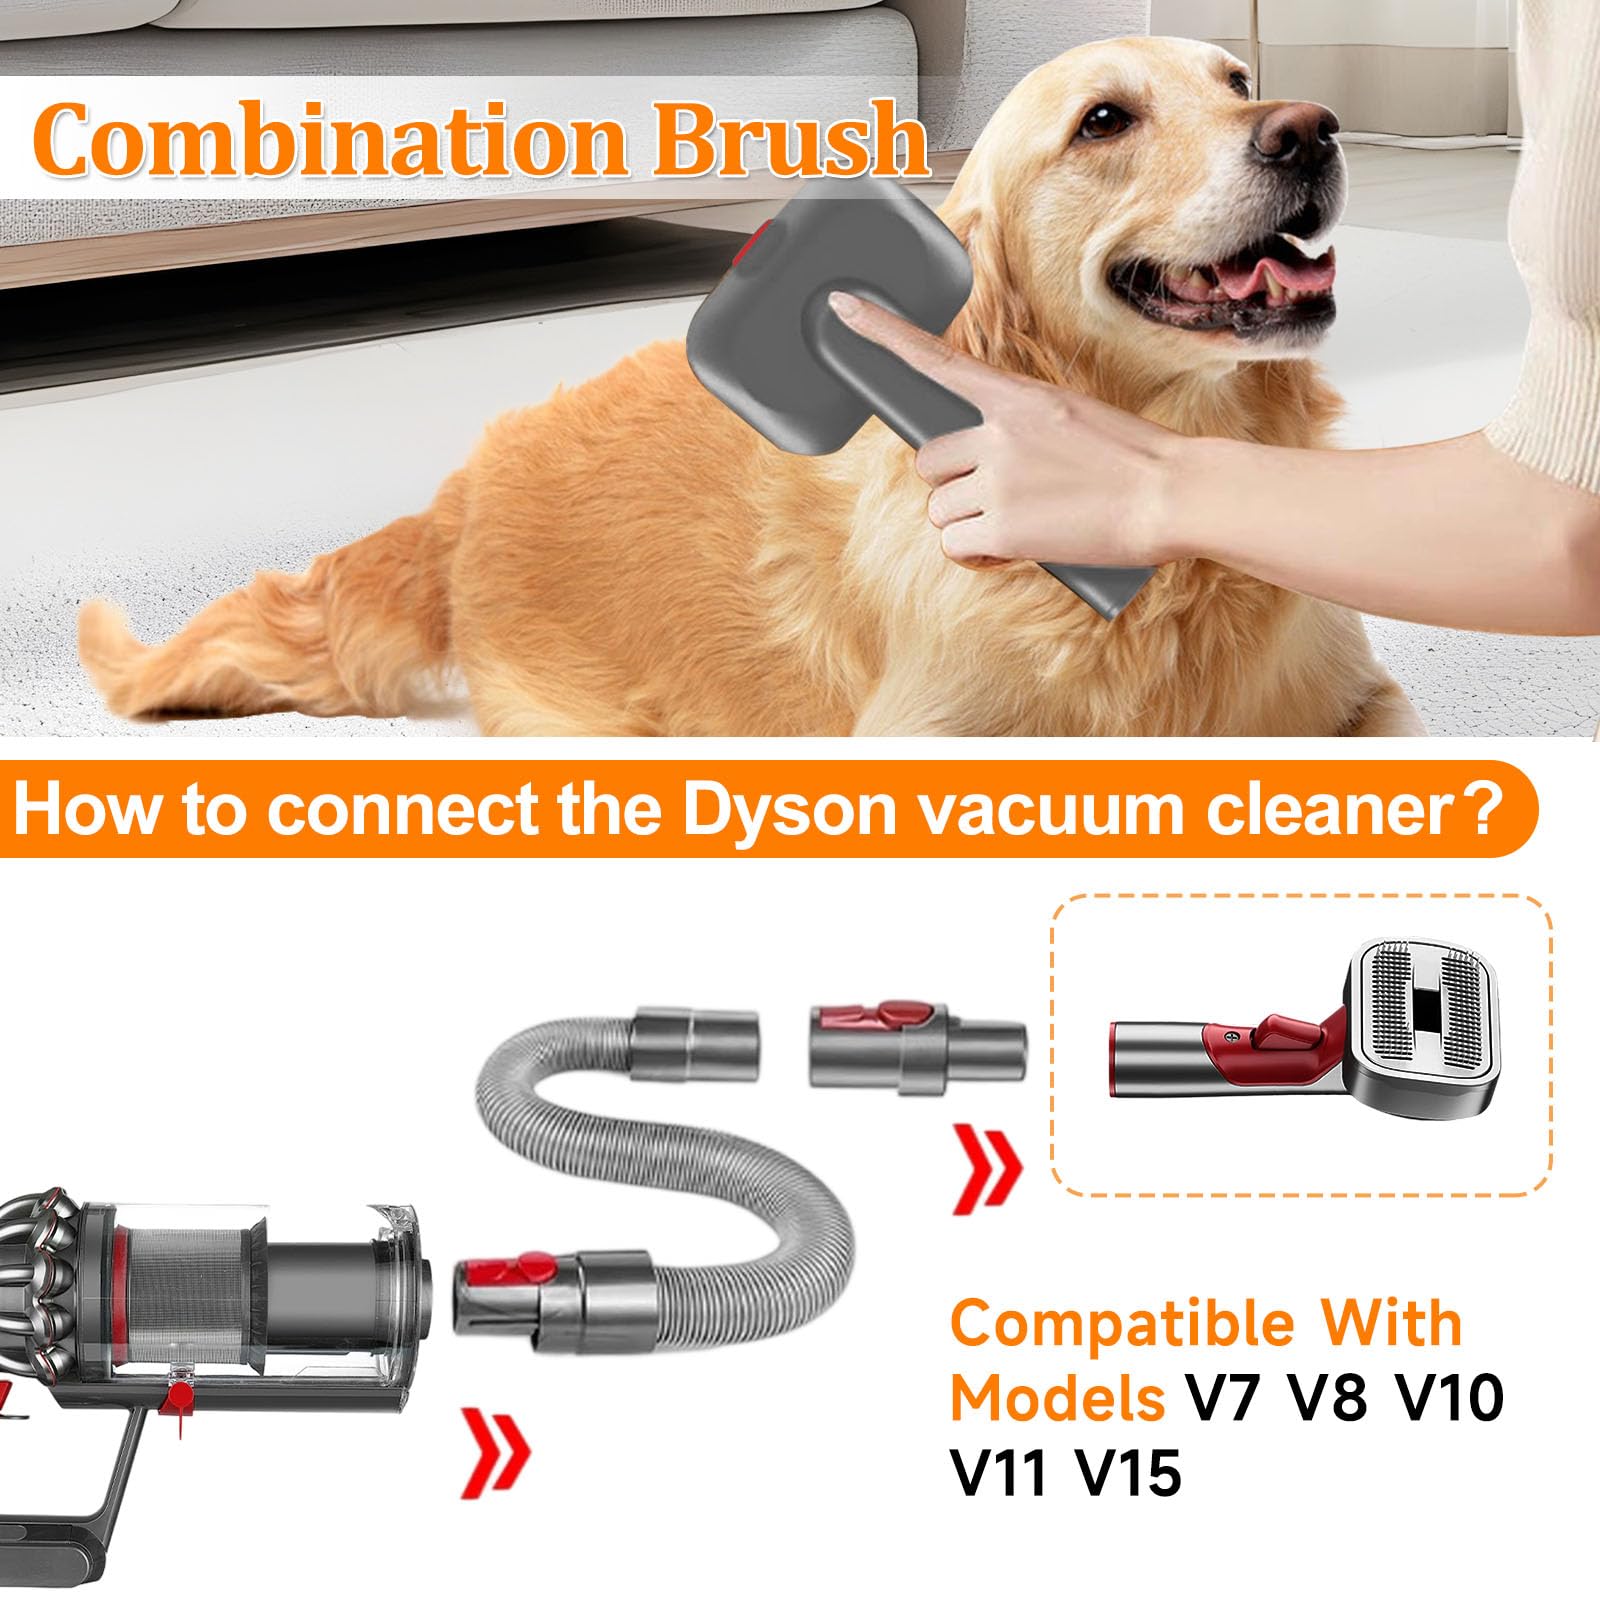
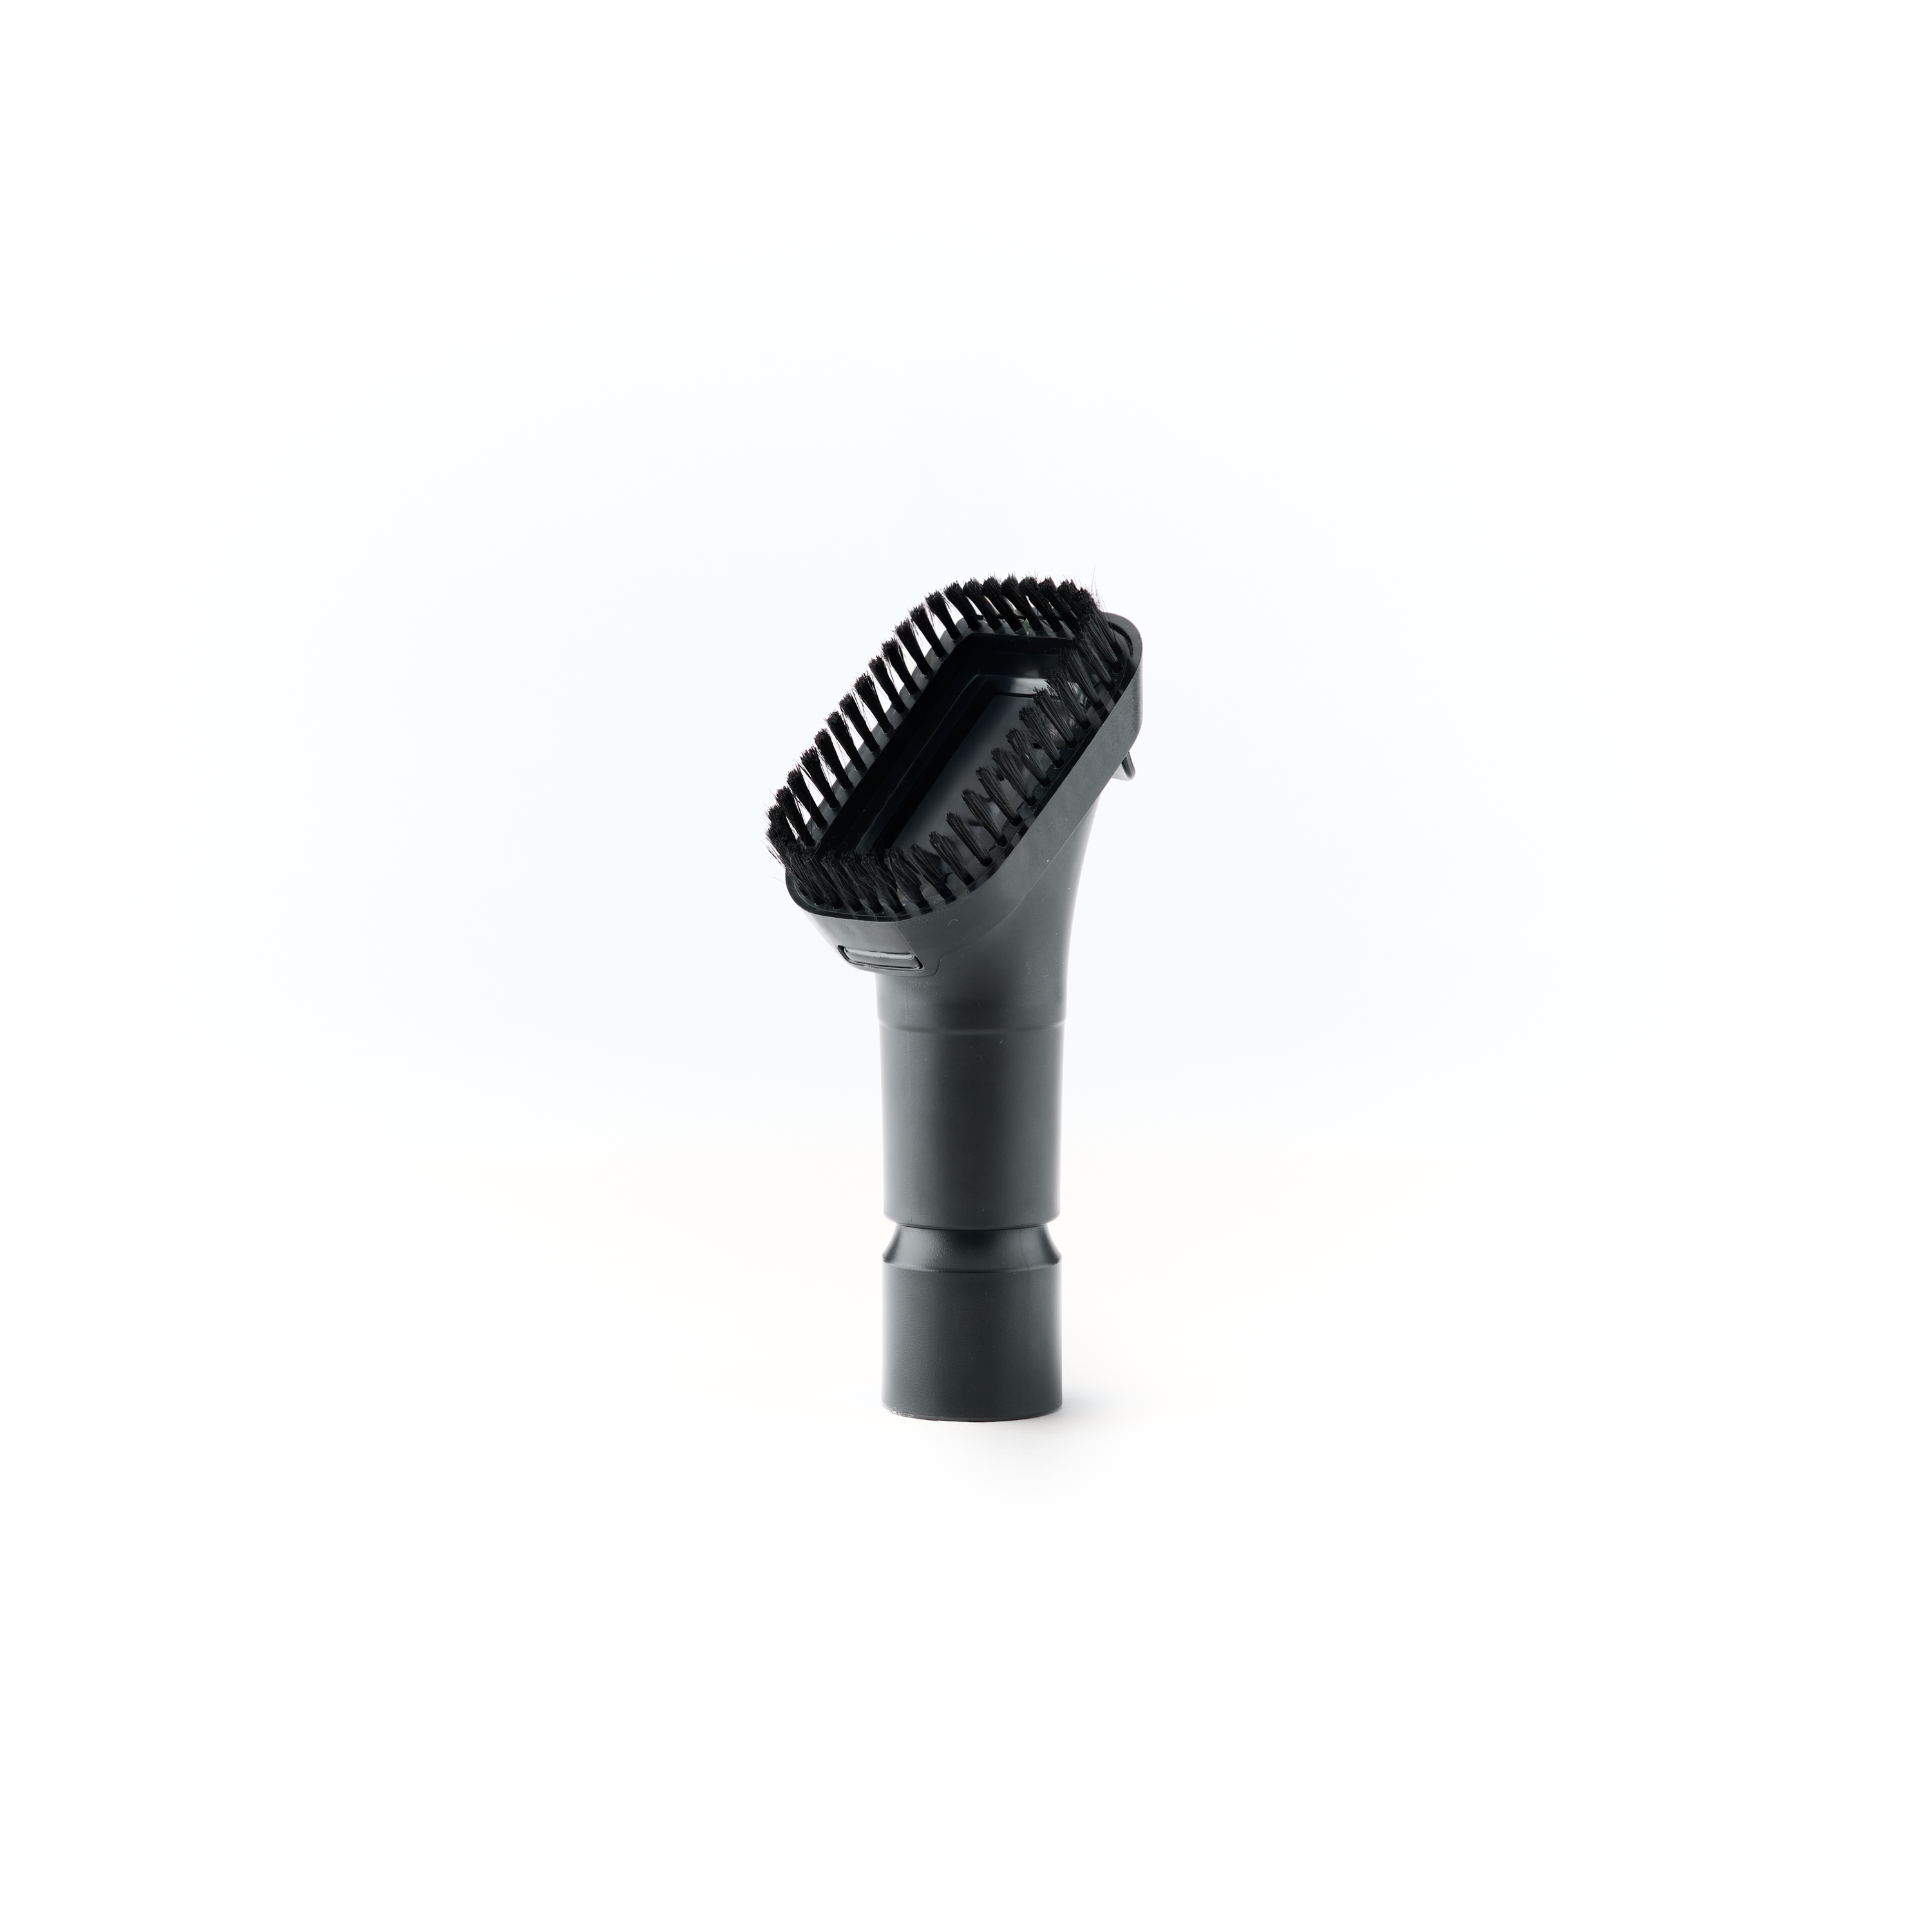
Dusting brush and upholstery brush
- Remove hair and lint with your fingers or a comb.
- Soak bristle heads in warm, soapy water for a few minutes.
- Gently scrub the base and rinse. Shake off excess water and air dry bristle-side down.
Tip: For natural-bristle brushes, avoid hot water and harsh detergents.
Crevice, small nozzle, and narrow tubes
- Blow out dust with compressed air or a hand pump.
- Run a flexible brush or plumber’s snake through to dislodge clogs.
- Rinse if washable and let dry fully before reattaching.
I learned the hard way that forcing clogs out with metal tools can crack plastic nozzles. Use soft, flexible cleaners instead.
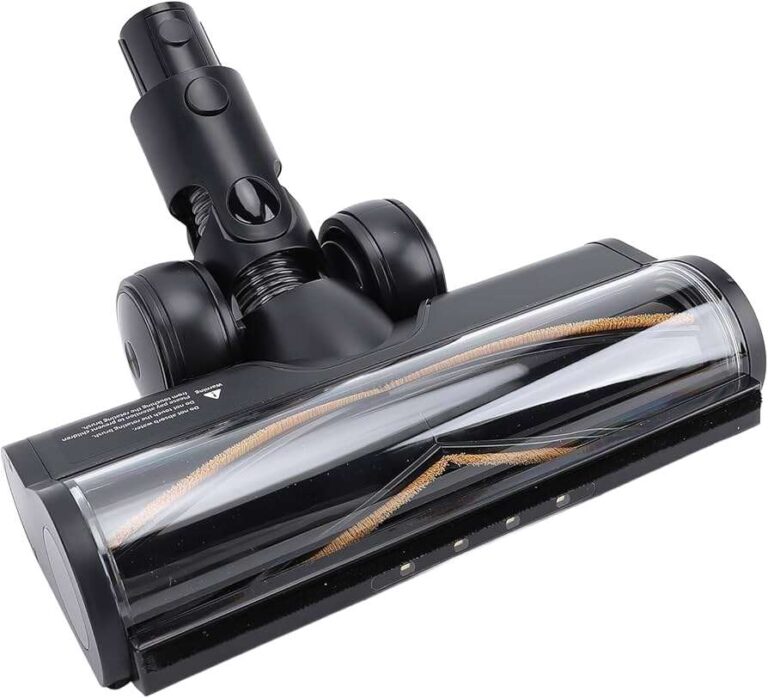
Motorized or powered brush heads
- Unplug and detach the head from power.
- Cut away wrapped hair on the roller with scissors, keeping the blade parallel to the roll.
- Remove the roller (if removable) and wipe the housing with a damp cloth. Clean bearings and belt area gently.
- Check manufacturer instructions for washing parts. Reassemble only when fully dry.
Safety note: Never submerge motorized parts. This is a core step in how to clean vacuum cleaner attachment tools effectively for powered heads.
Hoses
- Disconnect the hose at both ends.
- Use a length of rope or flexible brush to push and pull debris through.
- For sticky residue, fill the hose with warm water and a little soap, swirl, and drain. Hang to dry with both ends open.
Tip: If you smell mold, run a diluted vinegar solution through the hose, then rinse thoroughly. This preserves suction and prevents odors.
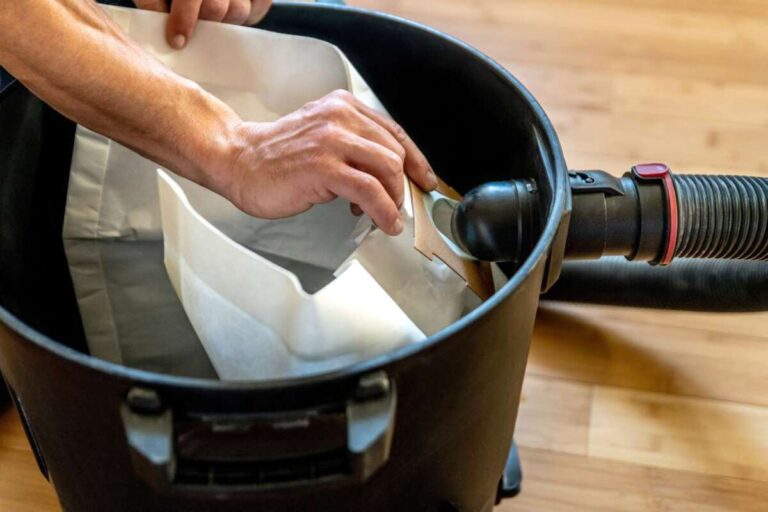
Deep cleaning and sanitizing attachments
Deep clean when attachments smell, when you move into a new home, or after heavy spills.
- Soak parts in a solution of warm water and mild dish soap for 15–20 minutes.
- For disinfection, use one part white vinegar to three parts water or a mild EPA-registered disinfectant suitable for plastics.
- Rinse all parts thoroughly to remove cleaning residue.
- Allow parts to air dry for 24 hours if possible.
Limitations: Do not disinfect electrical or motorized elements. Always follow the vacuum maker’s guidance for deep cleaning. This is essential to truly master how to clean vacuum cleaner attachment tools effectively.

Drying, storage, and care tips
Drying thoroughly prevents mold and odors. Store attachments in a dry, labeled box or hang them where they can air out.
- Air dry on a towel or hang with both openings exposed.
- Do not use heat to speed drying on plastic pieces that may warp.
- Keep small attachments in a mesh bag so they aren’t lost and stay dust-free.
My experience: After a flood cleanup job, attachments that stayed damp developed a stale smell. Proper drying saved them. This practical step is part of how to clean vacuum cleaner attachment tools effectively.

Maintenance schedule and troubleshooting
A simple schedule keeps cleaning manageable.
- Weekly: Remove visible hair and debris from brush rolls and attachments if you use the vacuum daily.
- Monthly: Wash and dry washable attachments.
- Every 3–6 months: Deep clean with soap or vinegar solution; check hoses and seals.
- Annually: Inspect belts and motorized parts for wear or replacement.
Troubleshooting common problems:
- Reduced suction — check attachments for clogs first.
- Strange smells — deep-clean and dry attachments; inspect hoses.
- Noisy brush roll — remove hair and debris and check bearings.
Knowing how to clean vacuum cleaner attachment tools effectively helps prevent most of these problems.

Common PAA-style questions
How often should I clean vacuum attachments?
Clean attachments every month for regular use and weekly if you vacuum daily or have pets. Wipe and remove hair after each heavy use.
Can I put all attachments in the dishwasher?
No. Only non-electrical, dishwasher-safe plastic parts should go in the dishwasher. Check the manufacturer’s instructions before using a dishwasher.
Will vinegar damage my attachments?
Plain white vinegar diluted with water is safe for most plastics and fabrics in short contact. Rinse well after using vinegar to avoid lingering smell.
How do I remove pet hair from brush heads fast?
Use a seam ripper, scissors, or a comb to cut and pull hair from the roller, then wipe residual hair with a cloth. Regular removal prevents tangles and belt strain.
Is it safe to use bleach on vacuum attachments?
Bleach can discolor and weaken plastics and fabrics and is not recommended for most attachments. Use mild disinfectants or vinegar instead.
Frequently Asked Questions of how to clean vacuum cleaner attachment tools effectively
What is the best method to remove hair from attachments?
Cut and pull hair from brush rolls with scissors, then use a comb to tease out remaining strands. For crevice tools, use tweezers or a paper towel to pull hair away.
How can I disinfect attachments without damaging them?
Use a mild vinegar solution or an EPA-approved disinfectant that is safe for plastics and fabrics. Rinse thoroughly and let air dry fully to avoid residue.
How long should I let attachments dry after washing?
Let washable parts air dry 12 to 24 hours until completely dry. Moisture can trap dirt and promote mold, so patience pays off.
Can I use household cleaners like spray disinfectant on attachments?
Yes, but avoid harsh solvents that can crack plastic. Spray, wait the recommended contact time, then wipe and rinse if needed.
What should I do if an attachment smells bad after cleaning?
Rinse it well, then soak in a vinegar solution for 15–30 minutes and air dry in sunlight if possible. If odor persists, replace the part.
Conclusion
Cleaning your tools is simple with a clear routine. Follow safe steps for each attachment, dry parts completely, and keep a short maintenance schedule. Start today by cleaning one attachment and you’ll notice better suction and fresher air. Try these steps, share your results, or ask a question below — I’m happy to help you refine your cleaning routine.

Liora Pennings is a seasoned chef and kitchen enthusiast with a passion for turning everyday cooking into an effortless experience. With years of hands-on culinary expertise, she specializes in practical techniques, ingredient know-how, and smart kitchen solutions that help home cooks elevate their meals. At KitchFlair.com, Liora shares her best tips, time-saving tricks, and honest product reviews to guide readers toward a more efficient, enjoyable, and inspired cooking routine. Whether you’re a beginner or a seasoned home chef, Liora’s friendly, knowledge-packed insights make every visit to the kitchen a little easier—and a lot more delicious.