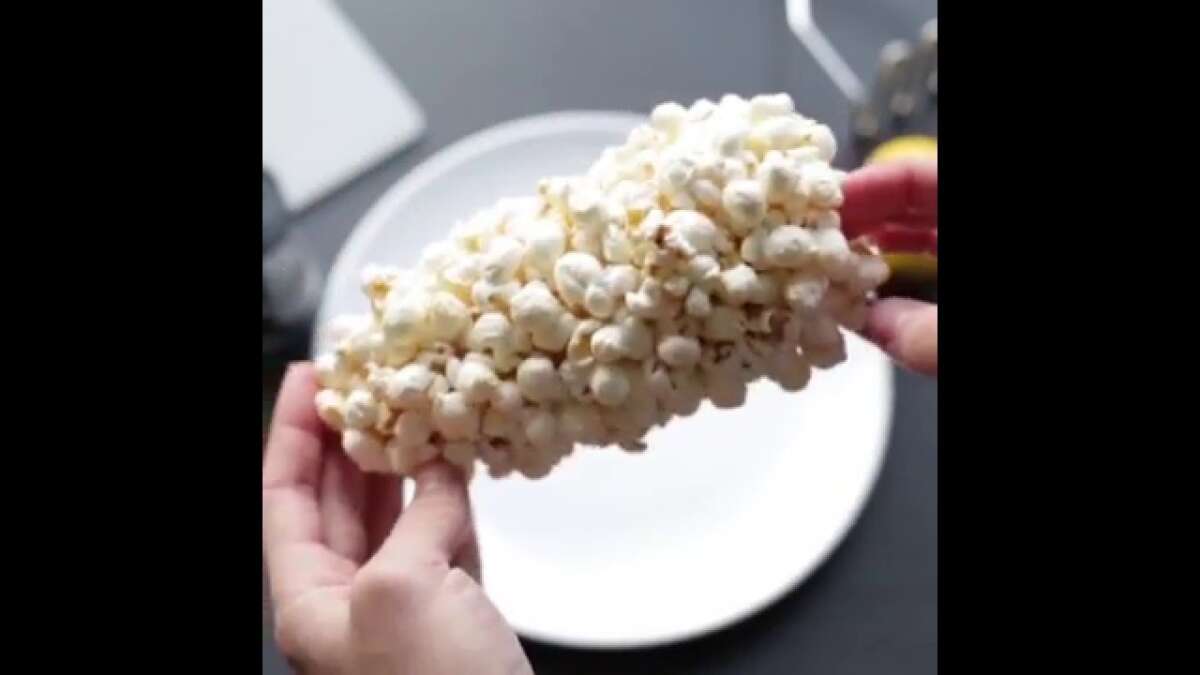
Can You Make Popcorn On The Cob: Easy Guide
Yes, you can make popcorn on the cob, but only with fully dried popcorn kernels.
If you have ever wondered, “can you make popcorn on the cob,” the answer is yes, with one important detail: the cob must be a true popcorn ear that has dried enough for its kernels to pop. This guide explains how it works, which corn to use, the safest cooking methods, common mistakes, and how to get light, crisp popcorn without scorching the cob.
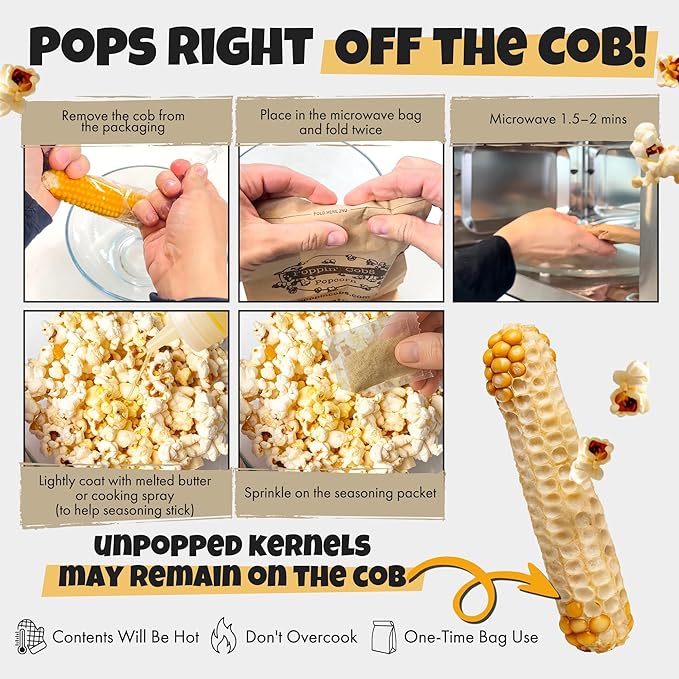
Can You Make Popcorn on the Cob?
Yes, you can make popcorn on the cob. The process works because each popcorn kernel contains a small amount of water inside a hard shell. When heated, that water turns to steam and builds pressure until the kernel bursts open.
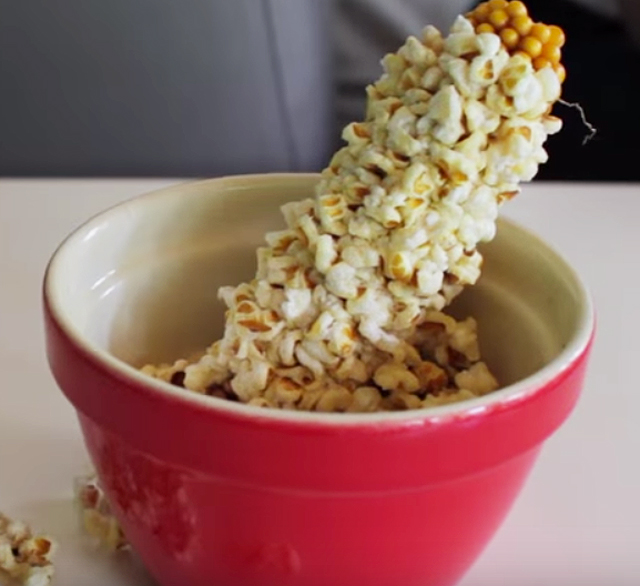
The cob itself does not pop. The kernels pop while they remain attached to the cob. As a result, you may see a small ear of corn covered with popped kernels, which makes this snack fun for parties, movie nights, and school projects.
However, not every corn cob will work. Fresh sweet corn has too much water and a soft shell. It may steam, shrivel, or burn instead of turning into popcorn.
To make popcorn on the cob, use:
• A fully dried popcorn ear
• A popcorn variety grown for popping
• A microwave-safe paper bag or loose microwave cover
• Oven mitts for handling the hot cob
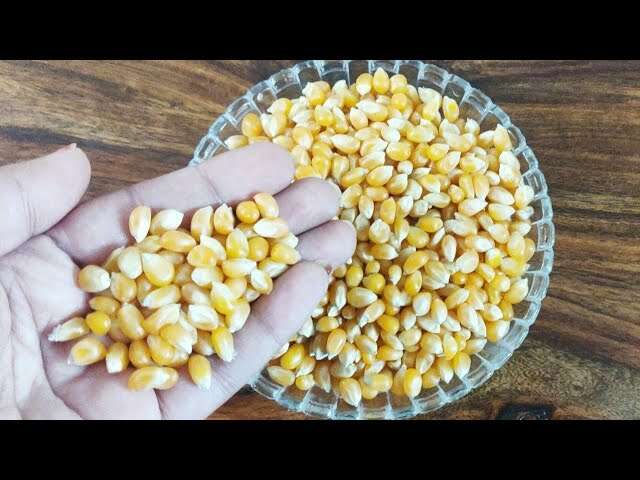
The best popcorn ears are small or medium in size and have hard, dry kernels. Each kernel should feel firm and should not dent easily when pressed with a fingernail.
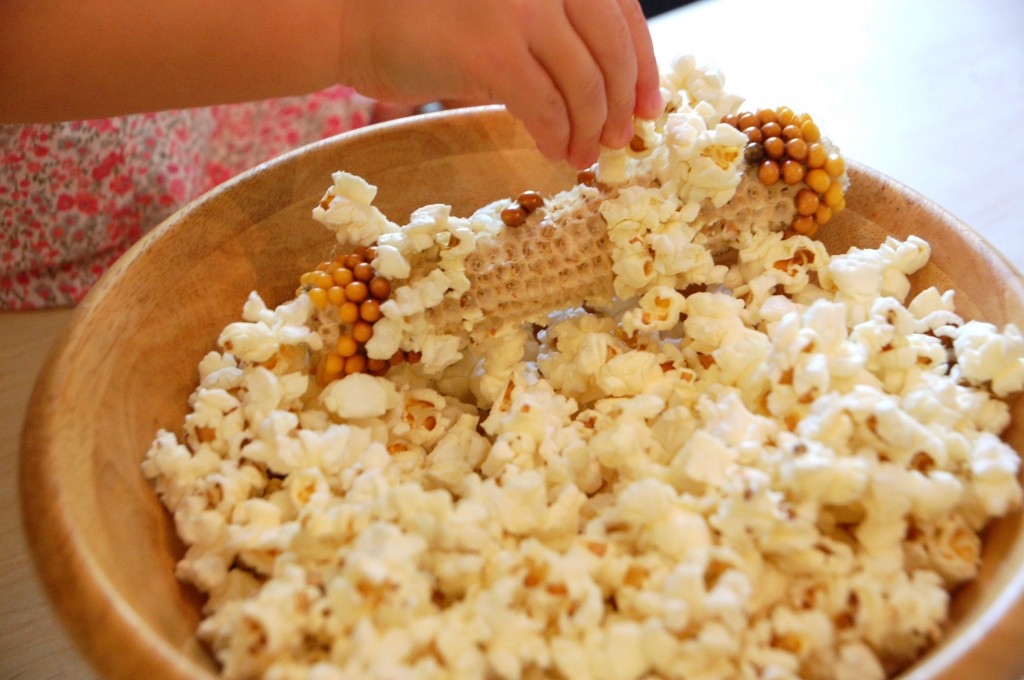
What Kind of Corn Can Pop on the Cob?
Popcorn is a special type of corn called Zea mays everta. It has a strong outer shell and a starchy center that expands when heated. This structure makes it different from field corn, Indian corn, and sweet corn.
A fresh ear of sweet corn is picked while the kernels are soft and moist. Popcorn is left on the plant longer so the kernels can dry. The ideal moisture level for popcorn is often close to 13% to 14%, according to agricultural guidance.
That moisture balance matters. If the kernels are too wet, they may not burst well. If they are too dry, they can produce small, hard pieces called old maids.
Look for these signs of a good popcorn cob:
• Kernels are hard and shiny
• The ear feels light for its size
• The husk is dry and papery
• Kernels do not release liquid when pressed
• There is no mold, soft spot, or musty odor
Decorative Indian corn may look similar to popcorn, but it is not always suitable for eating. Some varieties are grown for display, treated with chemicals, or stored in poor conditions. Only use food-grade popcorn ears from a trusted seller.

How to Dry Corn on the Cob for Popcorn
If you grow popcorn, drying the ears is one of the most important steps. Leave the ears on the stalk until the husks turn brown and the kernels become hard. Harvest them before heavy rain or frost if the ears are at risk of damage.
Remove the husks, then place the ears in a dry, well-ventilated space. A wire rack, basket, or hanging system works well. Avoid sealed plastic bags because trapped moisture can lead to mold.
Drying may take several weeks. The exact time depends on air flow, humidity, and the size of the ears. Turn the ears every few days so air reaches all sides.
Do not try to speed up the process with a hot oven. High heat can dry the kernels too quickly and damage their ability to pop. Natural air drying is slower, but it gives more reliable results.
Before cooking, inspect the cob closely. Discard it if you see:
• Fuzzy mold
• Black or green patches
• A sour or musty smell
• Insect damage
• Soft or damp kernels
One lesson from kitchen testing is simple: patience improves the result. Ears that look dry on the outside may still hold too much moisture inside. A few extra days of drying can make the difference between fluffy popcorn and tough kernels.
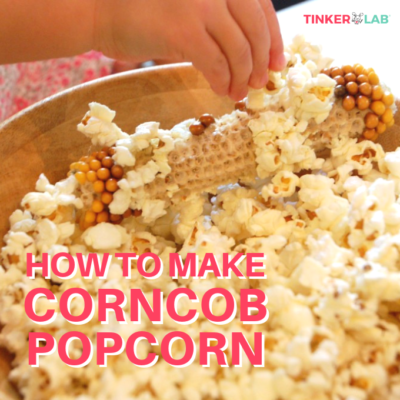
How to Make Popcorn on the Cob in the Microwave
The microwave is usually the easiest way to make popcorn on the cob. It heats the moisture inside the kernels quickly and requires no added oil.
What you need
• One dry popcorn ear
• A large microwave-safe paper bag
• A microwave-safe plate
• Oven mitts
Step-by-step method
-
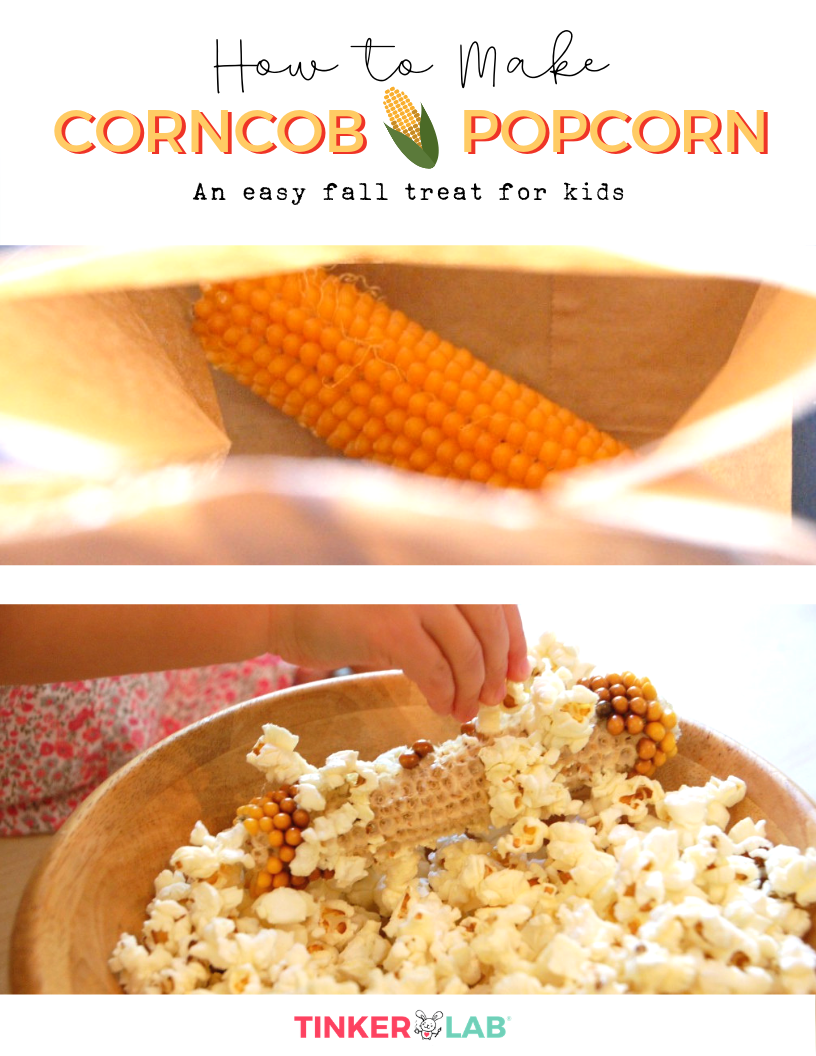
Place the popcorn ear inside a large paper bag.
-
Fold the top of the bag two or three times.
-
Set the bag on a microwave-safe plate.
-
Microwave on high for about 2 to 4 minutes.
-
Stop the microwave when the popping slows to about one pop every 2 seconds.
-
Let the bag rest for 30 seconds before opening it.
-
Remove the cob carefully because it may be very hot.
Microwave power varies. A 1,000-watt microwave may need less time than a weaker model. Stay near the microwave and listen closely. The popping sound is a better guide than a fixed cooking time.
Never use a sealed container. Steam needs room to escape. Also, do not microwave the cob with a metal twist tie, foil, plastic wrap, or a closed plastic bag.
If you are asking can you make popcorn on the cob in a microwave, this method is the most practical answer. It is quick, clean, and easy to control when you stop the heat at the right time.
How to Make Popcorn on the Cob in the Oven
An oven can work, but it takes more time and requires closer attention. The dry heat may also cause uneven popping, especially if the cob is large.
Preheat the oven to 400°F. Place the popcorn ear on a baking sheet lined with parchment paper. Bake it for about 10 to 15 minutes, then check it often.
You may hear kernels begin to pop. Once popping starts, remove the cob when the sound slows. Do not wait until every kernel has popped because the outer kernels may burn first.
A covered baking dish can help contain the popped kernels. Leave room for the kernels to expand. Do not wrap the cob tightly in foil because trapped steam can create pressure.
The oven method is useful when you do not have a microwave, but it is less predictable. In most home kitchens, the microwave gives better control and uses less energy for a single cob.
Can You Make Popcorn on the Cob Without a Bag?
Yes, but you need a container that allows steam to vent while keeping the kernels contained. A large microwave-safe bowl with a vented cover can work.
Place the cob in the bowl and cover it loosely. Do not use a tight lid. As the kernels pop, they can jump around and make a mess, so the bowl should be deep enough to catch them.
You can also remove the kernels from the cob and cook them in a standard pot. This method is often more reliable because the loose kernels heat evenly.
To pop loose kernels:
-
Add 2 tablespoons of popcorn kernels to a heavy pot.
-
Add 1 tablespoon of neutral oil.
-
Cover the pot with a vented lid.
-
Heat over medium-high heat.
-
Shake the pot gently as the kernels pop.
-
Remove it from the heat when popping slows.
If you are wondering can you make popcorn on the cob without special equipment, a deep bowl or regular pot can solve the problem. Still, a paper bag is often the simplest option for a whole cob.
Why Does Popcorn Pop?
Every popcorn kernel contains three main parts: a hard outer shell, a starchy center, and a small amount of water. When the kernel heats, the water becomes steam.
The shell holds the steam inside. Pressure continues to rise until the shell breaks. The starch then expands and cools into the white, airy shape we call popcorn.
This is why proper storage matters. Kernels that lose too much moisture may heat without enough pressure to burst. Kernels that have too much moisture may become chewy or fail to expand fully.
A useful comparison is a tiny pressure cooker. The shell acts like the cooker wall, and the water inside creates the pressure. Once the wall gives way, the starch flips outward and becomes fluffy popcorn.
The cob does not add special popping power. It simply holds the kernels together. The kernel variety and moisture level determine whether the popcorn pops well.

Common Problems When Making Popcorn on the Cob
Even when you use the right corn, a few issues can affect the result.
Many kernels remain unpopped
The cob may be too dry, too wet, or unevenly dried. Store it in an airtight container for several days with a small amount of moisture nearby, such as a clean damp paper towel placed in the container but not touching the corn. Check it often and remove it if condensation appears.
The popcorn burns
The heat may be too high, or you may be cooking it too long. Stop when popping slows rather than waiting for every kernel to open.
The popcorn tastes chewy
Chewy popcorn often results from moisture in the air. Store finished popcorn in a sealed container and eat it soon after cooking.
The cob does not fit in the microwave
Break the cob into smaller sections or remove the kernels. Never force a large cob into a small appliance.
The popcorn has an odd smell
Do not eat it. Mold, poor storage, or decorative treatments can make an ear unsafe. Food safety matters more than saving a small batch of corn.
A common mistake is assuming that all dry corn is edible popcorn. It is not. When in doubt, choose a labeled, food-grade popcorn ear.
Is Popcorn on the Cob Healthy?
Plain popcorn can be a nutritious whole-grain snack. It provides fiber and can be low in calories when prepared without large amounts of butter, oil, sugar, or salt.
The nutritional value changes with the toppings. A cob covered in caramel, cheese powder, or heavy butter is very different from air-popped popcorn.
For a lighter snack, try:
• A small amount of olive oil
• A pinch of salt
• Smoked paprika
• Garlic powder
• Nutritional yeast
• Cinnamon with a little sugar
Popcorn can also be a choking risk for young children. Whole popcorn and partially popped kernels are hard and can become lodged in the airway. Follow age-based feeding advice from a pediatric health professional.
People with dental problems should also watch for hard unpopped kernels. These pieces can damage teeth or fillings.
How to Store Popcorn on the Cob
Before popping, store dried popcorn ears in a cool, dry place. A breathable basket works for short-term storage, while an airtight container helps protect kernels from humidity.
Keep the corn away from direct sunlight, heat, and damp areas. Do not store it beside a sink, dishwasher, or steamy cooking space.
After popping, let the popcorn cool before sealing it. Warm popcorn releases steam, and sealing it too soon can make it soft.
Use popped popcorn within a few days for the best texture. If it becomes stale, you can refresh it briefly in a warm oven, but it will not return fully to its original crispness.
Frequently Asked Questions About Can You Make Popcorn on the Cob
Can you make popcorn on the cob with fresh corn?
No, fresh sweet corn usually does not pop well. Its kernels contain too much water and have a softer shell, so they tend to steam or dry out instead.
How long does it take to make popcorn on the cob?
In a microwave, it often takes about 2 to 4 minutes. Cooking time depends on the cob size, kernel moisture, and microwave power.
Can you eat the cob after making popcorn?
The cob is usually too dry and hard to eat. Remove the popped kernels and discard the cob after it cools.
Why did my popcorn on the cob not pop?
The kernels may not be a true popcorn variety, or they may be too wet or too dry. Old, damaged, or poorly stored kernels may also fail to build enough pressure.
Can you make popcorn on the cob in an air fryer?
An air fryer is not the best choice for a whole cob because loose kernels can move into the heating element. Use a method approved by your appliance manual, and never block air flow.
Is popcorn on the cob safe to microwave?
It can be safe when placed in a microwave-safe, vented container or paper bag. Never use metal, sealed containers, or plastic materials that are not labeled microwave-safe.
Conclusion
Can you make popcorn on the cob? Yes, if you use a food-grade popcorn ear with fully dried kernels. The microwave is the easiest method, while an oven can work with careful timing.
Use the right corn, watch the popping rate, and stop cooking before the kernels burn. With a little patience, you can turn a simple dried cob into a fun and tasty snack. Try it with a trusted popcorn ear, then share your results or explore more creative popcorn recipes.

Liora Pennings is a seasoned chef and kitchen enthusiast with a passion for turning everyday cooking into an effortless experience. With years of hands-on culinary expertise, she specializes in practical techniques, ingredient know-how, and smart kitchen solutions that help home cooks elevate their meals. At KitchFlair.com, Liora shares her best tips, time-saving tricks, and honest product reviews to guide readers toward a more efficient, enjoyable, and inspired cooking routine. Whether you’re a beginner or a seasoned home chef, Liora’s friendly, knowledge-packed insights make every visit to the kitchen a little easier—and a lot more delicious.