How To Make Popcorn Ceiling: Easy DIY Guide
To make a popcorn ceiling, mix ceiling texture with water and spray or roll it onto a prepared surface.
Learning how to make popcorn ceiling texture is mostly about good preparation, the right mix, and steady application. This guide explains the tools, safety checks, texture methods, common mistakes, and repair tips so your ceiling looks even instead of patchy.
What Is a Popcorn Ceiling?
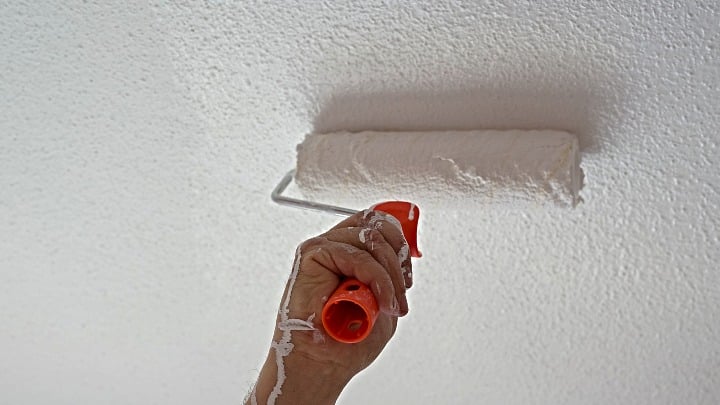
A popcorn ceiling is a textured ceiling finish with small bumps that look like popcorn, cottage cheese, or rough foam. The texture can hide minor surface flaws and reduce the need for a perfectly smooth drywall finish.
Many popcorn ceilings were popular in homes from the 1950s through the 1980s. Modern products usually use a lightweight mix made from gypsum, paper, or expanded polystyrene beads. The texture is often applied over drywall or a plaster ceiling.
Before learning how to make popcorn ceiling texture, understand one important limit: new texture is not a safe way to cover serious water damage, loose drywall, mold, or structural cracks. Those problems need repair first.
Check for Asbestos Before Starting
Older popcorn ceilings may contain asbestos. You cannot confirm asbestos by sight, color, or texture. The only reliable way to know is to have a small sample tested by a qualified laboratory.
The U.S. Environmental Protection Agency and other safety agencies advise caution with older textured ceilings, especially in homes built before the 1980s. Rules vary by location, so check local requirements before disturbing the surface.
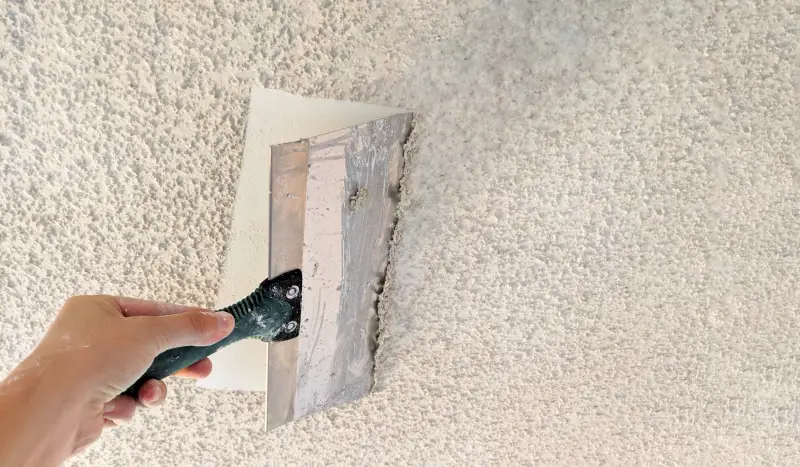
Do not scrape, sand, drill, or spray an older textured ceiling if you are unsure about its contents. If testing confirms asbestos, hire a licensed asbestos professional. Covering or removing it may require specific procedures and permits.
Watch for these warning signs:
• The ceiling was installed before 1980.
• The surface is damaged, crumbling, or shedding dust.
• You plan to scrape, sand, cut, or repair a large area.
• The ceiling has unknown layers from several renovations.
A small test fee is far cheaper than exposing your family to hazardous dust. This is the first step in learning how to make popcorn ceiling safely.
/how-to-paint-a-popcorn-ceiling-5195080-hero-7ebd4009eaef40b9a057f4a358453dc7.jpg)
Tools and Materials You Need
Gather everything before mixing the texture. Popcorn compound begins to thicken as it sits, so stopping halfway can create visible differences between sections.
Basic materials
• Premixed popcorn ceiling texture or dry ceiling texture mix
• Clean water, if the product requires it
• Drywall joint compound for small repairs
• Drywall primer
• Ceiling paint, if you plan to paint the finished texture
• Painter’s tape and plastic sheeting
• Sanding sponge for permitted, minor drywall repairs
Basic tools
• Texture hopper and air compressor for spraying
• Heavy-duty drill with a mixing paddle
• Large mixing bucket
• Measuring container
• Putty knife or drywall knife
• Paint roller with a thick nap, if rolling the texture
• Step ladder or small work platform
• Work light
• Drop cloths
• Safety glasses, gloves, and a suitable dust mask or respirator
A spray hopper gives the most natural popcorn look. A roller can work for small repairs, but it often creates a flatter and less uniform texture.
Prepare the Room and Ceiling
Preparation often takes longer than the texture application. It also makes the biggest difference in the final result.
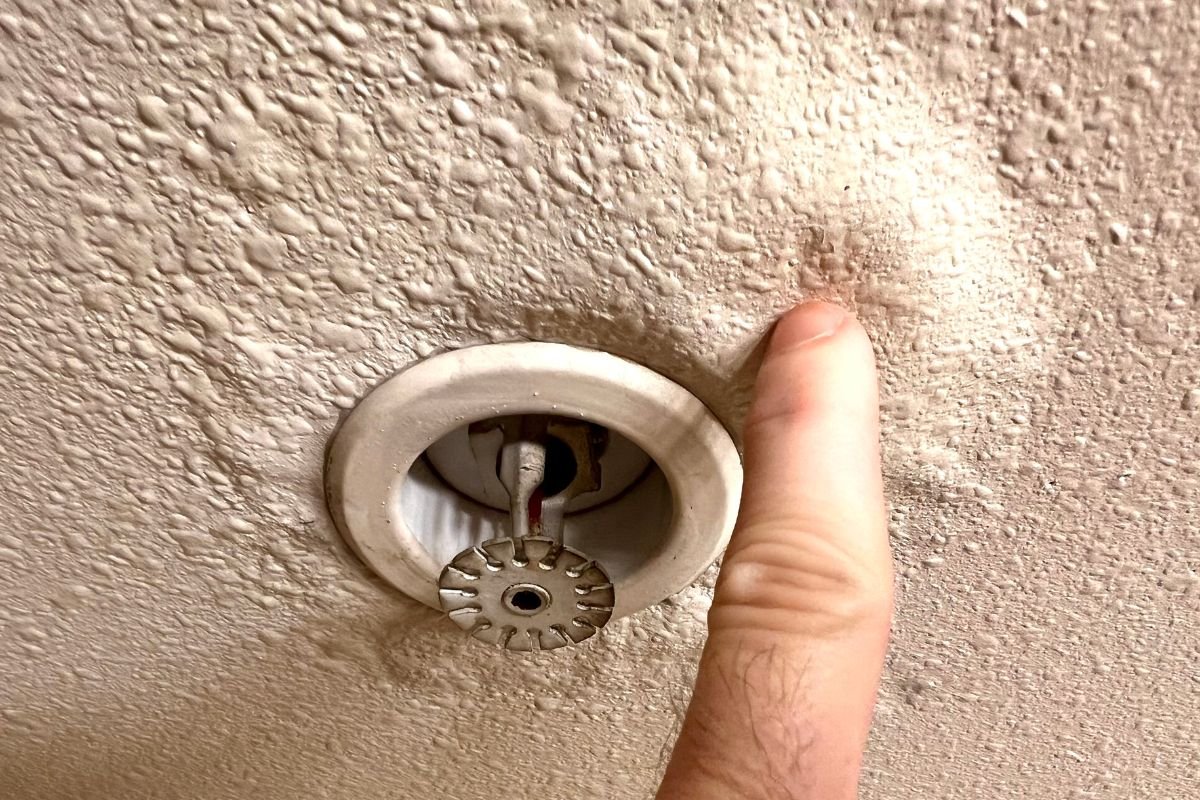
Remove light fixtures, ceiling fans, smoke detectors, and other items that can be taken down safely. Turn off power at the breaker before removing electrical fixtures. If you are not comfortable working near wiring, ask a licensed electrician for help.
Cover the floor with plastic or canvas drop cloths. Tape plastic over walls, cabinets, windows, doors, and built-in shelves. Popcorn texture can travel farther than expected, especially when sprayed.
Inspect the ceiling under a bright work light. Mark these problems:
• Water stains
• Loose or bubbling drywall tape
• Open seams
• Nail pops
• Large cracks
• Sagging areas
Repair the surface with suitable drywall compound. Let repairs dry fully, then prime stains with a stain-blocking primer. A water stain can bleed through new texture like ink through wet paper.
Do not try to hide a leak with texture. Find and repair the source first. Otherwise, the new ceiling may stain, soften, or fall.
Choose the Right Popcorn Ceiling Texture
The best product depends on the size of the repair and the look you want.
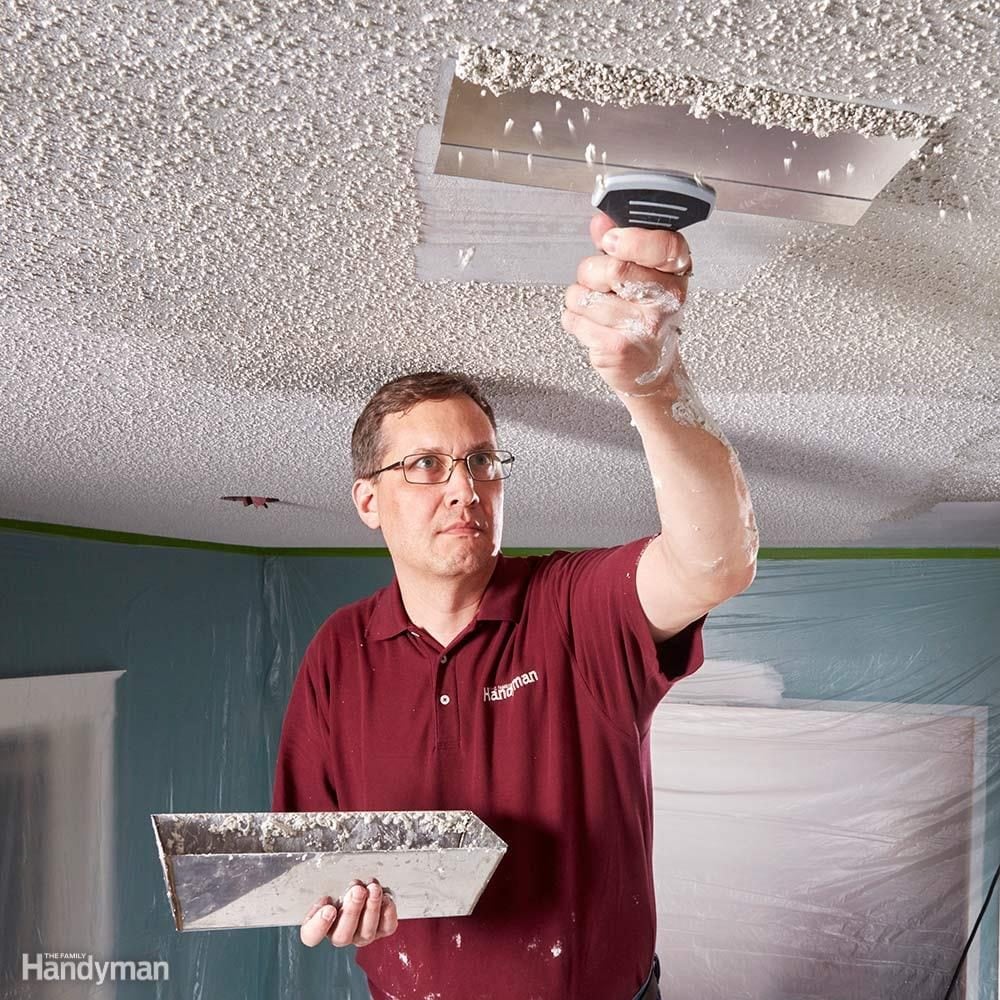
Premixed texture is simple for beginners. It comes ready to use, but it may still need a small amount of water to reach the correct consistency. Always follow the product label instead of guessing.
Dry texture mix costs less in some cases and gives you more control. It must be mixed carefully to prevent lumps. Use clean water and let the mixture sit for the time listed by the manufacturer.
Common texture choices include:
• Fine popcorn texture for a subtle surface
• Medium popcorn texture for a classic look
• Coarse texture for a bold, heavy pattern
For a repair, match the existing ceiling. A new fine texture beside an old coarse texture will look like a bright patch, even after painting.
When learning how to make popcorn ceiling texture, remember that consistency matters more than brand. The mix should be thick enough to hold small beads but loose enough to pass through the hopper or spread across the surface.

How to Make Popcorn Ceiling Texture
Follow these steps for a new ceiling or a properly prepared repair area.
1. Read the product instructions
Check the label for mixing ratios, drying time, recommended tools, and coverage. Products vary, so one texture mix may not behave like another.
2. Mix a small test batch
Place the texture in a clean bucket. Add water slowly while mixing with a drill and paddle. Do not dump in all the water at once.
The texture should resemble thick oatmeal or soft yogurt. If it is too thin, the beads may run. If it is too thick, the hopper may clog and the surface may look heavy.
3. Test the spray or roller
Test the texture on cardboard, scrap drywall, or a piece of heavy plastic. Adjust the air pressure, nozzle opening, or water level until the pattern looks even.
This test can save hours of repair work. I have found that beginners often skip this step, then discover that the first ceiling section has too much texture.
4. Apply the first pass
Start in a corner and work across the ceiling in manageable sections. Keep the sprayer or roller at a consistent distance from the surface.
For spraying, use smooth passes. Do not stop in the middle of a section if you can avoid it. Stopping can create heavy spots and visible overlap lines.
For rolling, use light pressure. Pressing hard can flatten the texture and leave a thin, uneven pattern.
5. Build the texture slowly
Apply a light coat first. Let it set for the time recommended on the label, then add another light pass if needed.
A heavy first coat may sag, crack, or fall. It can also create a rough ceiling that is difficult to paint. Two controlled coats are usually easier to manage than one thick coat.
6. Blend the edges
If you are repairing a small area, feather the new texture into the old surface. Avoid creating a sharp square border around the patch.
Use less material as you move toward the repair edge. After drying, compare the texture under the same light used before the repair.
7. Let the ceiling dry
Keep the room at a stable temperature with gentle airflow. Avoid strong fans aimed directly at the wet texture because they can dry the surface too fast and cause cracking.
Do not touch or paint the ceiling until it is fully dry. Drying may take several hours or longer, depending on humidity, ventilation, and coating thickness.

How to Apply Popcorn Texture Without a Sprayer
A sprayer gives the most traditional result, but you can use a roller for small rooms and minor repairs.
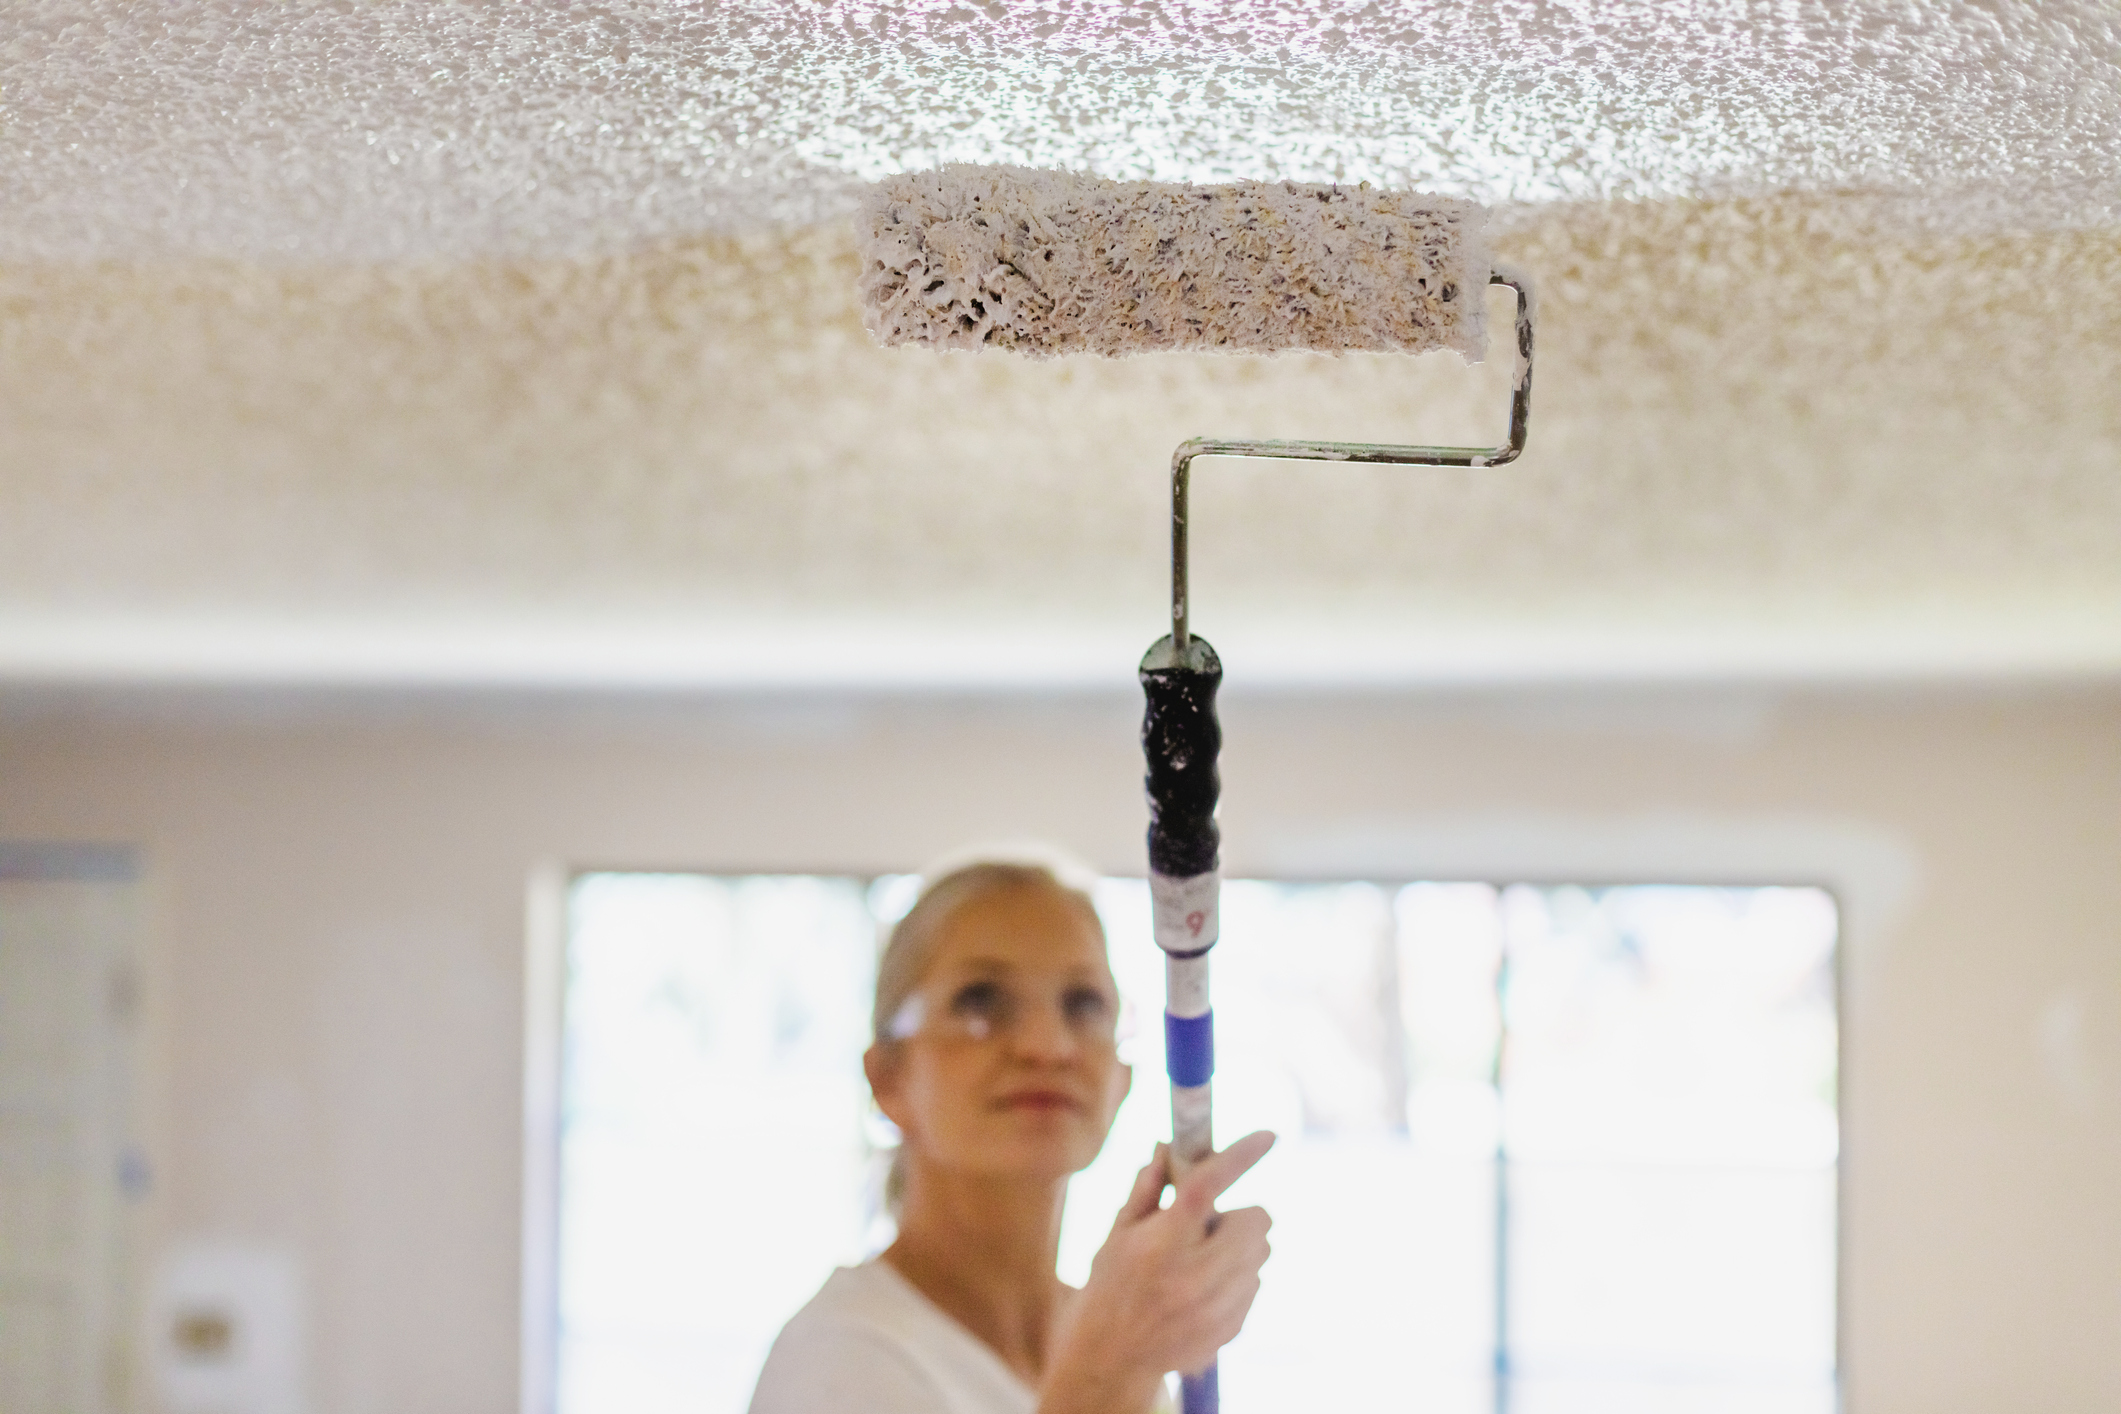
Choose a roller with a thick nap designed for textured coatings. Load it evenly, then roll in one direction with light pressure. Work in small sections and keep a wet edge so the texture blends.
A roller usually creates a stippled or orange-peel-like finish rather than true sprayed popcorn. It can still look good on a small patch, but the difference may show across a large ceiling.
For a small repair, some people dab texture with a stiff brush or use an aerosol ceiling texture product. Test first. Aerosol products can produce a fast repair, but they offer less control and may not match a heavy existing pattern.
The goal is not to make every bump identical. The goal is to make the repaired area disappear when viewed from normal room distance.
How to Match an Existing Popcorn Ceiling
Matching an old ceiling is one of the hardest parts of learning how to make popcorn ceiling texture. Old texture may have flattened, yellowed, or collected layers of paint over time.
Start by identifying the existing texture size. Compare it with sample boards or test areas. Adjust the mix thickness and spray pattern until the new bumps are close in size.
Use the same application method when possible. A sprayed ceiling is difficult to match with a roller, and a rolled texture may not match a sprayed surface.
Lighting also affects the match. Check the repair in daylight and under the room’s normal lights. Shadows can make a small difference look much larger.
One practical lesson is to keep a small sample of the original texture if you remove a piece during an approved repair. It gives you a useful reference for texture size and color.
Painting a Popcorn Ceiling
Let the texture cure fully before painting. The label may list a minimum drying time, but humid rooms often need longer.
Use a high-quality ceiling paint and a roller made for textured surfaces. Apply gentle pressure. Too much pressure can flatten the popcorn bumps or pull them away from the ceiling.
A sprayer can give a more even finish, but it creates more overspray. Cover every surface carefully and wear proper eye and respiratory protection.
Do not paint over a ceiling that is still soft. Wet texture may peel from the roller, leaving bare spots and creating a larger repair.
Use two thin coats when needed instead of one heavy coat. Allow the first coat to dry before applying the second.
Common Mistakes to Avoid
The following mistakes can make a popcorn ceiling look uneven or cause the texture to fail.
• Skipping asbestos testing on an older ceiling
• Applying texture over a leak or mold
• Mixing by eye without making a test batch
• Adding too much water
• Spraying too close to the ceiling
• Holding the sprayer still in one place
• Applying one thick coat
• Painting before the texture cures
• Failing to protect walls and floors
• Using a roller that is too short or too smooth
• Trying to match a large repair with a different application tool
• Ignoring poor ventilation and high humidity
A common beginner mistake is chasing perfection while the texture is wet. Wet popcorn texture may look uneven at first. Step back, let it dry, and inspect it under normal lighting before making changes.
Safety Tips for Making Popcorn Ceilings
Wear safety glasses when spraying overhead. Texture can drip or fall into your eyes, especially when working above your head.
Use a properly rated respirator when the product label calls for one. A basic dust mask may not protect you from every type of airborne particle or chemical vapor.
Keep the ladder on a flat, dry surface. Move it instead of leaning too far to reach the next section. For a large ceiling, a stable work platform can reduce fatigue and improve control.
Ventilate the room without blowing wet texture onto walls or floors. Keep children, pets, and other people out of the work area until the ceiling is clean and dry.
Never mix cleaning chemicals with texture products. Follow the safety data sheet and product label for storage, cleanup, and disposal.
If you discover suspected asbestos, stop work. Do not sweep or use a household vacuum on contaminated dust. Contact a qualified professional for guidance.
When to Hire a Professional
Learning how to make popcorn ceiling texture can be realistic for a small, modern project. A professional is often the better choice for older homes, large ceilings, or complex damage.
Consider hiring a contractor when:
• The ceiling may contain asbestos
• The ceiling has extensive water damage
• The drywall is sagging
• Mold covers a large area
• The room is tall or difficult to access
• You need a seamless finish across several rooms
• You are not comfortable working near electrical fixtures
A professional can also help identify whether the ceiling needs removal, encapsulation, repair, or simple refinishing. Ask for proof of licensing, insurance, and relevant experience. For asbestos work, verify the required state or local certification.
The cheapest quote is not always the safest choice. Ask what preparation, protection, cleanup, and disposal are included.
Cost and Time Considerations
The cost of a popcorn ceiling project depends on room size, product type, ceiling condition, labor rates, and whether testing is required.
A small do-it-yourself repair may only require texture, primer, paint, and protective materials. A whole-room project costs more because you may need a hopper, compressor, additional plastic sheeting, and several gallons of coating.
Plan extra time for:
• Surface inspection
• Asbestos testing, if needed
• Repairs and primer
• Room protection
• Mixing and testing
• Texture application
• Drying
• Painting and cleanup
The actual spraying may take less than a day, but preparation and drying can extend the project. Rushing these steps often causes more work later.
Buy a little more texture than your exact estimate. A small amount of extra material helps if you need to redo a section or match a repair after the first coat dries.
How to Remove or Repair Popcorn Ceiling Texture
Repair is often safer and easier than removal when the ceiling is stable and free from hazardous material. Small holes can be filled, primed, and blended with matching texture.
For a damaged area, remove only loose material if the ceiling has been tested and local rules allow the work. Patch the drywall, prime the repair, then apply new texture in thin layers.
Do not scrape an untested older popcorn ceiling. Scraping can release dangerous fibers and create contaminated dust across the room.
If the ceiling is badly damaged, a professional may install new drywall over the existing surface or apply an approved encapsulating coating. The correct method depends on the ceiling condition and local regulations.
Frequently Asked Questions About How to Make Popcorn Ceiling
What is the best way to make popcorn ceiling texture?
The best method for a traditional finish is to spray a properly mixed ceiling texture through a hopper. For small repairs, a thick-nap roller or aerosol texture can work, but the pattern may not match perfectly.
Can I make popcorn ceiling texture with joint compound?
Some products combine joint compound with texture additives, but ordinary joint compound alone usually creates a smoother finish. Use a product labeled for ceiling texture and follow its mixing instructions.
How thick should popcorn ceiling texture be?
The mixture should be thick enough to hold small beads but fluid enough to spray or roll evenly. Test it on scrap material first, because the correct thickness varies by product and tool.
How long does popcorn ceiling texture take to dry?
Drying time often ranges from several hours to a full day. Humidity, ventilation, temperature, and coating thickness all affect the result, so follow the product label and wait until the surface is firm before painting.
Can I apply popcorn texture over painted drywall?
You can apply texture over sound, clean, properly prepared painted drywall. Repair cracks, remove peeling paint, clean the surface, and use the recommended primer before texturing.
Is it safe to make popcorn ceiling texture in an old house?
It may not be safe to disturb an older textured ceiling until it has been tested for asbestos. Do not scrape, sand, or drill the surface if its contents are unknown.
Conclusion
Making a popcorn ceiling is manageable when you treat preparation as seriously as application. Test older ceilings for asbestos, repair leaks and cracks, protect the room, mix the texture slowly, and apply light, even coats.
For a new ceiling, spraying usually creates the most authentic popcorn pattern. For a small repair, careful rolling or aerosol texture may be enough if you test the match first.
Work patiently, follow the product label, and stop when safety becomes uncertain. Use this guide to plan your project, then explore trusted home improvement resources or share your experience in the comments.

Liora Pennings is a seasoned chef and kitchen enthusiast with a passion for turning everyday cooking into an effortless experience. With years of hands-on culinary expertise, she specializes in practical techniques, ingredient know-how, and smart kitchen solutions that help home cooks elevate their meals. At KitchFlair.com, Liora shares her best tips, time-saving tricks, and honest product reviews to guide readers toward a more efficient, enjoyable, and inspired cooking routine. Whether you’re a beginner or a seasoned home chef, Liora’s friendly, knowledge-packed insights make every visit to the kitchen a little easier—and a lot more delicious.