How To Make Coffee Machine

How To Make Coffee Machine: Easy DIY Guide

You can make a simple coffee machine with a water tank, heater, pump, filter, and safe low-voltage control system.

Learning how to make coffee machine systems starts with one key idea: hot water must flow through ground coffee at a steady rate. A homemade drip coffee maker is a realistic project, while an espresso machine needs high pressure, precise temperature control, and stronger safety measures. This guide explains the parts, design, wiring, assembly, testing, and common mistakes so you can build a useful coffee machine with confidence.

How a Homemade Coffee Machine Works
Source: foodandwine.com

How a Homemade Coffee Machine Works

A coffee machine follows a simple path. Water moves from a tank to a heating chamber, reaches the right temperature, and then passes through coffee grounds held in a filter.

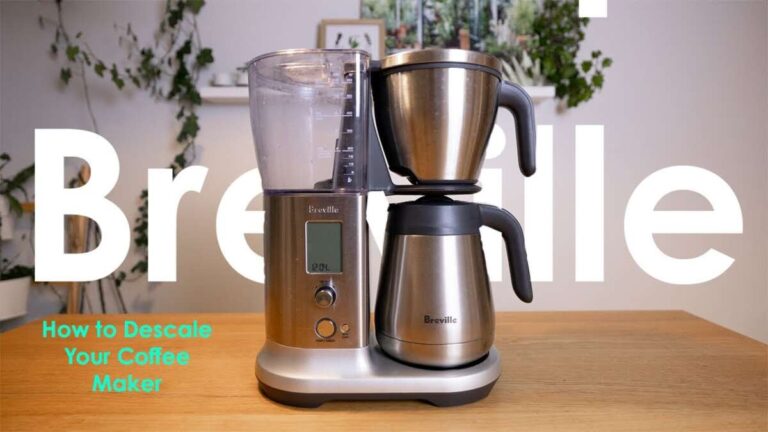
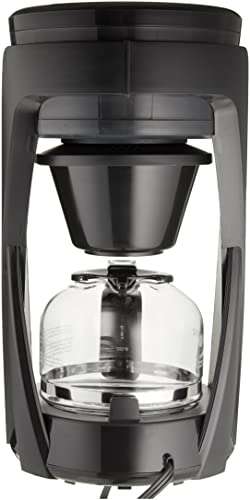
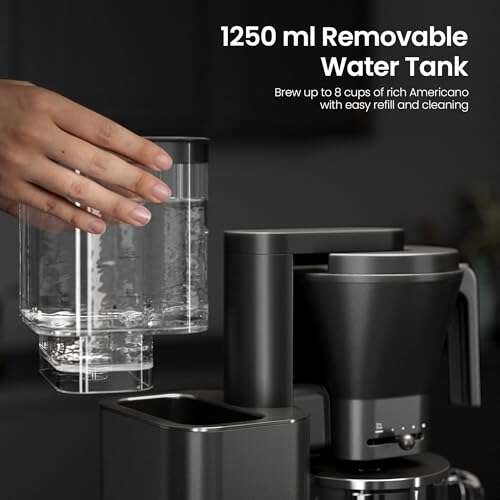
Most basic drip machines use these parts:

• Water reservoir: Holds clean water for brewing.

• Heating chamber: Warms the water before brewing.

• Pump or gravity feed: Moves water toward the coffee filter.

• Showerhead: Spreads water over the coffee grounds.

• Filter basket: Holds the paper or reusable coffee filter.

• Carafe or cup platform: Collects the brewed coffee.

• Control system: Turns heating and water flow on or off.

A good homemade design works like a small plumbing system. The reservoir is the supply tank, the heater is the boiler section, and the filter basket is the final brewing chamber.

The easiest way to learn how to make coffee machine equipment is to build a low-voltage drip brewer. It can use a small food-safe pump and a separate heating element. This design is safer and easier to control than a pressure-based espresso machine.

Water for drip coffee should usually reach about 195°F to 205°F. This range helps extract flavor without making the coffee taste flat or burnt. The Specialty Coffee Association commonly uses this range when discussing standard brewing conditions.

Parts You Need to Build a Coffee Machine
Source: youtube.com

Parts You Need to Build a Coffee Machine

Before you learn how to make coffee machine hardware, gather every part and check that it is suitable for hot water and food contact. A coffee machine is not a good place for unknown plastic, weak tubing, or improvised electrical parts.

Main mechanical parts

• Food-safe water reservoir: Use stainless steel, glass, or certified food-grade plastic.

• Stainless steel heating tube: This warms water as it passes through the system.

• Small 12-volt diaphragm pump: Choose a pump rated for clean water and temperatures near your target brewing range.

• Food-grade silicone tubing: Use tubing designed for hot water.

• Filter basket: A reusable stainless steel basket or standard paper filter holder works well.

• Showerhead: A perforated stainless steel or food-safe plastic plate spreads the water.

• Heat-resistant carafe: Glass or stainless steel is best.

• One-way valve: This helps prevent hot water from flowing backward.

• Clamps and fittings: Use secure fittings that do not leak.

Electrical and control parts

• 12-volt DC power supply: Select a supply with enough current for the pump and controls.

• Temperature sensor: A waterproof thermistor or digital temperature probe can monitor water heat.

• Microcontroller or thermostat: This controls the heater and pump timing.

• Solid-state relay or suitable DC relay: Use a relay rated above the heater’s electrical load.

• Fuse: Add a fuse close to the power input.

• On/off switch: Choose a switch rated for the voltage and current.

• Food-safe enclosure: Keep water away from electrical connections.

Avoid using household wall power unless you understand electrical safety and local wiring rules. A mains-powered heater can cause electric shock, fire, or serious injury. For a first project, buy a certified low-voltage heating module or use a prebuilt thermal water unit inside a protected enclosure.
Choosing the Right Heating System
Source: ablossominglife.com

Choosing the Right Heating System

The heater is the most sensitive part of any homemade coffee machine. It must warm water quickly but should not create dangerous steam pressure.

There are two practical choices:

Inline heating tube

An inline heating tube warms water as it flows through a narrow metal passage. This design is compact and works well with a small pump.

Benefits include:

• Fast heating

• Small size

• Less stored hot water

• Easy control with a temperature sensor

The main limitation is flow control. If water moves too fast, it may remain too cool. If it moves too slowly, the heater can overheat.

Heated reservoir

A heated reservoir warms a larger amount of water before brewing. It is easier to understand but takes more time and stores more hot water.

This design needs:

• A thermostat

• An overheat cutoff

• A lid that does not create a sealed pressure chamber

• A heat-resistant tank

Never seal a heated water container. Steam pressure can build quickly and rupture the container.

A useful lesson from testing coffee systems is that temperature stability matters more than raw heating power. A powerful heater may sound impressive, but steady heat creates better coffee and safer operation.
How to Make Coffee Machine Plumbing
Source: zavida.com

How to Make Coffee Machine Plumbing

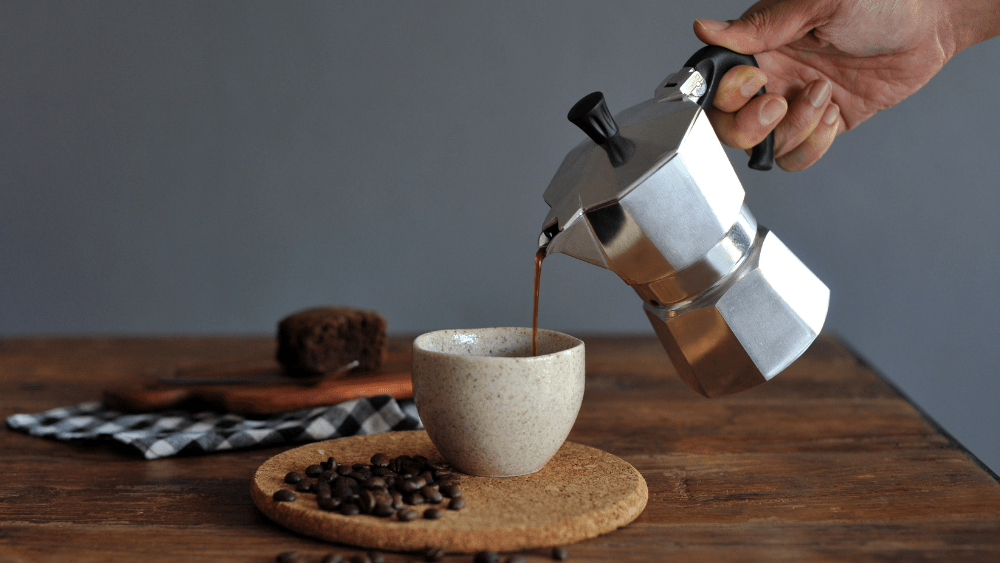
The water path should be short, clean, and easy to inspect. Each connection must fit tightly without blocking water flow.

Use this basic layout:

  1. Place the reservoir above or beside the pump.

  2. Connect the reservoir outlet to the pump inlet.

  3. Add a one-way valve after the pump.

  4. Route tubing through the heating chamber.

  5. Connect the hot-water outlet to the showerhead.

  6. Position the showerhead above the filter basket.

  7. Place the carafe under the filter basket.

The pump should not run dry. A dry pump can overheat, wear out, or lose its seal. Add enough water to cover the inlet before switching it on.

Keep the hot section separate from the electrical section. Tubing should not touch exposed wires, circuit boards, or power terminals. Use cable glands and waterproof connectors where wires pass through the enclosure.

When learning how to make coffee machine plumbing, remember that leaks often start at small bends. Do not force silicone tubing over a fitting that is too large. Use the correct connector, clamp, and tube size instead.

How to Make Coffee Machine Controls
Source: starbucks.com

How to Make Coffee Machine Controls

A basic control system can use a thermostat, timer, or microcontroller. A thermostat is the simplest option. A microcontroller gives you better control over temperature, pump timing, and safety checks.

A simple brewing sequence looks like this:

  1. The user presses the start button.

  2. The controller checks that water is present.

  3. The heater warms the water.

  4. The temperature sensor confirms the target range.

  5. The pump sends water through the heater.

  6. The showerhead wets the coffee grounds.

  7. The pump stops after the programmed brew time.
  8. The heater turns off.

  9. The system waits for cooling before another cycle.

A sensor should never be the only safety device. Add an independent thermal cutoff that shuts down the heater if the temperature becomes too high. This protects the machine if a sensor fails.

Keep the first control program simple. Many homemade projects become unreliable because they use too many features before the basic water and heat systems work. Start with one brew button, one temperature target, and one automatic shutoff.

Step-by-Step: How to Make Coffee Machine at Home
Source: youtube.com

Step-by-Step: How to Make Coffee Machine at Home

This method describes a small drip coffee machine that uses a low-voltage pump and a protected heating module.

Step 1: Build the frame

Use stainless steel, aluminum, or heat-resistant plastic for the frame. Create separate spaces for:

• Water storage

• Heating and tubing

• Electronics

• Coffee filtration

Leave enough room to remove the filter basket and clean the water path.

Step 2: Install the reservoir

Mount the reservoir so you can fill and wash it easily. Add a lid that keeps dust out but does not form a pressure seal.

Place the outlet near the bottom of the tank. Add a removable screen to stop large particles from entering the pump.

Step 3: Install the pump

Mount the pump on rubber pads. This reduces noise and vibration.

Connect the inlet tubing first. Fill the reservoir and check that water reaches the pump before applying power.

Step 4: Add the heater

Install the heater in a protected metal or heat-resistant compartment. Follow the manufacturer’s flow direction and temperature limits.

Add a temperature sensor near the hot-water outlet. This gives a better reading of the water entering the coffee grounds.

Step 5: Connect the showerhead

The showerhead should spread water across the coffee bed. A single narrow jet can create channels, where water passes through one path and leaves much of the coffee dry.

Make several small holes in a food-safe plate if you are creating a prototype. Keep the holes even and smooth. Sharp edges can collect coffee residue and make cleaning difficult.

Step 6: Wire the control system

Connect the power supply, fuse, switch, pump, sensor, heater control, and thermal cutoff according to the component instructions.

Keep low-voltage wires away from hot surfaces. Label each wire before closing the enclosure. This simple habit saves time when you need to troubleshoot the machine later.

Step 7: Test with water only

Do not add coffee during the first test. Run several water cycles and check:

• Leaks

• Water temperature

• Pump noise

• Flow speed

• Heater behavior

• Automatic shutoff

• Electrical warmth

Stop the test immediately if you smell burning plastic, see sparks, or notice water near electronics.

Step 8: Brew a small batch

Use about 1 to 2 tablespoons of medium-ground coffee for every 6 ounces of water. Adjust the amount to suit your taste.

Watch the water flow. It should wet the grounds evenly and drain without overflowing the filter basket.

Coffee Machine Brewing Settings
Source: co.uk

Coffee Machine Brewing Settings

Building the machine is only part of the process. Brewing settings determine whether the coffee tastes balanced.

Water temperature

Aim for about 195°F to 205°F for drip coffee. Water below this range may produce weak, sour coffee. Excessively hot water can create bitter flavors and damage some plastic parts.

Coffee grind

Use a medium grind for drip brewing. A fine grind may slow the flow and cause bitter extraction. A coarse grind may allow water to pass too quickly and produce weak coffee.

Brew ratio

Start with a ratio near 1 gram of coffee to 16 grams of water. For a typical 12-ounce cup, use about 21 grams of coffee, then adjust based on taste.

Flow rate

Water should fall across the coffee bed in a steady pattern. A slow, even flow is usually better than a fast stream.

Contact time

A full drip brew often takes several minutes. If water drains in less than two minutes, the grind may be too coarse or the flow may be too fast. If it takes much longer, the grind may be too fine or the filter may be blocked.

The best approach is to change one setting at a time. If you change the grind, water amount, and temperature together, you will not know which change improved the cup.

How to Make Coffee Machine Safer
Source: youtube.com

How to Make Coffee Machine Safer

Safety should come before speed, appearance, or extra features. Hot water, electricity, and pressure can become dangerous when combined.

Follow these rules:

• Use low-voltage components for early prototypes.

• Add a fuse near the power input.

• Install an independent thermal cutoff.

• Never operate the machine without water.

• Never seal a heated water tank.

• Keep all electrical parts above possible leak points.

• Use food-safe tubing and containers.

• Unplug the machine before cleaning or opening it.

• Let the heater and water chamber cool before servicing.

• Inspect wires for melted insulation or loose terminals.

If you want to build an espresso machine, use a certified pump, pressure-rated boiler, pressure relief valve, gauge, and professionally designed electrical controls. Espresso systems often operate at around 9 bars of brewing pressure, so ordinary tubing and containers are not suitable.

A homemade drip machine has clear limits. It may not match the temperature control, reliability, or safety testing of a commercial appliance. Treat the project as an educational build, not as a replacement for certified equipment in a busy kitchen.

Cleaning and Maintenance

Coffee oils can become stale and rancid. Mineral deposits can also block narrow tubes and reduce heating performance.

Clean the machine after each use:

• Empty and rinse the filter basket.

• Rinse the carafe.

• Drain leftover water from the reservoir.

• Wipe the showerhead.

• Check the brew outlet for coffee residue.

Every few weeks, descale the water path if you use hard water. A suitable citric acid solution can help remove mineral buildup. Follow the instructions for your heater and tubing, then rinse with several full tanks of clean water.

Do not submerge the electrical enclosure. Do not use harsh chemicals inside the water path unless the component maker approves them.

One mistake I often see in DIY coffee projects is focusing on the first successful brew and ignoring long-term cleaning. A machine can work well on day one but develop poor taste, slow flow, or blocked tubing if the water path is hard to reach.

Common Problems and Simple Fixes

The machine does not pump water

Check the reservoir level, inlet tubing, pump direction, and power supply. Air trapped in the line can also stop a small pump, so fill the inlet line before starting the cycle.

The water is too cold

The heater may be too weak, the flow may be too fast, or the sensor may be in the wrong place. Measure the water at the outlet rather than relying only on the heater surface temperature.

The coffee tastes weak

Try a finer grind, a little more coffee, or a slower flow. Also check that the water reaches the proper brewing temperature.

The coffee tastes bitter

Use a slightly coarser grind or reduce contact time. Bitter coffee can also result from water that is too hot or coffee that has been over-extracted.

The filter basket overflows

The grind may be too fine, the paper filter may be folded incorrectly, or the showerhead may release water too quickly. Reduce the flow and test the basket with water alone.

The machine leaks

Turn it off and unplug it before inspection. Replace cracked tubing, tighten loose clamps, and avoid stretching tubing over unsuitable fittings.

The pump is noisy

Check for air, vibration, or a blocked inlet. Mounting the pump on rubber pads can reduce noise significantly.

Improvements for a Better Homemade Coffee Machine

Once the basic system works, you can add useful features without making the design difficult to repair.

Consider adding:

• A water-level sensor

• A digital temperature display

• Adjustable pump timing

• A reusable stainless steel filter

• A warming plate with a separate timer

• A removable brew group

• A flow meter

• An automatic cleaning reminder

A water-level sensor prevents dry operation. A display helps you compare brew temperatures. Adjustable timing lets you test different flow rates and coffee recipes.

Avoid adding features that create unnecessary risk. Remote phone control, decorative lights, and complex menus are less important than safe heating, accurate temperature control, and easy cleaning.

The most useful upgrade is often modular construction. Use connectors and removable panels so you can replace the pump, heater, or sensor without rebuilding the entire machine.

Frequently Asked Questions About How to Make Coffee Machine

Can I make a coffee machine without a pump?

Yes. A gravity-fed drip coffee machine can work when the water reservoir sits above the filter basket. However, the flow may be less consistent than a pumped system.

What is the safest way to make a coffee machine?

Use a low-voltage pump, certified heating module, fuse, thermal cutoff, food-safe tubing, and a separated electrical enclosure. Avoid homemade mains wiring and sealed heating chambers.

Can I build an espresso machine at home?

You can, but it is much harder and riskier than building a drip machine. Espresso requires pressure-rated parts, accurate temperature control, pressure relief, and careful electrical design.

What temperature should a homemade coffee machine use?

For drip coffee, target about 195°F to 205°F. Measure the water near the brew outlet because the heater surface may be much hotter than the water.

Why does my homemade coffee machine make weak coffee?

Weak coffee can come from a coarse grind, low water temperature, fast flow, or too little coffee. Change one variable at a time to find the cause.

What materials are safe for the water path?

Stainless steel, glass, and certified food-grade silicone are reliable choices. Avoid unknown plastics, painted metal, and materials that soften or release odors when heated.

How often should I clean a homemade coffee machine?

Rinse the filter basket, reservoir, and carafe after every use. Descale the water path every few weeks or whenever flow slows, depending on your water hardness and usage.

Conclusion

Learning how to make coffee machine equipment is a practical way to understand water flow, heat control, filtration, and basic automation. Start with a low-voltage drip design, use food-safe parts, test with water first, and add safety controls before brewing coffee.

A simple machine can produce a good cup when the water temperature, grind size, flow rate, and coffee ratio work together. Build slowly, record your results, and improve one part at a time. Explore more coffee-making projects, share your test results, and keep learning as you refine your design.

Similar Posts

Leave a Reply

Your email address will not be published. Required fields are marked *