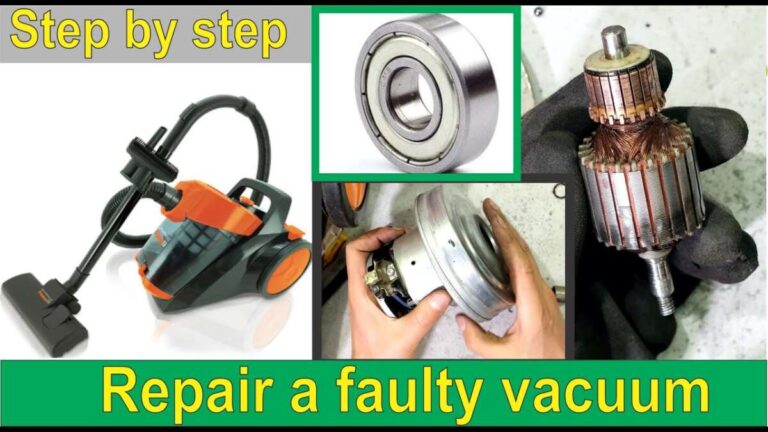
How To Repair Vacuum Cleaner Suction Loss: Fix Cracked Body
Seal cracks with epoxy or plastic weld, replace broken parts, and test suction after reassembly.
I’ve fixed dozens of vacuums and teach repair shops how to save machines. This article explains how to repair vacuum cleaner suction loss from cracked body with clear steps, tools, and safety tips. You will learn how to find leaks, choose the right fix, and test results so the machine works like new.

How suction works and why a cracked body matters
Vacuum suction depends on a sealed airflow path from nozzle to dust bin. Any crack lets air leak in and weakens suction. A cracked body can be as small as a hairline or large enough to break the seal around filters and hoses.
Understanding how to repair vacuum cleaner suction loss from cracked body starts by knowing where pressure is lost. Leaks change the airflow and make the motor work harder. Fixing the crack restores pressure and extends the vacuum’s life.

Diagnosing suction loss: step-by-step checks
Start with simple checks first. Clean or replace filters and empty the bin. Inspect the hose, brushroll, and attachments for blockages.
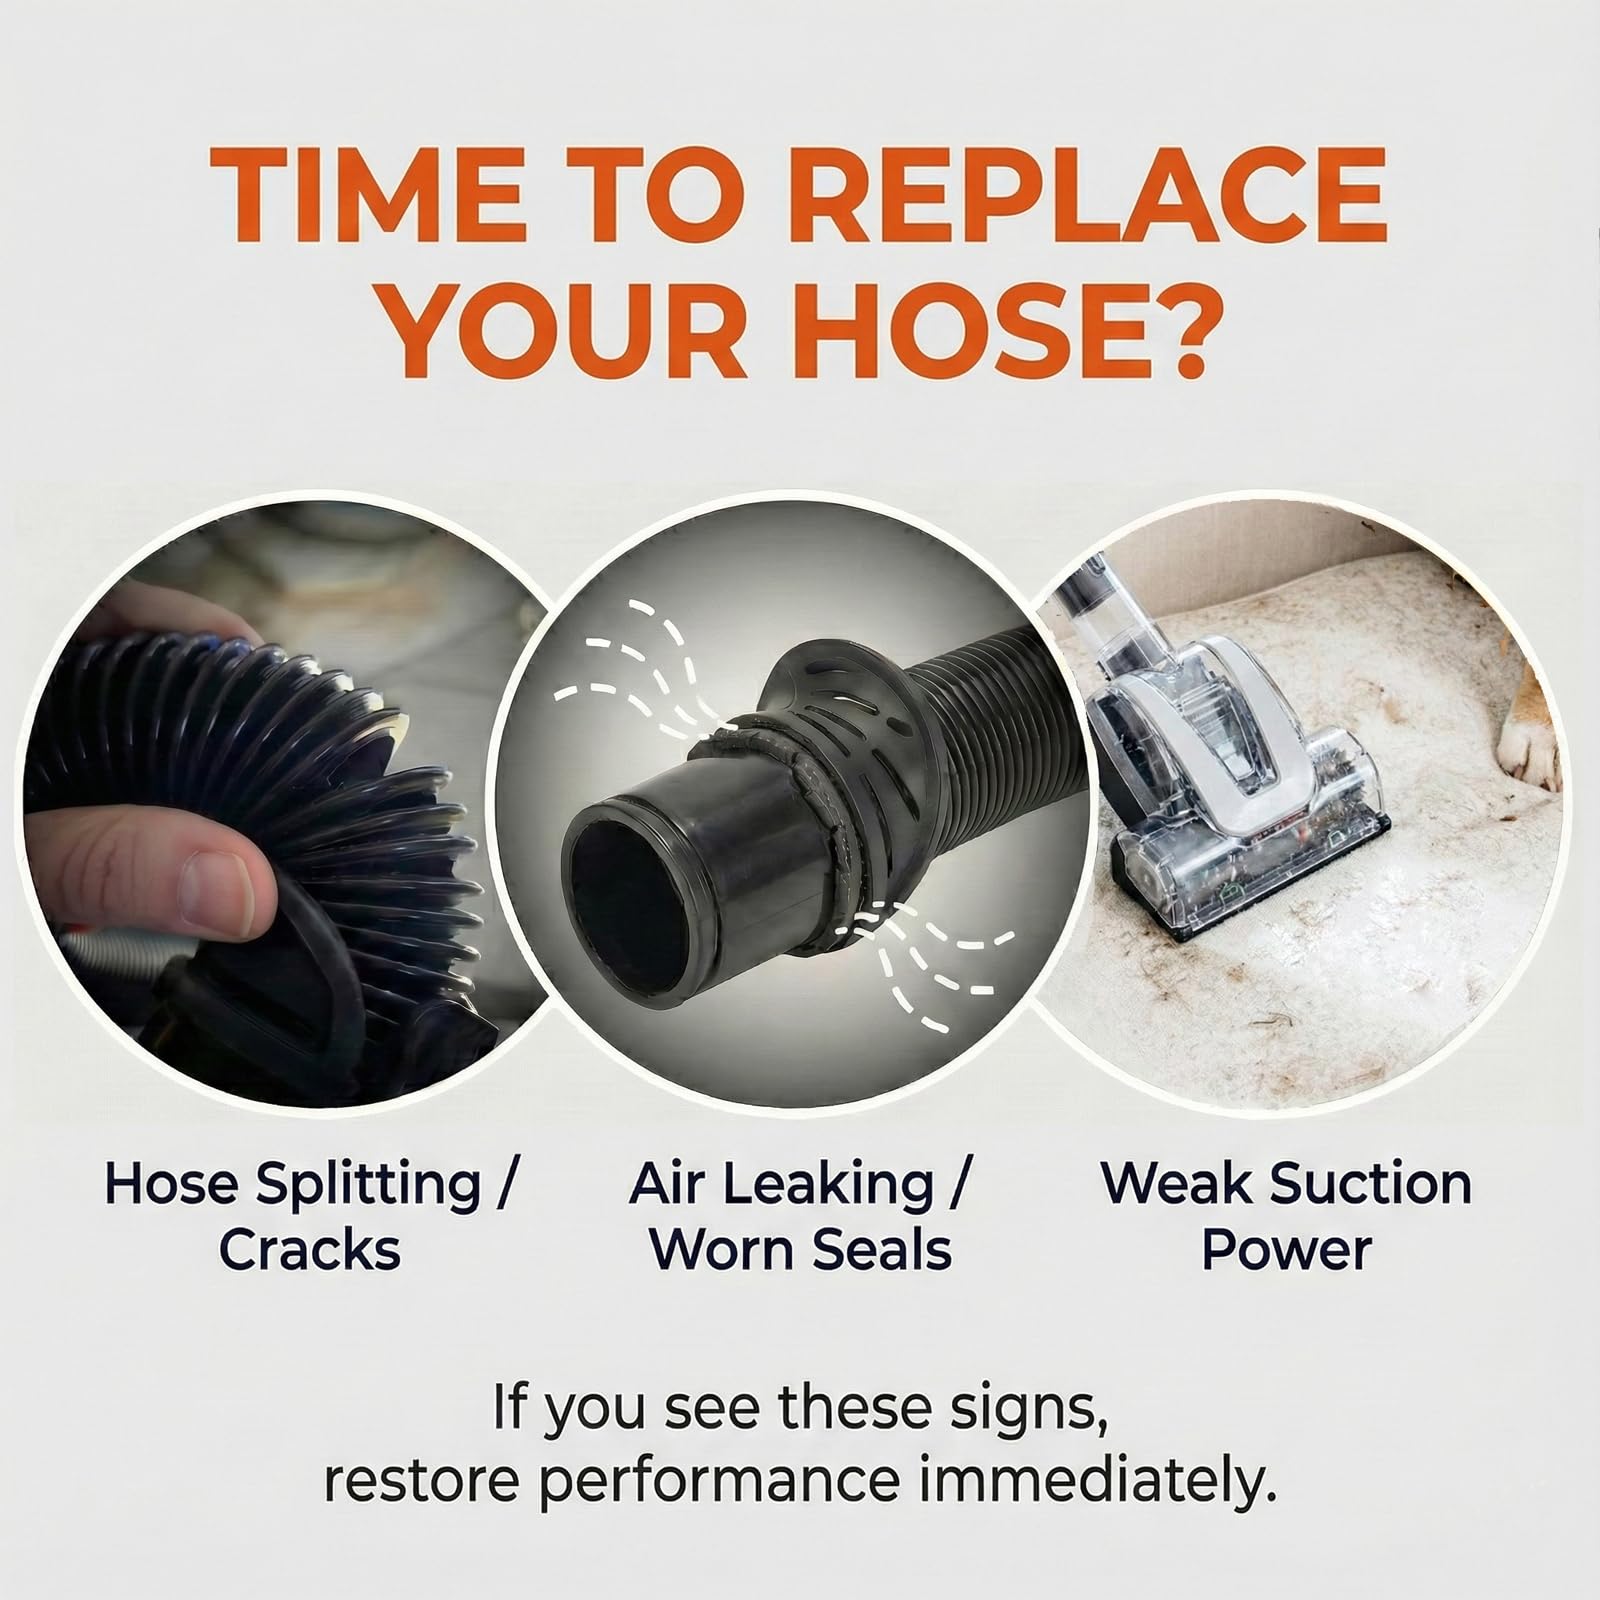
Next, seal test the body. Run the vacuum and move your hand slowly over seams and panels to feel air leaks. Listen for whistling or hissing noises that point to cracks.
Check internal seals and gasket areas around the dust bin and motor housing. Use a flashlight to inspect hidden joints. Document each suspect spot before you start repairs.
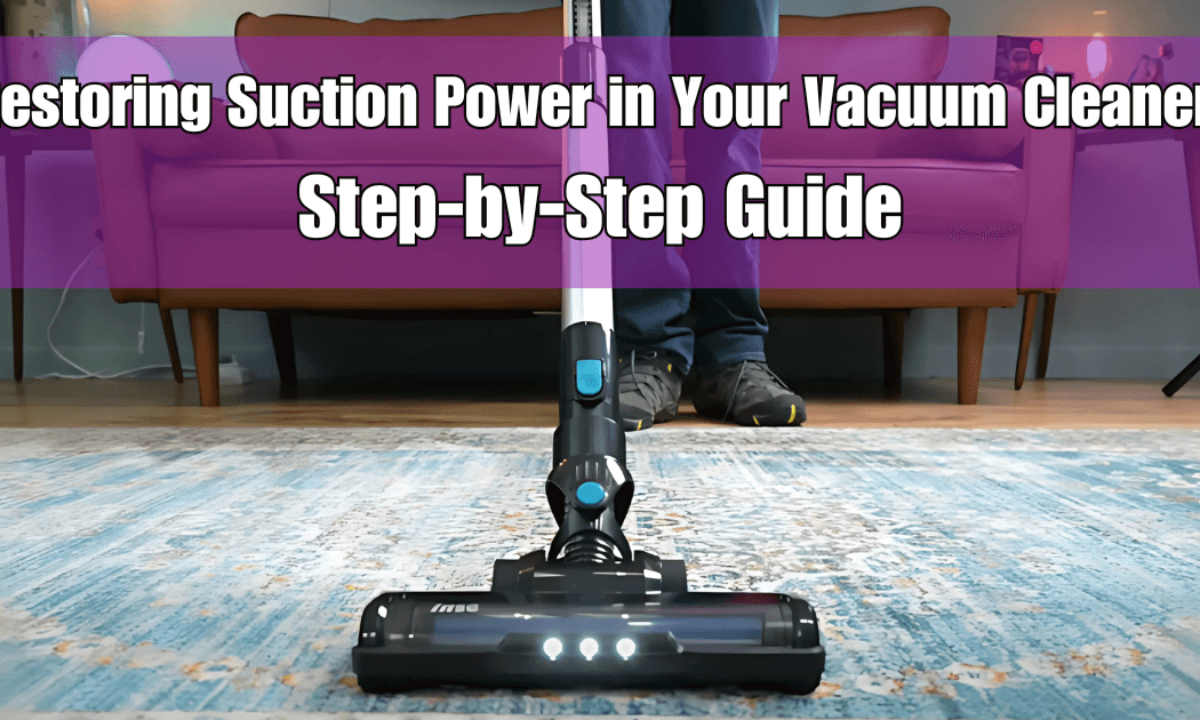
src="https://vacuumwars.com/wp-content/uploads/2025/03/Restoring-Suction-Power-in-Your-Vacuum-Step-by-Step-Guide.png"
alt="Tools and materials you'll need”
style=”max-width: 100%; height: auto; border: 2px solid black; border-radius: 10px; display: block; margin: 0 auto;”
loading=”lazy”
/>
Tools and materials you'll need
Gather safe tools and repair supplies before you open the vacuum. Typical items include:
- Screwdrivers and nut drivers for disassembly.
- Utility knife and sandpaper for cleaning edges.
- Epoxy resin or plastic weld for plastic housings.
- Silicone sealant or rubber gasket material for soft seals.
- Replacement panels or clamps for large breaks.
- Work gloves and safety glasses.
Keeping everything ready speeds the job and avoids mistakes. I always lay parts out in order to make reassembly quick and accurate.

Repair methods by crack type
Match the repair to the crack size and material. Each method is simple and effective when done right.
Small hairline cracks
Small cracks often sit along seams or thin plastic. Clean the area with isopropyl alcohol. Apply a two-part epoxy designed for plastics. Sand lightly first for better adhesion. Let it cure fully before testing.
Medium cracks and gaps
For wider cracks, reinforce the area. Use plastic weld or a patch on the inside and epoxy on the outside. For curved areas, add a thin fiberglass patch then seal with epoxy. Tighten nearby screws to restore snug fit.
Large structural breaks
If a panel is split or a mounting tab is gone, you may need a replacement part. Short-term fixes include metal or plastic brackets riveted inside. Best practice is to source OEM or compatible housing parts and swap the damaged piece.
Soft seals and gasket failures
Cracks near seals often need gasket replacement, not structural repair. Replace foam or rubber gaskets and use silicone sealant on joins. Ensure the new gasket compresses evenly when reassembled.
How to repair vacuum cleaner suction loss from cracked body depends on correct material choice. Use plastic adhesives for plastic bodies and epoxy for mixed materials. If unsure, test the adhesive on a scrap piece first.
Reassembly, testing, and preventative tips
Reassemble in reverse order. Tighten screws evenly to avoid new stress cracks. Replace any stripped screws with slightly larger ones or use thread locker for stability.
Test suction with simple tools. Use a tissue or plastic bag at the nozzle to see lift. Measure runtime and listen for new noises. If suction improves but is not full, repeat the leak checks.
Prevent future cracks by avoiding drops and storing the vacuum upright in dry places. Replace worn hoses and avoid over-tightening attachments. Regular maintenance prevents many common causes of cracks and suction loss.
Costs and when to replace vs repair
Repairs often cost less than replacement. Small repairs may cost only materials and a little time. Major structural damage, motor issues, or unavailable parts may push you to replace the unit.
Consider the vacuum’s age, warranty, and repair cost. If repair costs approach 50–70 percent of a new unit’s price, replacement may be smarter. Also weigh energy efficiency and new features in modern models.
Personal experience and lessons learned
I once repaired a popular upright with a cracked base that made it sound like a jet engine. A simple epoxy patch and a new gasket restored full suction. That repair saved the owner over $120 in replacement cost.
Key lessons I learned:
- Never skip cleaning before diagnosing. Dirt masks leaks.
- Always test adhesives on the same plastic type first.
- Document disassembly with photos to avoid reassembly errors.
These small practices make how to repair vacuum cleaner suction loss from cracked body faster and more reliable.

Frequently Asked Questions of how to repair vacuum cleaner suction loss from cracked body
What causes suction loss besides a cracked body?
Suction loss often comes from clogged filters, blocked hoses, worn belts, or motor issues. Check these items before focusing on body cracks for a faster fix.
Can I use super glue to fix a cracked vacuum body?
Super glue can work on tiny non-structural cracks but it is brittle. For most vacuum plastics, two-part epoxy or plastic weld provides a stronger, longer-lasting bond.
Is it safe to run a vacuum with a cracked body?
Running a vacuum with a cracked body can overwork the motor and let dust bypass filters. Avoid long runs until you repair the crack to prevent damage.
How long does a repair usually take?
Small repairs take 30 to 60 minutes including cleanup. Medium or reinforced patches take several hours because adhesives need to cure. Large replacements may take a day or more including part orders.
When should I call a professional for vacuum repairs?
Call a pro if the crack is near motor mounts, wiring, or if the repair requires special tools. Also seek help when replacement parts are hard to find or the vacuum is high-end.
Conclusion
Fixing a cracked body can restore suction and save money when you follow the right steps. Start with a clean machine, diagnose leaks, pick the proper adhesive or part, and test thoroughly. With basic tools and careful work, you can bring many vacuums back to full power.
Take action today: inspect your vacuum, gather tools, and try a small repair. Share your results or questions below to learn from real experiences and fixes.

Liora Pennings is a seasoned chef and kitchen enthusiast with a passion for turning everyday cooking into an effortless experience. With years of hands-on culinary expertise, she specializes in practical techniques, ingredient know-how, and smart kitchen solutions that help home cooks elevate their meals. At KitchFlair.com, Liora shares her best tips, time-saving tricks, and honest product reviews to guide readers toward a more efficient, enjoyable, and inspired cooking routine. Whether you’re a beginner or a seasoned home chef, Liora’s friendly, knowledge-packed insights make every visit to the kitchen a little easier—and a lot more delicious.