How To Open Vacuum Cleaner: Easy Step-By-Step Guide
Unplug the vacuum, remove its canister or bag, and release the correct screws or clips before opening the housing.
Learning how to open vacuum cleaner safely can save you a repair bill and help you clear clogs, wash filters, replace belts, or inspect the motor. The correct method depends on whether you have an upright, canister, stick, handheld, or robot vacuum. This guide explains each step in simple terms, with practical safety tips and repair lessons that help prevent damage.
What to Know Before You Open a Vacuum Cleaner
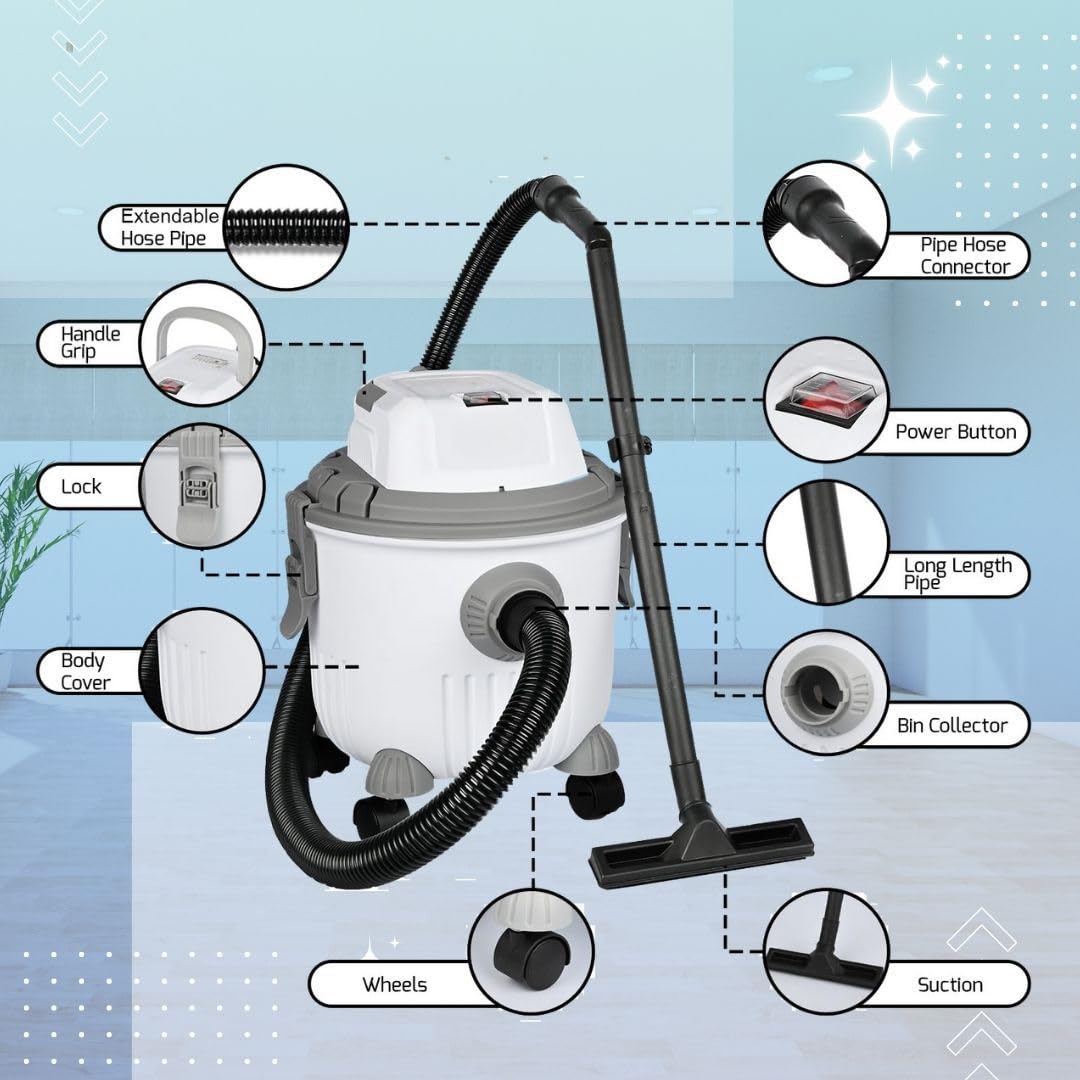
A vacuum cleaner is more than a plastic shell. Inside, you may find a motor, fan, belt, brush roll, wires, filters, seals, and circuit boards. Some parts are easy to reach, while others need special tools or should be handled by a trained technician.
The first rule is simple: never open a vacuum while it is connected to power. Even a small household vacuum can have sharp edges, moving parts, and stored electrical energy.
Before you learn how to open vacuum cleaner parts, check these details:
• Read the owner’s manual and look for the maintenance or service section.
• Find the model number, usually placed under the vacuum or near the dust bin.
• Check whether opening the case will cancel the warranty.
• Take photos of each step before removing parts.
• Work on a clean table with good light.
• Keep screws in a small cup or labeled container.
A phone camera is one of the best repair tools. I often take a photo before removing each panel because vacuum screws can look alike but have different lengths. Putting a long screw into a short hole can crack a motor cover or damage an internal part.

Tools You May Need
Most basic vacuum repairs need only a few tools. The exact set depends on the brand and design.
• Phillips screwdriver
• Flathead screwdriver
• Torx screwdriver set
• Small socket driver
• Plastic pry tool
• Needle-nose pliers
• Soft brush
• Flashlight
• Clean cloth
• Replacement belt or filter
• Small container for screws
Avoid using a kitchen knife as a pry tool. It can slip, cut your hand, or leave deep marks in the plastic. A plastic opening tool gives you better control and protects the housing.
For electrical inspection, a multimeter may help, but only if you know how to use it. Do not test live circuits inside a vacuum unless you have proper electrical training. A vacuum motor can produce heat and electrical hazards even when the machine looks small.

How to Open a Vacuum Cleaner Safely
Use this basic method for most upright and canister vacuums. It will not fit every model, so stop if a panel does not move after you remove the visible fasteners.
1. Disconnect the power
Unplug the vacuum from the wall. If it uses a removable battery, take the battery out. For a robot vacuum, remove it from the charging dock and follow the manufacturer’s battery instructions.
Do not rely on the power switch alone. The switch may fail, and some parts can still hold a charge.
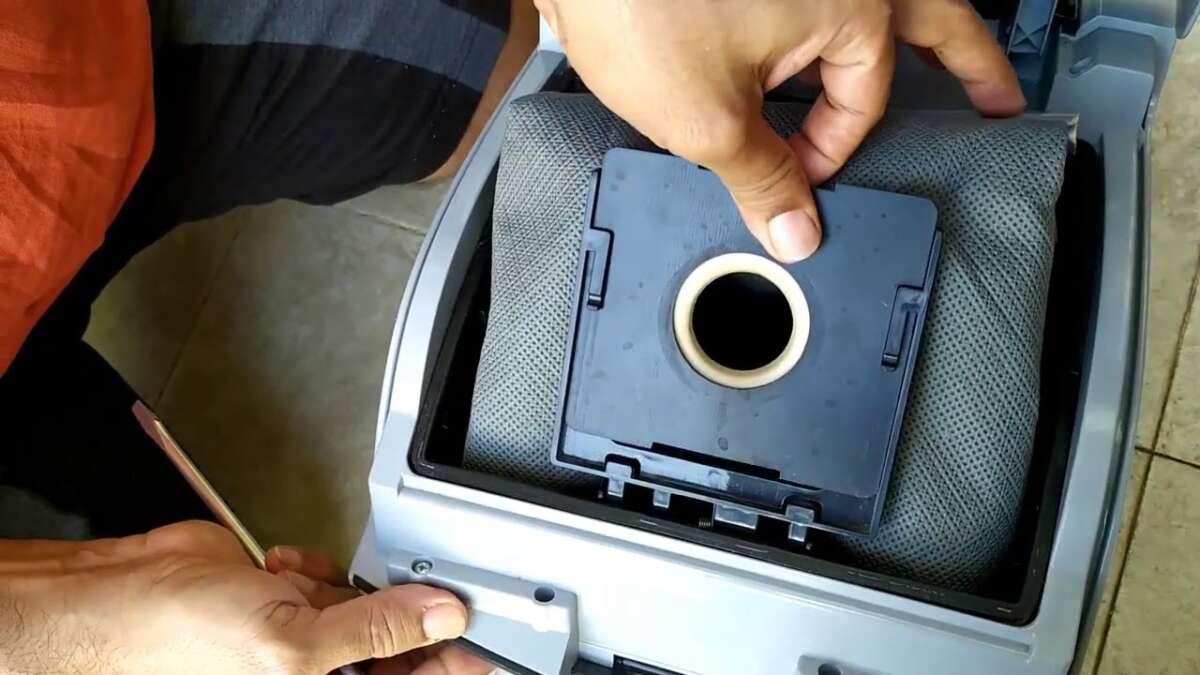
2. Remove the dust container or bag
Take out the dust bin, dirt cup, or vacuum bag. Empty the container outdoors if it contains fine dust, pet hair, or allergens.
This step also exposes hidden screws on many models. Some vacuums have a filter beneath the dust cup, so remove it only if the manual allows cleaning or replacement.
3. Remove external attachments
Detach the hose, wand, floor head, crevice tool, and other accessories. Twist-lock parts may need a quarter turn before they release.
Never pull hard on a hose. A hose end can have a locking tab that breaks when forced.
4. Find every screw and clip
Inspect the top, bottom, sides, handle, brush-roll cover, and wheel area. Manufacturers often hide screws under labels, rubber feet, caps, or the dust bin.
Run a fingertip along the seam of the housing. If the case still feels firmly attached, look for another screw instead of forcing it open.
5. Separate the housing
Use a plastic pry tool at a wide seam. Work slowly around the case and release one clip at a time.
Some clips make a soft click when they release. If the plastic bends, stop and check for a hidden fastener. Cracked housing clips can cause air leaks, rattling, and poor suction.
6. Photograph the inside
Before touching wires or removing parts, take clear photos from several angles. Mark wire connectors with small pieces of tape if needed.
Do not pull wires by the cable. Grip the plastic connector instead.
7. Remove only the part you need
If you are clearing a clog, you may not need to reach the motor. If you are replacing a belt, you may need only the floor-head cover.
The less you remove, the lower the chance of losing a screw or damaging a connector.

How to Open an Upright Vacuum Cleaner
Upright vacuums are often the easiest to open because the brush roll and belt are designed for routine service. The motor area may still be covered by several panels.
Start by unplugging the machine and lowering the handle. Remove the floor nozzle or turn the vacuum upside down on a soft towel. Look for screws around the brush-roll cover.
Follow these steps:
-
Remove the dust cup or bag.
-
Turn the vacuum over carefully.
-
Remove the brush-roll cover screws.
-
Lift the cover away from the floor head.
-
Release the belt from the motor shaft if you are replacing it.
-
Lift the brush roll from its end supports.
-
Inspect the brush roll, belt, air path, and bearings.
Hair often wraps around the brush-roll ends, not just the center. Cut wrapped hair with scissors, but keep the blades away from the bristles and belt.
If you need to open the main body, remove the screws around the rear cover and handle. Some upright models use hidden clips near the wheels. Never force the upper body away from the base until you confirm that the hose and wiring are free.
A common mistake is installing a new belt over a dirty brush roll. The new belt may stretch quickly because the brush cannot turn freely. Clean both end caps before reassembly.
How to Open a Canister Vacuum Cleaner
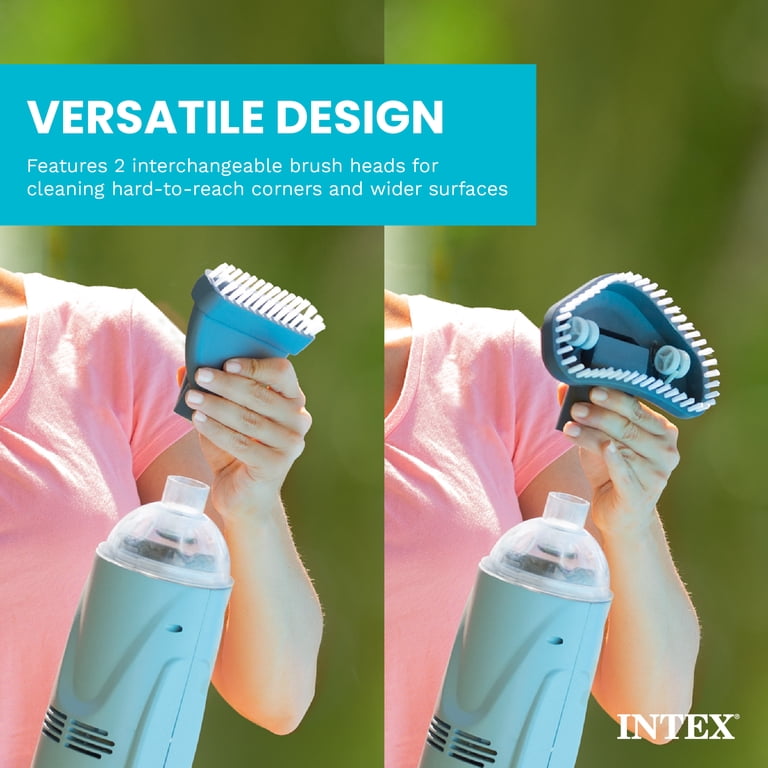
Canister vacuums usually have a separate motor body, hose, wand, and floor head. You can often inspect the hose and floor head without opening the motor housing.
To open the canister body:
-
Unplug the vacuum.
-
Remove the bag or dust container.
-
Remove the exhaust and motor filters if they block access.
-
Check under the bag compartment for screws.
-
Inspect the bottom and rear panels.
-
Remove visible screws in order.
-
Separate the upper and lower shells with a plastic tool.
The canister hose may connect with a twist collar or release button. If suction is weak, check the hose for a clog before opening the motor case. A broom handle or flexible cleaning rod can help clear a long hose, but do not push so hard that you puncture it.
Canister vacuum motors often use foam or fabric seals. Keep these seals in their original position. A missing seal can create an air leak and make the vacuum louder while reducing suction.

How to Open a Stick or Cordless Vacuum
Stick vacuums are compact, but their parts are tightly packed. Many include a lithium-ion battery, electronic controls, a digital display, and a small motor. This makes careful handling especially important.
Remove the battery if the design allows it. If the battery is built in, do not puncture, crush, bend, or short its terminals. A damaged lithium battery can overheat or catch fire.
The usual process is:
• Remove the dust bin.
• Take out washable filters.
• Remove the floor head.
• Look for screws under covers or rubber plugs.
• Use a plastic tool to release housing clips.
• Keep the battery and circuit board dry.
Do not wash the motor body, battery, charging port, or control board. Only wash a filter when the manual specifically says it is washable.
If the vacuum stopped after a blockage, let it cool for at least the time stated in the manual. Many cordless models have thermal protection. Opening the machine will not fix an overheated motor until the clog, filter, or brush problem is solved.
How to Open a Handheld Vacuum
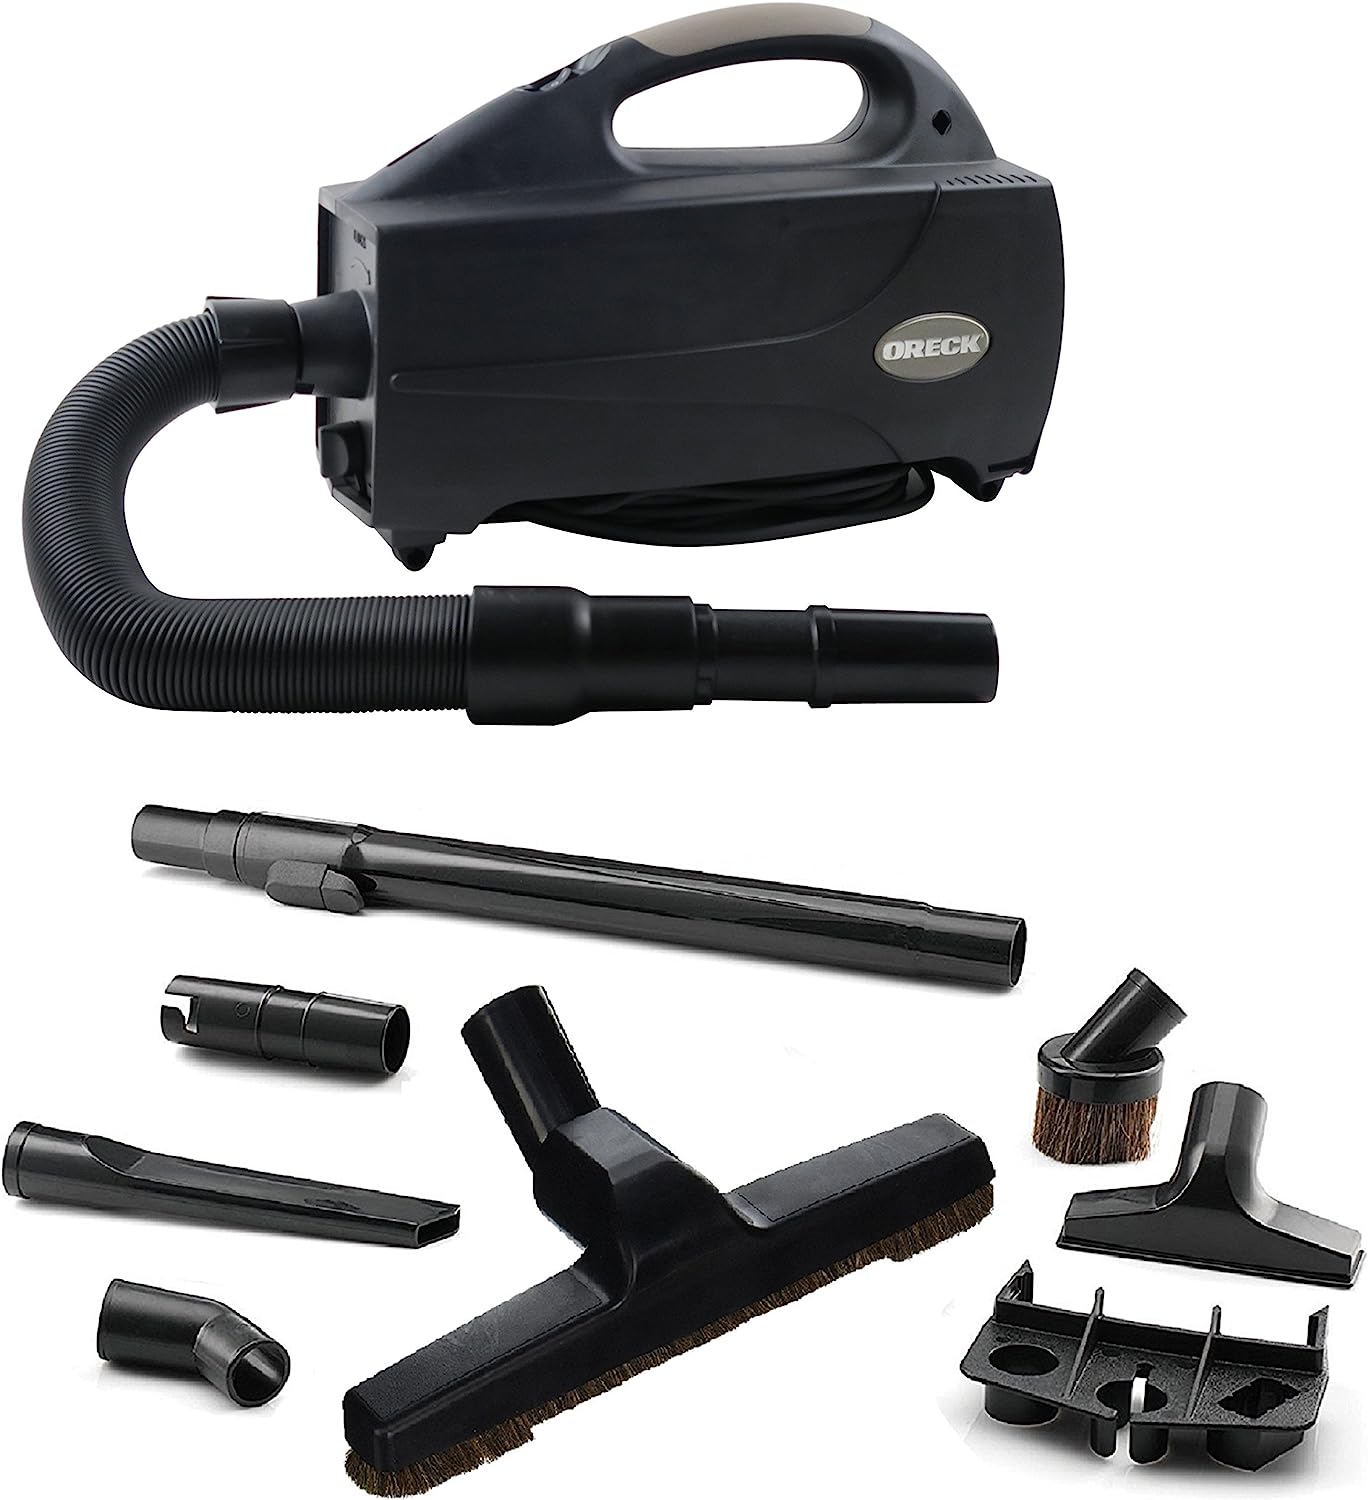
Handheld vacuums often open through the dust cup rather than the main body. Start by pressing the release button and removing the cup. Check the filter, inlet, and brush attachment for blockages.
For a deeper repair:
-
Remove the dust cup and battery, if removable.
-
Find screws around the handle and side panels.
-
Remove rubber covers carefully.
-
Separate the shell with a plastic pry tool.
-
Disconnect the battery or motor plug only by its connector.
-
Keep track of trigger springs and small buttons.
Small handheld models may contain tiny springs that jump out when the case opens. Work inside a shallow tray or place a clean cloth under the vacuum.
If the motor smells burnt, the housing is melted, or the battery is swollen, stop the repair. Replace the unit or have it inspected by a qualified professional.

How to Open a Robot Vacuum
Robot vacuums usually open from the bottom. Turn the robot off, remove it from the dock, and place it upside down on a soft surface.
Common steps include:
-
Remove the side brush.
-
Remove the brush guard.
-
Take out the main brush.
-
Remove the wheels only if needed.
-
Find and remove the bottom-cover screws.
-
Lift the bottom cover slowly.
-
Disconnect the battery connector if the manual permits it.
Robot vacuums contain sensors, small wheels, drop sensors, charging contacts, and delicate wiring. Keep dust away from the sensors and do not touch them with wet cloths.
If you are opening a robot vacuum to clean a wheel, you may not need to remove the full bottom cover. Many wheels and brushes have their own release tabs. Start with the smallest repair route.

How to Open a Vacuum Floor Head
A floor head is often the source of poor suction, loud noise, or a burning belt smell. It usually has a brush-roll cover secured by screws or clips.
Unplug the vacuum or remove the floor head from a cordless model. Turn the head over and inspect the brush guard. Remove the cover, then lift out the brush roll.
Check these areas:
• Hair wrapped around the brush roll
• A stretched or broken belt
• Blocked air channels
• Cracked brush-roll ends
• Worn bearings
• Debris inside the wheel
A brush roll should spin with steady resistance. If it will not turn by hand after cleaning, its bearings may be worn or blocked. Do not operate the vacuum with a damaged brush roll because it can overload the motor.
When fitting a belt, place it around the motor shaft and brush roll as shown in the manual. Turn the brush roll by hand several times to center the belt before closing the cover.
How to Open a Vacuum to Clear a Clog
You often do not need to open the entire vacuum to clear a clog. Begin with the simplest inspection points.
Check the following in order:
-
Floor nozzle
-
Brush roll
-
Wand
-
Hose
-
Dust cup or bag inlet
-
Pre-motor filter
-
Exhaust filter
Use a flashlight to inspect narrow tubes. A flexible cleaning brush can remove lint and pet hair without scratching the inside.
Never use a metal rod near a flexible hose unless you can control it well. A sharp edge may create a tiny hole. Even a small hole lets air enter before it reaches the nozzle, which can reduce cleaning power.
A useful repair lesson is to test airflow in stages. Reconnect one part at a time and check suction. This helps you identify the blocked section without taking apart the whole machine.
What to Check Once the Vacuum Is Open
Opening the case is only half the job. Use the opportunity to inspect the parts that affect safety and performance.
Filters
Dirty filters restrict airflow and can make the motor run hot. Replace paper filters and wash only filters marked as washable. Let washable filters dry fully, often for at least 24 hours, before reinstalling them.
Belts
A belt should feel firm but not brittle. Replace it if it is cracked, stretched, shiny, or loose.
Brush roll
Remove hair, thread, and string from the brush roll ends. Check that the bristles are not badly worn.
Motor
Look for heavy dust, melted plastic, a burnt smell, or unusual discoloration. Do not spray water or cleaner on the motor.
Wiring
Check for loose connectors, pinched cables, or damaged insulation. Do not use electrical tape as a permanent repair for a damaged power cord.
Seals
Look for foam or rubber seals around the motor and dust path. A missing seal can cause noise and weak suction.
Manufacturers design each model differently, so replacement parts must match the exact model number. A belt that looks similar may have the wrong length or profile.
How to Reassemble a Vacuum Cleaner
Reassembly is easier when you work backward from your photos. Make sure every wire follows its original path and cannot touch the brush roll, fan, or hot motor surface.
Use this checklist:
• Confirm that the filter is dry.
• Place every seal in its original position.
• Reconnect plugs fully.
• Keep wires inside their guide channels.
• Fit the brush roll and belt correctly.
• Check that the wheels move freely.
• Tighten screws until snug, not excessively tight.
• Confirm that all clips are locked.
Do not leave extra screws “for later.” An extra screw usually means a panel, grounding point, or safety cover is not secured.
Before using the vacuum normally, perform a short test. Keep the nozzle clear, stand away from moving parts, and switch it off immediately if you smell burning, hear grinding, or see sparks.
Common Mistakes to Avoid
Many vacuum repairs go wrong because of small, avoidable errors. These are the mistakes I would most want to prevent for a first-time repair.
Forcing a stuck panel
A hidden screw is more likely than an unusually strong clip. Search under labels, wheels, filters, and rubber covers before applying more force.
Washing the wrong part
Filters may be washable, but motors, batteries, switches, and circuit boards are not. Water and electricity are a dangerous combination.
Losing the screw order
Different screws can have different lengths. Put each group in a labeled cup or draw a quick map on paper.
Ignoring the belt path
A belt installed at the wrong angle may slip, break, or overload the motor.
Reusing damaged seals
A torn seal can cause air leaks and noise. Replace it rather than trying to stretch it back into place.
Testing with the cover removed
Loose belts, fans, and electrical parts can cause injury. Refit all safety covers before normal testing.
Repairing a damaged battery
A swollen, leaking, hot, or cracked battery should not be opened or reused. Follow local rules for battery recycling.
When You Should Not Open the Vacuum Yourself
DIY cleaning is reasonable when the problem involves a clog, filter, brush roll, dust cup, or belt. A professional inspection is safer when the issue involves electrical or structural damage.
Stop and seek qualified help if:
• The power cord is cut or melted.
• The vacuum produces sparks.
• The motor smells strongly burnt.
• The battery is swollen or hot.
• The case is cracked near the motor.
• Water entered the electrical area.
• The vacuum repeatedly trips a circuit breaker.
• You are unsure how to disconnect a capacitor or circuit board.
Some manufacturers require authorized service for warranty repairs. Check the warranty terms before removing sealed covers. The lowest repair cost is not always the safest choice.
Benefits and Limits of Opening a Vacuum Cleaner
Knowing how to open vacuum cleaner components can provide several benefits. You may save money, extend the life of the machine, improve airflow, and understand the cause of a strange noise.
It also has limits. Opening the vacuum cannot repair a burned motor, restore a damaged circuit board, or make a worn-out battery safe. Some sealed units need special tools or replacement assemblies that cost nearly as much as a new vacuum.
A good rule is to compare the repair cost with the vacuum’s age and condition. Replacing a belt or filter is often worthwhile. Replacing a major motor in an inexpensive older vacuum may not be.
Frequently Asked Questions About How to Open a Vacuum Cleaner
Can I open a vacuum cleaner without special tools?
Many vacuums can be opened with Phillips, flathead, or Torx screwdrivers and a plastic pry tool. Check the model manual first because some units use security screws or sealed panels.
Should I remove the filter before opening a vacuum cleaner?
Remove the dust cup, bag, and accessible filters before opening the housing. Do not remove a filter that is holding a part in place unless the manual shows that it is designed to come out.
Why will my vacuum cleaner case not open?
A hidden screw, locking tab, hose connection, or handle cover may still be attached. Do not force the case; inspect the seams, labels, wheels, and rubber feet for concealed fasteners.
Is it safe to open a cordless vacuum cleaner?
It can be safe for basic cleaning when the battery is removed and the unit is dry. Do not open or repair a swollen, damaged, or hot lithium-ion battery.
How do I open a vacuum cleaner to replace the belt?
Unplug the vacuum, turn over the floor head, remove the brush-roll cover, and lift out the brush roll. Fit the new belt around the motor shaft and brush roll, then turn the brush roll by hand before replacing the cover.
Can opening a vacuum cleaner improve suction?
Opening the vacuum may help if you remove a clog, clean the brush roll, replace a dirty filter, or repair an air leak. It will not restore full suction if the motor or fan is damaged.
How do I know if I should stop a vacuum repair?
Stop if you see sparks, melted plastic, damaged wiring, a burnt motor smell, or a swollen battery. These problems can create fire or shock risks and should be handled by a qualified technician.
Conclusion
Learning how to open vacuum cleaner housing safely starts with unplugging the machine, removing its dust container, finding every fastener, and using gentle pressure. From there, inspect the filter, belt, brush roll, hose, seals, wiring, and motor without rushing.
Take photos, label screws, protect electrical parts from water, and repair only what you can identify with confidence. Start with simple maintenance before attempting motor or battery work.
Use this guide with your model’s manual, and share your repair experience or questions in the comments. With the right care, a small vacuum problem can often be solved before it becomes an expensive one.

Liora Pennings is a seasoned chef and kitchen enthusiast with a passion for turning everyday cooking into an effortless experience. With years of hands-on culinary expertise, she specializes in practical techniques, ingredient know-how, and smart kitchen solutions that help home cooks elevate their meals. At KitchFlair.com, Liora shares her best tips, time-saving tricks, and honest product reviews to guide readers toward a more efficient, enjoyable, and inspired cooking routine. Whether you’re a beginner or a seasoned home chef, Liora’s friendly, knowledge-packed insights make every visit to the kitchen a little easier—and a lot more delicious.