How To Make Coffee Filter Flowers: Easy DIY Craft Guide
To make coffee filter flowers, shape dyed filters into petals, then layer and secure them.
Coffee filter flowers are simple, low-cost crafts that look far more delicate than their materials suggest. With plain basket-style filters, food coloring, scissors, glue, and floral wire, you can create roses, daisies, peonies, and colorful paper bouquets.
After making many paper flowers for gifts, party decor, and classroom projects, I have learned that the best results come from thin color, gentle shaping, and uneven petals. This guide explains how to make coffee filter flowers step by step, including easy dye methods, common mistakes, design ideas, and ways to make each flower look more natural.

What Are Coffee Filter Flowers?
Coffee filter flowers are handmade paper blooms created from round, white coffee filters. The filters work well because they are thin, absorbent, flexible, and already shaped like soft petals.
You can use coffee filter flowers for home decor, wedding centerpieces, gift wrapping, holiday crafts, and children’s art projects. They also make a useful rainy-day activity because the supplies are easy to find and the process needs few tools.
The final look depends on how you cut, dye, fold, and layer the filters. Smooth folds create neat flowers, while loose folds and uneven edges create a more natural bloom.
Supplies You Need
Gather your materials before you begin. A basic flower needs only a few items.
• White basket-style coffee filters
• Food coloring or washable liquid watercolor
• Small bowls or cups
• Water
• Scissors
• Floral wire, pipe cleaners, or wooden skewers
• Craft glue or a low-temperature glue gun
• Green paper, floral tape, or green pipe cleaners
• Paper towels or a drying rack
• Pencil or marker
Use plain white filters instead of brown filters for bright colors. Standard filters are best for small and medium flowers, while larger filters can create wide peonies or oversized wall blooms.
If you are crafting with children, use child-safe scissors and liquid glue. A low-temperature glue gun is safer than a high-temperature model, but an adult should still handle the glue gun.

How to Make Coffee Filter Flowers Step by Step
This simple method creates a soft, layered flower. You can adjust the size, color, and petal shape as you work.
1. Prepare the coffee filters
Separate 6 to 10 coffee filters. Flatten them gently, but do not worry if they keep a few light creases.
For a small flower, use 4 to 6 filters. For a full rose or peony, use 8 to 12 filters. More layers create a fuller bloom, but too many filters can make the center bulky.
2. Choose a coloring method
You can color coffee filters before or after cutting them. Coloring them first is easier for beginners because the paper stays flat.
Mix a few drops of food coloring with about 1 cup of water in a shallow bowl. Test one filter first. Add more color for a bright flower or more water for a soft pastel shade.
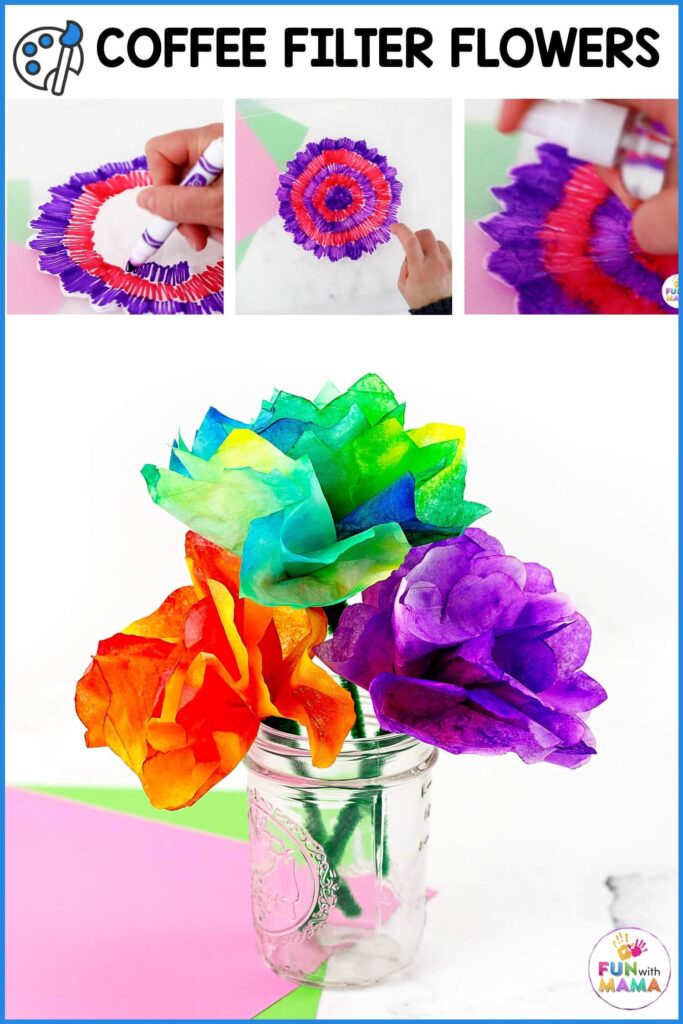
For a two-tone effect, dip only the edge of the filter into the colored water. Let the color travel upward through the paper. This creates a gentle ombré look.
3. Dye the filters
Place one filter in the color mixture. Press it down lightly, then lift it out at once. You do not need to soak it for a long time.
Set the wet filter on paper towels or a drying rack. Repeat with the rest of the filters. Keep the filters separate so they dry evenly.
The color will look darker when wet. Let the filters dry fully before cutting them. Wet filters can tear easily and may stick to your scissors.
4. Fold the filters
Stack 3 to 5 dry filters. Fold the stack in half, then fold it in half again. You should have a small wedge.
For narrow petals, fold the wedge one more time. For wide petals, stop after two folds. This small change affects the final shape more than most beginners expect.
5. Cut the petal shape
Trim the open edge into a rounded curve. You can also cut small points for a daisy or gentle scallops for a rose-like flower.
Do not cut all the way through the folded point. That point will become the flower’s center. Leave enough paper near the base to hold the petals together.
Try several shapes:
• Rounded cuts create roses and peonies.
• Pointed cuts create daisies and chrysanthemums.
• Deep scallops create ruffled flowers.
• Long, narrow cuts create lilies or spider flowers.
6. Open and stack the petal layers
Carefully unfold the filters. Place the layers on top of one another, turning each one slightly so the petals do not line up perfectly.
Offset petals make the flower look fuller and more realistic. Perfectly aligned layers often look flat and machine-made.
7. Attach the flower center
Poke a small hole through the center of the stack. Push floral wire or a pipe cleaner through the hole.
Twist the wire at the back to hold the filters in place. You can also add a small bead, pom-pom, or yellow paper circle to the front as the flower center.
If the center feels loose, add a small dot of glue between the inner layers. Use only a little glue. Too much can stiffen the paper and flatten the petals.
8. Shape the petals
Starting with the top layer, gently pinch or cup each petal around the center. Repeat with each layer, working from the inside outward.
Pull some petals upward and leave others lower. Real flowers are not perfectly even, so slight changes in height make a large difference.
This is the stage where coffee filter flowers come alive. Treat the paper like fabric, not cardboard. A light touch gives the petals a soft curve.
9. Add the stem and leaves
Wrap the stem with green floral tape or green paper. Cut simple leaf shapes from green paper and glue them near the stem.
You can also use green coffee filters. Dye them pale green, let them dry, and cut pointed leaves from the filters.
Place finished flowers in a vase, attach them to a wreath, or use them as decorations on gift boxes and cards.
Easy Coffee Filter Flower Designs
Once you learn the basic method, you can change the petal cut and layering style to make different flowers.
Coffee filter roses
Use 8 to 10 filters. Cut rounded petals and make the inner layers smaller than the outer layers.
Wrap the first filter tightly around the stem. Add each new layer loosely, gluing the base as you go. Curl a few outer petals backward to create an open rose.
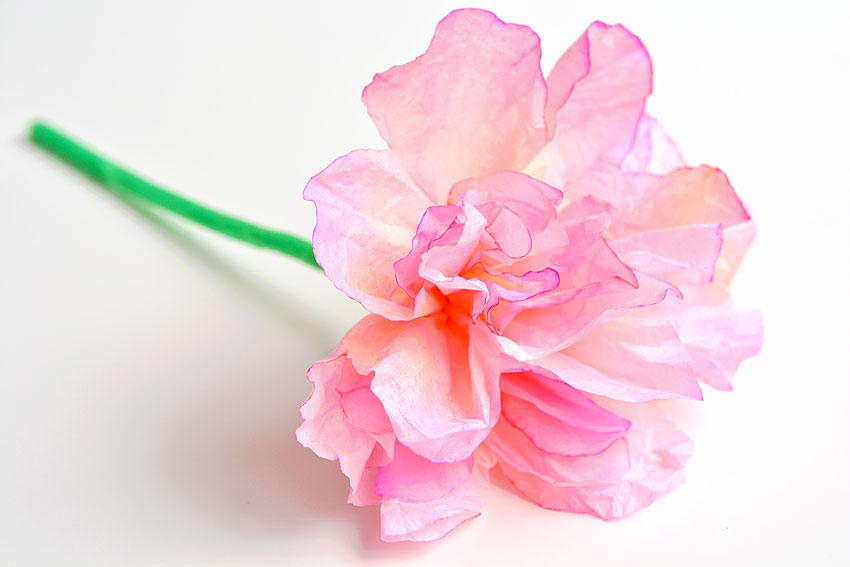
A pink, coral, red, or cream dye works well. For a vintage rose, use very diluted color and add a darker edge to two or three petals.
Coffee filter daisies
Use 4 to 6 filters. Fold the stack and cut long, narrow points around the edge.
Add a yellow paper center or a small yellow pom-pom. White petals look classic, but bright colors work well for children’s crafts and summer decorations.
Coffee filter peonies
Use 10 to 14 filters for a large, full flower. Cut wide, rounded petals and layer them loosely.
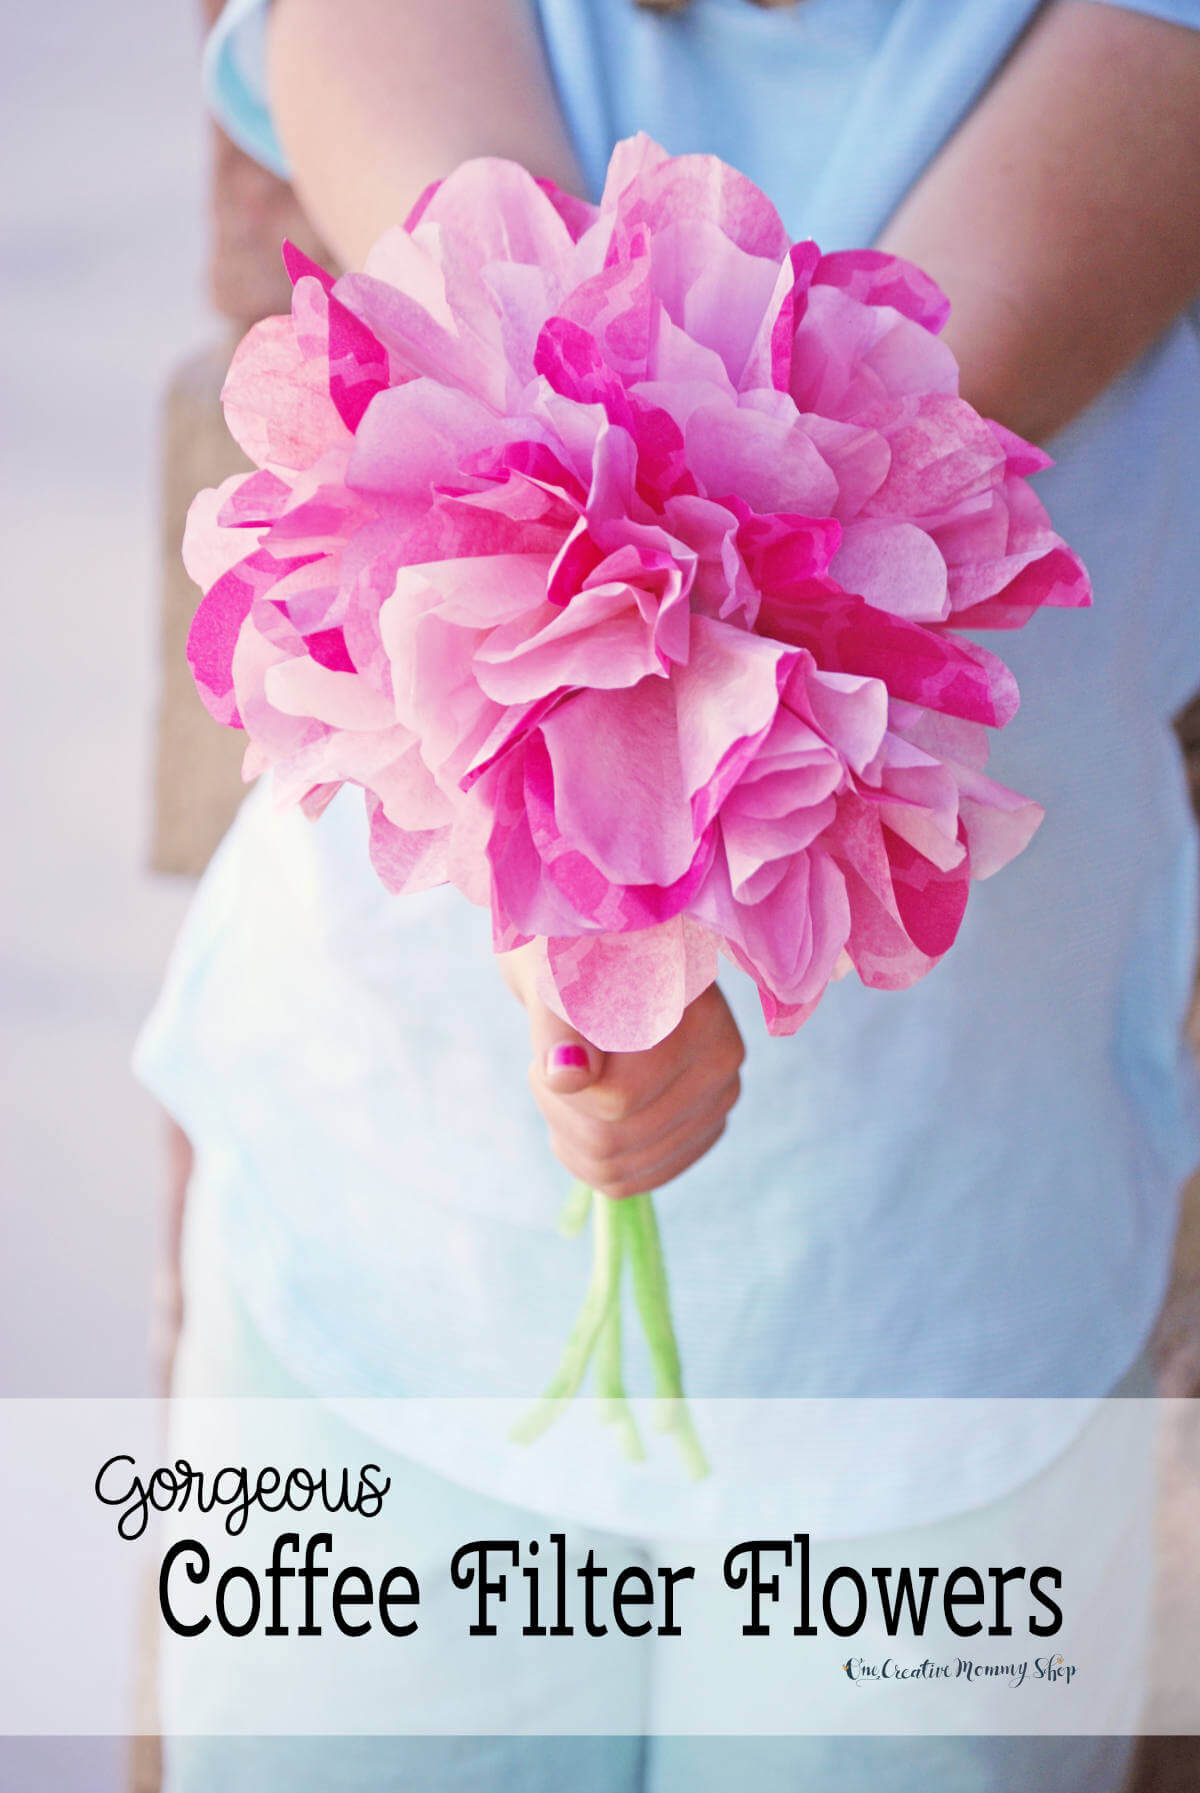
Peonies look best when the inner layers are cupped tightly and the outer layers spread wide. Pale pink, white, lavender, and peach create soft garden colors.
Coffee filter hydrangeas
Make many small flowers instead of one large bloom. Use blue, purple, pink, or white filters and attach the small blooms to a paper or foam base.
This design takes more time, but it creates a rich cluster for wreaths and table decor.
Coffee filter sunflowers
Dye the filters yellow or leave them white and color the edges. Cut pointed petals and place a brown paper circle in the center.
For extra texture, glue small paper dots or dried beans to the center. Keep dried plant materials away from young children and pets.

How to Make Coffee Filter Flowers Without Food Coloring
Food coloring is popular, but it is not the only option. You can create coffee filter flowers with several other coloring methods.
• Washable markers: Draw on a dry filter, then mist it lightly with water. The ink will spread through the paper.
• Liquid watercolor: This gives bright, even color and blends well.
• Watercolor paint: Use a light amount of paint to avoid making the filters stiff.
• Acrylic paint: Dilute it with water. Thick acrylic paint can crack or make petals heavy.
• Natural dyes: Beet water, turmeric, or berry juice can create soft colors, though the shade may fade over time.
Marker bleeding is one of my favorite methods for quick flowers. I draw pink, purple, and blue lines near the edge, then spray the filter with water. The colors blend like a small sunset.
Let colored filters dry completely before using glue. Moisture can weaken the filter and make the flower lose its shape.
Tips for Realistic Coffee Filter Flowers
Small details make the biggest difference. These tips help your flowers look less like flat paper shapes.
• Use several shades of one color. Light pink, medium pink, and dark pink create natural depth.
• Vary the petal sizes. Smaller inner petals make the bloom look layered.
• Offset every layer. Turn each filter slightly before adding it.
• Shape petals in different directions. Some should curl inward, while others should open outward.
• Avoid too much glue. Heavy glue makes thin paper stiff.
• Use a soft center. Pom-poms, beads, tissue paper, and small paper circles all work well.
• Add green leaves. A flower without leaves can look unfinished.
• Let the stem support the flower. Floral wire works better than a weak paper stem for large blooms.
• Test your color first. A single filter shows how dark the final shade may become.
One mistake I made early on was using a full spoonful of glue for each layer. The flower became heavy and hard. Now I use tiny glue dots near the base, which keeps the petals light and flexible.
Common Mistakes to Avoid
Coffee filter flowers are forgiving, but a few errors can affect the final result.
Cutting through the center
If you cut too close to the folded point, the petals may separate. Leave a solid base so the filters remain connected.
Over-soaking the filters
Long soaking can weaken the paper. Dip the filter, lift it, and let it absorb the color as it dries.
Using too much water
Very wet filters may wrinkle, tear, or take a long time to dry. Use a shallow dye bath instead of flooding the paper.