How To Fix Vacuum Cleaner Brushroll Clicking Noise: Quick Fix
Clean, inspect, remove debris, lubricate bearings, and replace worn parts to stop the clicking.
I’ve repaired dozens of vacuums and taught technicians how to diagnose odd sounds. This guide shows a clear, step-by-step approach to how to fix vacuum cleaner brushroll making clicking noise. You’ll learn the likely causes, the tools to use, safety tips, exact repair steps, maintenance to prevent a return of the problem, and when to call a pro. Read on and you’ll confidently silence that click and get your brushroll spinning smoothly again.

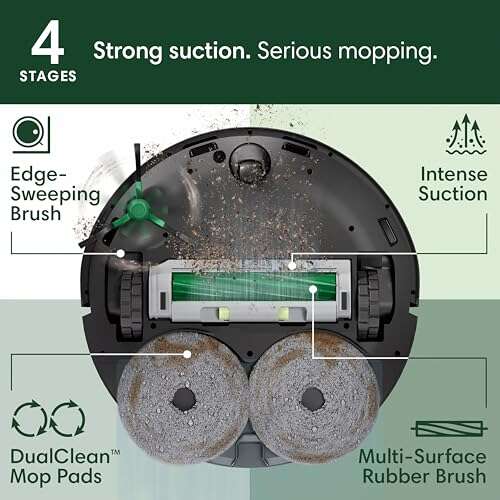
Common causes of a clicking brushroll
A brushroll that clicks often points to a few common issues. Knowing the causes helps you fix the problem fast.
- Foreign objects caught in the brushroll or end caps can click as the brush spins.
- Worn or broken bearings or bushings make intermittent contact and create a clicking sound.
- A damaged belt or belt slipping over a cracked pulley can click on rotation.
- Loose screws or components inside the brush housing tap the casing.
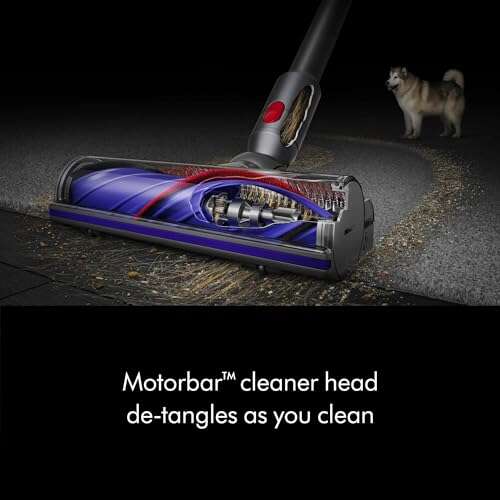
- Objects trapped in the beater bar slots or brush bristles hitting a broken tooth or flange.
- Motor coupling or worn gear teeth in belt-drive systems can click under load.
I’ve seen hair and thread wrap so tightly that clicking came from the twisted bundle hitting the housing with each turn. Knowing these causes lets you move from guesswork to targeted repair.

Tools, parts, and safety checklist
Before you start, gather simple tools and take safety steps. This saves time and keeps you safe.
- Tools to have: screwdriver set, needle-nose pliers, utility knife, cleaning brush, scissors, socket set, and a flashlight.
- Parts to consider: replacement belt, brushroll, bearings/bushings, end caps, and grease or light oil for non-sealed bushings.
- Safety steps: unplug the vacuum, remove the bag or bin, work in a well-lit area, and keep fingers away from the brush when testing.
- Helpful extras: a small magnet to pick metal bits, soft cloths, and canned air to blow debris.
I always unplug and flip the vacuum on its back, then work with the brushroll exposed and a bowl for screws. That routine prevents accidental starts and lost parts.

Step-by-step: How to fix vacuum cleaner brushroll making clicking noise
Follow these steps in order. Test after each major action to find the exact cause quickly.
-
Inspect the brushroll externally
- Turn off and unplug the vacuum. Flip it so you can see the soleplate and brush window.
- Look for obvious debris, screws, or small parts stuck in the bristles or end caps.
- Manually spin the brushroll to listen for the click and feel for rough spots.
-
Remove the brushroll
- Remove screws on the soleplate and carefully lift the brush housing.
- Take out the brushroll and note how it’s seated. Keep screws organized.
-
Clean the brushroll
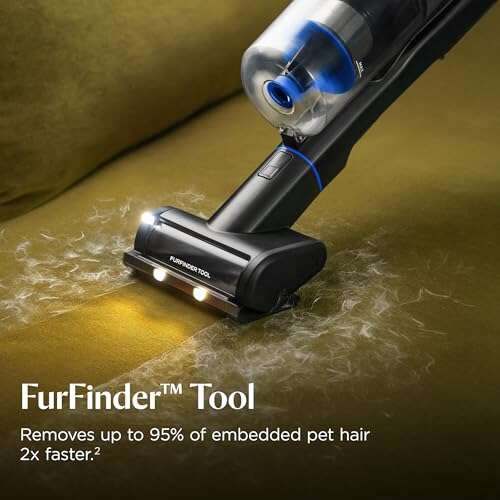
- Cut and remove hair and threads wrapped around the brush using scissors or a seam ripper.
- Use pliers to pull out compacted debris from the end caps and shaft.
-
Inspect the bearings and end caps
- Check each end for worn bushings, metal flakes, or rough rotation.
- If the brush has sealed bearings, feel for smooth spin. If rough, replace the end cap or brushroll.
-
Check the belt and pulley
- Inspect the belt for cracks, glazing, or looseness. A slipping belt can click as it slips over a worn pulley.
- Replace the belt if brittle or stretched. Check the pulley for chipped edges or teeth.
-
Look for loose or broken parts
- Inspect screws, clips, and the housing for anything that may tap while spinning.
- Tighten loose screws and replace missing clips.
-
Lubricate or replace worn bushings
- For open bushings, apply a drop of light machine oil. Do not over-lubricate.
- Replace worn plastic bushings or end caps if oil doesn’t help.
-
Reassemble and test
- Reinstall the brushroll, belt, and housing. Tighten screws to manufacturer torque feel.
- Plug in and run the vacuum briefly. Listen for the clicking. If noise remains, repeat inspection or proceed to motor and gearbox checks.
I once fixed a persistent click that vanished after replacing a cheap belt. The belt had developed a tiny torn edge that tapped the housing once per revolution.
Advanced checks: motor, gearbox, and internal drive issues
If basic steps don’t stop the click, move to deeper checks. These require more care and may need parts.
-
Inspect motor coupling and gearbox
- Some vacuums use a plastic coupling between motor and brush. Cracked teeth or loose fit click under load.
- Remove the belt and run the motor briefly (unplugged? No—only when reassembled and tested carefully). If click only occurs under load, suspect coupling or gear.
-
Examine the brush axle and frame clearance
- Bent axles or worn housing slots let the brush wobble and click against the frame.
- Replace the brushroll if the shaft is bent.
-
Check for hidden debris inside the brush cavity
- Small stones, coins, or hard plastic pieces sometimes lodge in cavities that touch the brush only at certain positions.
If you are not comfortable with motor disassembly, this is the point to consult a qualified technician. I’ve stripped motors only after documenting the issue and ordering exact replacement parts to avoid trial-and-error damage.

When to repair vs. replace: cost and safety considerations
Deciding between repair and replacement depends on age, part cost, and safety.
-
Repair when:
- The vacuum is under 5–7 years old.
- The clicking is from debris, a belt, or replaceable end caps.
- Replacement parts are inexpensive.
-
Replace when:
- The motor or gearbox is damaged and parts cost more than a similar new unit.
- The vacuum has multiple failing systems or safety concerns.
- You need a warranty or modern features.
If you value DIY learning, a repair is satisfying and cheap. If you need reliability and safety, replacing older units often saves time and reduces risk.
Maintenance tips to prevent future clicking noises
Simple maintenance keeps your brushroll quiet for longer.
- Clean the brushroll after every few uses, especially if you have pets.
- Replace the belt per the manufacturer schedule or when you notice slipping.
- Check bearings and end caps annually and replace if rough.
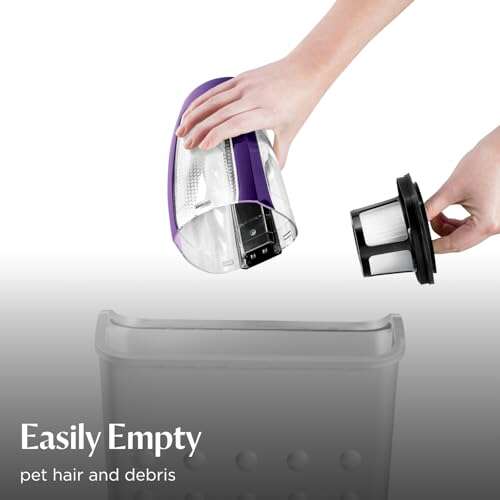
- Empty the bin or replace the bag regularly to reduce dust load.
- Run the vacuum on smooth floors occasionally to reduce wear on brush bristles.
I set a calendar reminder every three months to inspect the brushroll. That small habit cut down on surprising noises and kept suction steady.

Troubleshooting quick guide
Use this short checklist to narrow the cause fast.
- Click only at certain brush positions: Inspect for damaged bristles, a bent shaft, or a catch in the housing.
- Click at all speeds: Look at bearings, end caps, and the brush shaft.
- Click only when loaded (carpet): Check belt, pulley, and motor coupling.
- Intermittent click that disappears after cleaning: Foreign debris was the likely culprit.
This checklist helps you avoid unnecessary disassembly and focuses your repair steps.
Personal notes from hands-on experience
I’ve repaired upright and canister vacuums in homes and shops. My key lessons:
- Always document disassembly with photos. It makes reassembly faster.
- Replace cheap belts and bushings with OEM or high-quality aftermarket parts. They last much longer.
- Test after each change. Fixing step-by-step isolates the cause without guesswork.
In one case, a persistent click after cleaning turned out to be a tiny manufacturing flash on a pulley. A quick file and light sand solved it. Small things can make big noises.

Frequently Asked Questions of how to fix vacuum cleaner brushroll making clicking noise
What is the first thing I should check when the brushroll clicks?
Start by unplugging the vacuum and visually inspecting the brushroll for hair, thread, and small objects. Manually spin the brush to pinpoint the clicking location.
Can a belt cause a clicking noise?
Yes. A cracked, stretched, or slipping belt can click as it moves over pulleys or worn edges and should be inspected and replaced if needed.
How do I know if the bearings are bad?
If the brushroll feels rough when you spin it by hand or makes a scraping, grinding, or clicking sound, the bearings or bushings are likely worn and should be replaced.
Is it safe to oil the brushroll bearings?
Only oil open bushings with a drop of light machine oil. Do not oil sealed bearings; replace them if they are noisy or rough.
When should I call a professional for a clicking brushroll?
Call a pro if the click persists after cleaning, if internal motor parts need inspection, or if you are uncomfortable disassembling motor or gearbox components.
Conclusion
You now have a clear, step-by-step plan for how to fix vacuum cleaner brushroll making clicking noise. Start with simple cleaning and inspection, move to belt and bushing checks, and reserve motor or gearbox work for skilled repairs. Small fixes like removing debris or replacing a belt solve most clicking issues. Take action today: unplug your vacuum, inspect the brushroll, and follow the steps above. Leave a comment with your model and symptoms if you want tailored advice, or subscribe for more practical home repair guides.

Liora Pennings is a seasoned chef and kitchen enthusiast with a passion for turning everyday cooking into an effortless experience. With years of hands-on culinary expertise, she specializes in practical techniques, ingredient know-how, and smart kitchen solutions that help home cooks elevate their meals. At KitchFlair.com, Liora shares her best tips, time-saving tricks, and honest product reviews to guide readers toward a more efficient, enjoyable, and inspired cooking routine. Whether you’re a beginner or a seasoned home chef, Liora’s friendly, knowledge-packed insights make every visit to the kitchen a little easier—and a lot more delicious.