How To Adjust Coffee Grinder For Perfect Espresso Grind: A+
Set your grinder finer for slower 25–30 second shots; adjust small steps and test until extraction tastes balanced.
I have spent years dialing home espresso at cafes and at my kitchen counter. I know how to adjust coffee grinder for perfect espresso grind, and I will walk you through the exact steps, the why, and the traps to avoid. This guide blends hands-on tips, clear science, and simple routines so you can dial in consistent, delicious espresso at home.

Why grind size matters for espresso
Grind size controls how fast water flows through coffee. Finer grind slows water. Coarser grind speeds it up. For espresso, that flow rate is the key to flavor.
Too fine causes over-extraction. Too coarse gives weak, sour shots. Small grind changes make big taste differences. Learning how to adjust coffee grinder for perfect espresso grind helps you get the balance you want. I explain step-by-step methods below.

Types of grinders and how they affect adjustments
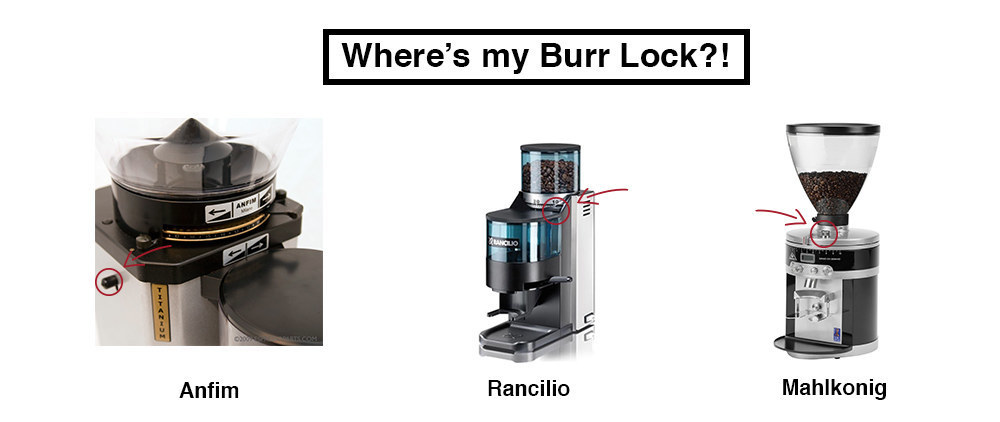
Burr grinders are the only real option for espresso. Blade grinders chop randomly and give inconsistent shots.
Conical burrs
- Produce consistent particle sizes.
- Are forgiving with heat.
- Often used in home grinders.
Flat burrs
- Yield very uniform particles.
- Offer precise adjustments.
- Common in prosumer and commercial machines.
Stepped vs. stepless
- Stepped grinders click between set points. They are repeatable.
- Stepless grinders let you make tiny, continuous changes. They are best for fine tuning.
Knowing your grinder type helps when you learn how to adjust coffee grinder for perfect espresso grind. I will include both stepped and stepless tactics below.
Basic tools you need
- A quality burr grinder that is stable and clean.
- A reliable scale to weigh dose and yield.
- A timer for shot time.
- A tamper with consistent pressure.
- Clean portafilter and basket.
These tools make it easier to repeat results and show why learning how to adjust coffee grinder for perfect espresso grind is repeatable. Start simple and add precision as you go.
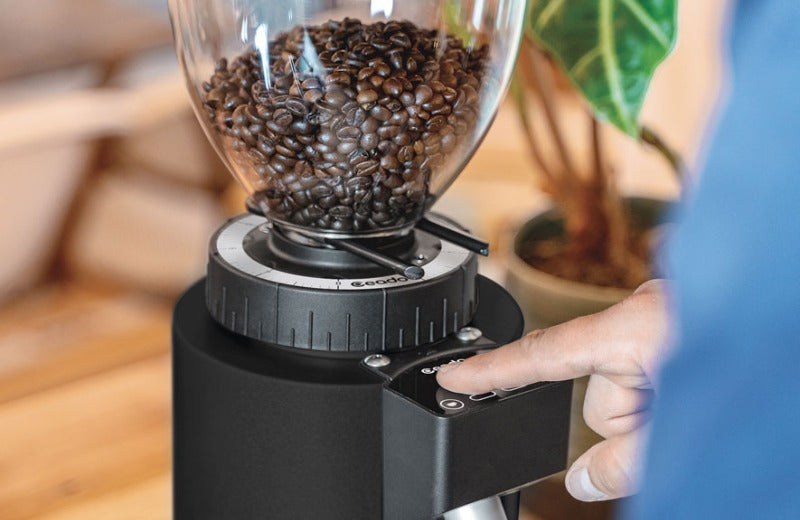
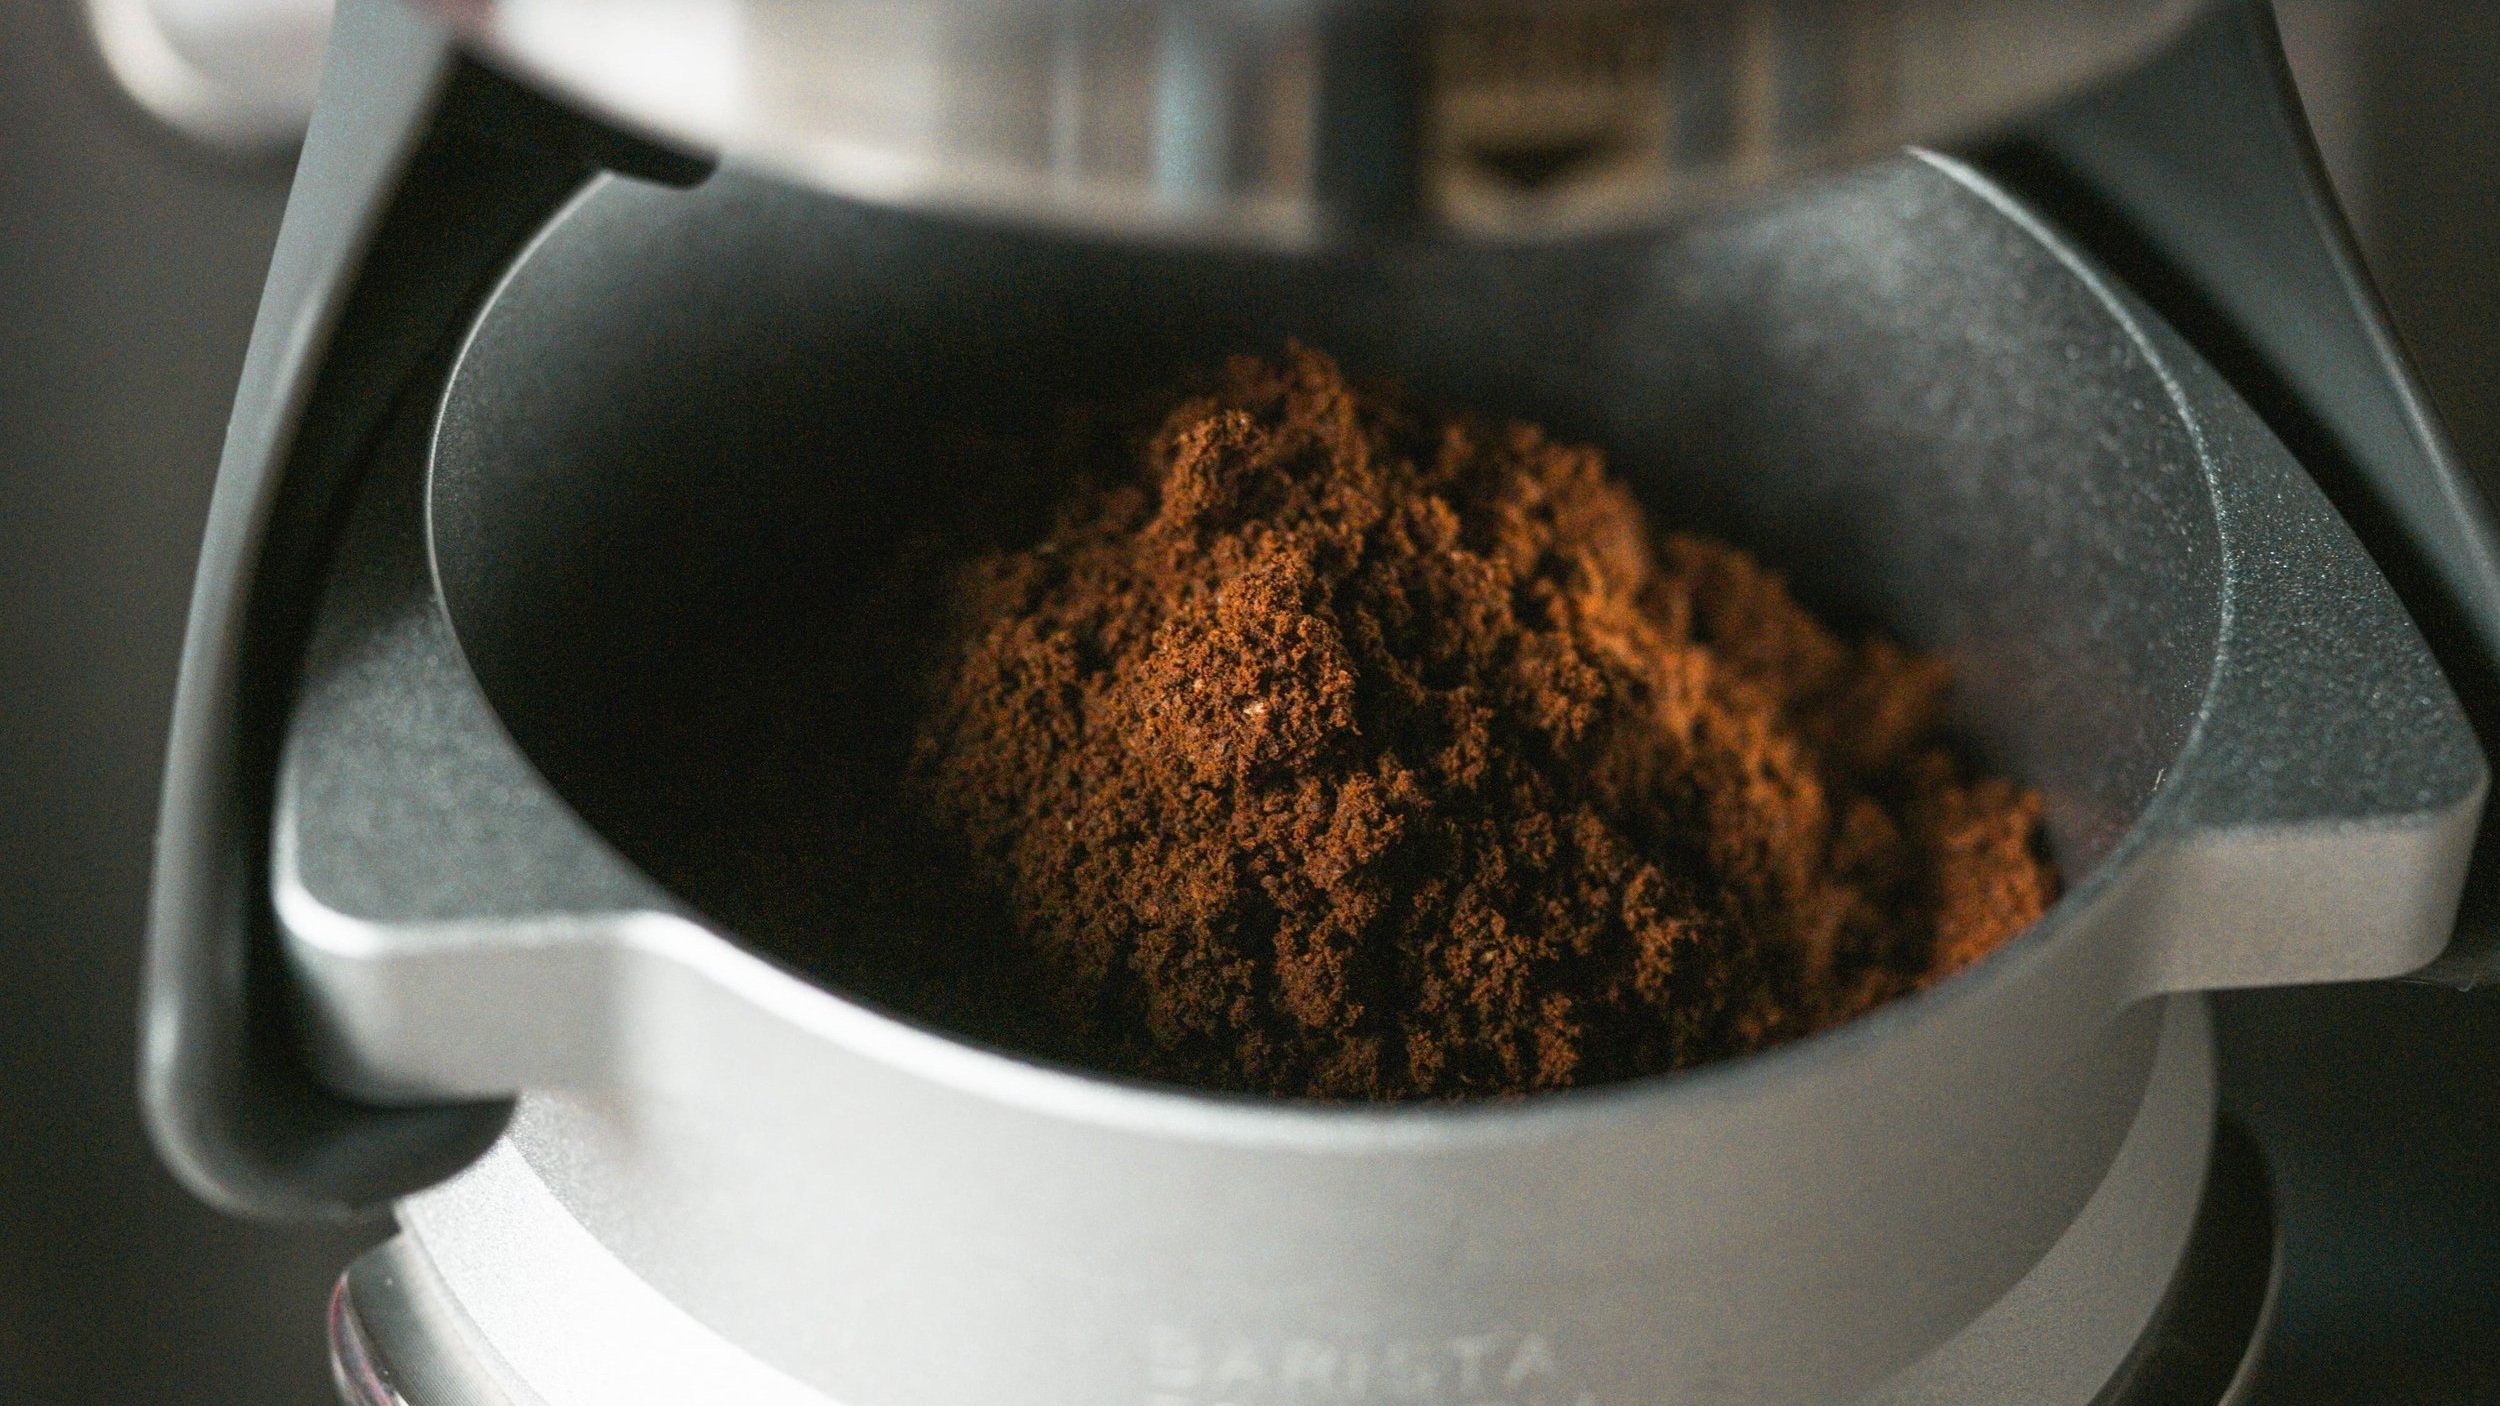
Step-by-step: how to adjust coffee grinder for perfect espresso grind
- Set a baseline
- Use 18 grams of coffee as a starting dose into a 58 mm or similar basket.
- Aim for a 36–40 gram yield in 25–30 seconds.
- Start with a medium-fine setting
- If your grinder has numbers, pick the middle of the espresso range.
- Note the setting so you can return to it.
- Pull a test shot and record
- Weigh the shot yield.
- Time the extraction.
- Taste for sourness, bitterness, and body.
- Adjust grind based on result
- If shot pours too fast and tastes sour: grind finer.
- If shot pours too slow, thick crema, tastes bitter: grind coarser.
- Make small changes. On stepped grinders move 1–2 clicks. On stepless grinders rotate a very small amount.
- Re-dose and re-test
- After each change, pull a fresh shot. Do not change tamp or dose during the dialing process.
- Track the setting, time, and taste until you hit the 25–30 second sweet spot.
- Fine-tune for taste
- If extraction is balanced but thin, increase dose by 0.2–0.5 grams or tamp a bit firmer.
- If extraction is syrupy and overly bitter, back off grind a touch or decrease dose slightly.
This clear routine shows how to adjust coffee grinder for perfect espresso grind in a reproducible way. Keep your notes. Small moves win.

PAA-style questions (brief answers)
How fine should espresso grind be?
Espresso needs a very fine, salt-like grind. Exact setting depends on the grinder and dose, so use timing and taste to judge.
How many clicks to change espresso grind?
Start with 1–2 clicks on a stepped grinder. Make one-click changes until the shot time and flavor improve.
How often should I adjust my grinder?
Adjust whenever you change beans, roast date, or dose. Expect regular tweaks every few days with fresh beans.
Common problems and fixes when dialing in
Problem: Shot runs too fast and tastes sour
- Fix: Grind finer by one step or small turn. Increase contact time to extract more sweetness.
Problem: Shot is slow, tastes bitter, and has low crema
- Fix: Make grind coarser slightly. Check for channeling from uneven tamping or a clogged basket.
Problem: Inconsistent shots across pulls
- Fix: Clean the grinder. Check burr wear. Use consistent dose and tamp pressure.
Problem: Bitter taste even at correct time
- Fix: Reduce dose, lower water temperature, or use a slightly coarser grind. Beans roasted longer can taste bitter if over-extracted.
These fixes are simple ways to act on how to adjust coffee grinder for perfect espresso grind. When you face a problem, change only one variable at a time.

Maintenance and calibration tips
- Clean burrs monthly or weekly with a brush or grinder cleaner. Buildup changes grind and flavors.
- Check burr alignment and wear. Worn burrs produce inconsistent particle size.
- Recalibrate after cleaning. Always pull a test shot and adjust grind back to your preferred setting.
- Keep beans sealed and rest them 24–72 hours after roast for predictable behavior.
Real maintenance practice taught me that most dialing problems are caused by dirty burrs or shifted settings. Routine care reduces guesswork when you want to know how to adjust coffee grinder for perfect espresso grind.

My personal dialing story and lessons learned
When I started, I chased settings by the numbers. I wasted beans and time. Then I learned to focus on time, taste, and tiny adjustments. I now keep a one-page log for each bean. It notes dose, yield, grind setting, time, and tasting notes. That log cut dialing time from an hour to ten minutes.
Lessons I learned
- Change one variable at a time.
- Make small moves. Tiny adjustments matter.
- Clean often. Dirty burrs lie.
- Use scale and timer. Precision wins.
These practices reflect real experience and show exactly how to adjust coffee grinder for perfect espresso grind in the real world.

Extra tips for advanced dialing
- Use yield ratio (dose to brew weight) to control strength. Common ratios are 1:1.8 to 1:2.2 for espresso.
- Try a temperature shot if your machine allows it. Higher temp can mask under-extraction.
- Note that roast profile matters: light roasts usually need finer grinds and longer time.
- Keep a baseline setting for each bean. Label bags with your best grind setting.
Consistency and patience are the best tools when learning how to adjust coffee grinder for perfect espresso grind. Small habits add up to reliable shots.
Frequently Asked Questions of how to adjust coffee grinder for perfect espresso grind
What is the ideal shot time for espresso?
Aim for 25–30 seconds for a 36–40 gram yield from 18 grams of coffee. Use taste alongside timing to judge.
How do I know if I should change the grind or the dose?
Change the grind to fix extraction speed and taste balance. Change dose to affect strength and crema.
Can I use a blade grinder for espresso?
No. Blade grinders give inconsistent particle size. Use a burr grinder for consistent espresso results.
How much does humidity affect grind size?
Humidity can make beans sticky and slow extraction. You may need minor grind adjustments when humidity shifts.
How often should I replace burrs?
Replace burrs when you notice inconsistent taste, more fines, or longer dialing times. For home use, burrs often last 500–1500 pounds of coffee.
Conclusion
Learning how to adjust coffee grinder for perfect espresso grind is a simple loop of test, tweak, and taste. Start with a clear baseline, change only one thing at a time, and keep your tools clean. With practice, you will hit consistent shots faster and waste fewer beans.
Try a 10-minute dialing session with a fresh bag right now. Record your setting, dose, time, and tasting notes. Share your results, ask questions, or subscribe for more guides to improve your espresso skills.

Liora Pennings is a seasoned chef and kitchen enthusiast with a passion for turning everyday cooking into an effortless experience. With years of hands-on culinary expertise, she specializes in practical techniques, ingredient know-how, and smart kitchen solutions that help home cooks elevate their meals. At KitchFlair.com, Liora shares her best tips, time-saving tricks, and honest product reviews to guide readers toward a more efficient, enjoyable, and inspired cooking routine. Whether you’re a beginner or a seasoned home chef, Liora’s friendly, knowledge-packed insights make every visit to the kitchen a little easier—and a lot more delicious.