How To Repair Vacuum Cleaner Not Turning Off Properly: Fix
Fix the switch, wiring, or latch—replace the faulty parts to stop a vacuum that won't turn off.
I have repaired dozens of vacuums and written service guides for household appliances. In this article I explain how to repair vacuum cleaner not turning off properly with clear diagnosis steps, safe repair techniques, parts to check, and when to call a pro. Read on to learn practical fixes you can try at home and avoid costly mistakes.

Common causes for a vacuum cleaner not turning off properly
Most vacuums that won’t turn off have simple, repeatable failures. A stuck or worn on/off switch is the top cause. Mechanical latches or foot pedals can jam, keeping power engaged even when the user flips the switch.
Other frequent causes include wiring shorts, failed relays in models with electronic controls, a welded or bridged switch contact, and damaged power cords. Some vacuums use thermal cutouts and relays; if these parts fail they may keep the motor energized. Understanding these causes makes how to repair vacuum cleaner not turning off properly easier, since fixes map directly to broken parts.
Safety first: what to do before you touch anything
Always unplug the vacuum and remove the battery if it’s cordless. Work in a clean, dry area and wear safety glasses and gloves. Label screws and take photos while disassembling so you can reassemble correctly.
Use a multimeter to confirm there is no live voltage on the switch contacts before you test. Follow manufacturer warnings about capacitors; they can hold a charge after unplugging. These precautions will protect you as you learn how to repair vacuum cleaner not turning off properly.

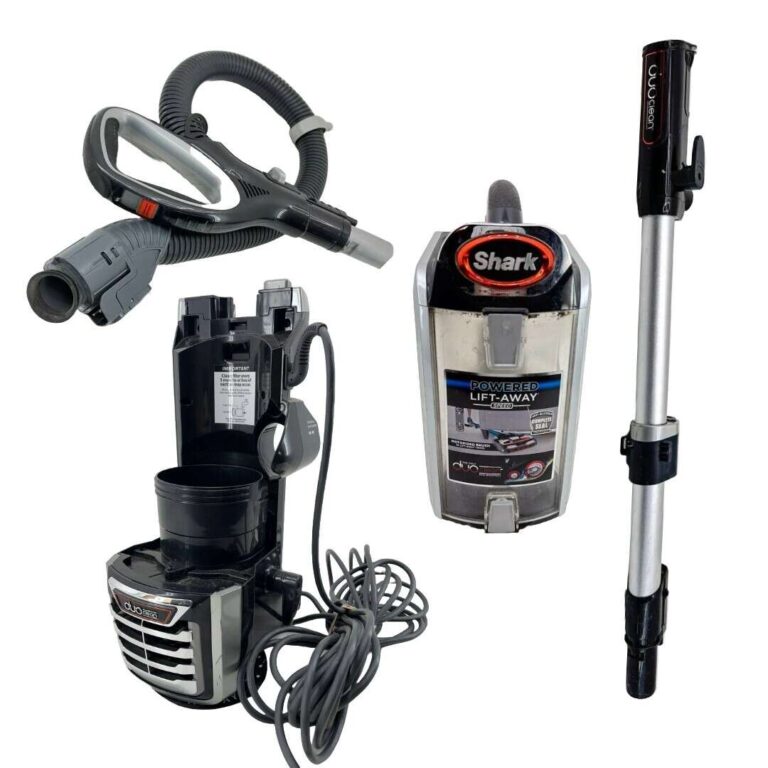
Tools and replacement parts you’ll need
Gather a basic toolkit before you start. Common items include:
- Screwdrivers: Phillips and flathead
- Nut drivers and small socket set
- Multimeter for continuity and voltage checks
- Needle-nose pliers and wire strippers
- Contact cleaner and a small brush
- Replacement parts like switches, cords, fuses, and connectors
Buy OEM switches or high-quality aftermarket parts when possible. Cheap parts can fail quickly and undo your repair. Having the right tools speeds up diagnosis and makes how to repair vacuum cleaner not turning off properly more reliable.
Step-by-step troubleshooting and repair
Follow this ordered checklist. Work one step at a time and test after each repair.
-
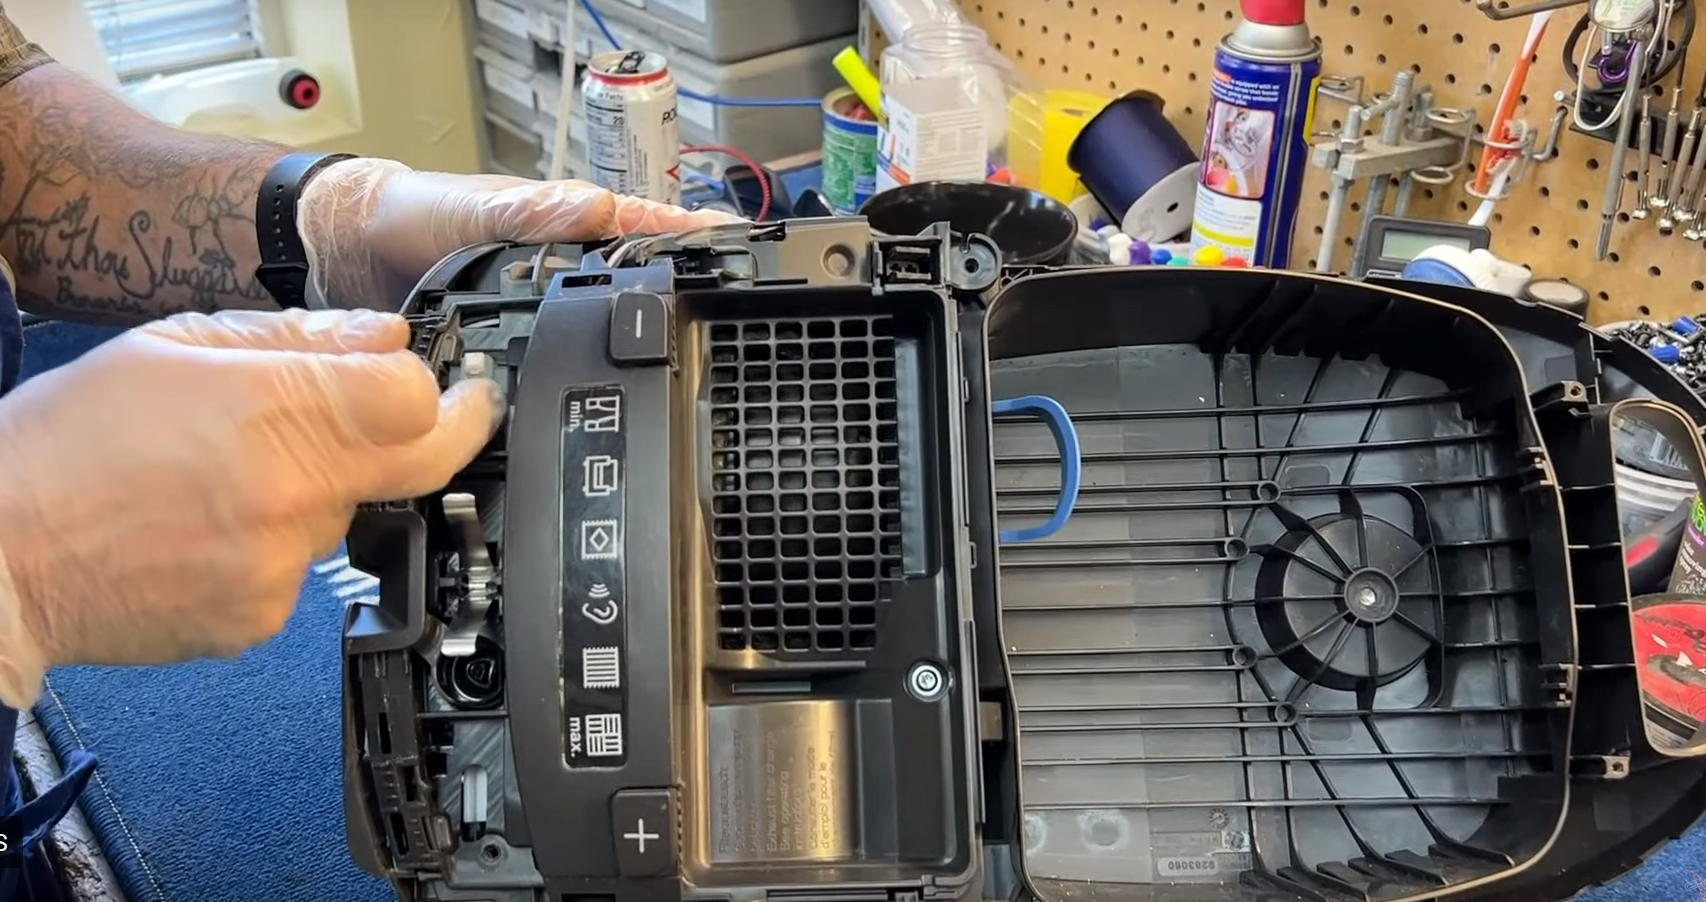
Visual inspection
- Unplug the vacuum and open the housing around the switch and cord entry.
- Look for melted plastic, frayed wires, or burned contacts.
- Replace burnt wires or insulation and clean the area.
-
Test the power cord and plug
- Set your multimeter to continuity. Test plug prongs to the switch input.
- Replace the cord if it shows intermittent continuity or visible damage.
-
Check the on/off switch
- Remove the switch and test continuity while toggling it.
- A good switch will show continuity in the ON position and open circuit in OFF.
- Replace the switch if it shows continuity in both positions or is sticky.
-
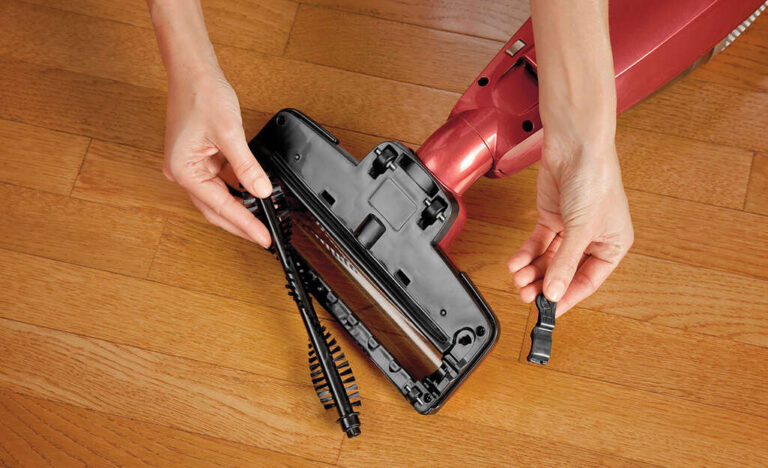
Inspect internal latches and pedals
- For upright vacuums, inspect the foot pedal and latch mechanism.
- Clean and lubricate moving parts with a dry lubricant.
- Replace broken latches or springs if they fail to return.
-
Test relays and electronic controls
- For vacuums with soft-start or electronic boards, check relays for stuck contacts.
- Look for blown capacitors or blackened boards.
- Replace the relay or board module if it does not release power when commanded.
-
Repair wiring and connectors
- Check terminal blocks and spade connectors for corrosion.
- Crimp or solder new connectors and use heat-shrink tubing.
- Ensure strain relief at the cord entry to prevent future wire breaks.
-
Final testing
- Reassemble partially and test switch behavior before sealing all screws.
- Run the vacuum for a short time to confirm it turns off reliably.
- Reassemble fully when confident.
These steps directly address common failure points and show how to repair vacuum cleaner not turning off properly in a systematic way.

Examples and real-life fixes from the field
Once, I worked on a popular upright that stayed on because a spring in the foot pedal had broken. The switch itself tested good. Replacing the spring fixed it in 10 minutes and saved the owner a motor failure. Another time a cordless stick stayed powered due to a stuck electronic latch on the battery pack; a firmware reset and battery contacts cleaning solved it.
Common mistakes to avoid:
- Replacing the motor before checking the switch and cord.
- Using excess WD-40 inside switches—use contact cleaner instead.
- Not testing parts in isolation before replacing them.
These lessons help you do how to repair vacuum cleaner not turning off properly without wasting time or money.

Maintenance tips to prevent the problem
Regular upkeep reduces the chance your vacuum won’t turn off properly. Do these simple tasks monthly:
- Check and clean the power switch area.
- Inspect the cord and plug for wear.
- Keep brush rolls clear of hair and debris that can jam latches.
- Replace worn switches at the first sign of stickiness.
Proactive maintenance extends service life and lowers repair frequency. Knowing how to repair vacuum cleaner not turning off properly starts with good care.

When to call a professional
If the fault is inside a sealed electronic board, involves complex wiring, or a motor that hums but won’t stop, call a qualified repair technician. If the vacuum is under warranty, contact the manufacturer rather than opening sealed modules.
If you feel unsure about mains voltage work or if replacement parts are hard to source, a pro will diagnose safely. Recognizing limits is part of knowing how to repair vacuum cleaner not turning off properly responsibly.
Frequently Asked Questions of how to repair vacuum cleaner not turning off properly
Why does my vacuum stay on even after I flip the switch?
A stuck or worn switch, a jammed latch, or bridged switch contacts often cause that. Wiring faults or failed relays on electronic models can also keep power applied.
Can I fix a faulty vacuum switch myself?
Yes, if you are comfortable unplugging the unit, testing continuity, and replacing a small switch. Always follow safety steps and confirm power is disconnected before working.
How much does it cost to replace an on/off switch?
Replacement switches typically cost $10–$30, plus any small wiring supplies. Labor at a repair shop can raise total cost, but DIY replacement is usually inexpensive.
Could a bad battery cause a cordless vacuum not to turn off?
A faulty battery pack may fail to communicate shutdown signals or may have a stuck contact; cleaning contacts or replacing the battery can fix it. Check battery removal and reseating as a simple first step.
Is it dangerous to keep using a vacuum that won’t turn off?
Yes. Continuous power can overheat the motor, melt parts, or start electrical fires. Stop using the unit and troubleshoot or get it repaired as soon as possible.
How long will a repaired switch last?
A good quality replacement switch should last several years with normal use. Lifespan varies with model, usage frequency, and environmental conditions like dust and humidity.
Conclusion
Repairing a vacuum that won’t turn off properly is often a straightforward job if you follow a clear checklist. Start with safety, inspect the cord and switch, and test relays or latches before replacing major parts. Small repairs and good upkeep can prevent bigger failures and save money.
Take action now: unplug your vacuum, do a quick visual check, and follow the troubleshooting steps above. If you found this guide helpful, subscribe for more appliance repair tips or leave a comment with your model and symptoms so I can help further.

Liora Pennings is a seasoned chef and kitchen enthusiast with a passion for turning everyday cooking into an effortless experience. With years of hands-on culinary expertise, she specializes in practical techniques, ingredient know-how, and smart kitchen solutions that help home cooks elevate their meals. At KitchFlair.com, Liora shares her best tips, time-saving tricks, and honest product reviews to guide readers toward a more efficient, enjoyable, and inspired cooking routine. Whether you’re a beginner or a seasoned home chef, Liora’s friendly, knowledge-packed insights make every visit to the kitchen a little easier—and a lot more delicious.