How To Repair Vacuum Cleaner Motor Speed Control Issue: Diy
Check and replace speed control components—faulty switches, potentiometers, or electronic control boards.
I have fixed dozens of vacuum motors over 15 years, and I’ll walk you through how to repair vacuum cleaner motor speed control issue step by step. This guide explains why the motor runs too slow, jumps speeds, or won’t change speed at all. You will learn safe checks, simple tests, parts to inspect, and when to replace parts or call a pro. Read on for clear, hands-on help from someone who has done this work in real homes and shops.
Common causes of motor speed control problems
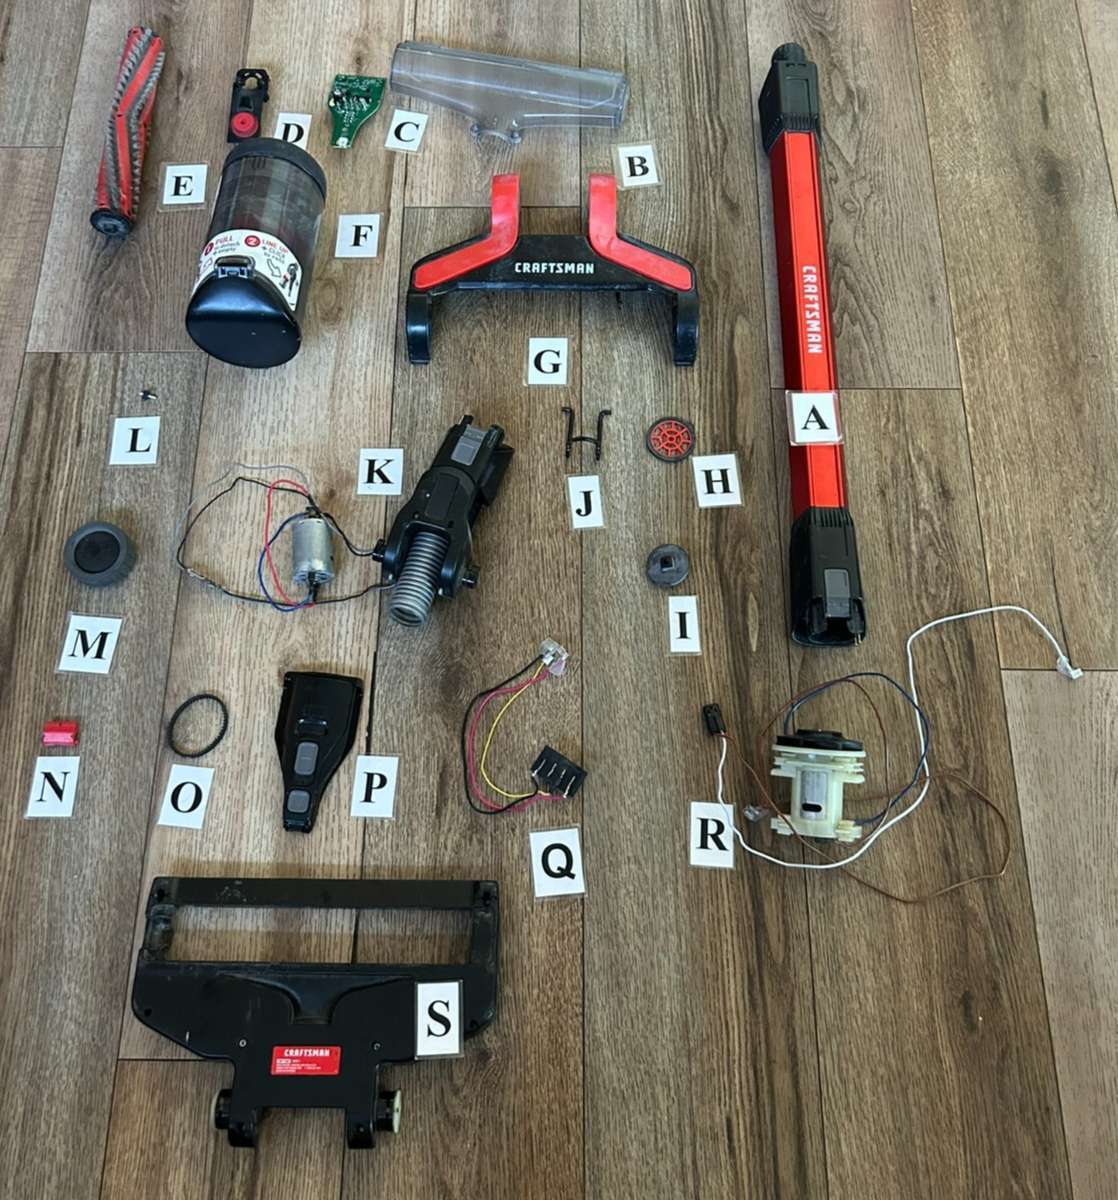
Motor speed control issues usually trace to a few core parts. Knowing these parts narrows the repair path fast. Common causes include:
- Worn mechanical switches and speed knobs. These lose contact and make speed jump or fail.
- Faulty variable resistors or potentiometers. They control voltage to the motor and can wear out.
- Broken control boards or triacs in electronic models. Boards can fail from heat or voltage spikes.
- Damaged wiring or poor solder joints. Loose wires make intermittent speed or no control.
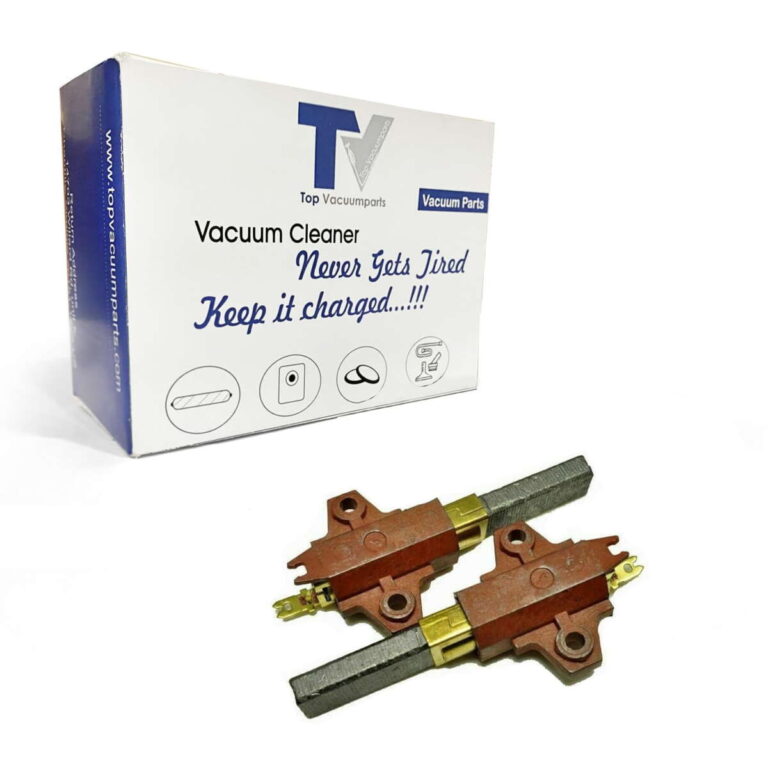
- Motor brushes and commutator wear. Worn brushes reduce power and slow the motor.
If you want to know how to repair vacuum cleaner motor speed control issue, start with these parts. Each causes different symptoms you can test for.
Safety first: tools and precautions
Safety keeps repairs simple and safe. Follow these rules before you start.
- Unplug the vacuum. Never work on live circuits.
- Wear safety glasses and gloves. Small parts can fly.
- Work in a dry area on a nonconductive surface. Keep screws and parts organized.
- Use an insulated multimeter and a small screwdriver set. A soldering iron may be needed.
- If the vacuum has a built-in battery, remove it first.
These steps protect you and the vacuum. Always test power off. If you are not comfortable, ask a pro.

Step-by-step troubleshooting
This section shows clear checks you can do with basic tools. Each step is short and direct.
- Visual and smell check
- Inspect the power cord, plug, and housing for damage.
- Smell for burnt electronics. A burnt odor often means a failed board or motor windings.
- Test the switch and knob
- Set the vacuum to different speeds and listen for clicks.
- Use a multimeter on continuity to test the switch across positions.
- Replace a noisy or inconsistent switch.
- Measure voltage to the motor
- With the vacuum on and safe leads, measure voltage at the motor terminals.
- Low or no voltage at higher settings points to control failure, not the motor.
- Consistent voltage across speeds points to a motor or brushes issue.
- Inspect brushes and commutator
- Remove brush caps and pull brushes. Check for even wear and spring tension.
- Clean a dirty commutator with a soft cloth or very fine sandpaper. Replace brushes if short.
- Faulty brushes cause poor speed and weak power.
- Check the potentiometer or rheostat
- Many vacuums use a variable resistor for speed control.
- Measure resistance as you turn the knob. It should change smoothly.
- Jumping or open resistance means replace the part.
- Examine the control board and triac
- Look for burnt traces, bulging capacitors, or cracked components.
- A triac that fails often causes the motor to run only at full speed or not at all.
- Replace the board or failed component if you find damage.
- Test wiring and solder joints
- Wiggle wire harnesses while running the vacuum to find intermittent faults.
- Resolder cracked joints. Replace damaged wires.
These steps show how to repair vacuum cleaner motor speed control issue in practice. Start simple and move to complex work only if needed.

Repair and replacement options
Once you find the bad part, choose how to fix it. Options vary by cost and skill.
- Replace the speed switch or knob. Cheap and often fixes mechanical issues.
- Swap the potentiometer or rheostat. Order the correct value and mount type.
- Repair or replace the control board. If the board is cheap, replace it. If it’s expensive, a board-level repair could save money.
- Replace brushes and clean the commutator. This often restores full power.
- Rewire or resolder connections. Loose or burned wires are an easy fix.
I once replaced a worn potentiometer under a knob and fixed a vacuum that only ran on high. A full board swap saved one client more than a new vacuum. Choose the option that makes sense for the machine age and cost.

Testing and calibration
After repairs, verify the fix. Simple tests confirm success and prevent repeat trips.
- Run the vacuum on each speed setting for a minute.
- Measure motor current and compare to the spec in the service manual.
- Listen for smooth acceleration and stable speed without buzzing.
- Warm up the motor and retest. Some faults show only after heat.
If the vacuum runs smoothly across settings, the repair worked. If not, recheck wiring, solder joints, and the part you changed.

Preventive maintenance and tips
Small steps keep speed control healthy. I follow these on every machine I service.
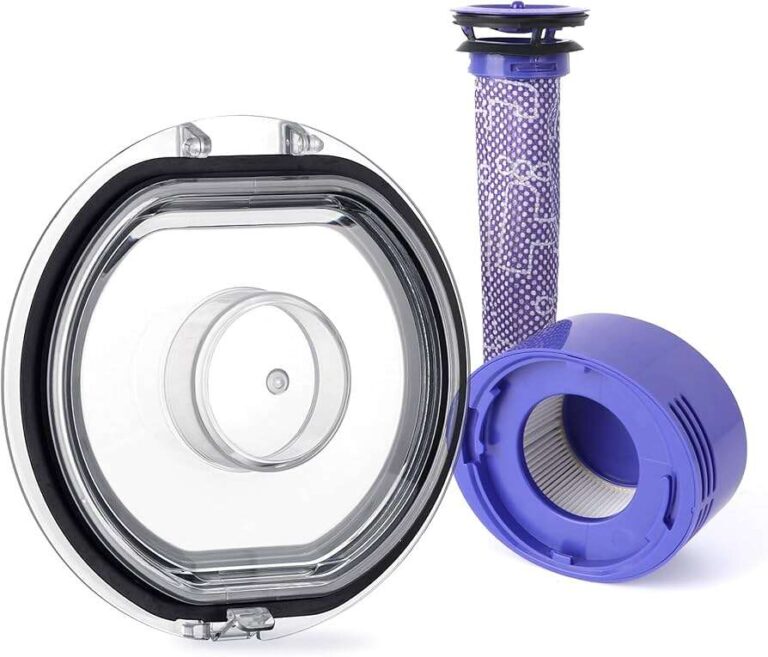
- Clean filters and pathways. Clogged air lowers load and can stress motor circuits.
- Replace brushes at regular intervals before they fail.
- Avoid vacuuming wet debris unless the vacuum is designed for it.
- Keep vents and cooling ports clear to prevent board overheating.
- Unplug and store the vacuum away from extreme humidity or heat.
Regular care reduces the chance you will need to repair vacuum cleaner motor speed control issue again.

When to call a pro
Some issues are best left to certified techs. Call a pro if:
- The control board is complex and you lack soldering skills.
- The motor windings smell burnt or show signs of failure.
- The vacuum is under warranty. A DIY repair may void it.
- You find signs of severe heat damage or melted parts.
A technician can diagnose deeper faults and has tools for winding motors or fixing PCB traces. If you are unsure, a pro saves time and risk.
Frequently Asked Questions of how to repair vacuum cleaner motor speed control issue
Why does my vacuum only run at one speed?
Often a failed speed switch or a burned triac on the control board causes one-speed operation. Test the switch, then check voltage to the motor to narrow down the fault.
Can worn brushes cause speed control problems?
Yes. Worn brushes lower motor power and can mimic a speed control fault. Replace brushes and clean the commutator to see if speed returns.
How do I test the potentiometer on the speed control?
Use a multimeter to measure resistance while turning the knob; the reading should change smoothly. If it jumps or opens, replace the potentiometer.
Is it safe to replace a control board myself?
Only if you have soldering skills and can follow safety steps. Unplug the unit and discharge capacitors before touching the board.
How much does a typical repair cost?
Minor parts like switches or potentiometers are inexpensive. Control boards or motor repairs cost more, often depending on model and labor. Get a quote if the repair approaches the price of a new vacuum.
Will cleaning filters fix speed issues?
Cleaning filters helps motor load but rarely fixes electronic speed control faults. It is a good first step to reduce motor strain.
Conclusion
You can resolve most problems if you follow safe checks, test methodically, and replace the right part. Start with the switch, potentiometer, and brushes, then move to wiring and the control board if needed. My hands-on experience shows small fixes often restore full function and save money. Take action: try the basic tests, order the right parts, or call a tech if the board or motor needs work. Leave a comment with your vacuum model and symptoms, and I’ll help you troubleshoot further.

Liora Pennings is a seasoned chef and kitchen enthusiast with a passion for turning everyday cooking into an effortless experience. With years of hands-on culinary expertise, she specializes in practical techniques, ingredient know-how, and smart kitchen solutions that help home cooks elevate their meals. At KitchFlair.com, Liora shares her best tips, time-saving tricks, and honest product reviews to guide readers toward a more efficient, enjoyable, and inspired cooking routine. Whether you’re a beginner or a seasoned home chef, Liora’s friendly, knowledge-packed insights make every visit to the kitchen a little easier—and a lot more delicious.