How To Clean Vacuum Cleaner After Construction Dust: Guide
Empty the bin, clean or replace filters, brush out hoses, and rinse washable parts promptly.
I’ve spent years cleaning vacuums after renovation jobs, and I know what works. This guide covers how to clean vacuum cleaner after vacuuming construction dust from start to finish. You’ll get step-by-step instructions, safety tips, tools to use, filter care, and real-world troubleshooting. Read on to protect your vacuum, keep indoor air clean, and save on repairs.

Why cleaning matters fast and right
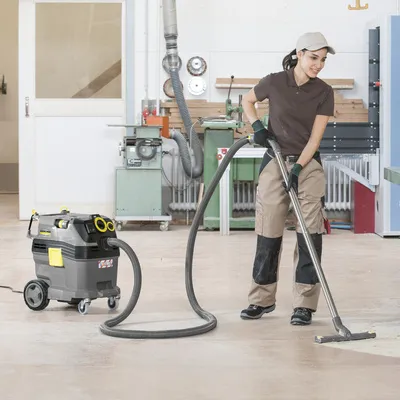
Construction dust is abrasive and fine. It clogs filters, grinds motor parts, and reduces suction fast. Knowing how to clean vacuum cleaner after vacuuming construction dust keeps the machine working and stops dust from settling back into your home.
Keeping the vacuum clean also protects your health. Fine silica and drywall dust irritate lungs. A well-cleaned vacuum captures more dust and keeps air cleaner. Clean the machine right away after a job to prevent long-term damage.
Quick questions readers often ask
Q: Will construction dust ruin my vacuum?
A: If left inside, yes. Fine dust clogs filters and abrades parts.
Q: Can I use water on all vacuum parts?
A: No. Only washable dust bins and some filters are safe to rinse.
Q: How soon should I clean after vacuuming dust?
A: Clean immediately or the same day to prevent caking and motor wear.

Safety and prep before you start
Turn off and unplug the vacuum. Wear a dust mask and gloves. Open windows or work outside to avoid stirring dust in your home.
Move the vacuum to a well-ventilated area. Lay down a sheet to catch falling dust. Have a trash bag ready for disposable parts and dust.

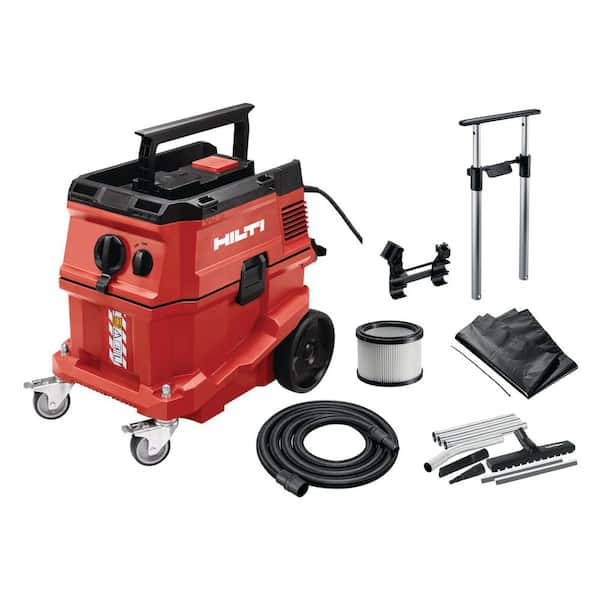
Tools and supplies you’ll need
- Stiff brush or small paintbrush for scrubbing crevices.
- Soft brush for delicate parts and HEPA housings.
- Microfiber cloths for wiping.
- Mild liquid soap and warm water for washable pieces.
- Compressed air can or blower for dry dust removal.
- Replacement filters or bags if heavily clogged.
- Gloves, mask, and safety glasses for protection.
Step-by-step: how to clean vacuum cleaner after vacuuming construction dust
- Empty the dustbin or change the bag outside. Do this slowly to avoid clouds of dust.
- Remove and shake the dustbin into a trash bag. Tap gently to dislodge packed dust.
- Brush loose dust from the bin and crevices with the stiff brush. For sealed bins, use a soft brush.
- If the bin is washable, rinse with warm water and mild soap. Let it air dry fully before reassembly.
- Remove pre-filters and main filters. Tap them outside to knock out loose dust. Do not tap HEPA filters too hard.
- Use compressed air or a blower to clear dust from motor housings and vents. Blow from inside out if possible.
- Clean the brushroll by cutting away hair and strings. Wipe the roll and bearings with a damp cloth.
- Inspect hoses and attachments. Push a cloth through or use a long brush to remove packed dust. If blocked, use a pipe cleaner or small flexible brush.
- Replace disposable bags and filters as needed. Install washable filters only when dry.
- Reassemble and run the vacuum on a low setting on carpet for a minute to test suction and check for odd sounds.
This process shows how to clean vacuum cleaner after vacuuming construction dust step by step. Be thorough and patient. Quick, half-done cleanings are often the reason vacuums fail later.

Cleaning filters and HEPA care
Know your filter type. Many vacuums have pre-filters, foam filters, and HEPA filters. Washable foam and cloth filters can be rinsed. HEPA filters are often sealed and must be replaced, not washed.
When you wash a filter, rinse until water runs clear. Squeeze gently to avoid damage. Air dry for 24–48 hours in a warm spot. Never reinsert a damp filter; it can damage the motor.
Replace HEPA filters if suction drops or the filter looks discolored. Keeping filters clean is a key part of how to clean vacuum cleaner after vacuuming construction dust and keeping indoor air healthy.

Cleaning hoses, brushrolls, and attachments
Detach hoses and attachments after emptying the bin. Shake out loose dust. Use a long, flexible brush or a plumber’s snake for blockages.
For the brushroll, cut away fibers wrapped around the axle. Check the bearings and end caps; remove debris and hair. Wipe attachments with a damp cloth. For tight spots, use a small paintbrush to lift dust.
A clear hose and clean attachments keep suction strong and extend vacuum life. This part of how to clean vacuum cleaner after vacuuming construction dust prevents recurring clogs.

Drying, odor control, and final checks
Dry all washed parts completely. Let them air dry upside down. Smells often come from wet dust left inside. A dry clean prevents mildew.
After reassembly, test the vacuum. Listen for unusual sounds and check suction. If the motor runs hot or the vacuum smells burnt, turn it off and inspect for residual dust in the motor chamber.
A brief test run confirms that your steps for how to clean vacuum cleaner after vacuuming construction dust worked.
Maintenance schedule and prevention tips
- After each dusty job: Empty bin, brush filters, and wipe attachments.
- Weekly during heavy use: Deep-clean brushroll and inspect hoses.
- Monthly: Check pre-filters and motor vents with compressed air.
- Replace HEPA and paper bags per manufacturer guidance or when performance drops.
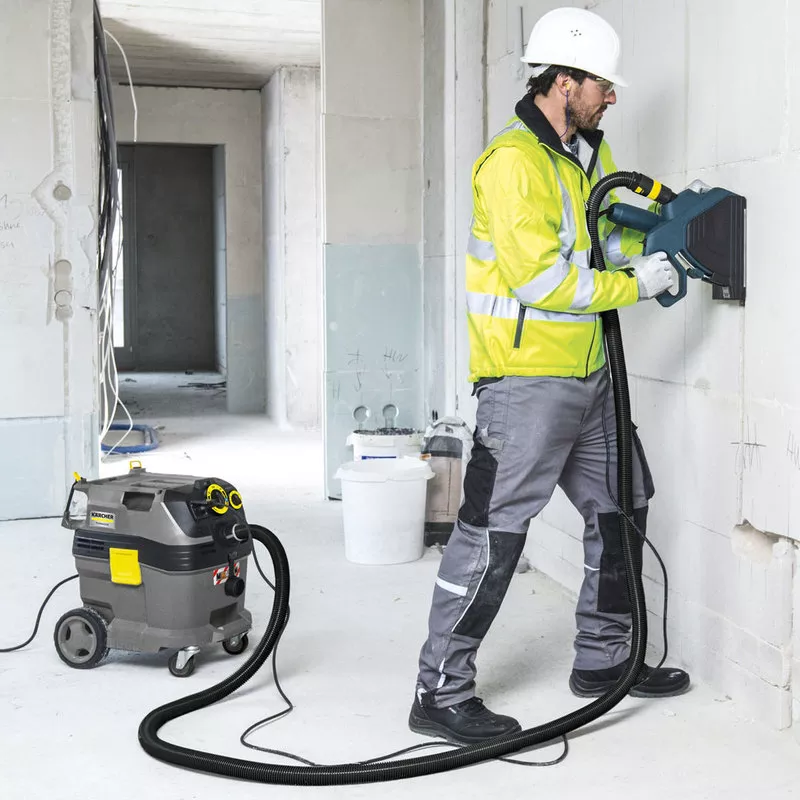
To prevent heavy buildup next time, use a dedicated shop vacuum or a heavy-duty canister with a proper dust separation system. This reduces how often you must fully disassemble your household vacuum after construction tasks.
Common mistakes and quick troubleshooting
- Mistake: Washing a non-washable HEPA. Result: ruined filter and poor air quality.
- Mistake: Reassembling parts before they are dry. Result: mold and odors.
- Mistake: Skipping motor vents. Result: overheating and motor damage.
If suction is weak after cleaning, check for blockages in the hose, a clogged filter, or a damaged brushroll. If the vacuum smells like burning, stop and inspect the motor area for trapped dust.
Personal tips from the field
On renovation sites I learned three things fast. First, use a shop vacuum for heavy dust to keep your home unit safe. Second, carry spare filters and disposable bags when you clean after big jobs. Third, clean the vacuum immediately—packed dust is tougher to remove later.
A simple habit: wipe and empty the bin outdoors right after the task. It adds minutes but saves hours of troubleshooting later.
Frequently Asked Questions of how to clean vacuum cleaner after vacuuming construction dust
How soon should I clean the vacuum after a construction job?
Clean the vacuum immediately or the same day. Letting dust sit leads to clumping and harder removal later.
Can I wash all filters in my vacuum?
No. Only washable foam or cloth filters should be rinsed. Do not wash sealed HEPA or paper filters unless the manual says it’s safe.
Will a regular household vacuum handle drywall dust?
Regular vacuums can handle light drywall dust but heavy loads need a shop vacuum with a fine dust filter to avoid damage.
How do I remove fine dust from the motor housing?
Use compressed air or a blower in short bursts, and do it outdoors while the machine is off and unplugged.
Is it safe to use water on the brushroll?
Yes, but only wipe the brushroll and bearings with a damp cloth. Remove and dry fully before use to prevent rust or motor issues.
When should I replace HEPA or paper filters?
Replace them when performance drops, when they look discolored, or per the manufacturer’s interval. After heavy construction dust, replace sooner rather than later.
Wrap-up and action steps
You now have a clear plan for how to clean vacuum cleaner after vacuuming construction dust. Empty and clean promptly, treat filters properly, dry parts fully, and test the machine before regular use. Small, consistent steps prevent big repairs.
Take action today: inspect your vacuum, gather the tools listed above, and follow the step-by-step guide after your next dusty job. If this helped, consider subscribing or leaving a comment about your experience.

Liora Pennings is a seasoned chef and kitchen enthusiast with a passion for turning everyday cooking into an effortless experience. With years of hands-on culinary expertise, she specializes in practical techniques, ingredient know-how, and smart kitchen solutions that help home cooks elevate their meals. At KitchFlair.com, Liora shares her best tips, time-saving tricks, and honest product reviews to guide readers toward a more efficient, enjoyable, and inspired cooking routine. Whether you’re a beginner or a seasoned home chef, Liora’s friendly, knowledge-packed insights make every visit to the kitchen a little easier—and a lot more delicious.