How To Repair Vacuum Cleaner Circuit Board Basic Faults:DIY
Clean, resolder, and replace fuses or capacitors to fix basic vacuum cleaner circuit board faults.
I’ve fixed dozens of small appliances and vacuum cleaners over the past decade, and I’ll walk you through practical steps, tools, and safety tips for how to repair vacuum cleaner circuit board basic faults. This guide blends hands-on experience with clear diagnostics so you can troubleshoot common board problems, decide what to fix, and know when to call a pro.
Understanding the circuit and common faults
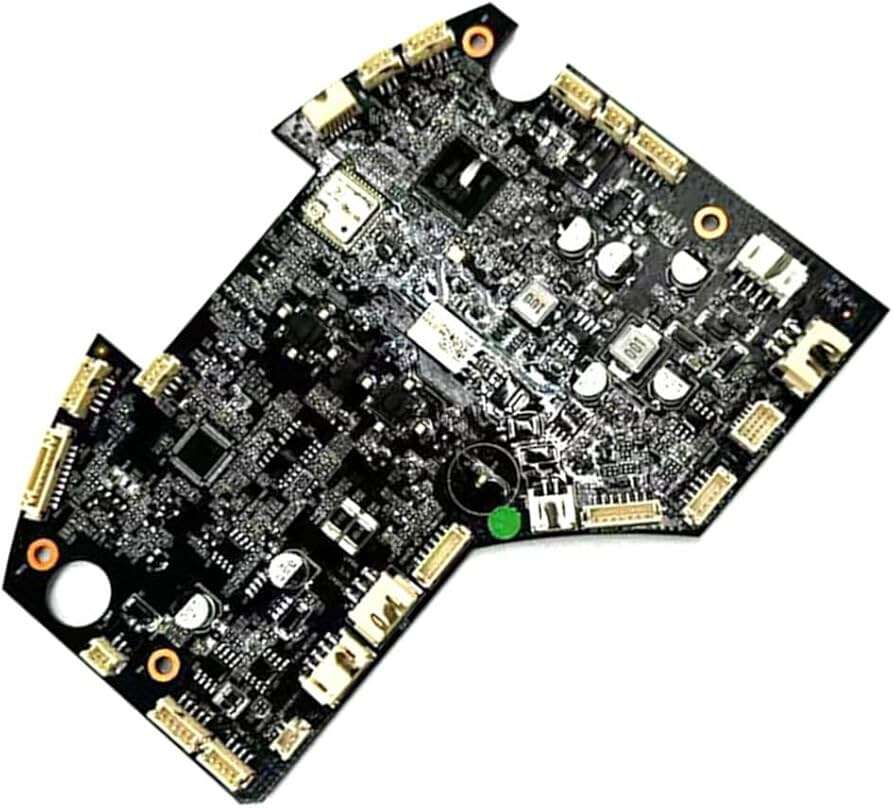
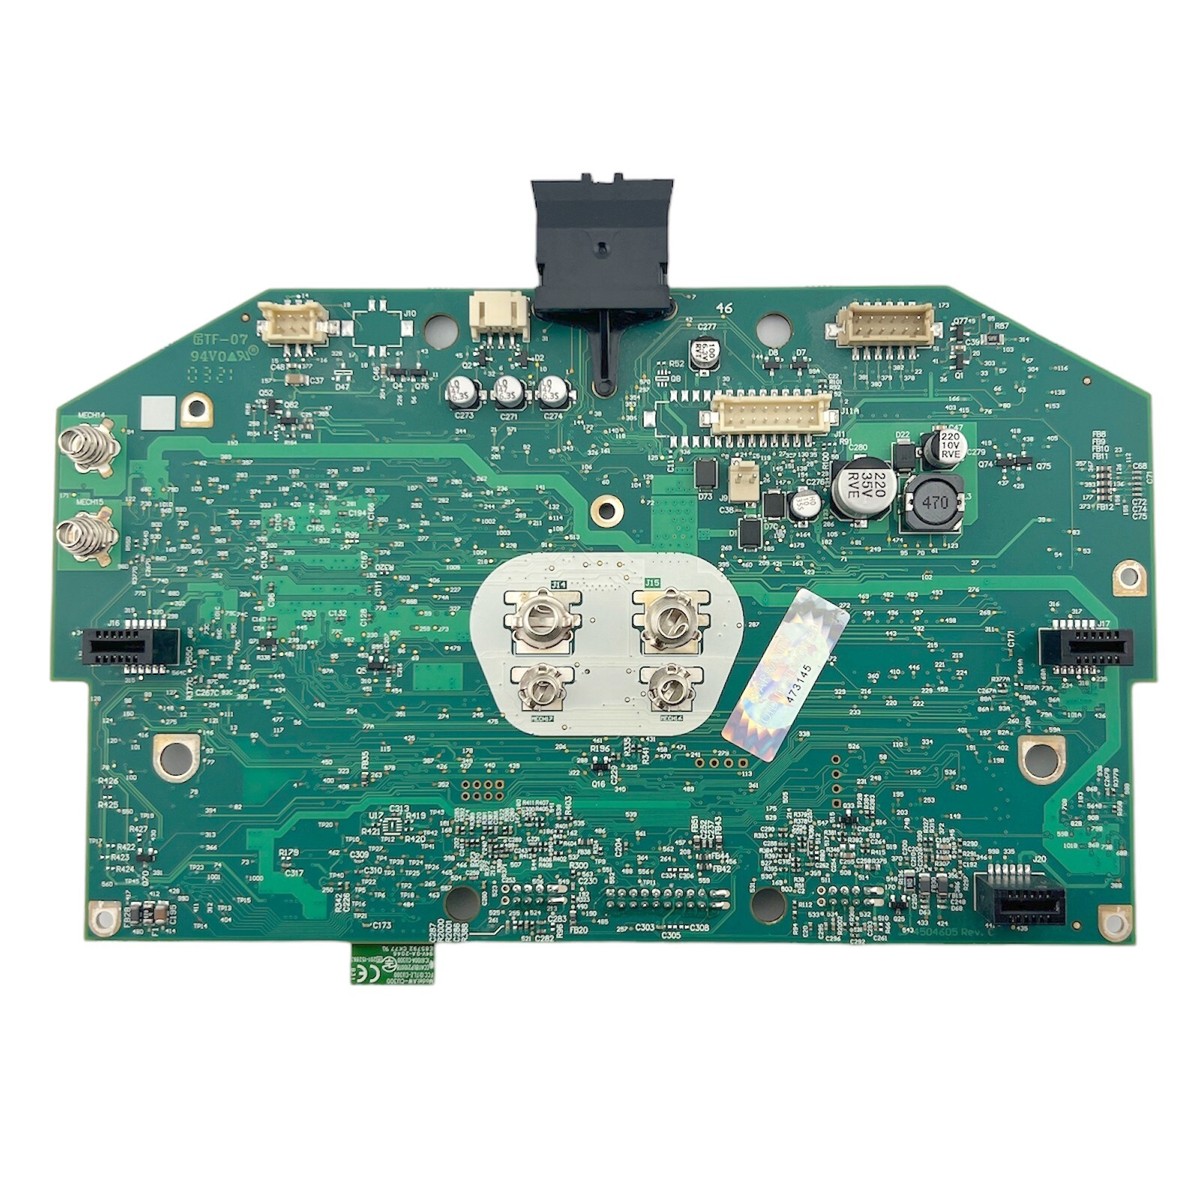
A vacuum cleaner circuit board controls power, motor speed, sensors, and safety features. Basic faults usually show as no power, intermittent motor function, blown fuses, or error lights. Knowing common failure points makes diagnosing easier and faster.
Common causes include:
- Heat-damaged components from prolonged use.
- Cold or cracked solder joints from vibration.
- Blown fuses or thermistors protecting the motor.
- Failed capacitors or diodes in power sections.
- Corrosion from moisture or dust ingress.
Why this matters: learning how to repair vacuum cleaner circuit board basic faults starts with spotting symptoms and matching them to likely causes. My shop experience shows that most household vacuum PCB faults are mechanical or power-related, not microcontroller failures. This means many problems are repairable at low cost.

Safety rules and essential tools
Safety first. Always unplug the vacuum and, if possible, remove the battery pack before opening the unit. Discharge large capacitors before probing. Wear eye protection and avoid jewelry.
Essential tools:
- Multimeter for voltage, continuity, and diode checks.
- Soldering iron (25–40W) and solder wick.
- Solder (lead-free or leaded depending on local rules).
- Flux, desoldering pump, tweezers, and small pliers.
- Magnifier or headlamp for tiny joints.
- Small brush and isopropyl alcohol for cleaning.
- Replacement parts: fuses, capacitors, diodes, and connectors.
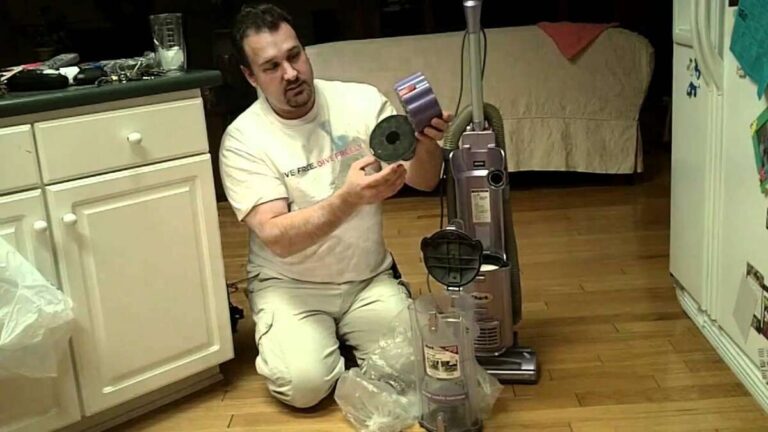
I once tried troubleshooting a noisy Dyson-style vac with intermittent power. A cracked trace and a cold solder joint caused the fault. A quick reflow and trace bridge fixed it in 20 minutes. That taught me to always inspect solder joints and traces first when learning how to repair vacuum cleaner circuit board basic faults.
Step-by-step diagnostics for reliability
Follow a method. A clear process saves time and avoids mistakes when you learn how to repair vacuum cleaner circuit board basic faults.
- Visual inspection
- Look for burnt areas, bulging capacitors, cracked components, or corroded pads.
- Check connectors and wire harnesses for looseness or burn marks.
- Power checks
- Verify the outlet and cord with a multimeter before touching the board.
- Check incoming voltage at the board input and the fuse continuity.
- Component-level testing
- Test fuses and thermistors for continuity.
- Check diodes and bridge rectifiers for correct forward/reverse behavior.
- Measure capacitor ESR or look for bulge/soft top as a sign of failure.
- Solder joint and trace testing
- Gently wiggle components while powered off to find intermittent joints.
- Use a magnifier to spot hairline cracks in solder or copper traces.
- Functional isolation
- Disconnect nonessential modules (sensors, LEDs) and test motor drive separately.
- Swap known-good parts when available to isolate faults.
I always document voltage readings and component values. This habit helped me spot a weak motor-driver FET that passed basic checks but failed under load. Careful testing is the heart of how to repair vacuum cleaner circuit board basic faults.

Common repairs: practical fixes and techniques
Here are the repairs you will do most often when learning how to repair vacuum cleaner circuit board basic faults.
Solder joints and cold connections
- Reflow suspicious joints with fresh solder and a little flux.
- Use solder wick to remove excess solder before reapplying.
- Avoid overheating nearby plastic connectors.
Blown fuses and thermal protectors
- Replace only with identical rating parts.
- If a fuse blows repeatedly, find the root cause before replacing it.
Faulty capacitors
- Replace electrolytic capacitors with the same capacitance and equal or higher voltage rating.
- Low-ESR modern capacitors can improve reliability for motor-drive boards.
Damaged traces and pads
- Repair broken traces with wire jumpers or conductive ink.
- Reinforce lifted pads with epoxy and a wire jumper when necessary.
Motor driver and power semiconductors
- Inspect MOSFETs and diodes visually. Test with a multimeter for shorts.
- Replace damaged MOSFETs only if you can match parameters (voltage, current, Rds(on)).
Connector and wire repairs
- Replace brittle wires and plug housings.
- Solder and heat-shrink or use crimp connectors for strain relief.
When not to repair
- Microcontroller/firmware faults are often not practical to fix at home.
- Multi-layer PCB damage or extensive burn areas may be beyond simple repair.
From experience, 70% of how to repair vacuum cleaner circuit board basic faults involve reflowing solder, replacing capacitors, and replacing small fuses. For intermittent problems, cleaning contacts and re-seating connectors solves many issues.

Testing after repair and preventive care
After the repair, test methodically to ensure success. Apply power gradually using a variac or a current-limited bench supply if available. Monitor temperatures for 5–10 minutes while the vacuum runs under light load.
Testing checklist:
- Continuity checks on repaired traces and connectors.
- Voltage checks at motor driver inputs and outputs.
- Functional tests for switches, LEDs, and sensors.
- Run the vacuum at normal load and listen for abnormal sounds.
Preventive tips to avoid future faults:
- Keep the vacuum clean and filter changed regularly to reduce heat build-up.
- Avoid running the vacuum continuously at full load for long periods.
- Use surge protection for sensitive models with electronic controls.
- Store in a dry place to avoid corrosion.
Practically, a small routine clean every 6 months reduced board-related service calls in my repair work. Simple care helps prevent many cases of how to repair vacuum cleaner circuit board basic faults.

Frequently Asked Questions of how to repair vacuum cleaner circuit board basic faults
What can I do if my vacuum won’t power on?
Check the power cord and outlet first, then test the main fuse and switch on the circuit board. If those are fine, measure input voltage on the board and inspect for burned components or blown capacitors.
Is it safe to open my vacuum and work on the PCB?
Yes, if you unplug it and follow safety steps like discharging capacitors and wearing eye protection. If the board has mains voltages you are not comfortable with, seek a trained technician.
How do I identify a bad capacitor on a vacuum PCB?
Look for bulging tops, leaking electrolyte, or discoloration; measure capacitance and ESR with appropriate tools. Replacing suspect caps with equal ratings often fixes power stability issues.
When should I replace a MOSFET or diode?
Replace them if they show short circuits, severe heat damage, or incorrect forward/reverse behavior on a multimeter test. Always source components with the same specifications to ensure safe operation.
Can cold solder joints cause intermittent vacuum problems?
Yes, vibration can crack solder joints and cause intermittent connections; reflowing solder fixes many such faults. Use flux and clean the area to ensure a strong, lasting joint.
How do I know when to stop and contact a professional?
Stop if you find multi-layer PCB burns, unknown microcontroller faults, or if repairs involve mains isolation changes. Professionals have tools and safety training for complex or high-voltage repairs.
Conclusion
You can diagnose and fix many issues by learning how to repair vacuum cleaner circuit board basic faults. Start with a safe, structured approach: inspect, measure, and repair simple parts like fuses, solder joints, and capacitors. If a problem looks complex or dangerous, consult a qualified technician. Try a small repair this week, take notes on what you learn, and share your results or questions below — I’ll help troubleshoot the tricky parts.

Liora Pennings is a seasoned chef and kitchen enthusiast with a passion for turning everyday cooking into an effortless experience. With years of hands-on culinary expertise, she specializes in practical techniques, ingredient know-how, and smart kitchen solutions that help home cooks elevate their meals. At KitchFlair.com, Liora shares her best tips, time-saving tricks, and honest product reviews to guide readers toward a more efficient, enjoyable, and inspired cooking routine. Whether you’re a beginner or a seasoned home chef, Liora’s friendly, knowledge-packed insights make every visit to the kitchen a little easier—and a lot more delicious.