How To Make Chocolate Covered Coffee Beans: Easy Recipe
Making chocolate covered coffee beans takes melted chocolate, roasted beans, careful coating, and time to set.
Learning how to make chocolate covered coffee beans at home is simple, but small details affect the shine, snap, and flavor. This guide shares a tested method, smart ingredient choices, common fixes, storage tips, and safe serving ideas so your finished beans taste like a quality coffee shop treat.
What Are Chocolate Covered Coffee Beans?
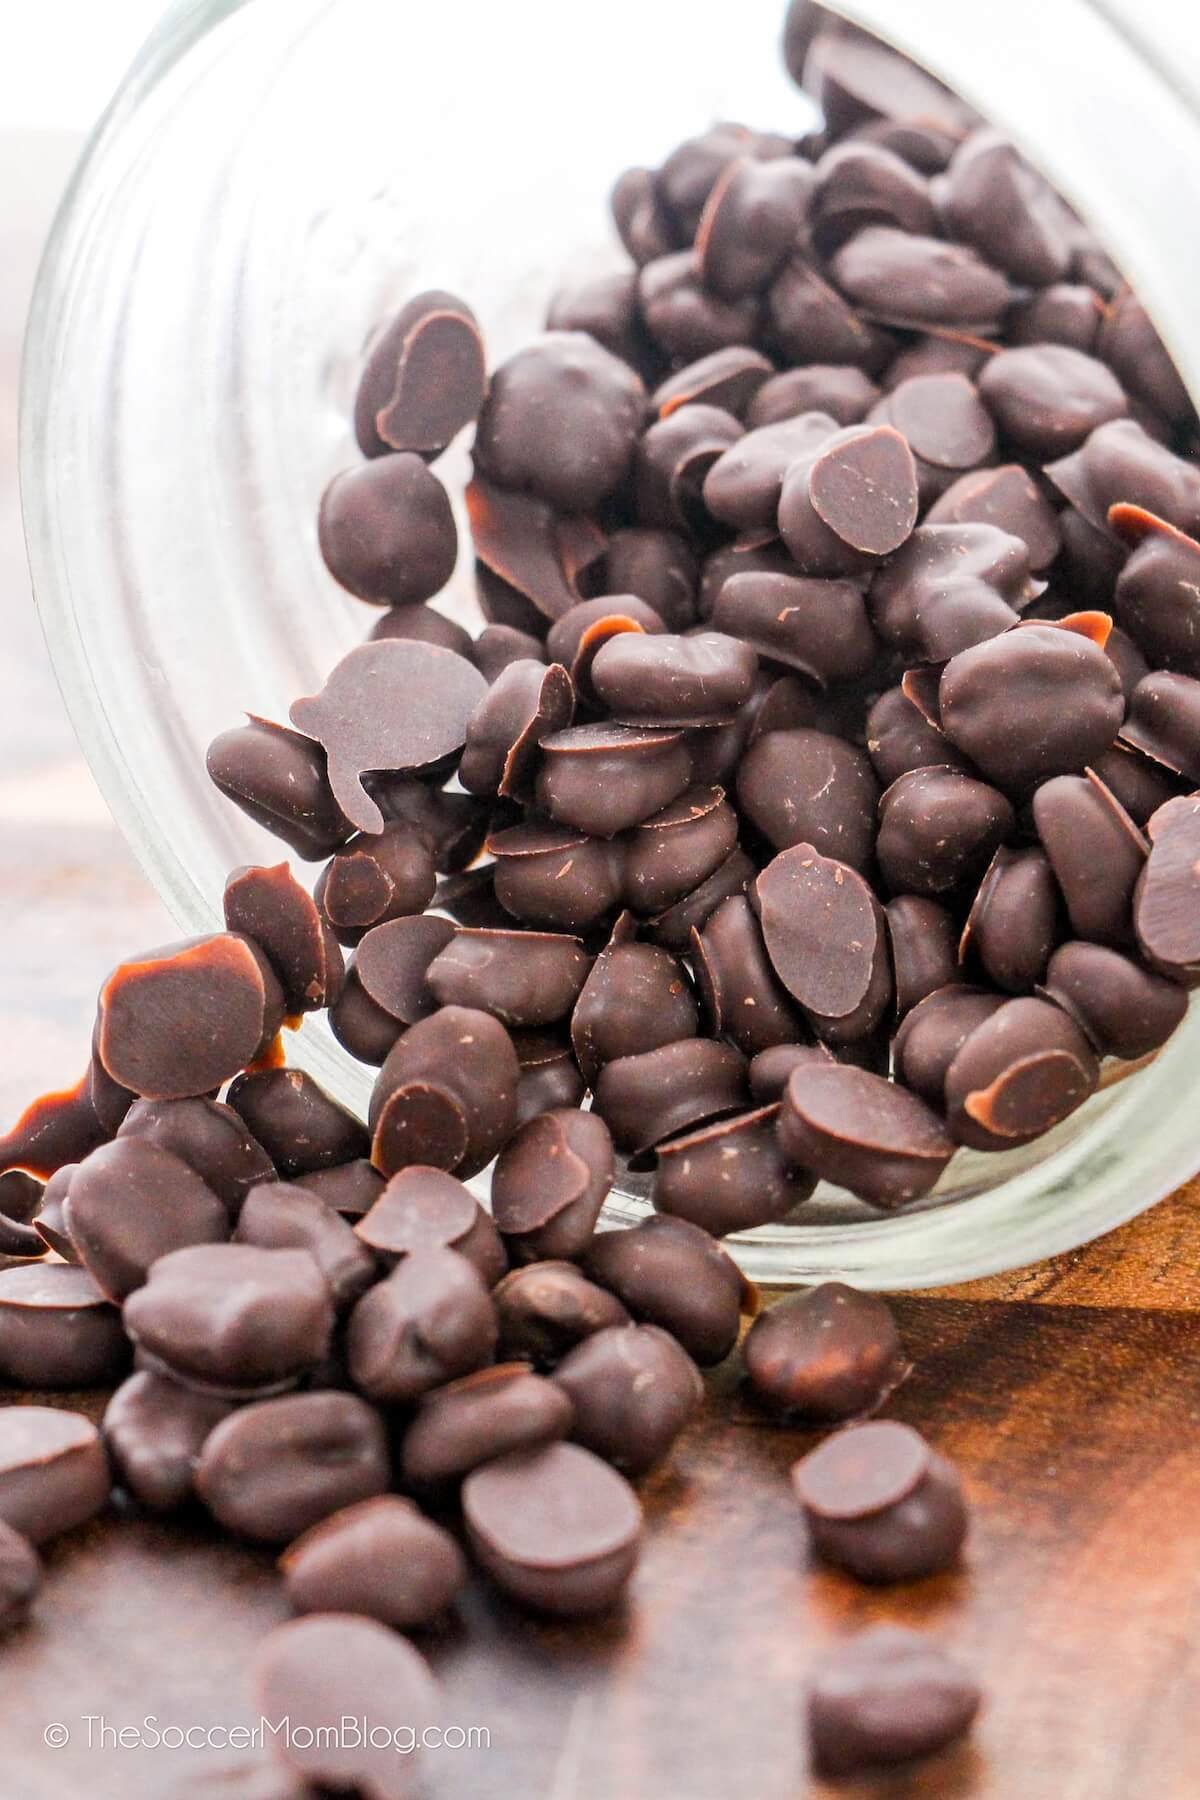
Chocolate covered coffee beans are roasted coffee beans coated in melted chocolate. The bean gives a crisp bite and strong coffee flavor, while the chocolate adds sweetness and a smooth finish.
You can use dark, milk, or white chocolate. Dark chocolate pairs well with bold espresso beans, while milk chocolate creates a softer and sweeter snack.
The beans can be eaten alone, used as a dessert topping, or packed as a homemade gift. They also contain caffeine from both the coffee and the chocolate, so a small serving is usually enough.
Ingredients and Equipment You Need
The best chocolate covered coffee beans start with fresh beans and good chocolate. You do not need expensive tools, but clean and dry equipment makes the process easier.
Ingredients
For about 1 cup of chocolate covered coffee beans, gather:
• 1 cup roasted coffee beans
• 6 ounces chocolate, chopped into small pieces
• 1 teaspoon coconut oil, optional
• 1 teaspoon cocoa powder, optional
• A small pinch of sea salt, optional
Use whole roasted coffee beans that look dry and smell fresh. Medium or dark roasts give the strongest coffee taste. Light roast beans can work, but their sharper flavor may stand out more.
Choose chocolate with a smooth texture and a cocoa flavor you enjoy. Chocolate chips are convenient, but baking chocolate or couverture chocolate often melts more evenly.
Equipment
You will need:
• A heatproof bowl
• A saucepan for a double boiler
• A rubber spatula
• A fork or dipping tool
• A parchment-lined baking sheet
• A refrigerator or cool room
Keep every bowl and tool completely dry. Even a small amount of water can make melted chocolate thick and grainy.

How to Make Chocolate Covered Coffee Beans Step by Step
This method for how to make chocolate covered coffee beans uses gentle heat and repeated coating. A single coat works, but several thin coats create a thicker shell and a better bite.
1. Prepare the coffee beans
Spread the roasted coffee beans on a plate. Remove broken pieces, loose husks, or beans that look oily or damp.
If the beans are oily, place them in the refrigerator for 15 to 20 minutes. Cold beans help the chocolate firm up faster, but they should not be wet or frosty.
2. Melt the chocolate
Fill a saucepan with about 1 inch of water. Heat it until the water is hot but not boiling.
Place the chopped chocolate in a heatproof bowl. Set the bowl over the saucepan, making sure the bottom does not touch the water.
Stir slowly until the chocolate is mostly melted. Remove the bowl from the heat and continue stirring until smooth.
You can also melt the chocolate in a microwave. Heat it in 15 second bursts, stirring after each burst. This method works well, but chocolate can burn quickly, so use short heating times.
3. Add optional ingredients
Stir in coconut oil if the chocolate seems too thick. Use only a small amount, since too much oil can make the coating soft.
A pinch of sea salt can sharpen the coffee flavor. You can also add a little cocoa powder for a deeper chocolate taste, but sift it first to prevent lumps.
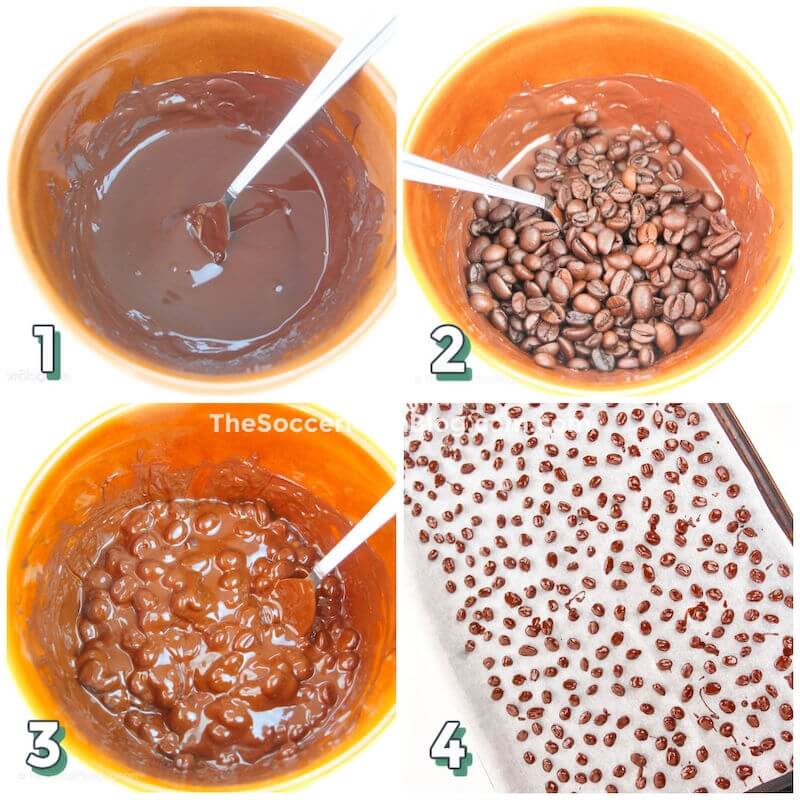
4. Coat the beans
Add a small handful of coffee beans to the melted chocolate. Stir gently until each bean is covered.
Lift the beans out with a fork. Let extra chocolate drip back into the bowl.
Place each coated bean on the parchment paper. Leave a little space between the beans so they do not stick together.
5. Let the first coat set
Place the tray in the refrigerator for 10 to 15 minutes. The first coat should feel firm before you add another layer.
For thicker chocolate covered coffee beans, repeat the dipping process two or three times. Let each coat set before adding the next one.
Do not rush this step. In my kitchen tests, adding a second coat while the first was still soft caused the beans to clump and made the shells uneven.
6. Finish the beans
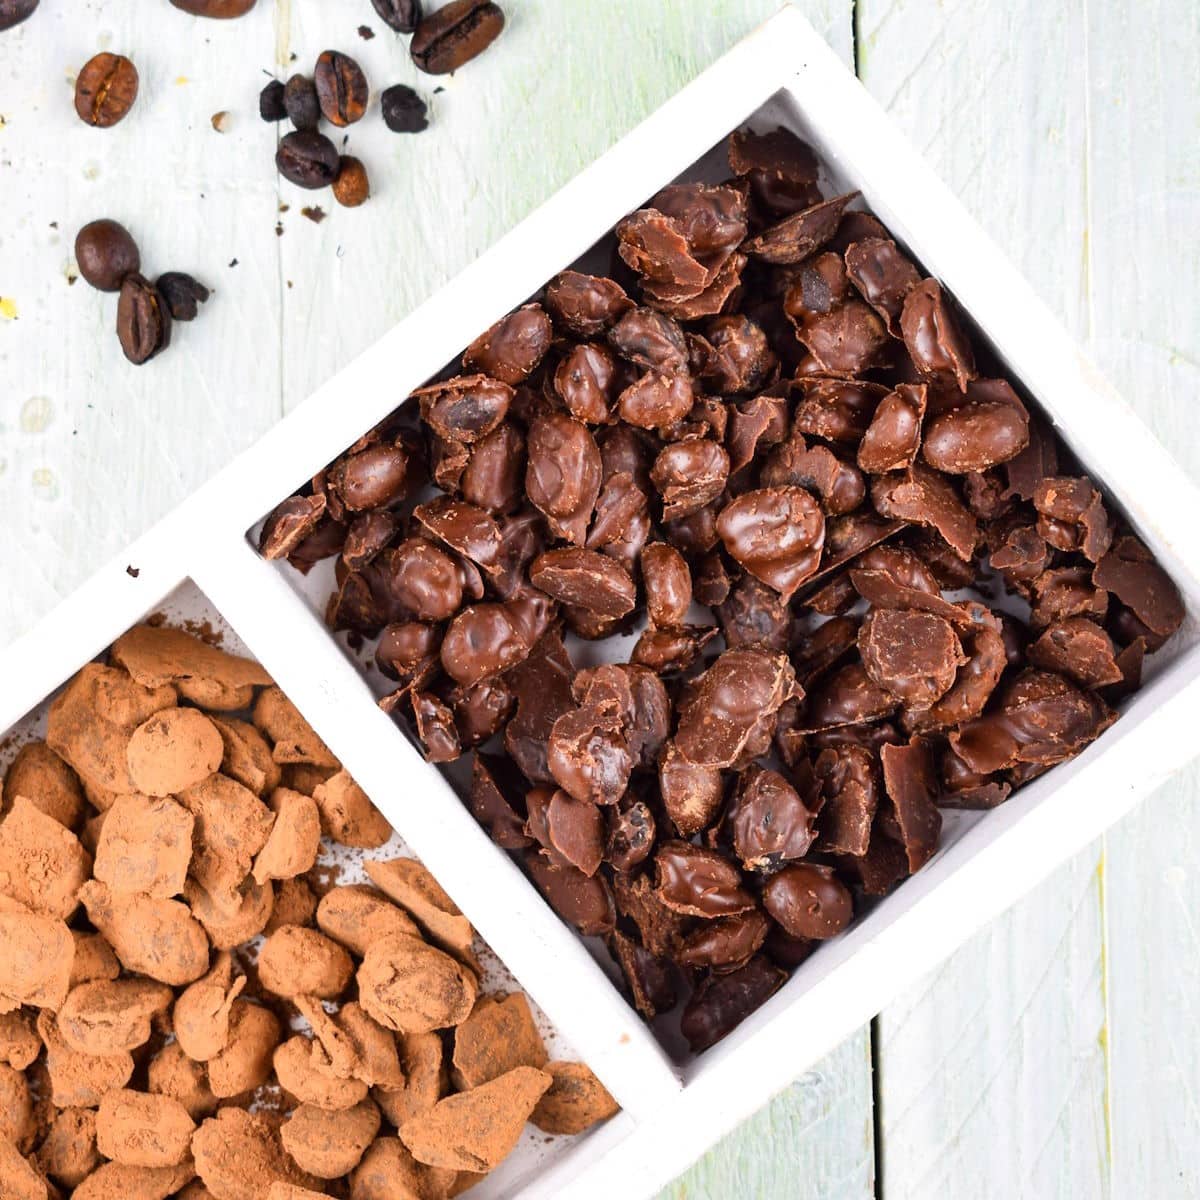
After the final coat, sprinkle the beans with a little sea salt, cocoa powder, crushed nuts, or finely grated chocolate. Add toppings while the chocolate is still wet.
Let the finished beans set at room temperature or chill them briefly. Once firm, move them to an airtight container.
How to Temper Chocolate for a Shiny Finish
Tempering gives chocolate a clean snap, smooth texture, and glossy look. It also helps the coating stay firm at room temperature.
For a simple home method, melt two-thirds of your chocolate gently. Remove it from the heat, then stir in the remaining one-third of the chopped chocolate.
Keep stirring until the added chocolate melts. This cools the mixture and encourages stable cocoa butter crystals to form.
If you use a kitchen thermometer, dark chocolate is usually melted near 113 to 122°F, then cooled to about 82 to 84°F, and gently warmed to about 88 to 91°F. Milk and white chocolate use slightly lower working temperatures.
Exact temperatures can vary by chocolate type. Follow the package instructions when available.
Tempering is helpful but not required. Untempered chocolate covered coffee beans still taste delicious, though they may look dull or soften more quickly.
Common Mistakes and How to Fix Them
Making chocolate covered coffee beans is easy once you understand how chocolate behaves. Most problems come from heat, moisture, or uneven coating.
Chocolate is thick and difficult to stir
The chocolate may be too cool or may have overheated. Warm it gently over the double boiler and stir slowly.
A small amount of coconut oil can loosen the texture. Avoid adding water, milk, or other liquids.
Chocolate looks dull
Dull chocolate often comes from poor tempering, excess heat, or condensation. Let the beans set in a cool, dry place and keep water away from the chocolate.
Tempering the chocolate can improve its shine and snap.
Beans stick together
This usually happens when too many beans are added at once. Work with small batches and spread the coated beans apart on parchment.
If the beans have already stuck together, let them firm up. Then break them apart gently and add another thin coating.
The coating cracks
The beans may be too cold, or the chocolate shell may be too thick. Let refrigerated beans sit at room temperature for a few minutes before dipping again.
A thinner final coat can also reduce cracking.
The chocolate will not set
The room may be warm, or the chocolate may contain too much added oil. Chill the tray for 10 to 15 minutes.
For long-term firmness, use less oil and temper the chocolate.

Best Coffee Beans and Chocolate Pairings
The coffee bean controls the flavor more than many people expect. Fresh beans create a brighter aroma and cleaner finish.
Try these pairings:
• Dark roast beans with dark chocolate for a rich, intense bite
• Medium roast beans with milk chocolate for a balanced snack
• Light roast beans with white chocolate for a sweet contrast
• Espresso roast beans with semisweet chocolate for a bold dessert
• Chocolate with orange zest and medium roast beans for a bright flavor
• Dark chocolate with cinnamon and a pinch of cayenne for gentle heat
Avoid beans that smell stale, burnt, or rancid. Coffee loses flavor over time, especially when exposed to air, heat, light, and moisture.
If you want a milder snack, choose smaller coffee beans or use a lighter roast. Larger beans provide a stronger crunch and more caffeine in each piece.
Flavor Ideas for Homemade Coffee Beans
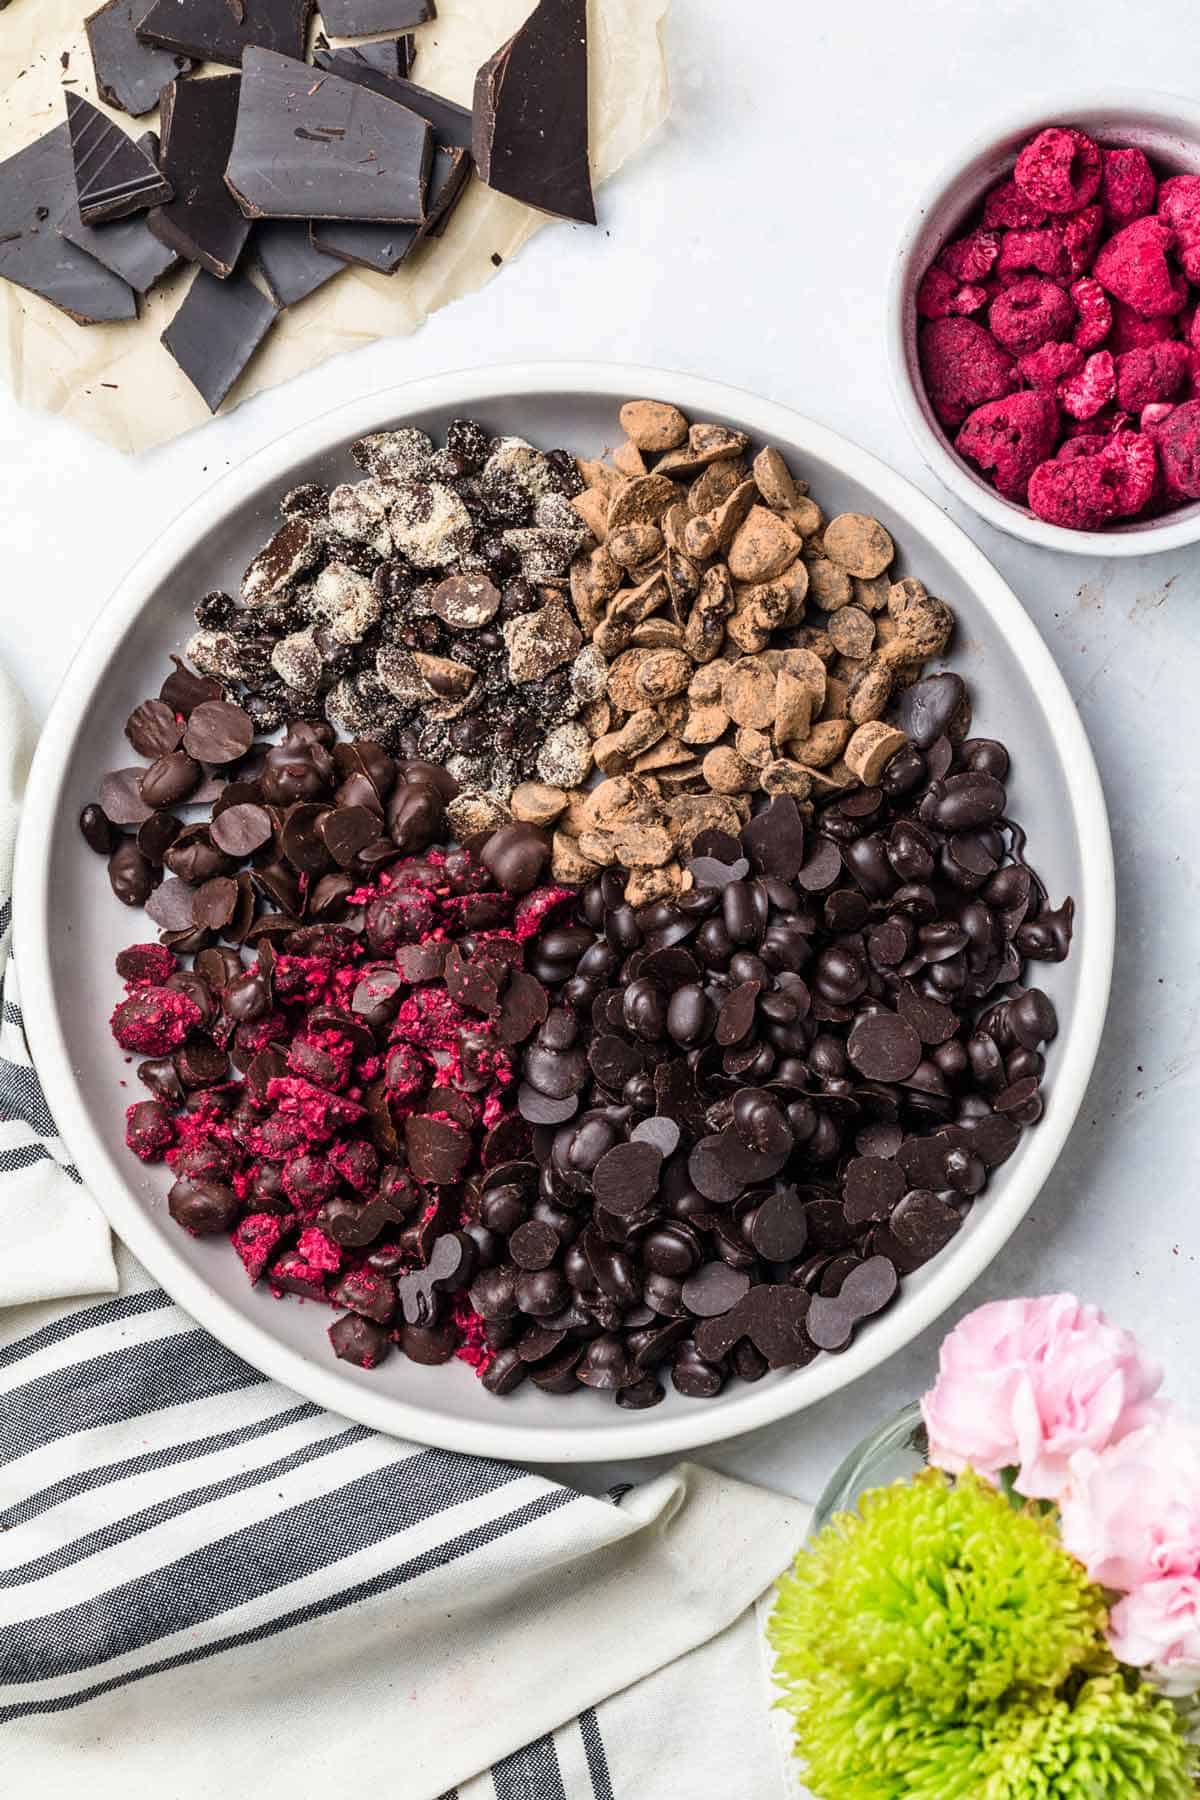
Once you know how to make chocolate covered coffee beans, you can create many flavor combinations without changing the basic method.
Salted dark chocolate
Use dark chocolate and add flaky sea salt before the coating sets. The salt balances the bitter notes in both the coffee and chocolate.
Mocha beans
Stir a small amount of unsweetened cocoa powder into the melted chocolate. This creates a deep mocha flavor.