How To Fix Coffee Grinder Stuck On Coarse Setting: Easy Fix
Clean, clear jammed grounds, realign the burrs, and test the motor and settings.
I’ve fixed dozens of grinders in my time as a coffee tech and home barista. This guide shows how to fix coffee grinder stuck on coarse setting with clear, tested steps. You’ll learn quick checks, step-by-step fixes for electric and manual models, maintenance tips, and when to call a pro. Read on to regain control of your grind and make better coffee again.

Why your coffee grinder gets stuck on coarse setting
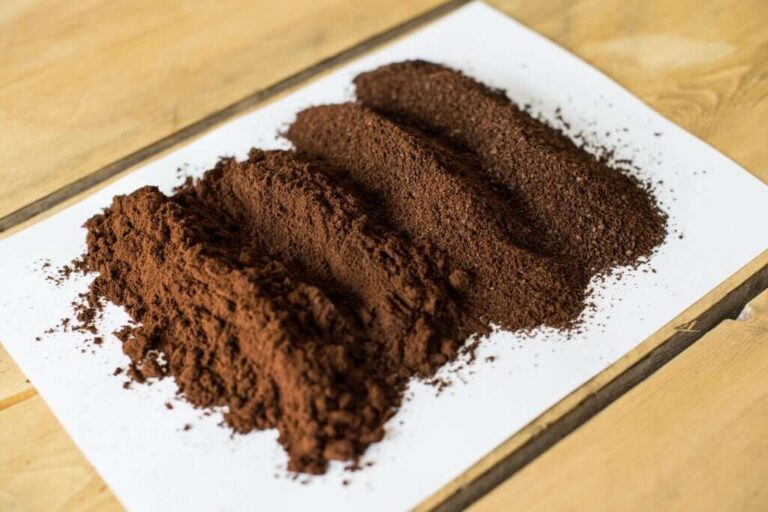
A grinder that won’t move finer often has one or more simple problems. Common causes include jammed grounds, misaligned burrs, a clogged adjustment ring, worn parts, or an electrical or motor fault. Mechanical grinders can suffer from stripped adjustment gears, while electric burr grinders can have hardened oils or buildup that block movement.
I’ve seen grinders stuck from dried oils in cold climates and from oily beans used without cleaning. Knowing the cause helps you choose the right fix. This section helps you spot the likely reason quickly.

How to diagnose a grinder that is stuck on coarse
Follow these short checks to find the issue fast.
- Cut power and unplug the grinder. Safety first.
- Remove the hopper. Check for jammed whole beans or large chunks.
- Try turning the adjustment collar by hand. Note resistance and where it stops.
- Remove the upper burr (if user-removable) and inspect for lodged grounds or damage.
- Listen and feel when you briefly power the grinder. Humming without grinding can mean motor or coupling issues.
These checks narrow down whether the problem is a jam, an adjustment issue, or a mechanical/electrical fault. Keep notes on what you find for later fixes.

Step-by-step fixes by grinder type
Different grinders need different fixes. Below are clear steps for each common type.
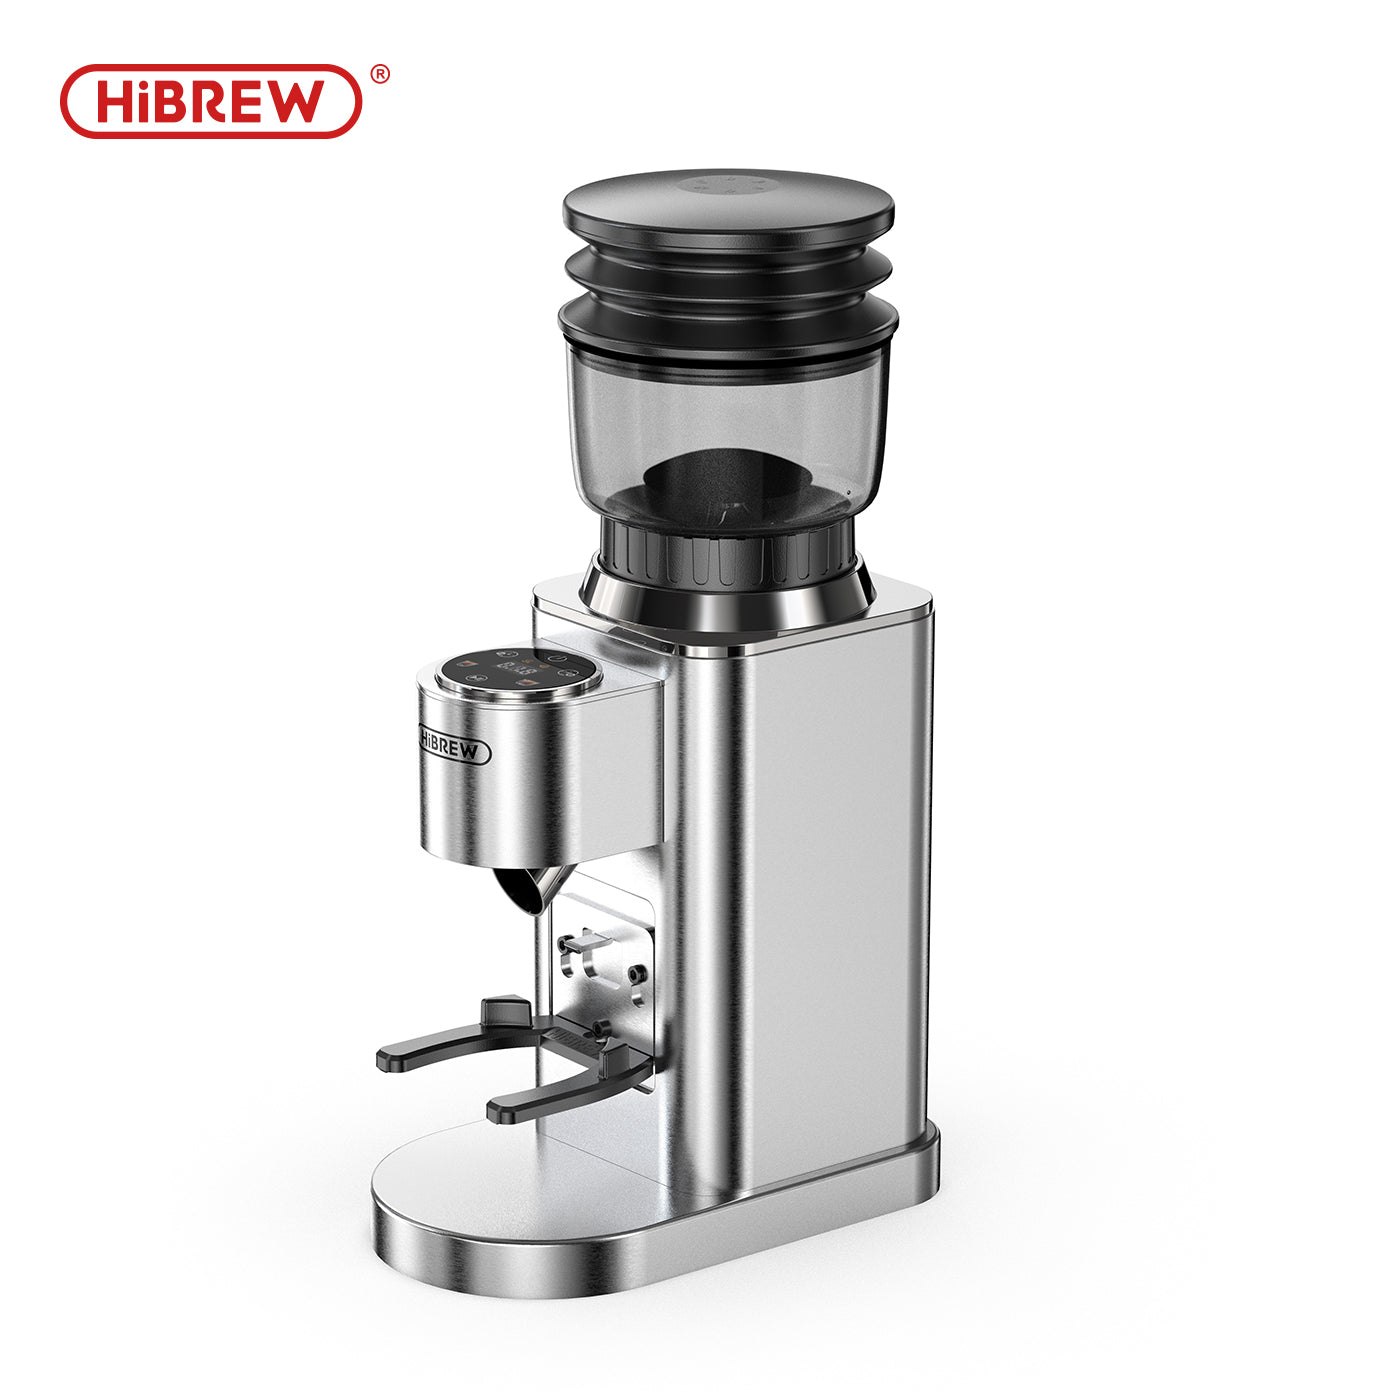
Electric burr grinders
- Unplug and empty the hopper.
- Remove hopper and upper burr following your manual.
- Use a soft brush and compressed air to clear grounds from the burr chamber.
- Inspect the adjustment collar and threads. Clean with a brush and mild solvent if oily.
- Hand-turn the adjustment mechanism. If it moves now, reassemble and test with a small grind.
- If the motor hums but the burrs don't turn, check the drive coupling. Replace if cracked or stripped.
- If the adjustment teeth are stripped, order the part from the maker or a parts supplier.
Electric burr grinders often get stuck from fine dust, oily beans, or a sticky adjustment ring. Cleaning and a new coupling fix most cases.

Manual (hand) grinders
- Fully disassemble the knob, handle, and top burr.
- Clear all grounds in the shaft and adjustment threads with a brush.
- Inspect the conical burr for chips or worn teeth. Replace if damaged.
- Re-lubricate the adjustment threads with a food-safe, light lubricant if they bind.
- Reassemble and gradually test the grind settings.
Manual grinders are simple. Most jams come from old grounds or a tight adjustment collar. A careful clean usually restores smooth movement.

Blade grinders
- Unplug. Empty and invert the grinder to remove loose grounds.
- Use a brush and a damp cloth to clean around the blades and under the lid.
- If the setting feels coarse no matter what, check for missing or warped parts. Blade grinders lack settable burrs, so the “coarse” issue is often a clog or blade damage.
- If blades are dull or bent, replacement is safer than repair.
Blade grinders are less adjustable. If they behave as if stuck on coarse, blades or motor problems are likely.

Troubleshooting checklist: parts to inspect and quick fixes
Use this checklist while you work. It helps cover the usual suspects and speeds repair.
- Hopper and lid: cracked or poorly seated parts can block movement.
- Bean debris and fines: clear with brush and vacuum or compressed air.
- Adjustment collar: clean threads and teeth.
- Burrs: look for chips, uneven wear, or alignment issues.
- Drive coupling: inspect for cracks or stripped teeth.
- Motor: smell for burning or feel for abnormal heat.
- Electrical: check cord, switch, and fuse for visible damage.
If cleaning fixes the issue, run a few test grinds with dry, medium-roast beans to confirm. If one part looks badly worn, replace it before further use.

Preventive maintenance to avoid getting stuck again
A little care prevents most jams and coarse-setting problems.
- Clean the grinder every 1–4 weeks, depending on use.
- Use a brush and vacuum or compressed air for burrs and crevices.
- Avoid oily or flavored beans in high use without extra cleaning.
- Calibrate the grind setting after cleaning by testing with small doses.
- Replace worn burrs on schedule—flat burrs often need replacement after 500–1,000 pounds of coffee, conical earlier for heavy use.
- Keep the machine in a dry spot to avoid sticky residues from humidity.
I learned this the hard way after letting a beloved grinder go months without a deep clean. Regular small cleanings are faster and cheaper than a full rebuild.
When to call a pro or replace the grinder
Some issues need expert help or a new machine.
- Call a technician if the motor smells burned, smokes, or won’t spin.
- Replace the grinder if the repair cost exceeds half the price of a new one.
- Seek a pro for complex gearbox or electronic control repairs.
- Consider replacement if multiple internal parts are worn or burrs are badly damaged.
I’ve repaired many grinders, but sometimes the cost and downtime make buying new the smarter choice. Factor in warranty coverage and parts availability.
Frequently Asked Questions of how to fix coffee grinder stuck on coarse setting
How do I tell if my burrs are misaligned?
Remove the upper burr and visually inspect the mating surfaces. If gaps or uneven wear appear, the burrs may be misaligned and need realignment or replacement.
Can oily beans cause a grinder to stick on coarse?
Yes. Oily beans leave a film that attracts fines and clogs threads. Regular cleaning prevents buildup and keeps adjustment smooth.
Is it safe to use compressed air to clean a grinder?
Yes, if used gently. Keep the unit unplugged and use short bursts to avoid forcing debris deeper into the motor or bearings.
How often should I replace burrs to avoid sticking?
Replace burrs per manufacturer guidance or when you notice poor grind consistency. Heavy home use may need burr replacement every 1–3 years.
My grinder hums but doesn’t grind. What does that mean?
A humming motor with no burr movement often indicates a broken coupling or stripped gear. Inspect the drive coupling and replace if damaged.
Should I lubricate the adjustment collar?
Only use a food-safe light lubricant and apply sparingly to the threads. Avoid getting lubricant on burrs or where beans contact metal.
Can I fix a stripped adjustment gear at home?
Minor stripping can sometimes be repaired with careful filing or a replacement part. For heavily stripped gears, order the correct replacement or consult a technician.
Conclusion
You can fix many cases of how to fix coffee grinder stuck on coarse setting with cleaning, part inspection, and basic repairs. Start with simple checks, clear jams, and test the adjustment collar. Replace worn couplings or burrs when needed, and keep a regular cleaning habit to prevent future problems. Try the steps here, and if the grinder still fails, seek professional repair or consider replacement. Share your results below, ask questions, or subscribe for more hands-on coffee gear tips.

Liora Pennings is a seasoned chef and kitchen enthusiast with a passion for turning everyday cooking into an effortless experience. With years of hands-on culinary expertise, she specializes in practical techniques, ingredient know-how, and smart kitchen solutions that help home cooks elevate their meals. At KitchFlair.com, Liora shares her best tips, time-saving tricks, and honest product reviews to guide readers toward a more efficient, enjoyable, and inspired cooking routine. Whether you’re a beginner or a seasoned home chef, Liora’s friendly, knowledge-packed insights make every visit to the kitchen a little easier—and a lot more delicious.